13 Practical Dog Food Storage Station Ideas That Will Save Your Sanity (And Your Kibble!)
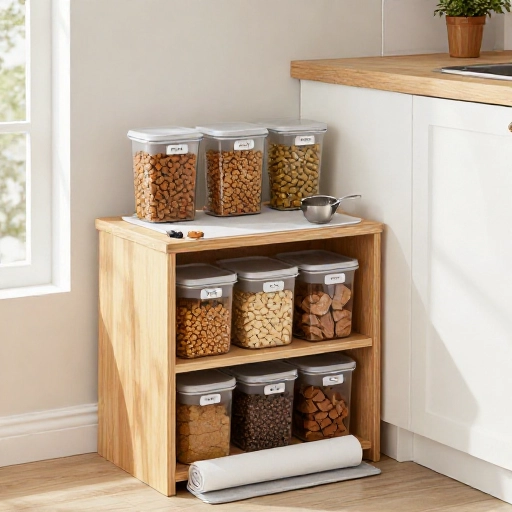
Let’s be real for a second. If you’re a dog parent, you probably have a corner in your kitchen that is a total disaster zone. You know the one—it’s where the half-open bag of kibble is leaking crumbs, the measuring cup is lost somewhere in the pantry, and you’re constantly bending over to scoop food while holding a wiggly, excited pup.
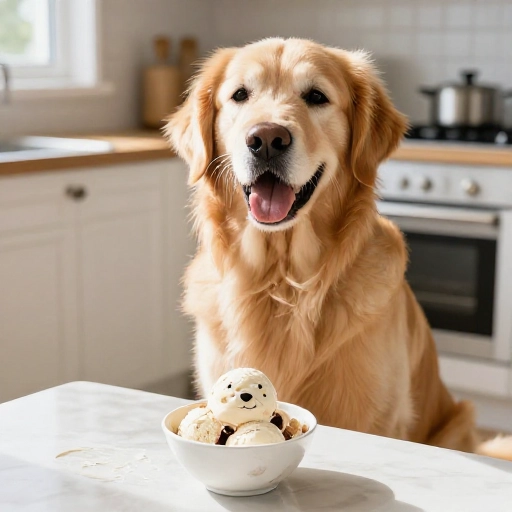
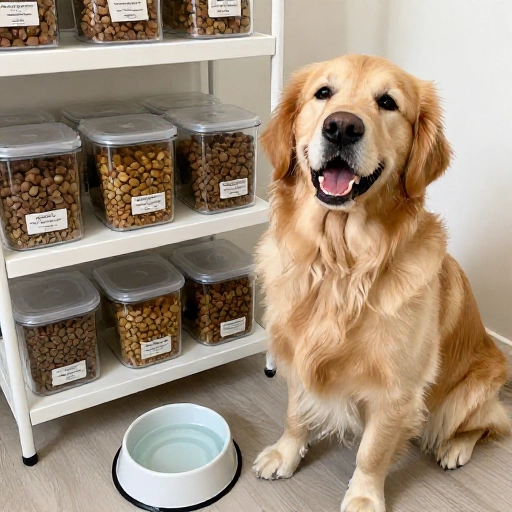
I’ve been there. My golden retriever, Biscuit, used to treat “feeding time” as a full-contact sport. I knew I needed a better system, so I built a dedicated dog food storage station. It changed my life. No more mess, no more stale kibble, and honestly, it looks super cute in my mudroom. Let me walk you through the practical, game-changing setup that keeps everything organized, fresh, and within arm’s reach.
Why Build a Dedicated Dog Food Station?
This isn’t just about looking pretty on Pinterest (though that is a bonus). A proper storage station solves three big problems: freshness, mess, and convenience. Kibble goes stale when exposed to air, losing those vital nutrients and that crunchy texture your dog loves. A sealed station keeps the food at peak quality for longer, so you’re not wasting money on food that ends up tasting like cardboard.
It also saves your back. Instead of wrestling with a giant 30-pound bag on the floor, you have a scoop-ready bin at waist height. Plus, having a designated spot for bowls, wipes, and medications means you aren’t hunting around the house at 7 AM. It creates a calm, organized ritual for both you and your furry friend.
Finally, it’s a safety win. Storing food in a durable, airtight container keeps out pests like ants, weevils, and even clever raccoons. It also prevents curious pups from tearing open the bag and overeating, which can lead to a very expensive vet trip. This station is a simple upgrade that makes daily life feel infinitely more manageable.
Kitchen Equipment & Tools You’ll Need
Before we get into the nitty-gritty of the setup, let’s talk about the gear. You don’t need to buy fancy, expensive custom cabinetry to make this work. I built mine using mostly items I already had or found at a local home goods store. Here is the shopping list I recommend to get started.
- Large Airtight Container: This is your main kibble bin. Look for one with a gasket seal and a latch. I prefer a 20-40 pound capacity depending on your dog’s size.
- Stainless Steel Bowls: These are non-porous and easier to keep clean than plastic. Look for a raised stand if your dog is tall or has joint issues.
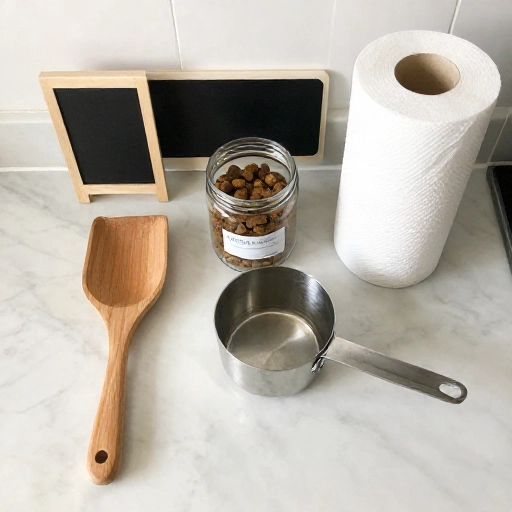
- Measuring Scoop: A dedicated 1-cup or 2-cup scoop that lives inside the bin. Don’t use the flimsy ones that come in the food bag; get a sturdy metal one.
- Non-Slip Mat: A silicone or rubber mat to place under the bowls to catch water drips and kibble crumbs.
- Treat Jar: A clear glass or BPA-free plastic jar with a tight lid for storing training treats and biscuits.
- Small Storage Baskets: For leashes, poop bags, wipes, and daily supplements.
Optional extras include a small fridge bin for wet food leftovers and a wall-mounted hook for hanging a towel. The goal is to make a “landing pad” that contains all the dog-related chaos in one specific footprint.
Ingredients List & Safe Substitutions
Okay, so we aren’t baking a cake here, but we are “mixing” a station. Think of the “ingredients” as the core components that make the system work. You need to choose items that fit your space and your dog’s specific habits. Here is my go-to list of components, with alternatives in case you have a chewer or a messy drinker.
- Kibble Bin: Vittles Vault or IRIS Airtight Pet Food Storage. Substitution: Use a large glass fermenting crock or a metal trash can with a locking lid if you have a determined chewer.
- Feeding Station: A wooden console table or a sturdy shoe bench. Substitution: A repurposed sideboard or a simple wire rack that fits your bowl sizes.
- Water Source: A heavy ceramic or stainless bowl. Substitution: A gravity water dispenser if you are away from home for long hours.
- The “Extras” Bin: A woven basket or a plastic caddy. Substitution: A pretty cardboard box covered in contact paper for a DIY look.
- Protective Layer: A clear vinyl mat or a washable rug. Substitution: A cut piece of linoleum flooring for super easy cleanup.
When choosing your materials, always prioritize durability and ease of cleaning. Plastic is fine for dry food, but make sure it is food-grade and BPA-free. Avoid anything with sharp edges or small parts that could break off and become a choking hazard.
Step-by-Step Instructions: How to Build Your Station
Now for the fun part! Building this station takes about twenty minutes and zero power tools. I promise this is the easiest DIY project you will do all year. Here is exactly how I set mine up in my laundry room.
- Measure Your Space: First, find the spot where you want the station. Measure the width and height so you know what size furniture or bins will fit. You don’t want to buy a container that blocks your electrical outlets.
- Set Up the Base: Place your table or bench in the spot. If you are using a stand-alone bin, place it on a mat to protect your floors from scratches. If you have a raised stand, assemble it according to the instructions.
- Prep the Kibble Bin: Wash the bin with warm soapy water and dry it completely. This is crucial to remove any factory dust. Once dry, write the “best by” date from the food bag on a piece of masking tape and stick it on the bottom of the bin.
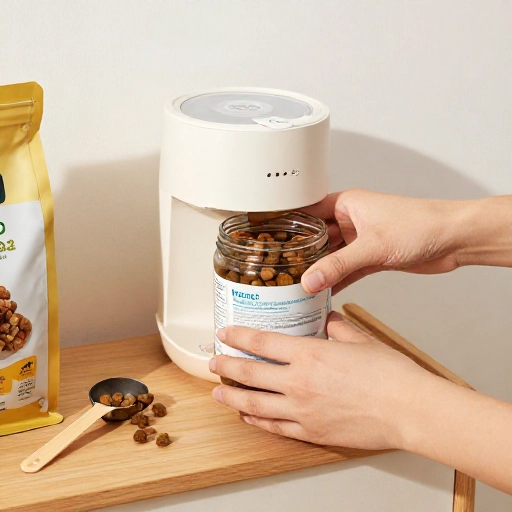
- Fill the Station: Pour the dry kibble into the bin. Place the scoop inside, but make sure the handle is sticking up so you can grab it without digging around. Put the lid on tightly.
- Arrange the Bowls: Place the water bowl and food bowl on the non-slip mat. If you have one bowl for water and one for food, keep them separated by a few inches to prevent splashing into the food.
- Organize the Accessories: Put your treats in the jar. In the basket, roll up the leashes, put the poop bags in a dispenser, and stack the wipes. Place this basket on the shelf above or next to the bowls.
And that’s it! It sounds too simple, but having everything in one designated spot is the real magic. No more searching for the scoop in the dishwasher or tripping over the bag in the hallway.
Feeding Guidelines, Serving Size & Storage Tips
Now that your station looks gorgeous, let’s talk about the rules of the road. How you use this station is just as important as how you build it. First, always follow the feeding guidelines on your specific bag of dog food. Those charts on the back are based on weight and activity level, and every brand is different.
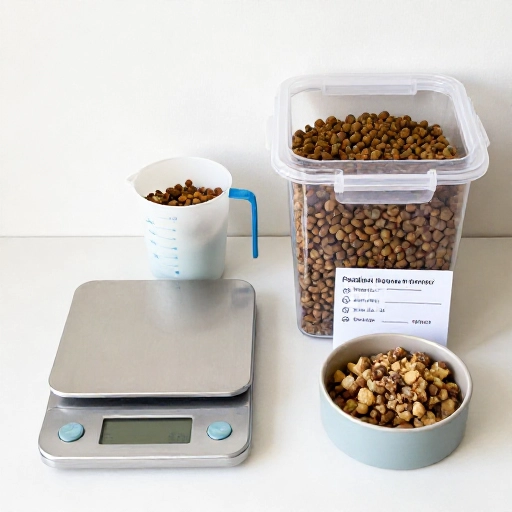
For serving, use the scoop to measure the exact amount. I usually fill the bowl right before feeding. For storage, keep the bin in a cool, dry place away from direct sunlight. Heat and humidity can cause the fats in the food to go rancid. Avoid storing the bin near the oven or dishwasher.
Here is a pro-tip: Don’t wash the main bin with soap too often, as it can leave a residue. Instead, wipe it out with a dry paper towel between bags. Wash the scoop and the bowls weekly in the dishwasher. Also, always make sure the lid is fully sealed after every use—this is what keeps the food crunchy and keeps bugs out. If you buy in bulk, store the unopened bags in a cool closet and only open a new bag when the bin is empty to preserve the rest.
Finally, adjust portions as needed. If your dog is gaining weight, reduce the amount. If they are a picky eater, you can mix a spoonful of wet food in, but remember to refrigerate the opened can. Your station makes it easy to keep track of these routines.
Final Verdict & Summary
Honestly, building this storage station was one of the best small upgrades I have ever made in my home. It looks clean, it functions perfectly, and it has drastically cut down on the “dog stuff” clutter that used to take over my kitchen counter. It feels so much more professional and hygienic than leaving a bag of kibble on the floor.
I love that I can feed Biscuit in seconds without bending over or guessing how much food he’s getting. It is also incredibly easy to clean—a quick wipe of the mat and the table and it looks brand new. If you are on the fence about making a dedicated space, I highly encourage you to try it. Even a small corner shelf can be transformed into a functional feeding zone.
This project proves that practical doesn’t have to be boring. You can choose containers and baskets that match your home’s aesthetic. It is a win-win for you and your dog. You get a tidy home, and they get a consistent, safe place to eat their meals.
Frequently Asked Questions (FAQ)
Is it better to store dog food in the bag or in a container?
It is always better to store it in an airtight container. The bag is not airtight once opened, and it is too easy for bugs to get in. Transferring the kibble to a sealed bin keeps it fresh and prevents pests. I keep the bag for the brand name and cooking instructions, but the bin is the king.
How often should I wash the dog bowls?
You should wash the food and water bowls every single day. Just like your dishes, they harbor bacteria. I throw mine in the dishwasher nightly. The water bowl especially can get a slimy film that is gross and unhealthy for your pup to drink from.
Can I leave dry food out all day for my dog to graze?
Yes, you can leave dry food out, but it isn’t ideal for all dogs. If your dog is a grazer, it’s fine to leave a measured portion in the bowl. However, if you have a dog that inhales food, it’s better to have set meal times. Leaving food out can also attract ants if you don’t have a good bowl stand.
Where is the worst place to put a dog food station?
The worst place is right next to the heating vent or under a window with direct sunlight. Heat degrades the oils in the food, making it go stale faster. Also, avoid putting it in a damp area like a flooded garage; moisture leads to mold. A cool, dry, and easily accessible spot is best.
Do I need a raised dog bowl stand?
It depends on your dog’s size and health. For large breeds, a raised stand can help with digestion and reduce strain on their neck. For small dogs, it’s not necessary. If your dog is a gulper, a slow feeder bowl is a better investment than a raised stand to prevent bloat.