14 Easy Homemade Dog Shoes For Winter Protection (No Sewing Skills Needed!)
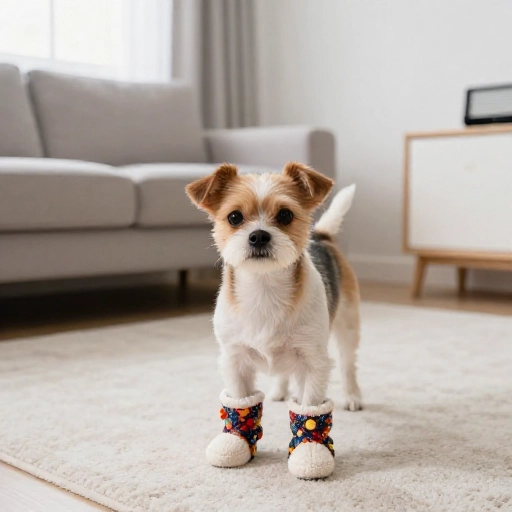
Winter is coming, and while my pup loves bounding through the snow, those icy sidewalks and salty roads are brutal on her paws. I used to spend a fortune on fancy dog boots that she would immediately kick off in the snow. That’s when I decided to start making my own dog shoes at home.
These 14 homemade dog shoes are incredibly easy to make, mostly from materials you already have lying around. They protect against salt, ice, and freezing temperatures. And the best part? They actually stay on your dog’s feet!
Let me show you how to protect those precious paws without spending a dime.
1. The Classic Fleece Sock Booties
Old wool socks are my absolute favorite material for winter dog shoes. They are warm, soft, and have some natural grip. Find a thick pair of socks that you don’t wear anymore.
Cut the foot part off the sock, leaving a long tube. Slip it over your dog’s paw, covering the ankle. Use a small piece of elastic or a hair tie to secure it just above the ankle joint. Make sure it’s snug but not tight enough to cut off circulation.
For extra traction on ice, you can rub a little bit of non-slip rug grip onto the bottom. These are perfect for quick potty breaks in the morning when the grass is frozen.
2. The Balloon and Fleece Hybrid
This is my secret weapon for deep snow. You need a standard party balloon and a piece of soft fleece. The balloon acts as a waterproof barrier, and the fleece adds warmth.
Blow up the balloon just a tiny bit to stretch it out, then let the air out. Slip your dog’s paw into the deflated balloon. Wrap a rectangle of fleece around the paw and balloon, securing it with a strip of velcro or a safety pin.
I like to fold the end of the balloon over the top of the fleece to create a little cuff. This stops snow from getting inside. It looks silly, but it works like a charm for long winter walks.
3. The Yoga Mat Traction Shoe
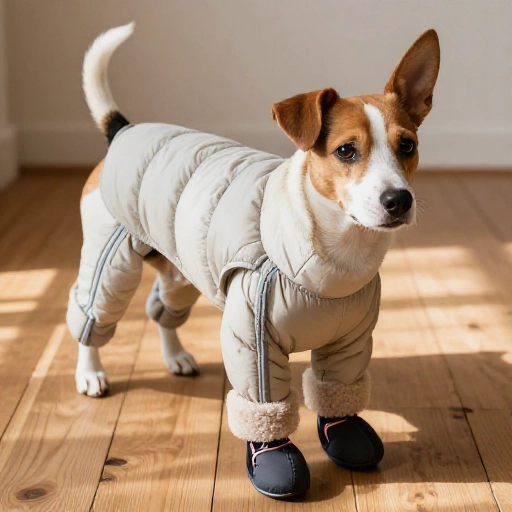
If your dog slips on hardwood floors or icy sidewalks, you need grip. Grab an old yoga mat. Cut it into four oval shapes that are slightly bigger than your dog’s paws.
Use a hole punch to make holes around the edges of the mat pieces. Then, use a thick shoelace or a ribbon to “lace” the mat piece to your dog’s paw, like a tiny sandal.
The textured surface of the yoga mat provides amazing traction. I use these specially on days when the sidewalks are a sheet of ice. They are durable and last for many winters.
4. The Baby Sock and Duct Tape Boot
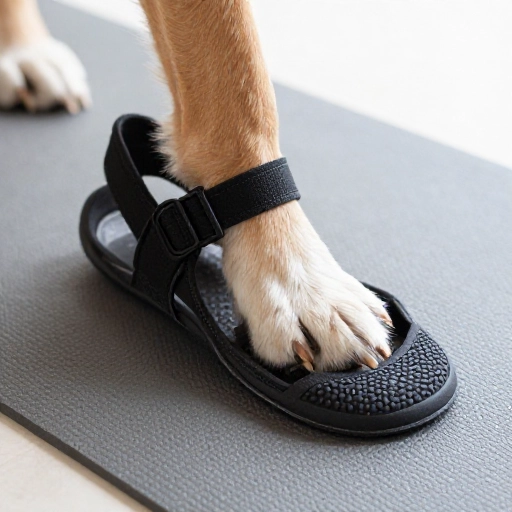
This is the quickest fix you will ever find. Grab an infant or toddler sock that is made of thick cotton. Stretch it over your dog’s paw.
Then, take a strip of duct tape and wrap it around the top of the sock, just above the ankle. The tape keeps the sock from sliding off. Wrap another strip around the bottom of the sock to protect the fabric from getting wet.
I know duct tape sounds weird, but it creates a waterproof seal. Just be careful to only wrap the tape around the fabric part, not directly on your dog’s fur. These are great for emergency situations.
5. The Felt and Elastic Band Shoe
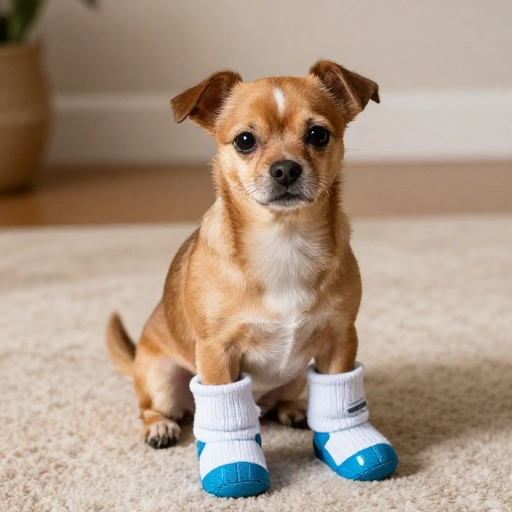
Felt is a wonderful material for winter protection because it is thick and insulates even when wet. Buy a sheet of craft felt from the dollar store. Cut it into paw-shaped pieces.
Cut a long strip of felt to wrap around the ankle. Sew or glue the paw piece to the ankle strip. Attach a piece of elastic to the back of the ankle strip so you can slip it on and off easily.
These felt shoes are super quiet on the floor, so your dog won’t be scared by the clicking noise. They are also machine washable, which is a lifesaver when they get muddy.
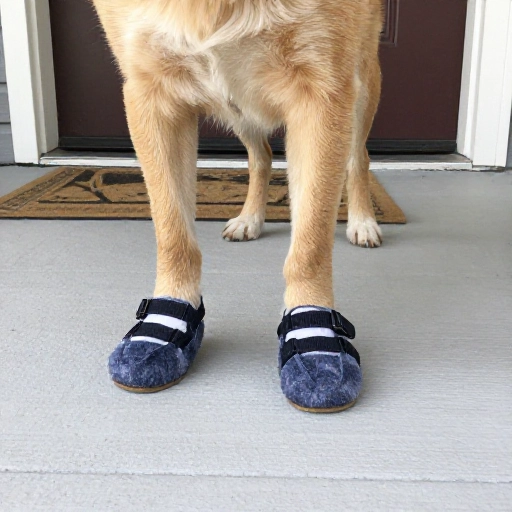
6. The Neoprene Wetsuit Bootie
Do you have an old wetsuit or a neoprene laptop sleeve? Neoprene is the ultimate waterproof material. Cut a rectangle of neoprene that is wide enough to wrap around your dog’s leg.
Fold it in half and glue or stitch the side to create a tube. Then, cut a separate circle for the bottom of the paw and glue it to the tube. Use a strip of velcro to close the top.
These are the most waterproof shoes on this list. They are perfect for dogs who love to splash in puddles or walk through slush. Your dog’s paws will stay completely dry.
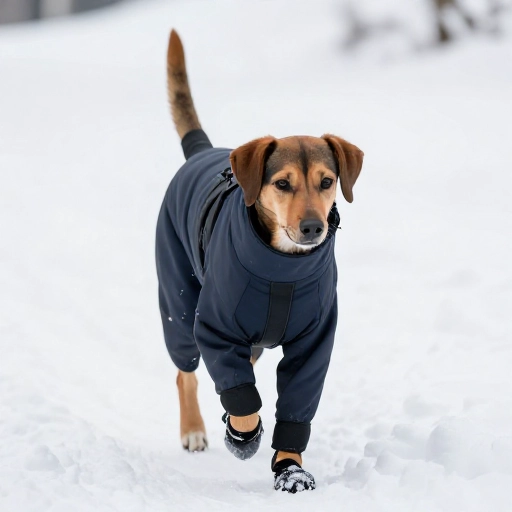
7. The Polar Fleece Pull-Ons
Polar fleece is my best friend in the winter. It is warm, stretchy, and doesn’t fray. Cut a rectangle of fleece that is twice the length of your dog’s paw plus a few inches.
Fold the rectangle in half lengthwise and sew or glue the long edge to create a tube. Turn it inside out so the seam is hidden. Slip it over your dog’s paw.
Fold the top edge down to create a thick cuff. The cuff helps hold the shoe in place. These are so soft that my dog actually seems to enjoy wearing them.
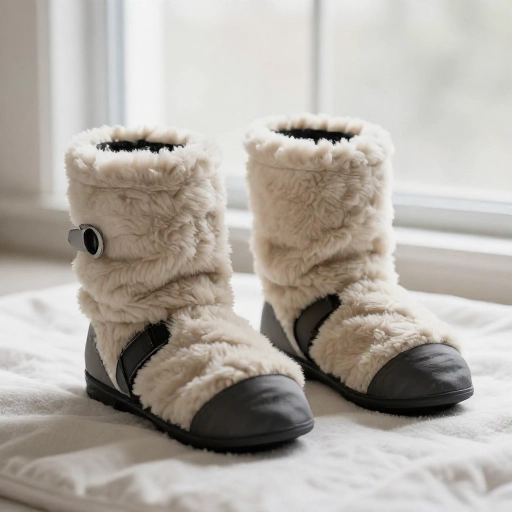
8. The Leather Scrap Moccasin
If you have an old leather jacket or belt, you can make incredibly durable dog shoes. Leather is naturally water-resistant and very tough. Cut an oval for the sole and a strip for the upper.
Punch holes around the oval and the strip. Use a thin leather cord or a strong string to stitch the upper to the sole. This is a simple whip stitch that anyone can learn.
These leather moccasins are great for dogs who run on rough terrain. They protect against sharp ice and hidden rocks. Plus, they look really cool and rustic.
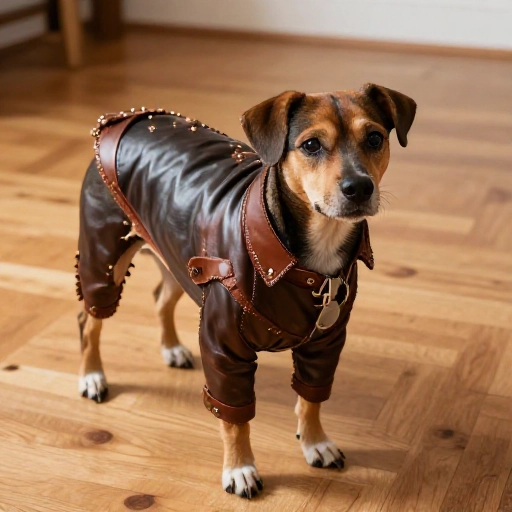
9. The Water Bottle Neoprene Sleeve Boot
Those insulated water bottle sleeves make perfect dog boots. The material is already shaped like a tube, which saves you tons of cutting. Just slide your dog’s paw into the sleeve.
Cut a small slit in the bottom of the sleeve for the toes to poke out slightly, or keep it closed for full protection. Use a safety pin or a small clip to secure the top of the sleeve around the ankle.
These are already insulated, so they are great for extremely cold days. The bottom of the sleeve is usually padded, offering nice cushioning on hard frozen ground.
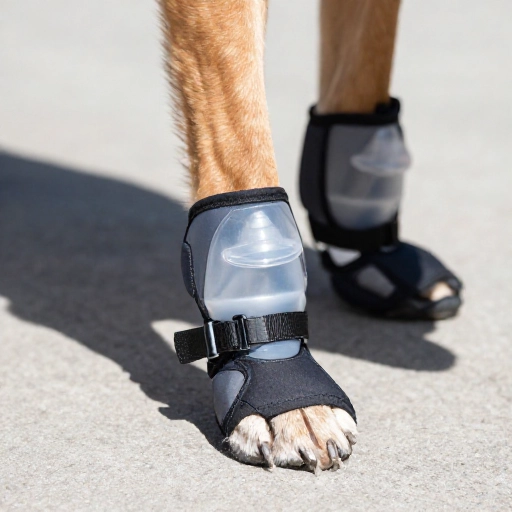
10. The Fleece Scarf Wrap
An old fleece scarf is a treasure trove of material. Cut the scarf into long strips that are about 4 inches wide. Wrap the strip around your dog’s paw and up the leg.
Continue wrapping until you have a nice thick layer. Tuck the end of the strip under the previous wrap to secure it, or use a small piece of tape. It is like making a tiny mummy boot for your dog.
The layered wrapping provides incredible warmth. You can adjust the thickness depending on how cold it is outside. This is perfect for short-legged dogs who get snowballs stuck in their fur.
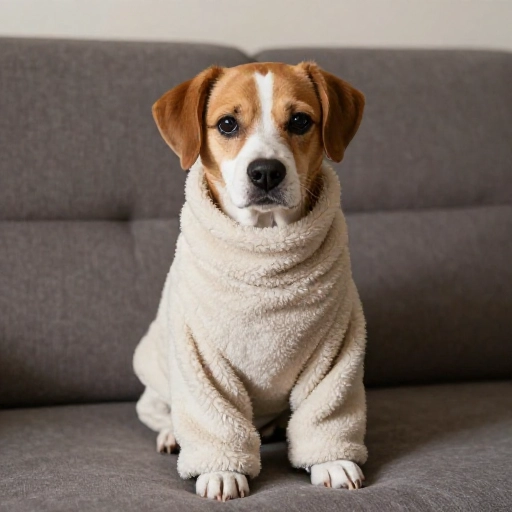
11. The Dish Towel Quick Fix
In a pinch, a clean dish towel works wonders. Choose a towel with a tight weave. Fold the towel into a rectangle that wraps around your dog’s paw completely.
Fold the towel up over the paw and secure it with a large binder clip or a clothespin at the top. Make sure the clip is not touching the skin directly.
These are not for long walks, but they are perfect for a quick dash outside to pee. They absorb any moisture and protect the paw from direct contact with the cold ground. Easy to throw in the laundry.
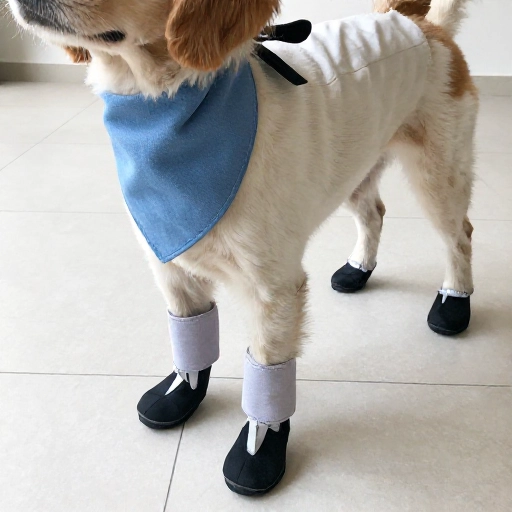
12. The Microfiber Cloth Shoe
Microfiber cloths are amazing because they pick up dirt and salt. Cut a square of microfiber cloth large enough to cover the paw. Place the paw in the center of the square.
Bring the corners of the square up around the leg, like you are making a little bag. Twist the fabric at the top and secure it with a hair elastic. Tuck the twist inside to keep it neat.
These shoes are very breathable, so they are good for dogs who get sweaty paws. They also wipe clean very easily. I keep a set in my car for emergencies.
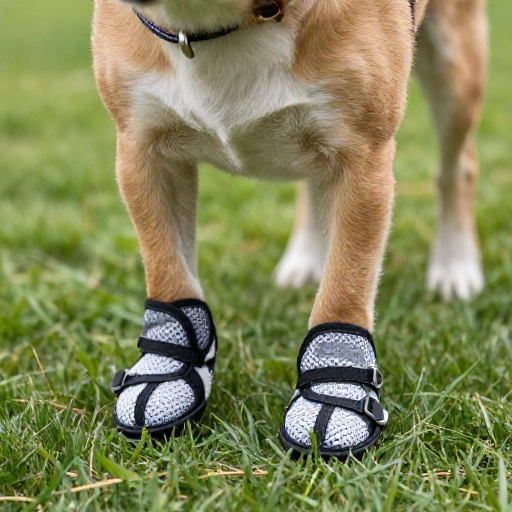
13. The Knit Beanie Boots
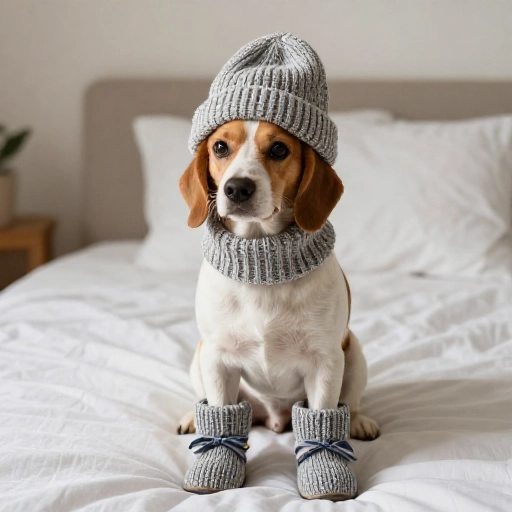
An old knit beanie hat is perfect for this. The ribbed knit provides great stretch. Cut the beanie into four tube-shaped sections. The bottom ribbed edge of the beanie makes a natural cuff.
Slip the tube over your dog’s paw. The ribbed cuff will hold it in place nicely. If you need more security, add a small piece of elastic or a drawstring at the top.
Knit hats are surprisingly warm. The texture also helps to knock snow off your dog’s fur before it melts and gets them wet. It is a cozy option for homebodies who hate the cold.
14. The Pillowcase Paw Protector
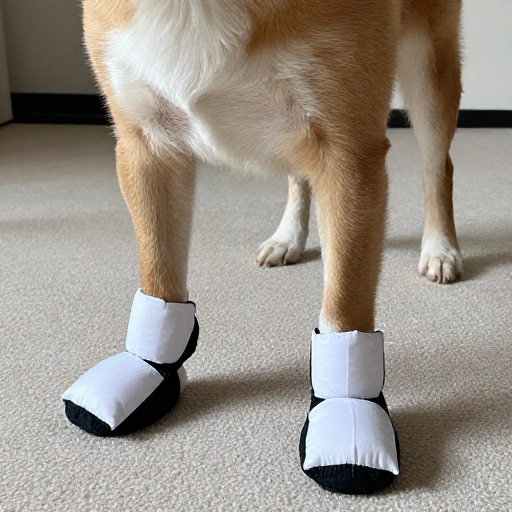
An old cotton pillowcase is soft and easy to work with. Cut a rectangle of fabric that is long enough to cover the paw and wrap up the leg. Fold it in half lengthwise.
Stitch or glue the long side and one short side to create a little pouch. Slip the pouch over the paw. Use a ribbon or a strip of fabric to tie it closed at the top.
These are lightweight and pack down flat. They are perfect for traveling or for dogs who just need a little barrier between their paws and the salt. You can decorate them with fabric markers too.
Conclusion
Making your own dog shoes is not just about saving money. It is about finding a solution that actually fits your unique dog. Every dog has different paw shapes, and store-bought boots just don’t work for everyone.
I have tried all 14 of these methods over the years, and my dog has never been happier. Her paws stay warm, she doesn’t slip on the ice, and I don’t have to worry about her getting salt burns. Start with the easiest option, like the baby sock and duct tape, and work your way up.
Your dog will thank you, and you will feel amazing knowing you made something with your own hands. Winter walks are going to be so much more fun now.
Frequently Asked Questions
How do I measure my dog’s paw for homemade shoes?
Place your dog’s paw on a piece of paper and trace around it. Measure the width and the length. Also measure the circumference of the ankle. These measurements will help you cut the right size for any of these DIY projects.
Will these shoes stay on during a run?
For running, I recommend the neoprene booties or the leather moccasins. They have the best grip and stay put. Make sure you secure them well with velcro or elastic. Avoid the loose sock options for high-energy play.
Can I use hot glue instead of sewing?
Absolutely! Hot glue works great for felt, fleece, and neoprene. Just let the glue cool completely before putting them on your dog. Sewing is stronger, but glue is perfect for quick fixes and beginners.
How do I clean these homemade dog shoes?
Most of these can be hand washed in warm soapy water. Fleece and cotton options can go in the washing machine on a gentle cycle. Air dry them completely before using them again to prevent mold and odor.
What if my dog hates wearing them?
Start slowly. Put one shoe on for a minute while giving treats. Gradually increase the time. Sometimes making the shoes from soft, familiar-smelling fabric helps. Your dog’s comfort is the most important thing, so if they really hate it, try a different material or style.