15 Art Tutorials Drawing That Stand Out: Easy Ideas for Your Next Sketchbook Session
Let’s be honest—sometimes you just stare at a blank page and feel totally stuck. We all go through that phase where every pencil stroke feels wrong. I have been there more times than I can count, scrolling endlessly for inspiration that actually feels doable.
That is exactly why I put together this list. These are not your typical “draw a sphere” tutorials. These are fresh, creative, and slightly unexpected drawing ideas that will get your hand moving again. Whether you have five minutes or a whole afternoon, there is something here that will make you want to pick up a pencil.
1. Blind Contour Drawing: The Fun Way to Loosen Up
Forget perfection for a second. Blind contour drawing is when you look at your subject (not your paper) and draw without lifting your pencil. The result looks messy and wobbly, but it is honestly the best warm-up exercise for your brain and hand.
Try drawing your coffee mug, your pet, or even your own hand. Do not peek! The point is to train your eye to really see edges and lines without overthinking. This tutorial is perfect for breaking the ice.
Once you try it, you will feel so much more relaxed about making “mistakes” in your regular sketches.
2. One-Line Plant Drawings: Minimalist and Modern
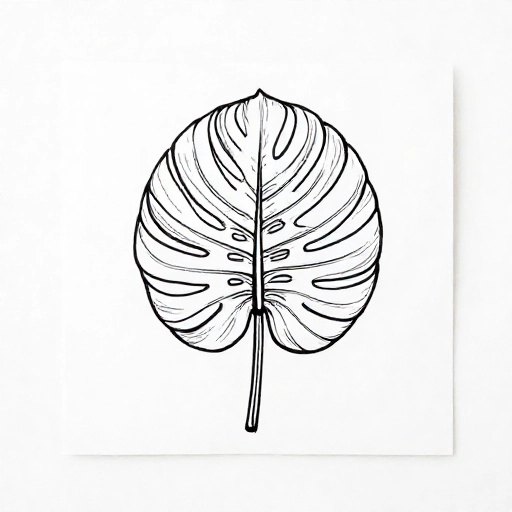
If you love clean, modern aesthetics, this one is for you. The idea is simple: draw a whole plant, like a monstera leaf or a snake plant, using a single continuous line. You never lift your pen from the paper.
Start with a simple shape and let your line wander around the edges. It is almost like meditating with a pen. This style looks incredibly chic framed on a wall, even if it takes you only five minutes to make.
It is also a great way to practice hand-eye coordination without the pressure of shading or details.
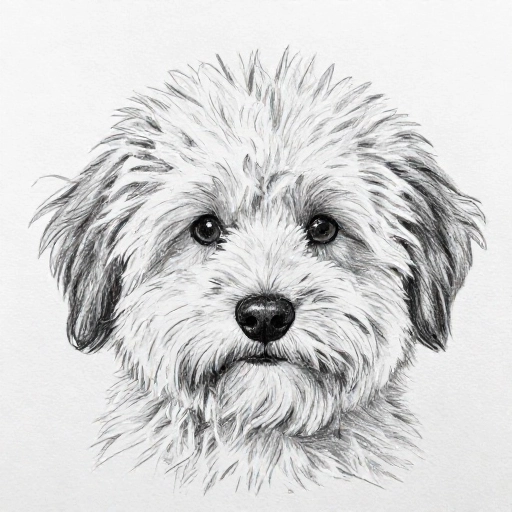
3. Drawing Texture with Just a Pencil: Furry Friends
Drawing fur always looks intimidating, but this tutorial breaks it down into tiny, simple strokes. You do not need fancy tools—just a regular HB pencil and a good eraser. The secret is to draw in the direction the fur grows.
Try sketching a small animal, like a cat ear or a dog paw, focusing only on the texture. Do not worry about the whole animal yet. Just get that fluffy feeling down on paper.
Once you learn this stroke technique, you can apply it to anything with texture, from hair to grass.
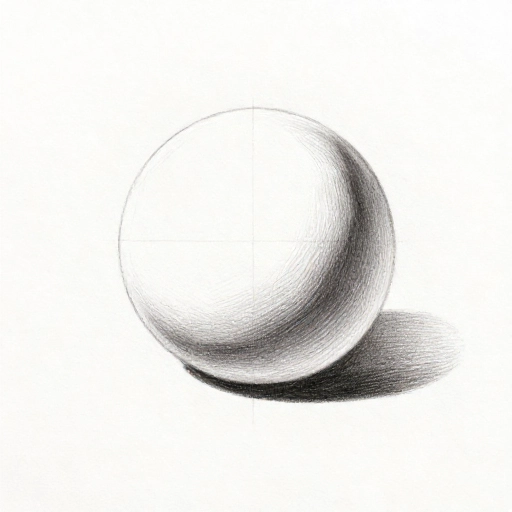
4. Shadow Shapes: Drawing Light Without Outlines
Instead of drawing the outline of an object, this tutorial teaches you to draw only the shadows around it. It is a total brain flip. You are basically drawing the negative space and letting the light create the form.
Place a small object, like a bottle or a fruit, under a bright lamp. Look for the darkest areas and shade those in. You will be amazed at how the object “appears” out of the darkness.
This technique builds your observation skills faster than almost any other exercise.
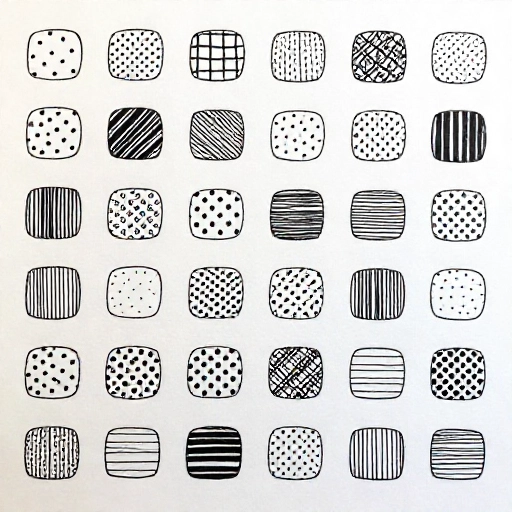
5. Doodle Grids: Pattern Fills for Small Shapes
This is a fantastic tutorial for when you want to draw but have zero ideas. Draw a bunch of simple shapes—circles, squares, or triangles—and then fill each one with a different doodle pattern. Think stripes, polka dots, zigzags, or tiny stars.
It is incredibly satisfying to see a page fill up with organized little details. It also helps you build a personal library of patterns you can use in future art journals or bullet journals.
You do not need to think ahead. Just pick a pen and start making marks.
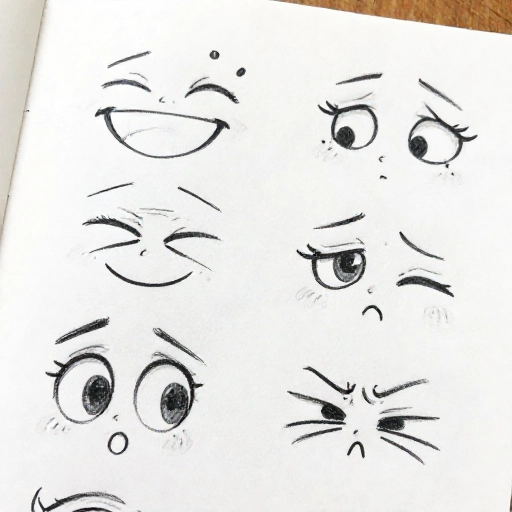
6. Expressive Eyes: Drawing Emotion with Simple Lines
Eyes are the window to the soul, but they are hard to get right. This tutorial focuses on the eyebrows and the eyelid crease more than the eyeball itself. By changing the angle of the brow, you can change the whole emotion of the face.
Practice drawing the same eye shape three times. First make it angry, then sad, then surprised. You will see how small tweaks make a huge difference.
This is a great stepping stone if you eventually want to draw full portraits.
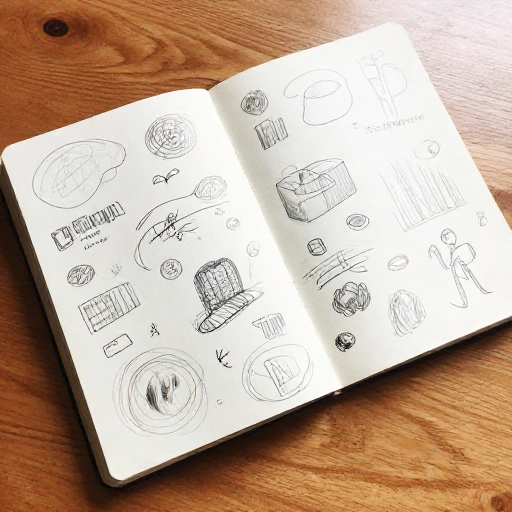
7. The “Ugly” Sketchbook: A Lesson in Letting Go
This is not a tutorial on how to draw something specific, but rather a mindset shift. The idea is to dedicate a whole sketchbook to drawings that are allowed to be “bad.” Draw with your non-dominant hand, scribble, or draw with your eyes closed.
The goal is to remove the fear of ruining a good page. When you give yourself permission to make ugly art, your good art actually gets better because you take more risks.
Keep this book separate from your “nice” sketchbook. It is your private playground.
8. How to Draw Water Droplets That Look 3D
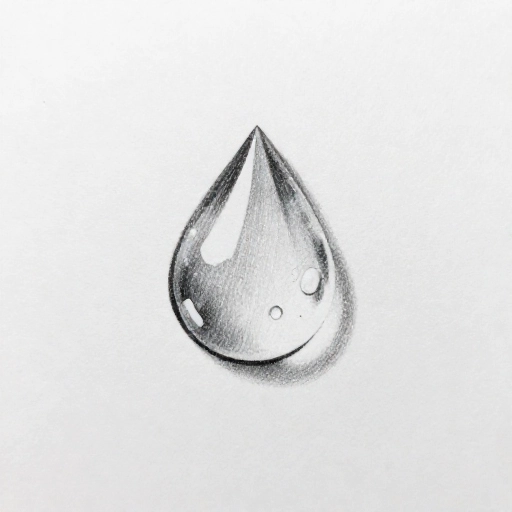
This is a classic tutorial that never fails to impress. Drawing a realistic water droplet is actually super simple. You just need a gray base, a white highlight, and a dark shadow underneath.
The trick is to draw a soft cast shadow on the opposite side of your light source. Then add a tiny, sharp white dot for the reflection. It instantly pops off the page.
Try scattering a few droplets across a leaf sketch to add a fresh, dewy vibe.
9. Tangled Hair: How to Sketch Flow and Movement
Hair is often a struggle because we try to draw every single strand. This tutorial teaches you to draw hair in large, flowing shapes first. Then you add a few strands only at the edges and where the hair bends.
Think of hair like water—it flows in waves, not in straight lines. Use curved, sweeping strokes from the part line downwards.
This approach makes your portraits look much more natural and less stiff.

10. Negative Space Lettering: Drawing Words with Backgrounds
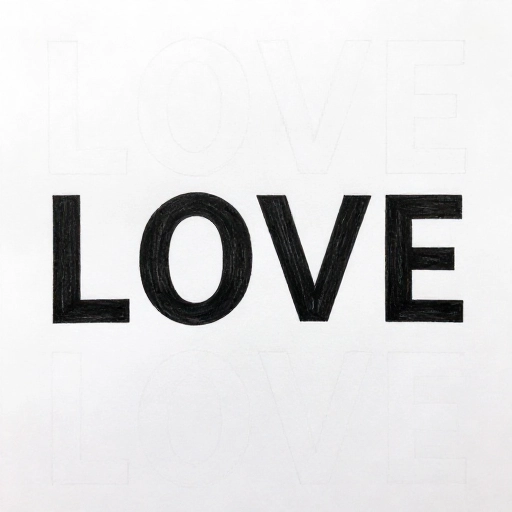
If you love hand-lettering but hate drawing the letters themselves, this is for you. Instead of drawing the letter, you draw the space around it. You can do this by filling in a rectangle with a pattern and then erasing the shape of the letter.
This creates a beautiful “stamped” look. It works really well for single words like “hello” or “dream.”
It is a unique way to add quotes to your art journal without needing perfect penmanship.
11. Perspective Made Easy: Drawing a Simple Room Corner
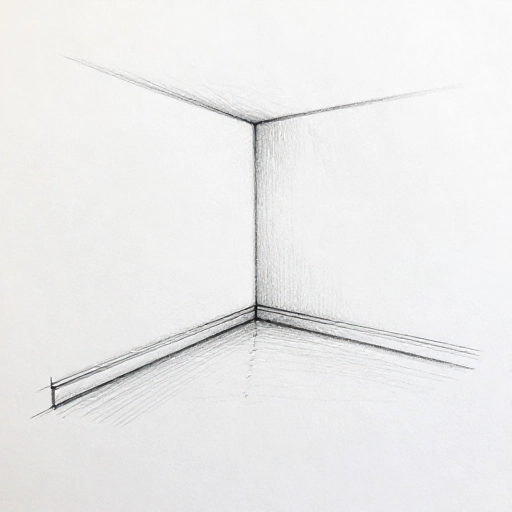
Perspective sounds scary, but drawing a room corner is a great starting point. You only need one vanishing point. Draw a vertical line for the corner, then draw lines from the top and bottom that slant towards that point.
Add simple furniture shapes like a bed or a window using those guide lines. You do not need to add details yet, just the structure.
This tutorial gives you the basic “skeleton” you need to draw any interior scene.
12. Drawing with Ink: The No-Eraser Challenge
Switching from pencil to a fineliner pen changes the game completely. Because you cannot erase, you have to commit to every line. This tutorial encourages you to sketch simple objects directly in ink.
Start with a piece of fruit or a shoe. Draw slowly and trust your instincts. If you make a wrong line, just incorporate it into the drawing or turn it into a shadow.
This is the fastest way to build confidence in your line quality.
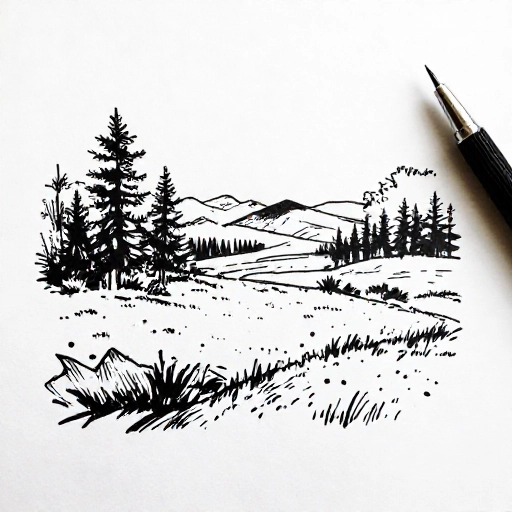
13. Creating Depth with Cross-Hatching
If you do not like blending or smudging, cross-hatching is your best friend. This tutorial shows you how to build up layers of parallel lines to create tone. The closer the lines, the darker the shadow.
Start with light pressure and build up slowly. You can change the direction of the lines for different textures. It looks incredibly professional and is very forgiving.
It also looks great in black and white, which is perfect for printing.
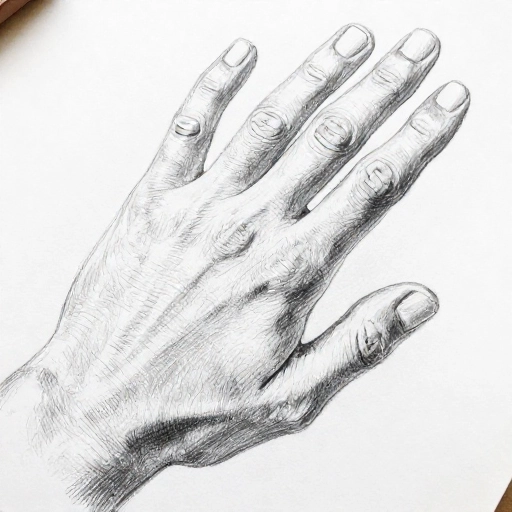
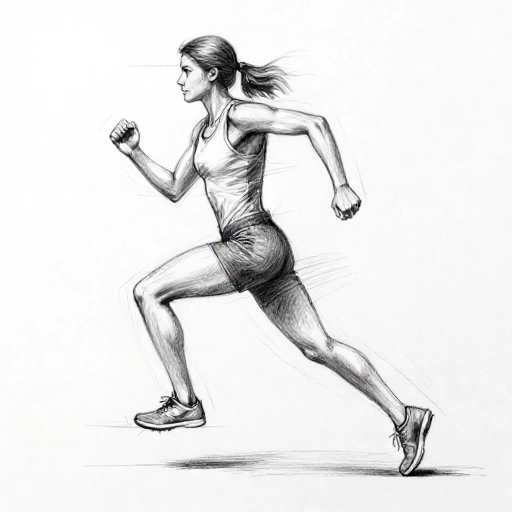
14. Drawing Movement: Adding Action Lines
Static drawings can feel a bit boring. This tutorial teaches you how to add “speed lines” or “action lines” to make your subjects look like they are moving. Think of comic books where characters run fast.
You draw a few curved lines behind the moving object to show the trail. Even a bouncing ball looks more dynamic with a few motion lines underneath it.
It is a super simple trick that adds a lot of energy to your sketches.
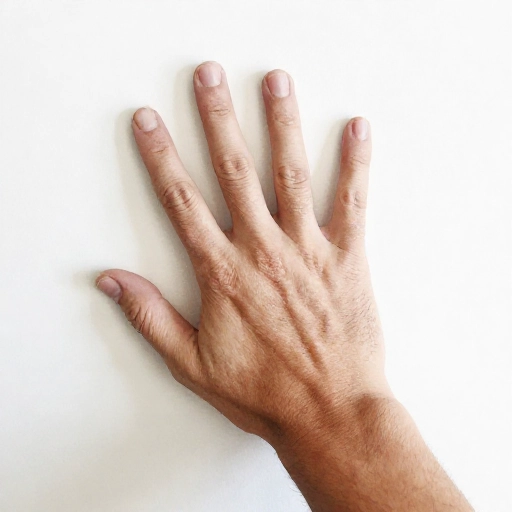
15. Fun with Foreshortening: Drawing a Reaching Hand
Foreshortening is when an object looks shorter because it is angled towards you. Hands are the perfect subject for this. This tutorial guides you through drawing a fist coming straight at the viewer.
The knuckles look huge and the wrist looks tiny. It is all about getting the proportions right. Use a mirror and look at your own fist to see how the shape changes.
It is a challenging but super rewarding tutorial that will level up your figure drawing skills.
Final Thoughts: Just Start Doodling
I hope you found a few ideas that sparked your interest. Remember, the goal is not to be perfect. The goal is to enjoy the process and fill up those sketchbook pages. Every artist was a beginner once, and the only way to improve is to keep drawing.
Pick the tutorial that feels the least intimidating and try it out tonight. You might surprise yourself with what you can create.
Frequently Asked Questions
1. What is the best material to start with for these tutorials?
A simple #2 pencil and a regular printer paper are perfect for most of these exercises. For the ink tutorial, just grab any ballpoint pen you have lying around. You do not need fancy art supplies to get started.
2. How often should I practice drawing?
Even 10 minutes a day is enough to see improvement. Consistency beats marathon sessions. Try to do one quick doodle every morning with your coffee.
3. I am a total beginner. Which tutorial should I start with?
Definitely start with the “Blind Contour” or the “Doodle Grids” tutorials. They are low-pressure and focus on having fun rather than making something look realistic.
4. How do I stop my drawings from looking stiff?
Try the “Drawing with Ink” or “Movement” tutorials. Working without an eraser forces you to make fluid, confident strokes. Also, try drawing from your shoulder instead of your wrist for smoother lines.
5. Can I use these tutorials for digital art?
Absolutely! All of these techniques translate perfectly to digital drawing tablets. The undo button is great, but try to resist using it when you practice the ink exercise.