15 Practical Homemade Cat Tower Designs That Actually Save You Money
Let me guess—you’ve looked at the price tags on cat towers and thought, “For that much, it should pay my rent.” I completely get it. Commercial cat trees are ridiculously expensive, and honestly, most of them aren’t even that sturdy. The good news? You can build something way better at home for a fraction of the cost.
I’ve rounded up fifteen practical DIY cat tower ideas that range from “I have zero tools” to “I own a workshop.” Each one is designed with your cat’s natural instincts in mind—climbing, scratching, perching, and napping. No complicated plans here, just real-world solutions that work.
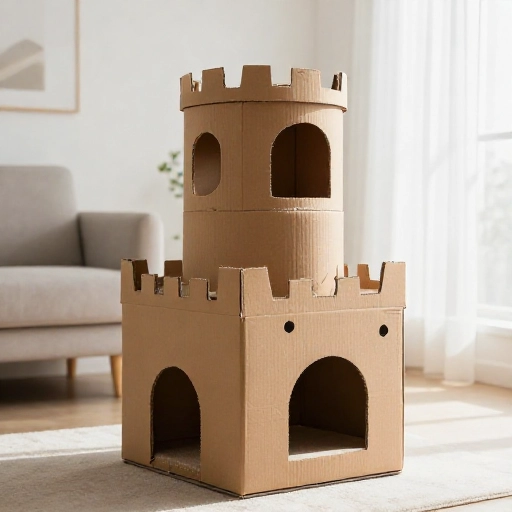
1. The Classic Cardboard Box Castle
Before you toss that next Amazon delivery box, stop. Cardboard boxes are basically cat crack, and they make surprisingly decent towers. Stack them in a zigzag pattern and secure them with packing tape. Cut holes on different sides so your cat can weave through the levels.
This design costs almost nothing and takes about thirty minutes to assemble. The best part? When it gets worn out, you just recycle it and build another one. Your cat won’t care one bit—they’ll think they got a brand new toy.
For extra stability, place heavier boxes at the bottom and lighter ones on top. Add a fleece blanket to the top box and you’ve got a cozy observation deck.
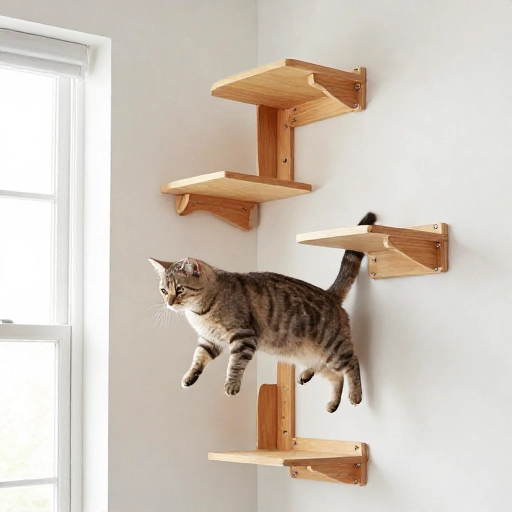
2. The Corner Shelf Climber
Got an awkward empty corner in your living room? Turn it into a vertical playground. All you need are a few sturdy floating shelves installed at staggered heights. Space them about twelve to fifteen inches apart so your cat can easily jump between them.
Make sure to use brackets rated for at least fifty pounds—cats can launch themselves with surprising force. Cover each shelf with a carpet square or grippy shelf liner so your cat doesn’t slip when they land.
This design is perfect for small spaces because it uses vertical space that would otherwise go unused. Plus, it doubles as stylish storage for plants or books on the lower shelves.
3. The PVC Pipe Tower
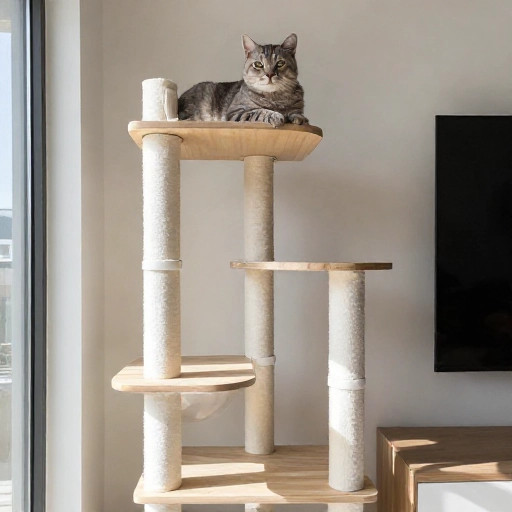
If you want something that’s both lightweight and washable, PVC pipe is your answer. Build a simple frame using one-inch PVC pipes and connector joints. Wrap each level with sisal rope for scratching, and use plywood circles for the platforms.
This tower is incredibly easy to disassemble for cleaning, which is a huge plus if you have a cat with allergies or one that sheds like crazy. You can also add a small tunnel section by wrapping a wider PVC pipe with carpet.
The whole project runs about thirty dollars in supplies, and you’ll have it done in an afternoon. Just make sure to sand the pipe edges so there are no sharp bits.
4. The Repurposed Ladder Tower
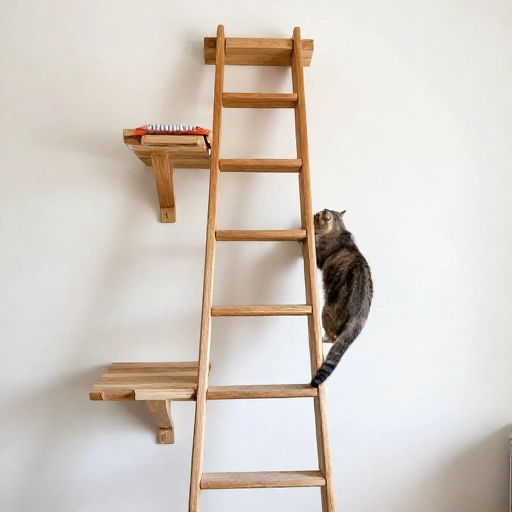
Old wooden ladders are everywhere—garage sales, flea markets, even curbside trash piles. If you can get your hands on one, you’ve got the base for an amazing cat tower. Lean it securely against a wall and attach small wooden planks between the rungs to create resting platforms.
Wrap a few of the rungs with sisal rope to give your cat a scratching surface. Place a cozy bed on the top platform, and you’ve got a multi-level playground that looks intentional and rustic.
Secure the ladder to the wall with brackets at the top to prevent any wobbly accidents. Trust me, your cat will appreciate the stability.
5. The Under-Window Perch
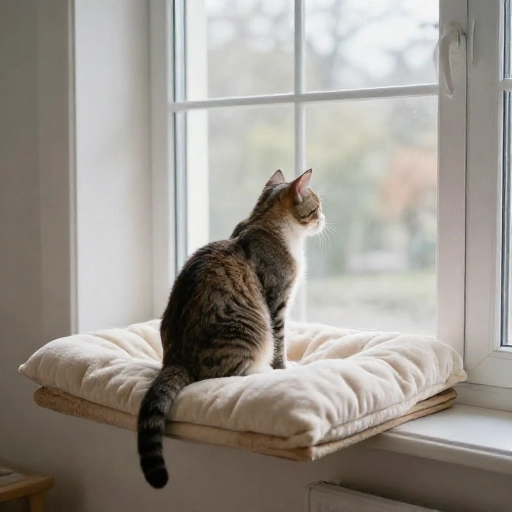
Cats love watching the world go by, so why not build a tower that takes advantage of your window? This design uses a simple wooden frame that sits beneath your windowsill. Add several platforms at different heights, each with a cushion.
Leave the top platform flush with the windowsill so your cat can easily transition from the tower to the window ledge. It’s like giving them their own personal theater.
This project requires basic woodworking skills, but nothing too advanced. A circular saw and a drill are really all you need. Use pine or plywood—both are affordable and easy to work with.
6. The Fabric-Wrapped Wonder
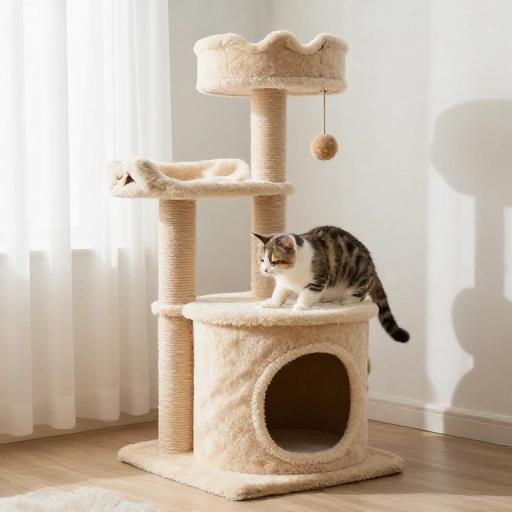
If you already have a plain scratching post or a basic cat tree that’s seen better days, you can transform it with just fabric and a staple gun. Remove the old coverings and rewrap everything with fresh carpet or faux fur.
Add a few new platforms using plywood circles and cover them with the same fabric for a cohesive look. You can even add a hanging toy from the top level for extra entertainment.
This is a great weekend project that costs under twenty dollars. Your cat will think you bought them a brand-new tower.
7. The Tree Branch Tower
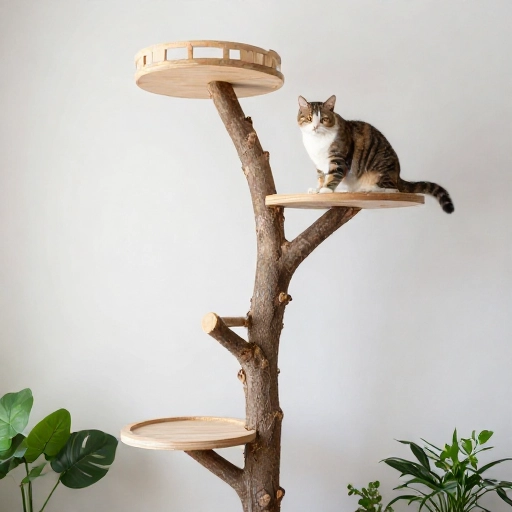
For the boho cat parent, this is the one. Find a sturdy, dry tree branch with multiple forks. Secure it to a heavy wooden base using a flange bracket. Attach small platforms at various points along the branches using screws.
The natural texture of the bark gives your cat an amazing scratching surface. Plus, every tower is completely unique because no two branches are the same.
Make sure the branch is completely dry and free of pests before bringing it inside. Bake it in the oven at 200 degrees for a couple of hours if you want to be extra safe.
8. The Budget-Friendly Rope Post
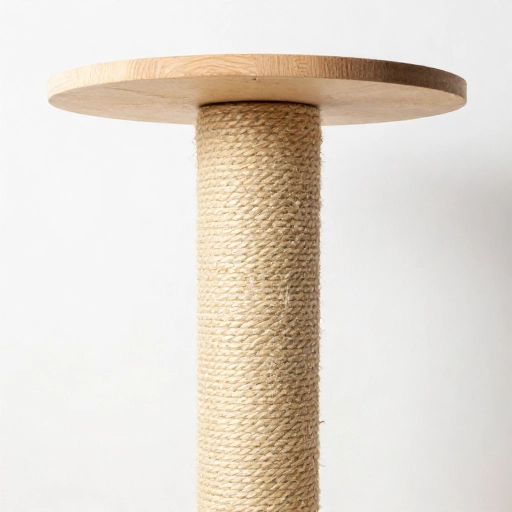
Sometimes simple is best. A single thick wooden post wrapped in sisal rope can be just as popular as an elaborate tower. Mount it to a wide, heavy base and make it tall enough for your cat to stretch fully while scratching.
Add a small platform at the top with a plush cushion. That’s literally it. Your cat will use it for scratching, climbing, and napping.
This is one of the easiest projects on this list. You can complete it in under an hour with just a staple gun and some rope.
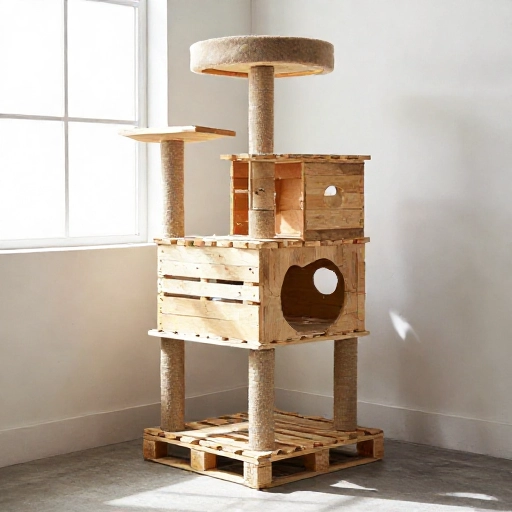
9. The Pallet Wood Tower
Reclaimed pallets are free if you know where to look, and they make incredibly sturdy cat furniture. Break down a pallet and use the individual boards to build a box-like structure with multiple levels.
Sand everything down to avoid splinters, and seal the wood with a pet-safe finish. Attach carpet pieces to the platforms for comfort and grip.
This design has a rustic, industrial look that fits nicely into modern homes. It’s also heavy enough that it won’t tip over, even with an energetic cat.
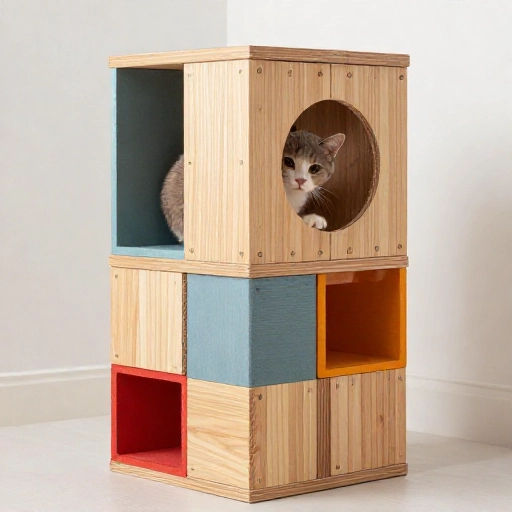
10. The Multi-Level Cube System
Modular cube shelving units—like the ones from big-box furniture stores—can be repurposed into a fantastic cat tower. Turn a cube shelf on its side and arrange the cubes to create different heights. Secure the pieces together with brackets.
Place beds inside some of the cubes and leave others open for climbing through. Add a few carpeted ramps or steps between the levels for easier access.
This gives your cat a maze-like experience that encourages exploration. It’s also incredibly affordable if you already have the shelf unit.
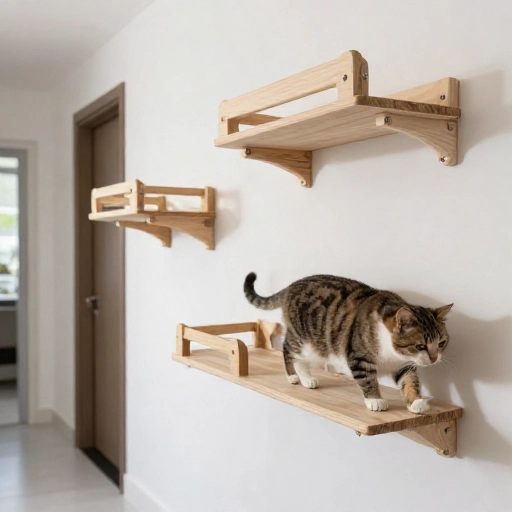
11. The Wall-Mounted Pathway
No floor space? No problem. Go vertical with wall-mounted steps and shelves arranged in a winding path up your wall. Use corner shelves to create a continuous climbing route.
Space each shelf about ten to twelve inches apart so your cat can easily navigate. Add a hanging hammock at the top for a rewarding nap spot.
This design is a conversation starter and gives your cat an entire wall to rule. Just make sure you’re drilling into studs for maximum safety.
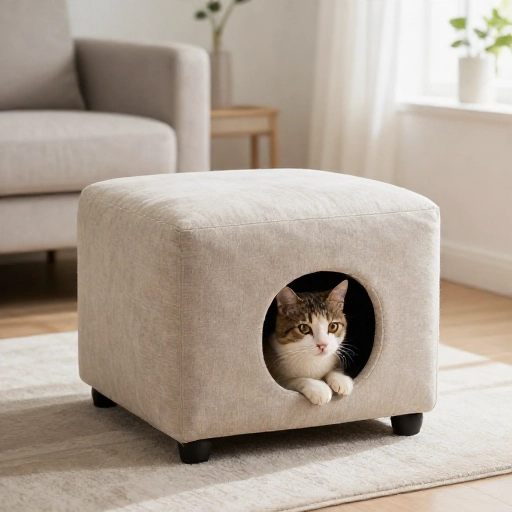
12. The Ottoman Hideaway
Build a sturdy wooden frame in the shape of a cube and cover it with foam and fabric to make it look like an ottoman. Cut a circular hole in one side so your cat can enter the hollow interior.
Top it with a plush cushion so you can use it as a footrest while your cat naps inside. Add a scratching post on one side for extra functionality.
This is a dual-purpose piece of furniture that keeps your cat happy and your living space looking tidy.
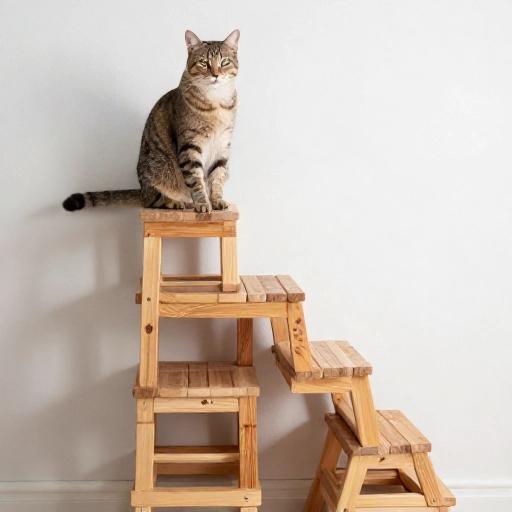
13. The Step Stool Stack
If you have two or three wooden step stools gathering dust, this is the project for you. Stack them in an offset pattern so they form a small staircase. Secure each level with screws or strong adhesive.
Wrap the steps with carpet or sisal rope. This creates a compact tower that’s perfect for kittens or senior cats who can’t jump as high.
It’s lightweight and easy to move around the house, which is great if your cat likes to follow the sun throughout the day.
14. The Dresser Conversion
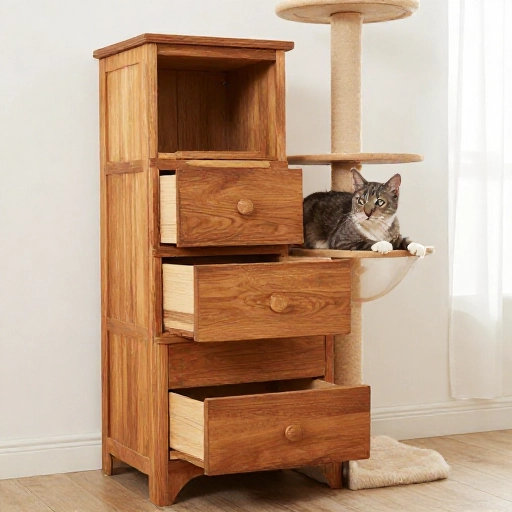
That old dresser you were going to donate? Turn it into a luxury cat tower. Remove the drawers and create a tunnel system by cutting holes between the drawer compartments. Reinforce the structure and add carpeted ramps.
Leave the top drawer in place and add a cushion for a cozy bed. The bottom drawers can remain for storage, so you don’t lose functionality.
This is a larger project, but the payoff is huge. Your cat gets a multi-room mansion, and you get to save an old piece of furniture from the landfill.
15. The Simple Suction Cup Tower
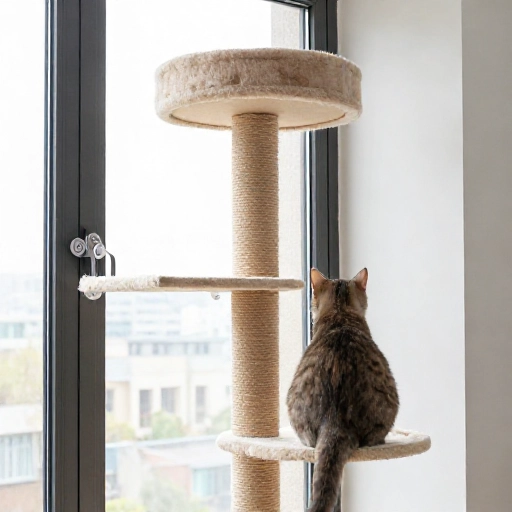
For renters who can’t drill holes, suction cup shelves are a lifesaver. These are available at most pet stores and online. Install them on your window or bathroom tile in a staggered pattern.
Add a small hammock between two shelves for a hanging spot. This setup requires zero tools and zero damage to your walls.
It’s not the most permanent solution, but it’s perfect for temporary living situations or for testing whether your cat likes vertical spaces before committing to a bigger build.
Final Thoughts
Building your own cat tower doesn’t have to be a massive undertaking. Pick a design that matches your skill level and your space. Your cat will appreciate the effort no matter how simple or elaborate the result.
Plus, there’s something deeply satisfying about watching your cat enjoy something you made with your own hands. It’s a win-win for your wallet and your furry friend.
Frequently Asked Questions
What’s the best material for a homemade cat tower?
Plywood is your best bet for platforms because it’s sturdy and affordable. For scratching surfaces, sisal rope or tightly woven carpet works best. Avoid materials that snag easily or have loose threads.
How tall should a cat tower be?
Most cats enjoy towers that are at least three feet tall, but it depends on your cat’s age and confidence. Kittens and older cats might prefer lower structures, while young adults love reaching high perches.
How do I make sure my DIY cat tower is stable?
Always use a heavy base and secure the tower to a wall if it’s over four feet tall. Check the stability regularly and tighten any screws that might have loosened over time.
How do I get my cat to use the new tower?
Place treats and toys on different levels to encourage exploration. Rub a bit of catnip into the scratching surfaces. Be patient—some cats take a few days to warm up to new furniture.
Can I build a cat tower without power tools?
Absolutely. Projects like the cardboard box castle or the suction cup tower require zero tools. For the others, a simple hand saw and screwdriver can often substitute for power tools, though it takes a bit more elbow grease.