16 Feral Cat Shelter Ideas That Actually Work (Cozy, Cheap, and Winter-Ready)
Every winter I get the same message from friends and neighbors: “There’s a cat living under my porch — what do I do?” I’ve been building shelters for the ferals in my own neighborhood for years now, and I’ve learned the hard way what works and what turns into a soggy cardboard mess by January.
The good news? You don’t need to be handy. Most of these shelters cost less than $30, take an afternoon, and can be built with stuff from the hardware store or your own garage. The cats do the rest.
Here are 16 shelter ideas that have actually held up in real winters — plus the little details that make the difference between a cat using it and a cat ignoring it completely.
1. Start With a Rubbermaid Tote — The Workhorse Shelter
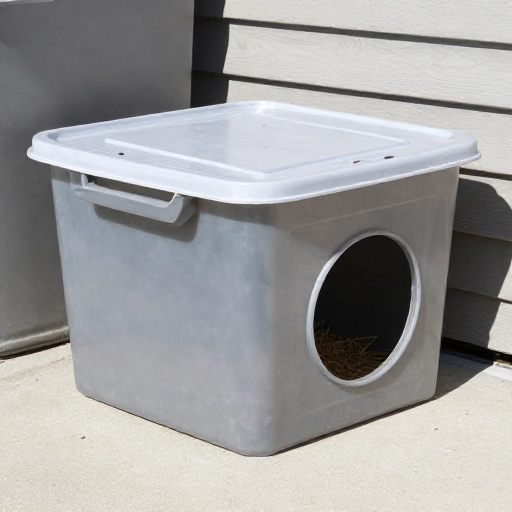
If you only build one thing this year, make it a plastic storage tote shelter. Grab a 50-gallon bin, cut a door hole in one side, and you’ve got the bones of something great.
Why totes? They’re waterproof, cheap, and the lid pops off so you can clean it out in spring. I drill a few small drainage holes in the very bottom too, just in case condensation builds up inside.
The trick is that the tote alone isn’t enough. It’s just the shell — the insulation comes next.
2. Add a Styrofoam Cooler as the Insulated Core
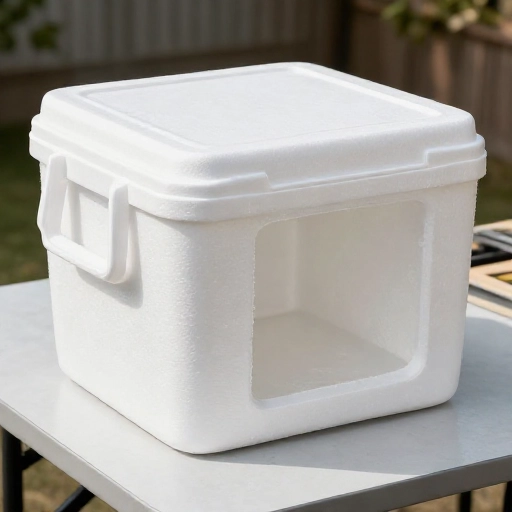
This is the upgrade that changes everything. Nest a Styrofoam cooler inside your tote, cut a matching door hole, and suddenly you’ve got real insulation.
The foam traps the cat’s body heat in a way plastic never will. On a 20°F night, the inside of a well-built tote can sit noticeably warmer than the air outside.
Leave a couple of inches of space between the cooler and the tote walls, and stuff that gap with more foam or straw. That air gap is your second layer of protection.
3. Stuff It With Straw, Never Hay
I made this mistake my first year and my shelter turned into a mold factory. Hay holds moisture. Straw repels it.
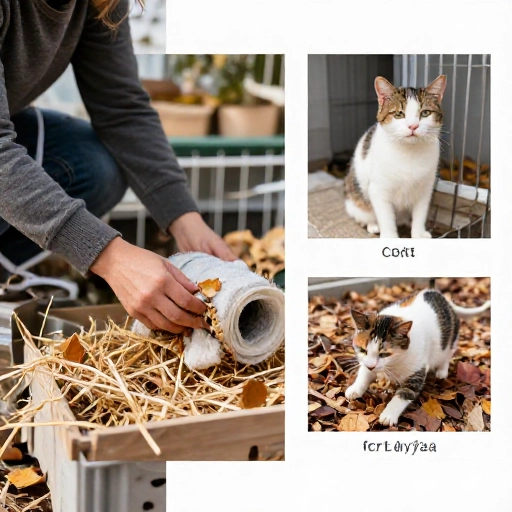
Straw is hollow, so it traps air and wicks wetness away from the cat. Buy a bale from a farm supply store and pack it in loosely — you want the cat to be able to burrow, not fight through it.
Replace it once a season at minimum, and immediately if it ever smells musty.

4. Cut a Small Door — About 6 Inches Wide
Big doors let heat escape and predators peek in. A 5.5- to 6-inch hole is the sweet spot: big enough for a cat, small enough to hold warmth.
Trace a circle using a coffee can or a small bowl as your guide. Cut it with a utility knife warmed up first — cold plastic cracks.
Smooth the edges with sandpaper or wrap them in duct tape so nobody gets scratched on the way in and out.
5. Face the Door Away From the Wind
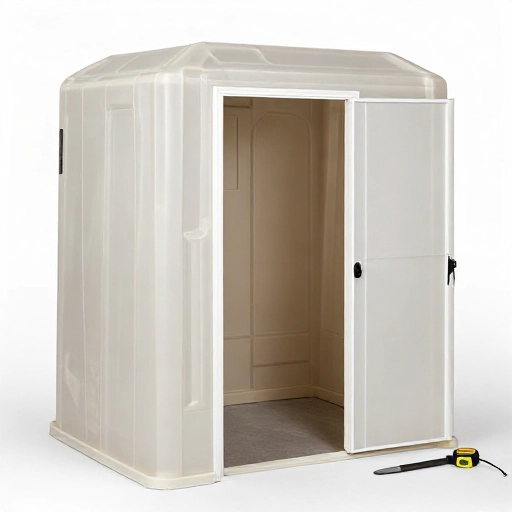
Placement matters as much as construction. A perfect shelter facing the prevailing wind is a cold shelter.
Here in the northern hemisphere, that usually means facing the opening south or southeast. Watch your yard for a day and see which direction the wind actually hits.
Also tuck the shelter against a wall, fence, or bushes. Windbreaks on three sides make a huge difference.
6. Build a Simple Double-Entry Vestibule
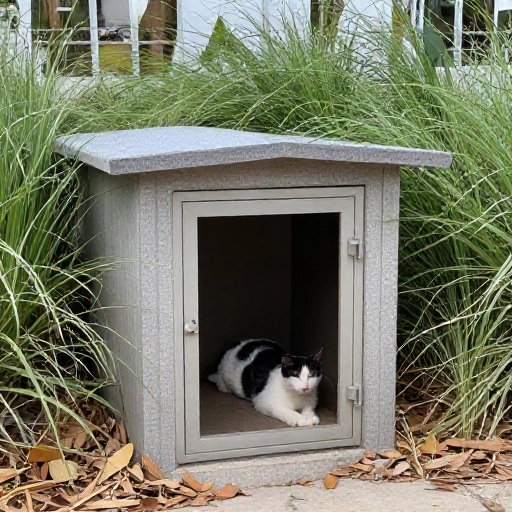
If you want to go one step further, add an entry tunnel. I’ve used a short section of dryer vent hose or a piece of PVC pipe attached to the door hole.
The tunnel blocks wind and keeps rain from blowing straight inside. It also gives shy cats a moment to pause and check for danger before committing.
Angle it slightly downward toward the outside so water runs away, not in.
7. Lift the Whole Thing Off the Ground
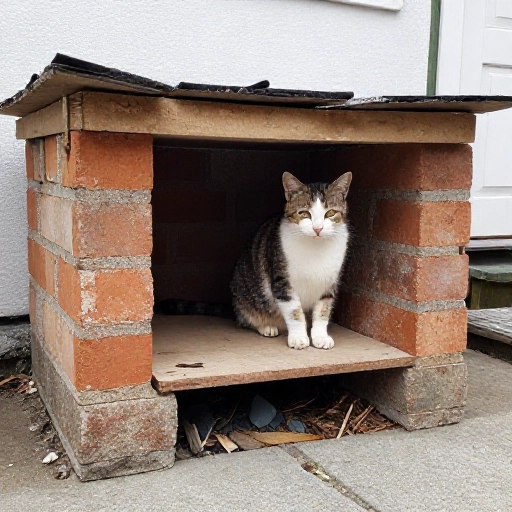
Ground contact is a heat thief. Even two inches of lift helps.
I set my shelters on bricks, scrap lumber, or a couple of pallets. It keeps the floor dry through snowmelt and stops the bottom from rotting out.
Bonus: it also keeps ants and slugs from moving in during the warmer months.
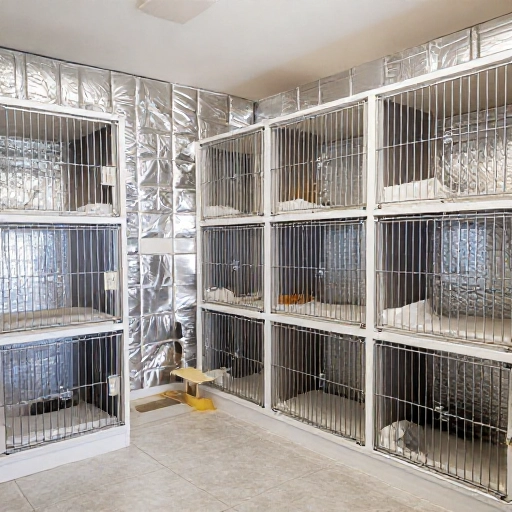
8. Line the Walls With Foam Board Insulation
Got an old cooler lying around? Break it down and use the panels to line the inside of a plain tote.
You don’t need to cover every surface perfectly — just the floor and three walls goes a long way. Secure the panels with a little outdoor-grade adhesive or double-sided tape so they don’t shift.
This is a great budget option if you can’t find a cooler that fits.
9. Skip Blankets and Towels in Winter
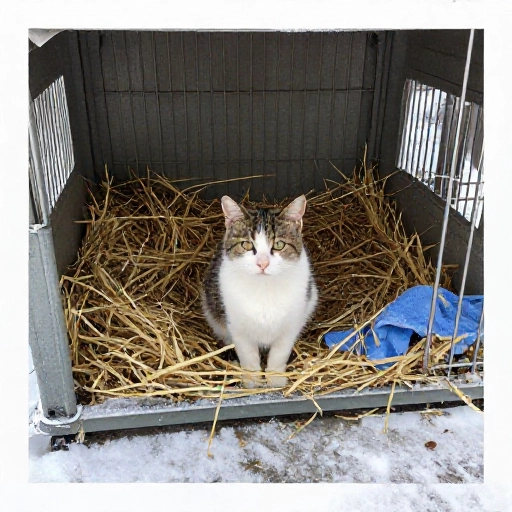
I know it feels wrong. Blankets look cozy. But fabric absorbs moisture from the cat’s breath and body, then freezes into a cold, damp brick.
Straw insulates even when it’s damp, and it doesn’t mat down the way cotton does. Save the blankets for your indoor cats.
If you really want fabric, use it only in mild weather and swap it out every few days.
10. Add a Microwavable Heat Disc for Brutal Cold Snaps
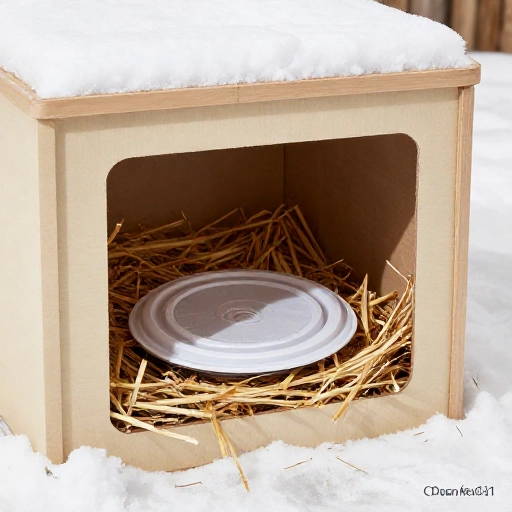
For nights below zero, I tuck a microwavable pet heat pad under a thin layer of straw. It stays warm for hours and takes the edge off the worst nights.
Don’t use electric heating pads outdoors — cords freeze, break, and become a fire risk. Snap discs or body heat are the safe route.
Wrap the disc in a thin cloth so it isn’t too hot against bare skin, and check on it every evening.
11. Give It a Roof Overhang or Tarp Cover
Snow sitting directly on the lid melts and refreezes, and every bit of that cold seeps down. A simple overhang solves it.
I’ve used a piece of plywood propped on two bricks, or a tarp tented over the top with a gap for airflow. Just make sure snow can slide off and rain can’t pool.
Never wrap the whole shelter airtight — ventilation keeps moisture from building up inside.
12. Turn a Deck Box Into a Colony Condo
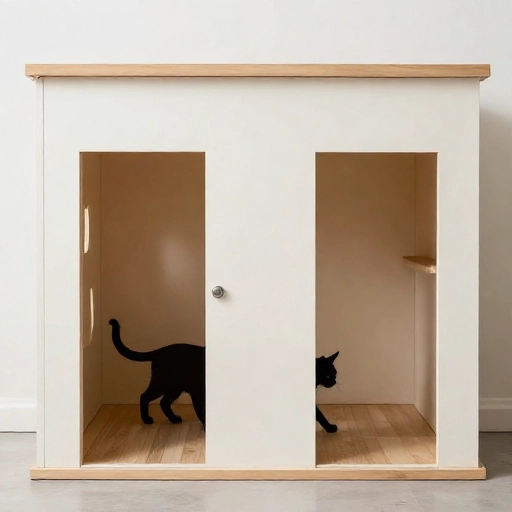
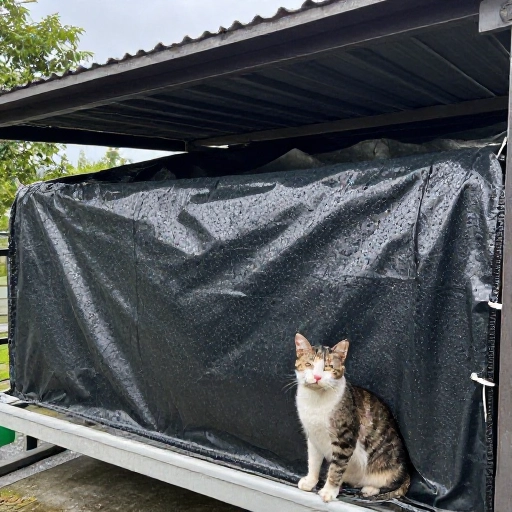
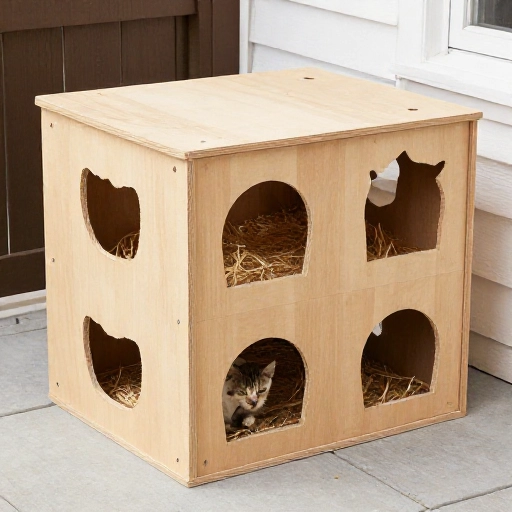
If you’re caring for several cats, one tote won’t cut it. A large deck storage box can be divided into two or three cozy compartments.
Line it with foam, add separate straw-filled sections, and cut two entrances on different sides so nobody gets cornered.
Cats are territorial, so giving everyone an escape route cuts down on squabbles.
13. Set Up a Backup Shelter Nearby
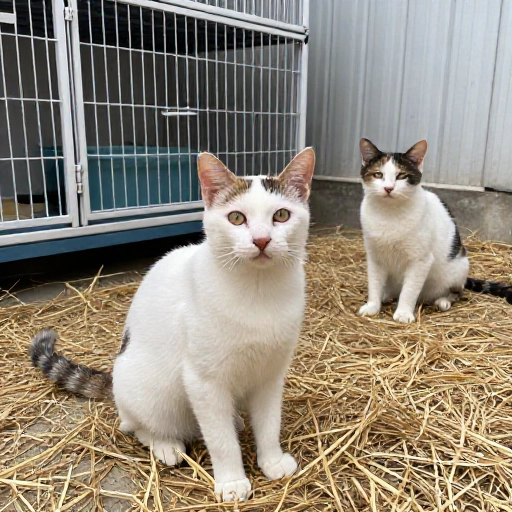
Bullies happen. So do raccoons. I always place a second, smaller shelter a few feet away from the main one.
Shy cats who get pushed out of the first option still have somewhere warm to go. It also helps if one shelter gets soaked in a storm.
Two shelters cost barely more than one, and the peace of mind is worth it.
14. Keep the Feeding Station Separate
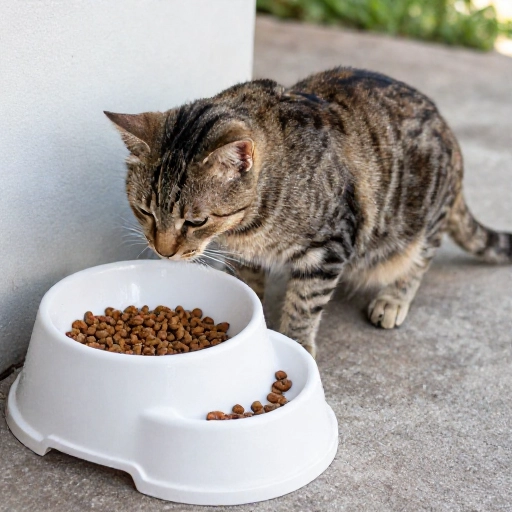
Food and shelter don’t mix. Crumbs attract mice, raccoons, and opossums — and wet food freezes into an ice puck anyway.
I feed about 10 to 15 feet away, on a raised tray or a covered porch edge. Water goes in a deep, dark-colored bowl so it thaws faster in the sun.
Clean up leftovers each evening. It keeps the shelter area calm and the cats safer.
15. Insulate the Floor More Than the Roof
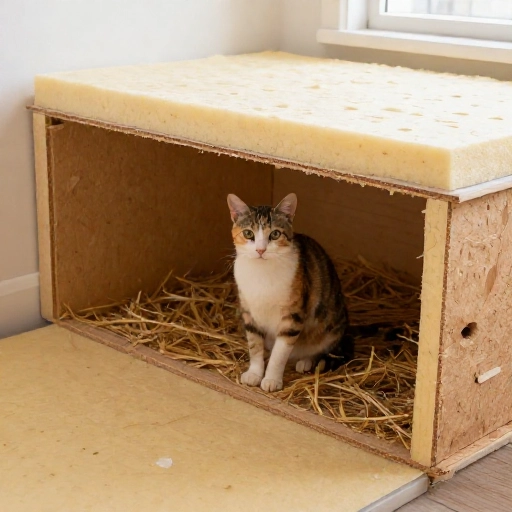
Heat rises, but cold comes up. The floor is where a shelter loses most of its warmth.
I stack two layers of foam board under the straw, or set the whole thing on a piece of rigid insulation board. It’s a small change with an outsized payoff.
Cold paws on cold plastic mean a cat leaves. A warm floor means a cat stays.
16. Do a Quick Seasonal Swap and Check
Shelters aren’t a set-it-and-forget-it project. I do a fast check every couple of weeks.
- Swap out damp straw
- Clear snow from the entrance
- Re-tape any cracked plastic
- Make sure the lid hasn’t blown off
In spring, dump everything, scrub the tote, and let it dry fully before storing. It’ll last years that way.
Wrapping It Up
You don’t need fancy tools or a big budget to help the cats in your neighborhood. A tote, a cooler, some straw, and a dry spot out of the wind will do more than you’d think.
Start with one shelter. If a cat moves in, you’ll know you got it right — and honestly, there’s nothing quite like seeing a set of little paw prints in the snow leading straight to a door you cut yourself.
Frequently Asked Questions
How cold is too cold for a feral cat outside?
Cats handle cold far better than most people assume, especially with a dry, insulated shelter and regular food. Below freezing is manageable with a good setup; prolonged stretches below 20°F are when a proper shelter becomes genuinely lifesaving.
Will feral cats actually use a shelter I build?
Yes, if it’s dry, small, and placed somewhere quiet. It may take a week or two for them to trust it. Don’t peek inside or move it around — let them discover it on their own schedule.
Straw or hay — which one is better?
Straw, every time. Hay holds moisture and gets moldy fast. Straw is hollow and stays dry, which is exactly what you want in a cat shelter.
How many shelters should I put out?
At least one per cat, plus one extra. Having a backup shelter nearby prevents the shy cats from getting pushed out by the bolder ones.
Do I need to clean the shelter out?
Yes, once or twice a season and any time it gets damp. Replace the straw, wipe down the inside, and let it air out before refilling.