16 Genius Cardboard Cat Tower Designs That Will Make Your Cat (and Wallet) Happy
Let’s be honest—cat trees are expensive. I’ve seen some that cost more than my monthly grocery bill, and half the time, my cat just stares at them before choosing the empty Amazon box instead. That’s when I realized the ultimate hack: building a cardboard cat tower. It’s free (or nearly free), endlessly customizable, and honestly, watching my cat explore something I made is way more satisfying than unboxing a store-bought tower.
Cardboard is actually genius for cats. It holds heat, it’s soft on their paws, and it makes that crinkly sound they absolutely love. Plus, when it gets scratched up, you just recycle it and build a new one. These 16 designs range from “I have zero tools” to “I’m a weekend DIY warrior,” so there’s something for everyone. Grab your tape gun and let’s get building.
1. The Classic Stack-and-Tape Tower
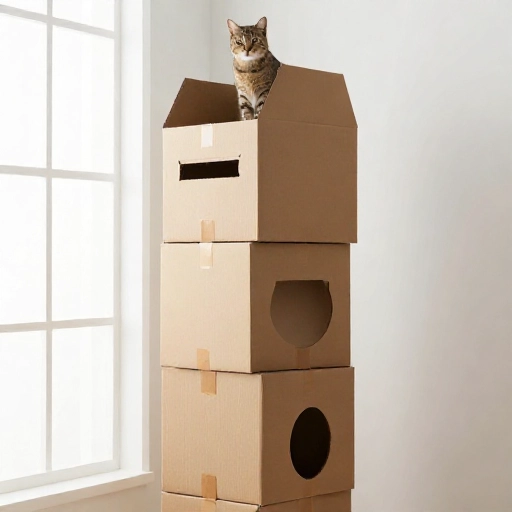
This is the easiest place to start. Save up shipping boxes of different sizes, tape them shut securely, and stack them like building blocks. You don’t need any fancy cuts—just create a stable pyramid shape.
Use a box cutter to punch a few holes in the sides so your cat can jump in and out. The uneven heights make it fun for them to climb. I used duct tape in a fun color for the edges, and it looked intentionally designed.
Place a piece of carpet or a fluffy towel on the top box to create a throne. Your cat will claim it within minutes. This whole project takes maybe 20 minutes and zero skill.
2. The Single-Panel Zigzag Climber
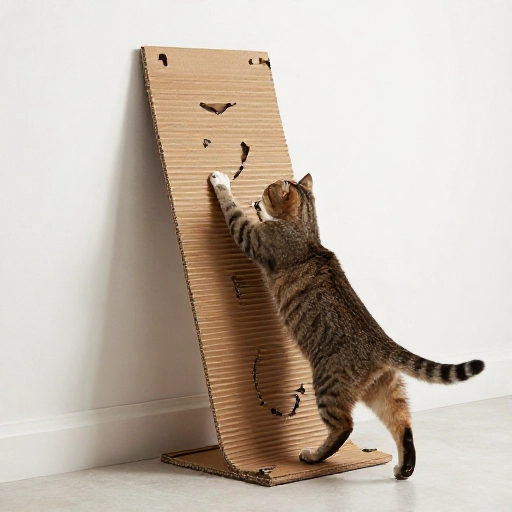
If you have one large, flat piece of cardboard (like from a wardrobe box), this one’s for you. Cut it into three or four rectangles and fold them like an accordion or zigzag.
Secure each fold with heavy-duty packing tape so they stand up on their own as a sturdy wall. Your cat can scratch the corrugated edges or use the zigzag as a stair-step to reach higher spots.
I like to lean mine against a couch or wall for extra stability. It’s slim, so it fits in small apartments, and you can easily slide it under a bed when guests come over.
3. The Multi-Level Box Castle
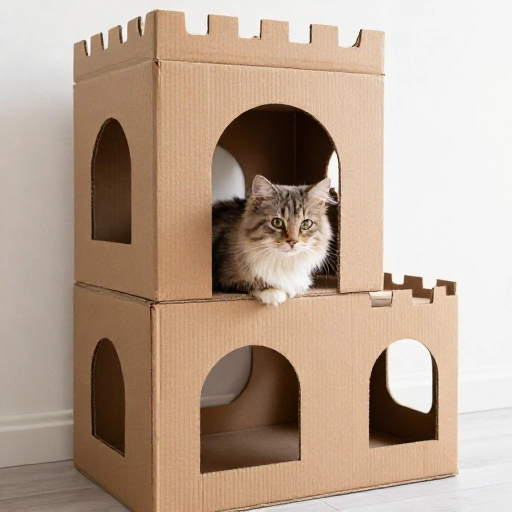
This is the “mansion” of the group. Grab four to six medium boxes, all roughly the same size. Tape them together in a cube formation, leaving the bottoms in place.
Cut circular holes between the boxes so your cat can crawl through a secret tunnel system. Make sure the holes are big enough for their whiskers to pass through comfortably—they hate getting them squished.
For the top level, cut one box open to create a flat roof and add a cardboard ramp leading up to it. My cat spent an entire evening just doing laps through the tunnels.
4. The DIY Scratching Post
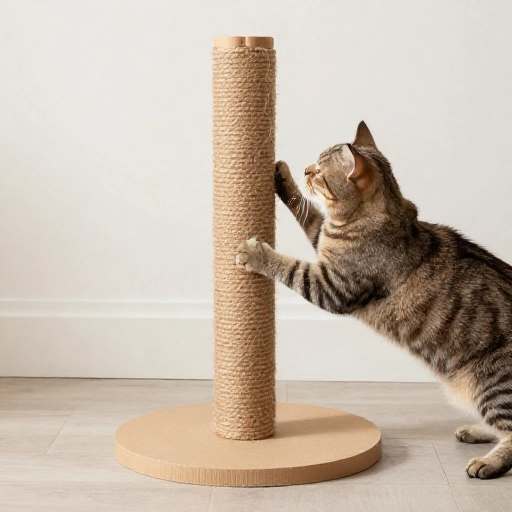
Roll up a few sheets of corrugated cardboard tightly, like a poster, and tape the ends. You want a cylinder that’s about 3-4 inches thick.
Place this roll on its side for a horizontal scratcher, or tape it vertically to a sturdy base for a classic post. The corrugated edge is what cats love to dig their claws into.
Secure it to a piece of flat cardboard so it doesn’t slide around. Sprinkle a little catnip on the edges at first to get them interested. This is the cheapest way to save your couch.
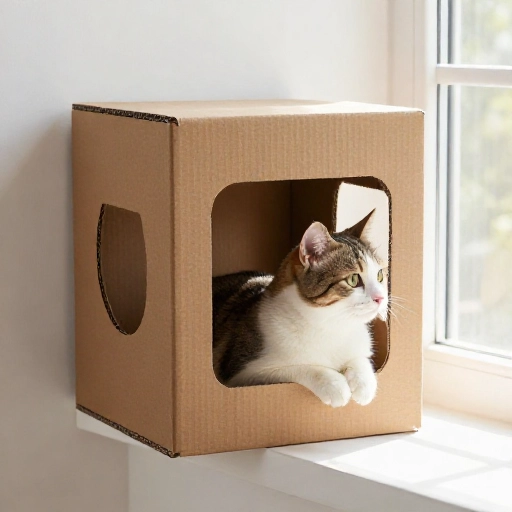
5. The Window Perch Platform
Cut a rectangle of corrugated cardboard, then fold the edges down about two inches on each side to create a tray. This gives it strength.
Place this tray on a windowsill or over a radiator. Add a soft blanket or an old t-shirt on top. The cardboard will absorb the sun’s warmth, making it a cozy spot.
For extra height, stack a couple of smaller boxes under it. My cat loves watching birds from hers, and it keeps her off my kitchen counters when the window is open.
6. The Spiral Ramp Tower
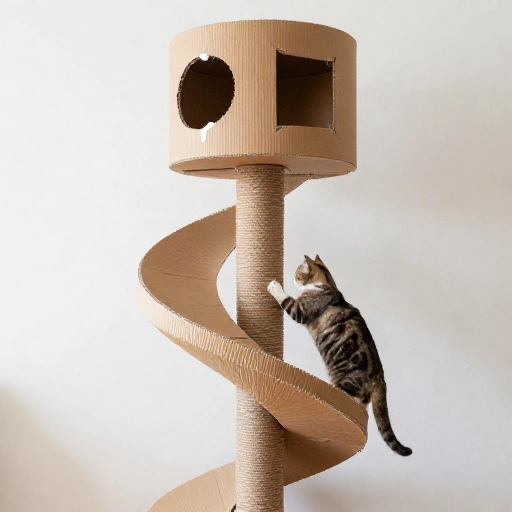
Take a long strip of cardboard (or tape several pieces together) and twist it into a spiral shape, like a cinnamon roll. It won’t look perfect—that’s fine.
Secure the spiral with tape at multiple points to keep its shape. Place it on the floor; the top of the spiral becomes a small platform, and the edges are perfect for scratching.
This one is surprisingly stable due to its circular base. It’s a great project for leftover packing paper or those flimsy inserts that come in shipping boxes.
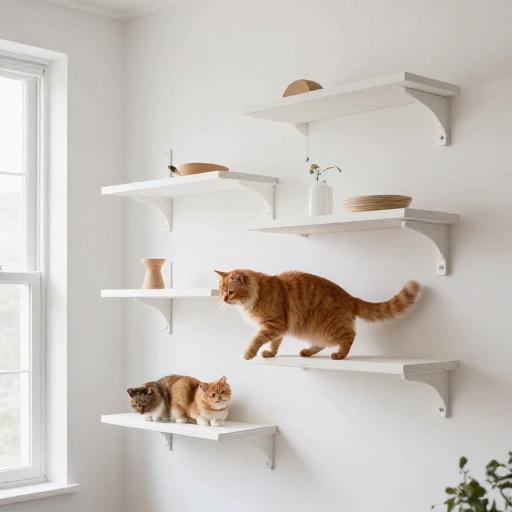
7. The Floating Shelf Cluster
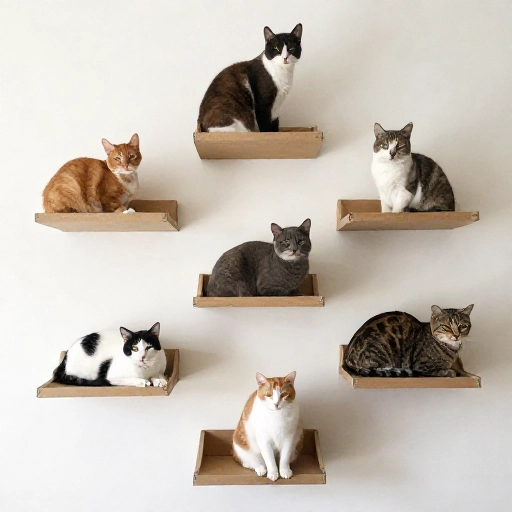
This is for cats that love to climb high. Cut out several small squares of cardboard (about 12×12 inches). Fold the edges to create a lip on each one.
Attach these squares to the wall using strong command strips, creating a staggered staircase effect. Make sure to use at least four strips per shelf to hold your cat’s weight.
Leave a gap of 8-10 inches between each shelf so your cat can jump up easily. It looks incredibly modern and gives your cat vertical territory without taking up floor space.
8. The Box Fort Tunnel System
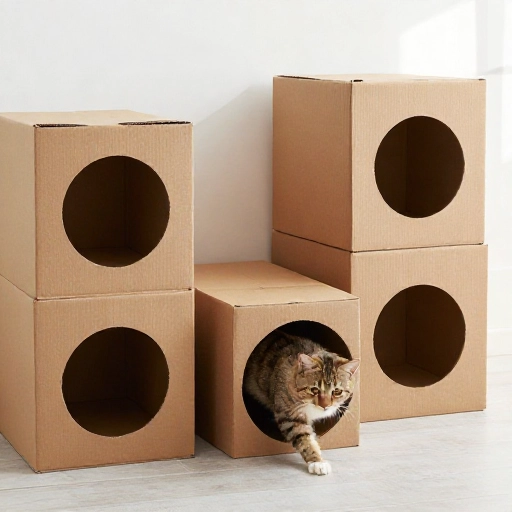
Line up three to four long boxes (like shoeboxes or pasta boxes) end to end. Cut the ends off where they meet so they connect seamlessly.
Tape them all together securely on the outside. You can bend them into an L-shape or a U-shape to go around corners in your living room.
Cut a few peek-a-boo holes on the sides. This is a quiet hideaway for shy cats or a fast escape route during playtime. It’s also a fun space for them to drag toys into.
9. The Corrugated Cat Lounge
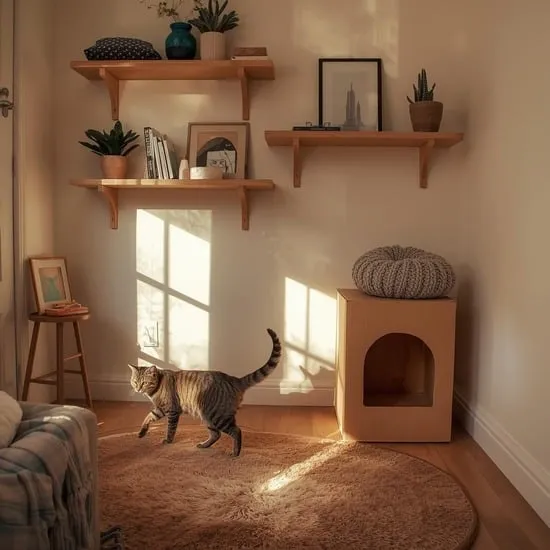
Cut out several identical shapes—like a long oval or a figure-eight—from corrugated cardboard. You’ll need about 15-20 of these.
Stack them all on top of each other and glue or tape the edges together firmly. Once dry, you’ll have a solid, dense block of cardboard.
Carve a dip into the top layer to create a bowl-shaped lounging area. The outer edges become a massive scratching surface. It’s heavy, durable, and looks like a piece of modern art.
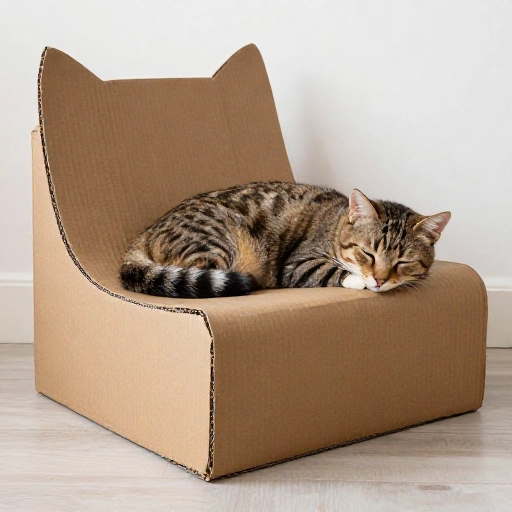
10. The Recycled Shipping Tube Tower
Save up all your paper towel rolls, wrapping paper tubes, and shipping tubes. You want a variety of diameters and lengths.
Tape them together in a bundle, like a log raft. Make sure they are all standing upright. The different hole sizes are irresistible to curious cats.
Add a small toy or a piece of catnip inside a few of the tubes. It becomes a foraging toy and a climbing structure. My cat loves sticking her paw down into the tubes to fish things out.
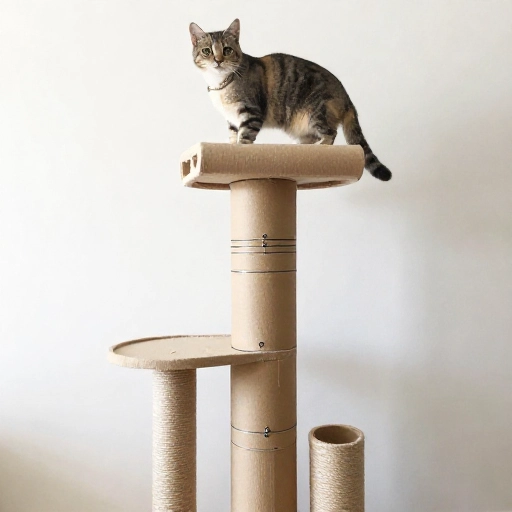
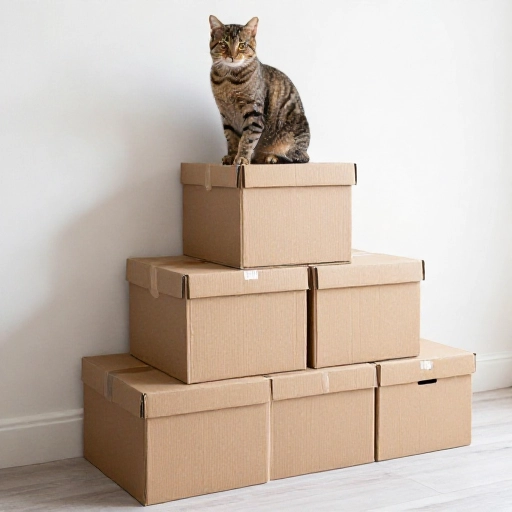
11. The Step Box Pyramid
Collect boxes in three different sizes—small, medium, and large. Stack the largest on the bottom, then the medium, then the small on top.
Make sure each box is taped shut and sturdy. For extra stability, use a bit of non-slip shelf liner between each layer.
Cut a small entrance hole in each box, offset on different sides. This creates a fun route to the top. The pyramid shape is naturally stable, so it won’t topple over during a zoomies attack.
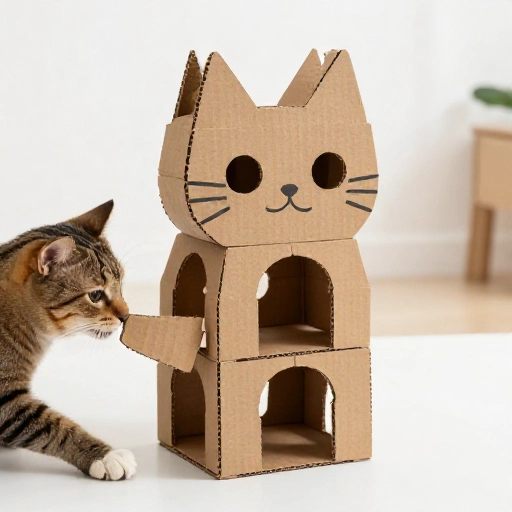
12. The Flat-Pack Puzzle Piece
Cut out shapes from a flat cardboard sheet that can slot together like a 3D puzzle. Think of simple plus signs or interlocking circles.
Cut a slit in the middle of each piece—one from the top, one from the bottom—and slide them together to create a standing structure.
This is the easiest to disassemble and store flat. You can make a simple X-shape or get fancy with a star. It’s a great way to use up large flat sheets without taking up storage space.
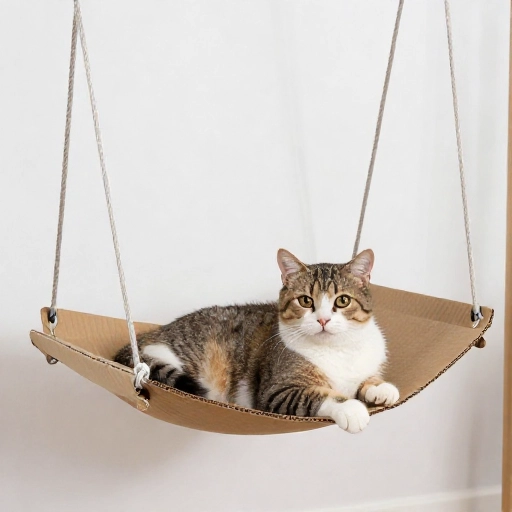
13. The Hammock Swing
Cut a rectangle of sturdy cardboard. Punch four holes, one in each corner. Thread a piece of rope or a strong shoelace through each hole.
Tie the ropes together at the top and hang it from a sturdy hook or a doorknob. Make sure it’s low enough that your cat can jump in easily.
Fold the edges of the cardboard up slightly to create a cradle effect. Some cats love the gentle sway, while others prefer it stationary. It’s a fun weekend project that feels like a real treat.
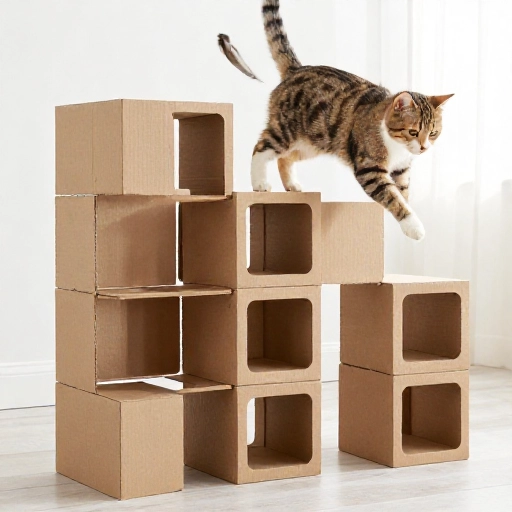
14. The Modular Cube System
Create multiple cube-shaped boxes of the same size. You can do this by cutting flat pieces and taping them into open cubes, or just using solid boxes.
Connect them side by side, or stack them with heavy-duty tape. You can rearrange them whenever you want to change your cat’s environment.
Cut different shaped holes—a circle on one, a square on another, a triangle on the third. This variety keeps your cat mentally stimulated. It’s like giving them a new piece of furniture every week.
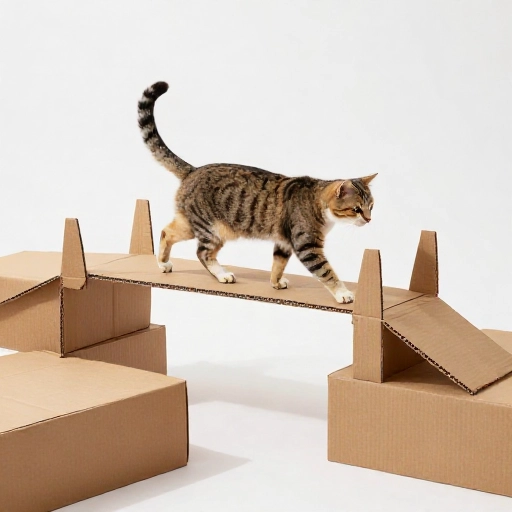
15. The Catwalk Bridge
This is a great one for connecting two taller pieces of furniture, like a bookshelf and a desk. Cut a long, wide strip of corrugated cardboard.
Fold the long edges up about an inch to create a railing. This will stop your cat from rolling off during a nap. Secure it between the two surfaces with tape or hooks.
You can make it straight or create a slight curve for a more dynamic look. It gives your cat a safe highway to patrol their kingdom from above. Just make sure the surfaces on both ends are solid.
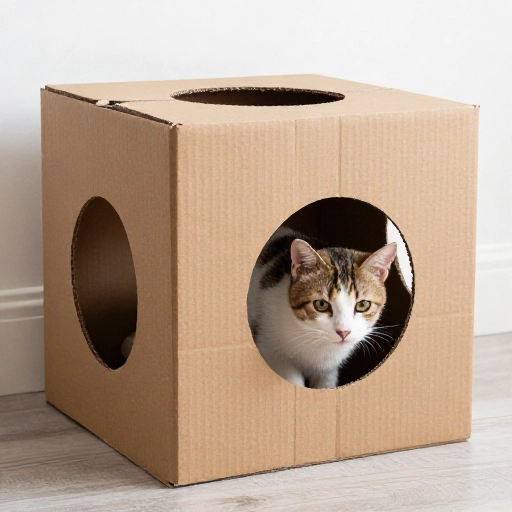
16. The Mystery Box Maze
For this one, you need several boxes that are all closed and taped shut. Cut multiple holes in the top and sides of each box—some big, some small.
Place them all on the floor with a little space between them. Toss a crinkle ball or a treat on top of one box. Your cat has to jump from box to box to find the prize.
You can also place them in a circle to create an enclosed playpen. It encourages jumping, pouncing, and hunting instincts. It’s a chaotic, fun mess that your cat will absolutely love.
Final Thoughts on Cardboard Creations
Building these towers isn’t just about saving money—it’s about engaging with your cat on a different level. They get to watch you build, they get to inspect your work, and they get the satisfaction of shredding something that was made just for them.
Don’t stress about making it look perfect. Cats do not care about symmetry or color coordination. They care about the crinkle, the warmth, and the fun of it. Start with one simple box and see where your imagination takes you. Your cat will thank you with head bumps and happy purrs.
Frequently Asked Questions
Is cardboard safe for cats to chew?
Yes, it’s generally safe. It’s non-toxic, and most cats only shred it, not swallow it. If you notice your cat eating big chunks, just redirect them to a toy. The cardboard helps clean their teeth a bit too.
How long will a cardboard cat tower last?
It depends on how aggressive your cat is. A light scrapper might keep one for months. A heavy chewer might destroy a tower in a week. The beauty is that you can just add new layers or patch it up with tape as needed.
What kind of tape should I use?
Use heavy-duty packing tape or duct tape. Avoid using clear office tape—it’s too flimsy. I also like to cover the sharp edges of the tape with a strip of cardboard so my cat doesn’t chew on the sticky part.
How do I make the tower stable?
Stability comes from a wide base. Keep the bottom box the largest and make sure it’s not tippy. If your cat likes to run and jump, you can tape the base to a larger piece of flat cardboard to weigh it down.
Can I paint or decorate the cardboard?
You can, but be careful. Use only non-toxic, water-based paints. Avoid markers with strong fumes. Honestly, I like to leave the cardboard bare so the natural corrugated texture is visible—it looks rustic and modern at the same time.