19 Safe & Warm Feral Cat Homes for Cold Weather
When the temperature drops, my heart always goes out to the community cats. They’re tough, sure, but even the scrappiest alley cat needs a warm, dry spot to escape the biting wind and freezing rain. Building a shelter doesn’t have to be a fancy DIY project—sometimes the best homes are the simplest ones you can put together in an afternoon.
I’ve gathered 19 practical ideas that range from five-minute fixes using stuff you already have to slightly more involved builds. The goal is always the same: keep them dry, keep them warm, and keep them safe from predators. Let’s get those furry survivors through the winter in comfort.
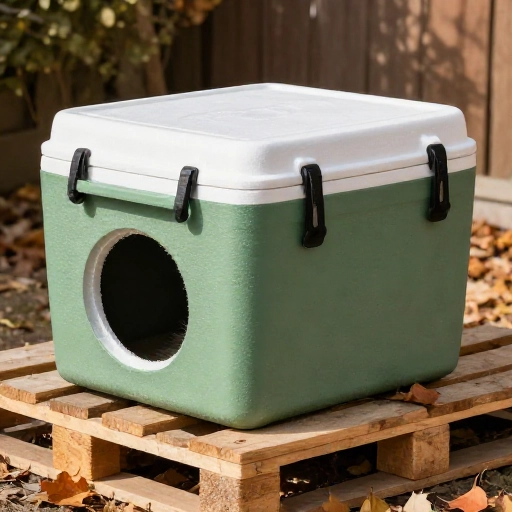
1. The Classic Styrofoam Cooler Shelter
This is the gold standard for a reason. It’s cheap, incredibly insulating, and takes about ten minutes to assemble. Grab a large styrofoam cooler, a heavy-duty trash bag, and some duct tape.
Cut a small, cat-sized hole in the side—about 6 inches in diameter is perfect. Place the cooler inside the trash bag to waterproof it, then tape the bag securely around the entrance hole. Fill the bottom with straw (not hay!) for bedding. The straw wicks away moisture while the styrofoam traps body heat.
Place the whole thing under a deck, porch, or behind a bush for extra protection from the wind. It’s not pretty, but it works wonders.
Check it periodically for moisture and swap out the straw if it gets wet.
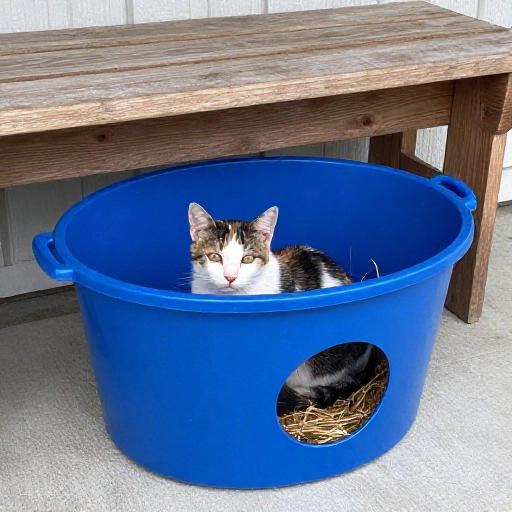
2. The Plastic Tub Insulated Haven
This is a step up in durability. You’ll need two large plastic storage totes—one bigger than the other. Fill the gap between them with insulation to create a super warm pocket of air.
Cut an entrance hole in both tubs, making sure they line up. Place a layer of styrofoam or reflective bubble wrap in the bottom of the larger tub, then nest the smaller tub inside. Pack the space between the walls with more insulation or crumpled newspaper.
Fill the inside with a thick layer of straw. The plastic exterior makes it waterproof and windproof, while the inner insulation does the heavy lifting for warmth. It’s a fortress against the cold.
Weigh the lid down with a brick so it doesn’t blow away in a storm.
3. The Recycled Shipping Box Castle
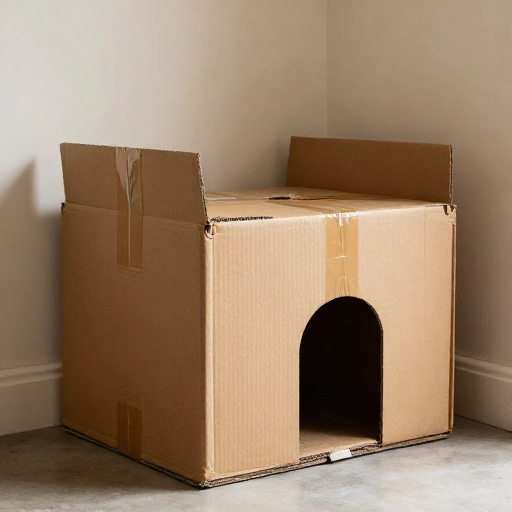
Don’t throw away those big boxes from your online orders! A large cardboard box, like the kind a small appliance comes in, can be transformed into a surprisingly effective shelter if you layer it right.
Start by taping all the flaps shut. Cut a small entrance hole. Then, wrap the entire box in several layers of plastic sheeting, a tarp, or even a heavy-duty trash bag. The key is to create a waterproof shell around the cardboard.
Elevate the box on a few bricks or pallets to keep it off the cold, wet ground. Fill it with straw and place it in a sheltered spot. This is a great temporary solution that can be easily replaced.
Cardboard is a decent insulator, but it’s not waterproof, so the plastic wrap is absolutely essential.
4. The Under-Deck Windbreak
If you have a deck, you already have a fantastic outdoor space for cats. The space under a raised deck is naturally protected from rain and snow, but it’s often drafty. You just need to block the wind.
Use plywood, old fence panels, or even heavy tarps to enclose the area on the open sides. Leave a small gap for cats to squeeze through. This creates a large, dry, and relatively warm zone for them to hang out in.
Inside this protected zone, place a couple of the styrofoam cooler shelters. The combination of the deck blocking the elements and the cooler providing a snug nest is unbeatable.
This is a great option for a small colony of cats who need a shared space.
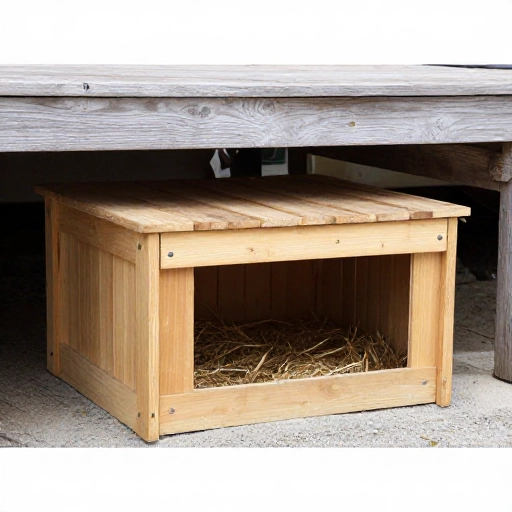
5. The Repurposed Dog House Deluxe
Got an old wooden dog house that’s seen better days? Don’t send it to the dump. Give it a winter makeover for the cats. The key is to make it smaller inside, as a big space is harder to keep warm.
Place a styrofoam cooler inside the dog house, or build an interior wall to create a smaller, cozy chamber. Fill that inner space with straw. Make sure the roof is sealed and waterproof.
You can also add a heavy plastic flap over the dog house’s entrance to keep out wind and snow. Just make sure it’s weighted so the cats can push through it easily.
This gives you a sturdy, long-lasting shelter that looks decent in the yard.
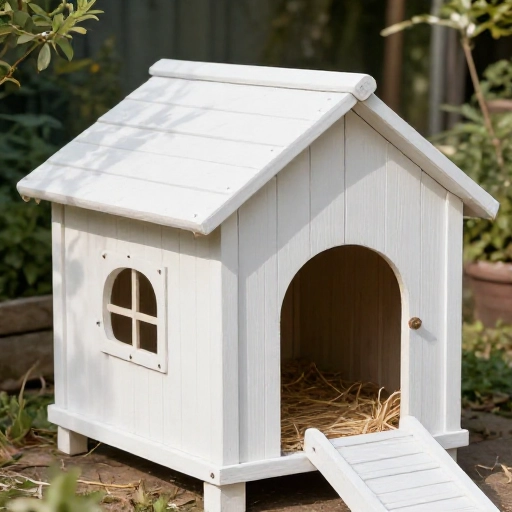
6. The Hay Bale Fortress
This is a brilliant, natural option if you can get your hands on a few straw bales. Straw bales are excellent insulators and are completely waterproof. They make a super solid and windproof structure.
Arrange four bales in a square, leaving a small gap in one corner for an entrance. Place a piece of plywood on top for a roof, and then place another bale on top of that for insulation and weight.
Inside the square, add a thick layer of loose straw. The bales create thick walls that keep the inside incredibly warm and dry. It looks like a tiny, rustic cabin for cats.
This is a very heavy and permanent solution, but it’s one of the warmest options there is.
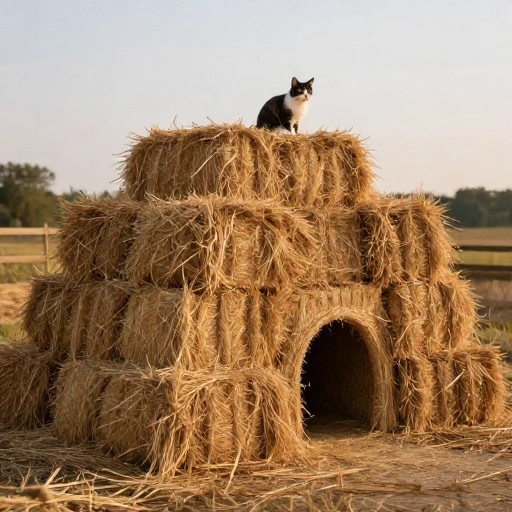
7. The Double-Bucket Den
Here’s a clever idea for a single cat that uses two simple 5-gallon buckets. You’ll need one bucket and one bucket lid that fits, plus a second, slightly larger bucket.
Cut a circular hole in the side of the smaller bucket. Place the smaller bucket inside the larger one, filling the gap between them with straw or spray foam insulation. Use the lid of the larger bucket as the roof.
This creates a very small, cave-like space that retains heat remarkably well. It’s perfect for a single cat and is incredibly easy to move around if needed.
Just be sure to use straw in the bottom, not a blanket, as blankets freeze and lose their insulating properties.
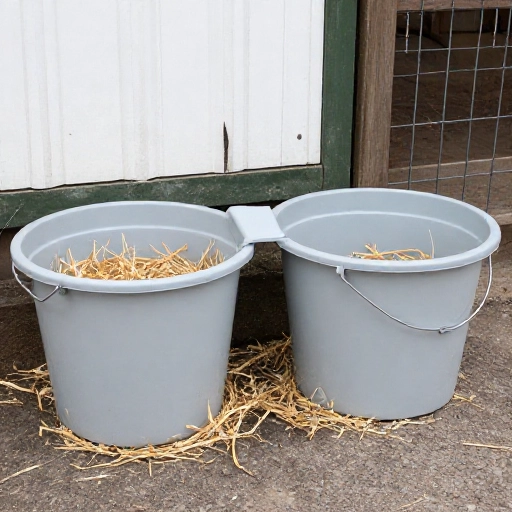
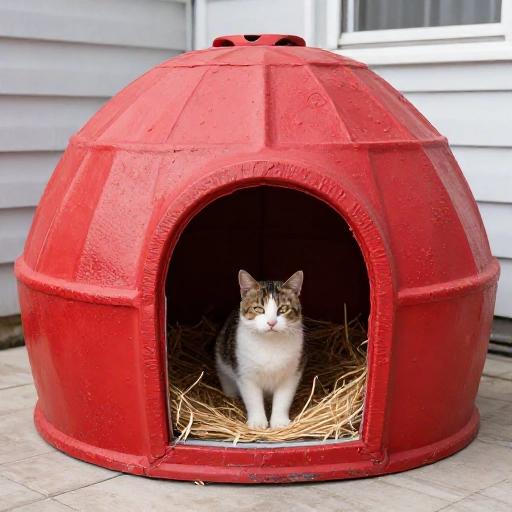
8. The Igloo Cooler Upgrade
Those big, round igloo-style coolers are perfect for feral cat shelters. They’re already insulated and have a sturdy lid. All they need is a door.
Cut a round hole in the side, near the bottom. Keep the lid on to trap the heat. You can even add a small piece of plexiglass or a clear plastic container over the hole to create a windbreak that lets the sun in.
Fill it with a generous amount of straw. The rounded shape helps deflect wind, and the thick walls are fantastic at keeping the cold out.
These are super durable and can last for years, surviving harsh winters with ease.
9. The Simple Box Under a Tarp
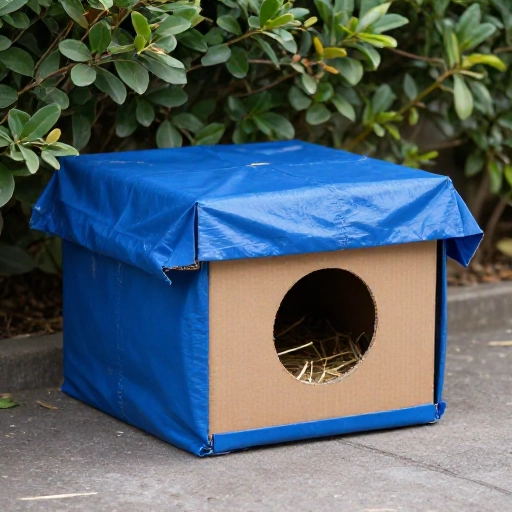
This is the ultimate budget-friendly, five-minute option. Find a sturdy cardboard box, tape it shut, and cut a hole. That’s the core.
Place the box in a location that’s already somewhat protected, like against a wall. Drape a heavy tarp or plastic painter’s sheet over the entire box, making sure it covers the top and sides. Weigh the tarp down with bricks or rocks.
Make sure the tarp doesn’t block the entrance. Leave a little overhang to create a porch-like area. This traps a pocket of air around the box, adding an extra layer of insulation.
It’s not a permanent solution, but it can be a lifesaver on a sudden freezing night.
10. The Elevated Pallet House
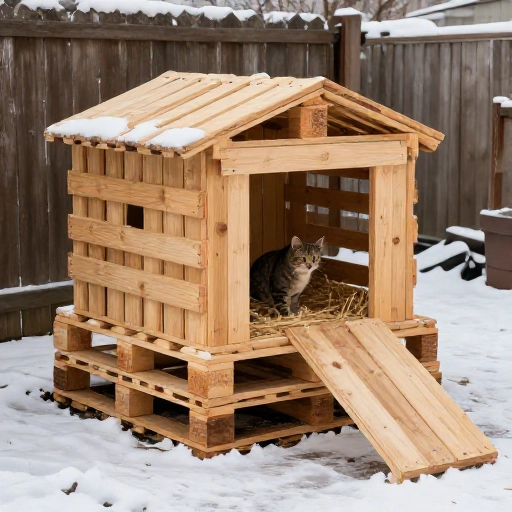
Getting the shelter off the cold ground is a huge plus. A wooden pallet is a great base for a simple shelter. The slats allow for airflow while the height keeps out moisture and frost.
Place a sturdy box or a plastic tub on top of the pallet. Secure it with bungee cords or zip ties. Then, wrap the whole thing in a waterproof tarp.
Fill the interior with straw. The pallet acts as a floor and an insulator, separating the cat from the freezing earth. It’s a simple way to dramatically improve any shelter’s warmth.
This is also great for keeping the shelter dry during heavy rain or snowmelt.
11. The DIY Wooden A-Frame
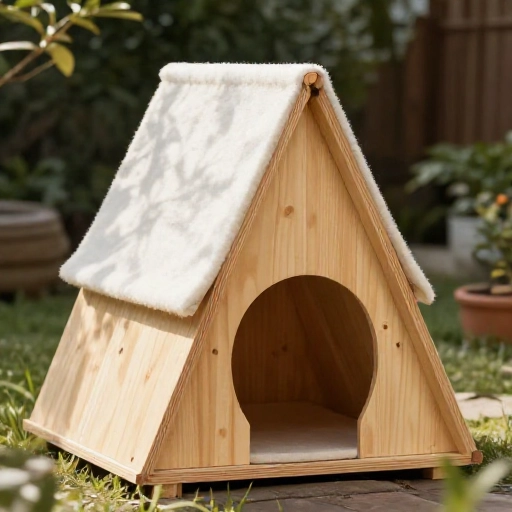
If you’re handy with a saw, this is a fun and satisfying project. An A-frame is naturally windproof and snow-shedding. It’s a classic design that looks great in any backyard.
You’ll need two pieces of plywood for the sides, a piece for the back, and a floor. Hinge the two roof panels at the top to form an A shape. The front is left open.
Add a waterproof roof covering and a piece of heavy plastic as a door flap. Fill the interior with straw. This creates a roomy, stable shelter that can house a couple of cats.
The steep angle of the roof means snow slides right off, keeping the entrance clear.
12. The Quiet Corner Cubby
Sometimes the best you can do is create a safe, hidden nook in an existing structure. Look for a quiet corner in a garage, shed, or barn. Cats love feeling hidden and secure.
Simply place a styrofoam cooler or a plastic tub in that corner. You can stack a few hay bales or boxes around it to create a sense of enclosure and add insulation. The walls of the building itself will block most of the wind.
This is a great way to offer shelter without building a standalone structure. The cats get the benefit of a covered, protected space that feels safe from predators.
Just make sure there’s a clear escape route for the cats.
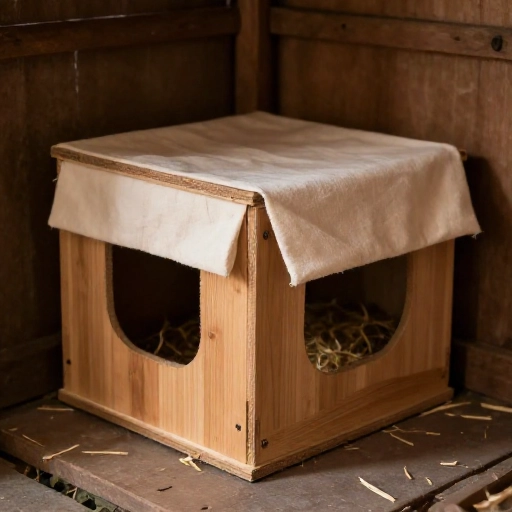
13. The “Blanket-Free” Straw Bungalow
I have to stress this again: no blankets or towels! They absorb moisture and freeze, making the cat colder than if they had nothing. Straw is the only way to go. It’s a natural insulator that wicks away moisture and doesn’t clump when wet.
For this bungalow, start with a large plastic storage bin. Cut an entrance hole. Fill the bottom with a deep, fluffy layer of straw—at least 6 inches.
The cats will burrow down into the straw, creating a cozy nest that traps their body heat. The straw also provides a nice scratching surface, which they love.
You can top the bin with a piece of plywood and a brick to keep the lid secure and add insulation.
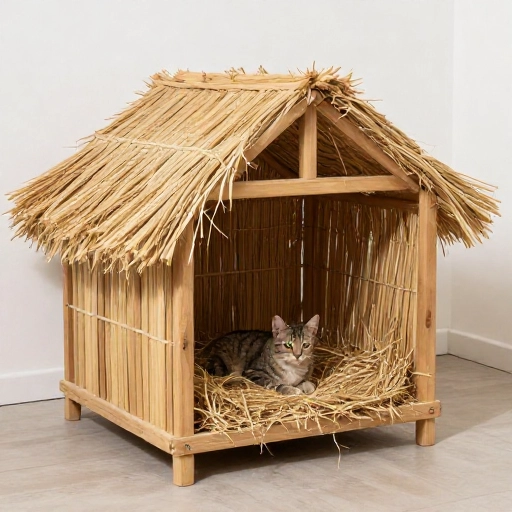
14. The Under-Porch Tunnel Shelter
If your porch has a gap underneath, you can turn the entire space into a winter haven. This is a larger-scale project but provides a fantastic, spacious shelter.
Use some lattice, plywood, or fencing to close off the open sides of the porch. Leave a small gap for the cats. This creates a dry, enclosed area that’s naturally protected from the wind and rain.
Inside this area, place a few different shelters or just a giant pile of straw in a corner. The cats will appreciate having options and a large, safe space to move around in.
This is perfect for a small colony and offers a lot of protection from the elements.
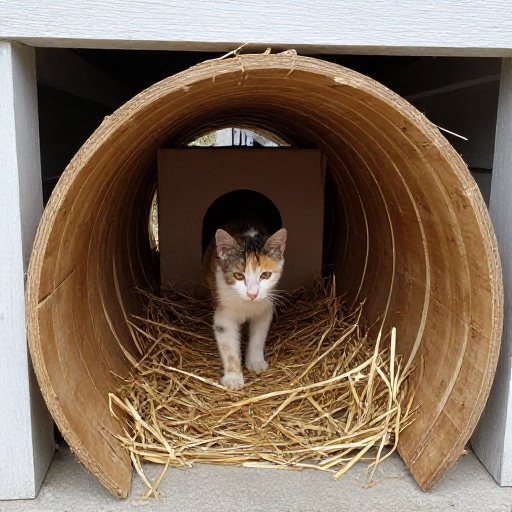
15. The Cooler with a Porch
This is a brilliant little hack. Take a styrofoam cooler and attach a small, covered antechamber to the entrance. This creates a buffer zone that stops cold wind from blasting directly into the main sleeping area.
You can use a smaller cardboard box or another piece of styrofoam to create this mini-porch. Cut a hole in the side of the main cooler, and a hole in the side of the antechamber that leads outside. The two holes should not be directly across from each other.
This forces the cat to turn a corner to get inside, which completely eliminates drafts. It’s a simple design tweak that makes a world of difference.
It also gives them a place to sit and survey their domain without being fully exposed.
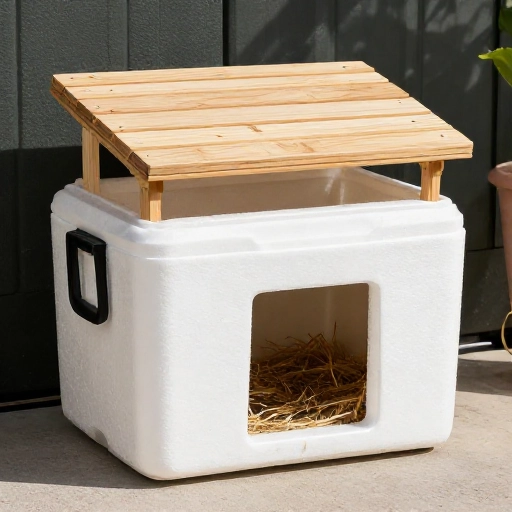
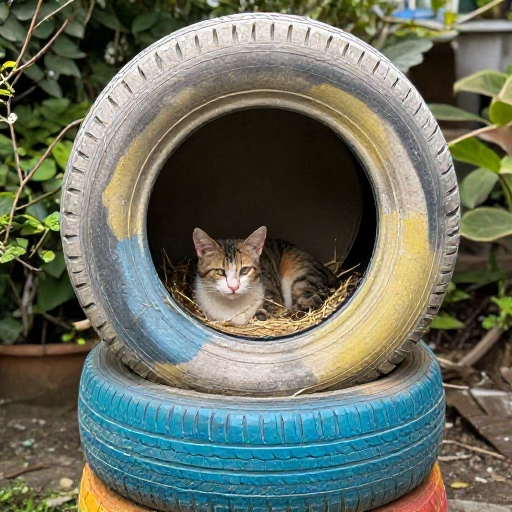
16. The Tire Tower
This is a unique and surprisingly effective shelter. Stack two or three old tires on top of each other. Fill the inside of the bottom tire with straw.
Place a piece of plywood over the top tire, then a heavy brick on top of that. The tires are incredibly durable and windproof. The rubber absorbs heat from the sun during the day and releases it slowly at night.
You can even cut a hole in the side of the bottom tire for an entrance. It’s a heavy, permanent structure that will last for years and provide excellent protection.
This is a great way to recycle old tires and give a cat a super cozy den.
17. The Simple Cardboard Nest
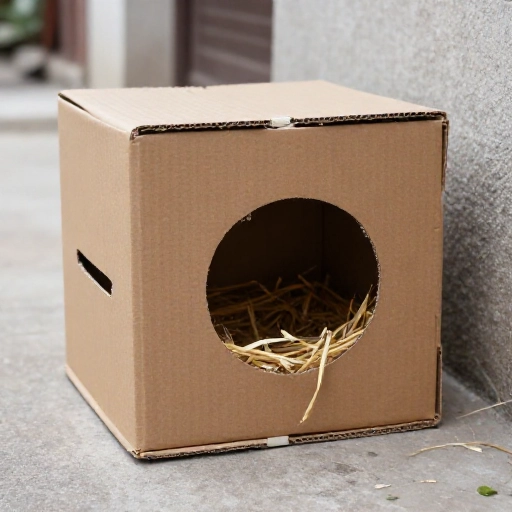
For a very quick and temporary fix, a simple cardboard box with a few modifications can save a cat’s life. The key is to make it as snug and insulated as possible.
Line the inside of the box with a layer of cardboard or newspaper on all sides. Then, fill the bottom with a deep layer of straw. Fold a second piece of cardboard to create a small, tent-like inner chamber.
Place the box inside a larger box, filling the gap with more crumpled newspaper. This double-box method creates a significant dead-air space that acts as insulation.
Wrap the whole thing in a tarp and place it in a sheltered spot. This is a great option for a colony caregiver who needs to set up multiple shelters quickly.
18. The Underground Bunker
This is a more advanced project, but the ground is a natural insulator. A few feet below the surface, the temperature is much more stable than the air above. You can create a fantastic, permanent shelter by digging a small pit.
Dig a hole about 2 feet deep and 2 feet wide. Place a large plastic tub or a styrofoam cooler inside the hole. Cut an entrance hole at ground level.
Cover the top of the tub with a piece of plywood and then a thick layer of dirt or mulch. This creates a massive amount of insulation. Fill the inside with straw. This is the warmest option possible, as it’s protected from wind and extreme cold.
Make sure to slope the entrance so water doesn’t pool inside. This is a serious shelter for a serious winter.
19. The Communal Cat Condo
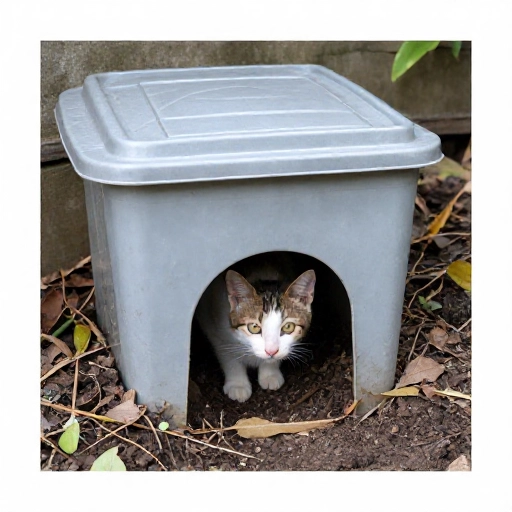
For a larger colony, a multi-room shelter is a great idea. This can be made by connecting two or three large plastic tubs with tunnels made from dryer vent hoses or large PVC pipes.
Cut holes in the sides of the tubs and connect them with the tunnels. Fill each “room” with straw. This gives the cats multiple spaces to choose from, allowing them to spread out or snuggle together as they please.
It also provides an escape route—if a predator or another animal enters one entrance, the cats can escape through another. It’s a safe and spacious winter home for a group of cats.
This is a fun project that shows you’re thinking about the comfort and safety of the whole colony.
Final Thoughts on Keeping Them Cozy
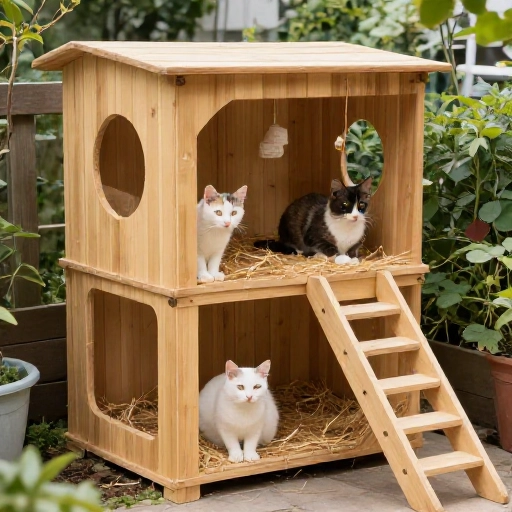
Building a shelter is one of the most direct ways you can help feral cats survive the winter. It doesn’t have to be perfect or expensive—it just needs to be dry, windproof, and filled with straw. A little bit of your time and effort can make a life-or-death difference for these resilient creatures.
Remember to check the shelters regularly, especially after big storms. Replenish the straw as needed and make sure the entrances stay clear of snow and ice. Your kindness and diligence are what will carry them through to the warmer months.
Frequently Asked Questions
1. What is the best material to put inside a feral cat shelter?
Straw is the absolute best. It’s a natural insulator, wicks away moisture, and doesn’t freeze. Avoid blankets, towels, or hay, as they absorb water and lose their insulating properties, making the cat colder.
2. How small should the entrance hole be?
It should be just big enough for a cat to fit through comfortably—about 6 inches in diameter. A snugger hole keeps out wind, rain, and larger predators like dogs or raccoons.
3. Should I put a heating pad in the shelter?
While it can help, it’s risky. If the power goes out, the pad becomes useless, and it can be a fire hazard. If you do use one, make sure it’s specifically designed for pets, chew-proof, and the cords are protected. A well-insulated shelter with straw is the safest and most reliable option.
4. How often should I clean the shelter?
You should check it every couple of weeks. Remove any wet or dirty straw and replace it with fresh, dry straw. A thorough cleaning once a month helps prevent the build-up of fleas and parasites.
5. Where is the best place to put a feral cat shelter?
Place it in a quiet, sheltered area away from heavy foot traffic and prevailing winds. Under a porch, deck, or near a fence line are good choices. Make sure there are at least two escape routes, and try to elevate it off the cold ground with bricks or a pallet.