3-Ingredient Peanut Butter Dog Treats Your Pup Will Beg For (So Easy!)
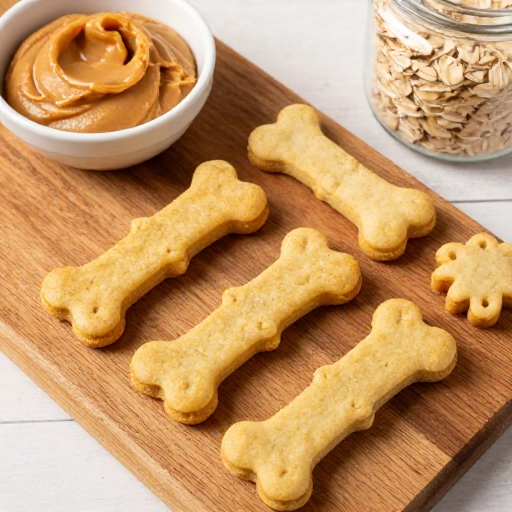
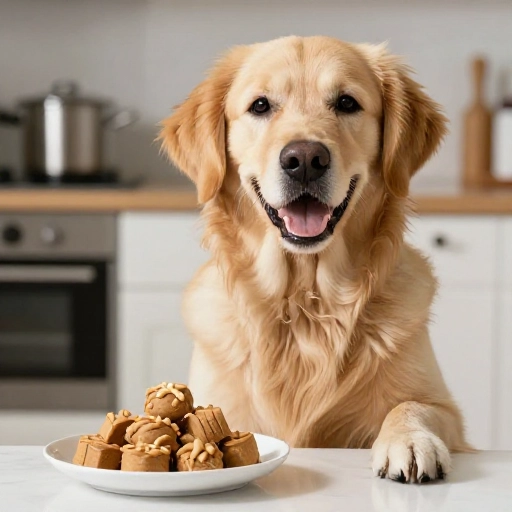
I don’t know about you, but I love spoiling my dog without all the fuss. These 3-Ingredient Peanut Butter Dog Treats are my go-to when I want something fast, healthy, and made with love. No weird preservatives, no complicated steps—just pure, tail-wagging goodness.
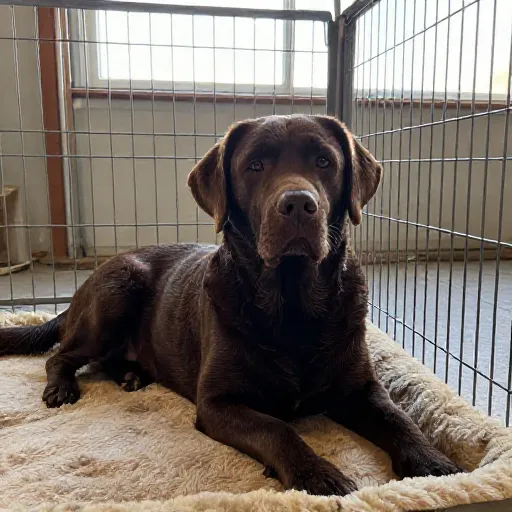
Whether you’re a first-time baker or just short on time, this beginner-friendly recipe is practically foolproof. My dog, Charlie, practically dances when he sees me grab the peanut butter jar. Trust me, once you try these, you’ll never buy store-bought treats again.
Why This Recipe Works (Even for Beginners)
Sometimes simple is best. With only three kitchen staples, you can whip up a batch of crunchy, peanut buttery treats that dogs absolutely love. No fancy equipment, no hard-to-find ingredients—just pure, simple baking that anyone can do. Plus, you control exactly what goes into your pup’s tummy. That peace of mind? Priceless.
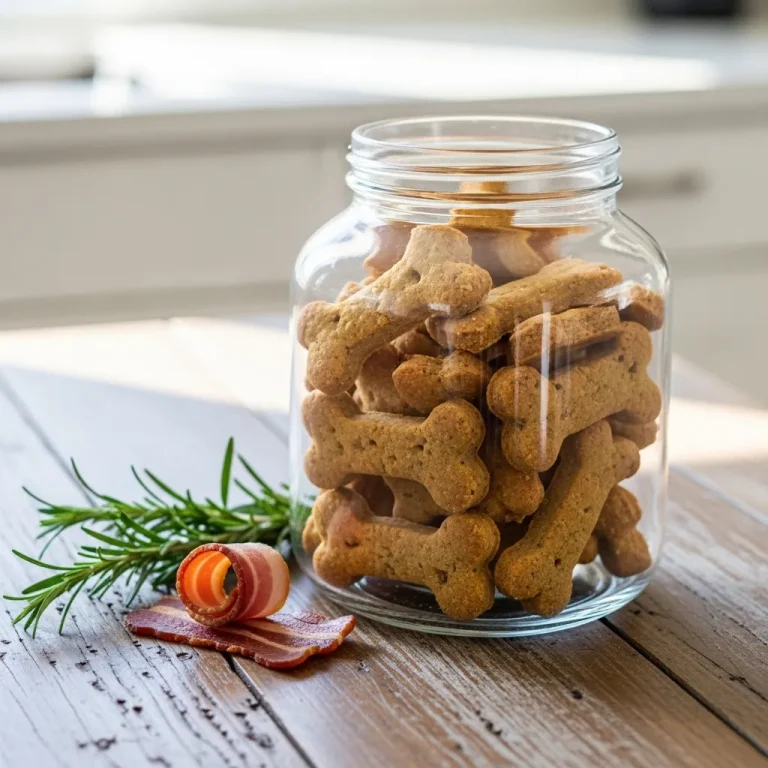
These treats are perfect for training, stuffing in a Kong, or just because. They hold up well in an airtight container for up to two weeks, but in my house, they’re gone in days.
What You’ll Need: Equipment
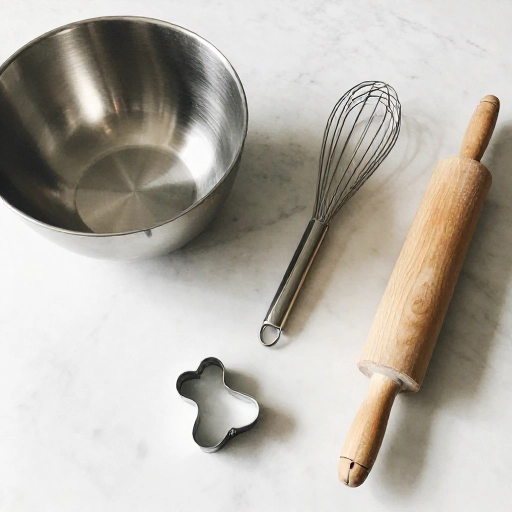
- Mixing bowl (any size works)
- Rolling pin (or a clean glass bottle)
- Cookie cutter (bone shape is fun, but any small cutter works)
- Baking sheet
- Parchment paper (optional but helpful)
That’s it. If you don’t have a cookie cutter, no worries—just pinch off small pieces and flatten them with your fingers. Dogs don’t care about shapes. They care about taste.
Ingredients You’ll Need
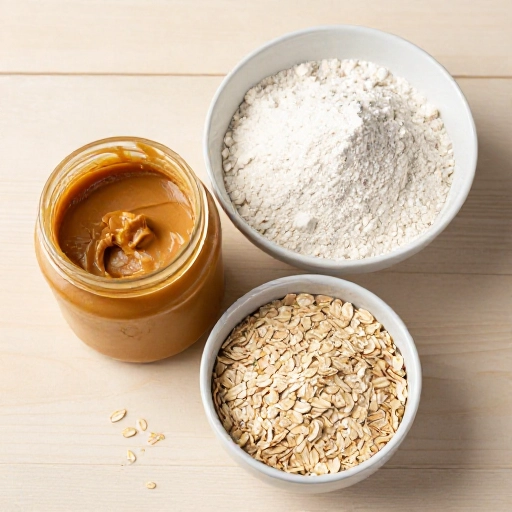
- 1 cup whole wheat flour (or oat flour for sensitive tummies)
- 1/3 cup natural peanut butter (no xylitol—check the label!)
- 1/2 cup water (add more if dough feels dry)
That’s the entire list. Three ingredients. You probably have them right now. Just make sure your peanut butter is xylitol-free—it’s toxic for dogs. I always buy a simple, unsweetened brand.
How to Make 3-Ingredient Peanut Butter Dog Treats
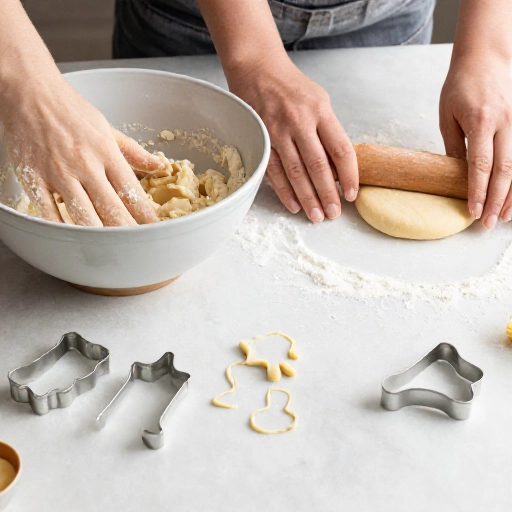
Preheat your oven to 350°F (175°C). In a mixing bowl, combine the flour, peanut butter, and water. Stir with a fork until a shaggy dough forms. If it’s too crumbly, add a splash more water. If it’s sticky, sprinkle in a little more flour.
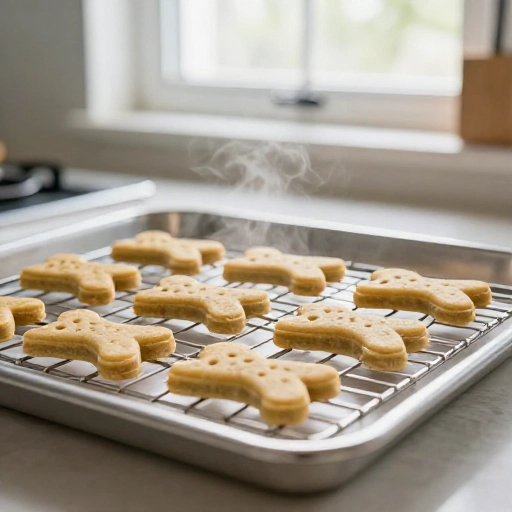
Turn the dough onto a lightly floured surface. Roll it out to about 1/4-inch thick—not too thin, or they’ll burn. Use your cookie cutter to press out shapes. Place them on a baking sheet lined with parchment paper, spaced about an inch apart. Bake for 18–20 minutes, until golden and firm to the touch.
Let them cool completely on a wire rack. Your dog will be waiting. Trust me. Store extras in an airtight container in the fridge for up to two weeks.
Tips for Perfect Treats Every Time
If your dough cracks while rolling, just press it back together with your hands. It’s very forgiving. For extra crunch, bake a few minutes longer—but keep an eye on them so they don’t burn. Want to switch it up? Swap half the flour for pumpkin puree for a fall twist. Your dog will thank you.
Also, these treats freeze beautifully. Make a double batch and pop half in the freezer for last-minute rewards. Just thaw for a few minutes before serving.
Conclusion
These 3-Ingredient Peanut Butter Dog Treats are honestly the easiest thing I bake all month. They’re simple, cheap, and my dog loses his mind every time. If you’ve been looking for a no-stress recipe that feels like a win, this is it. Grab your ingredients, preheat that oven, and make your pup’s day. You’ve got this.
Frequently Asked Questions
1. Can I use almond butter instead of peanut butter?
Yes, as long as it doesn’t contain xylitol. Almond butter works great, but it may have a slightly different texture. Stick with natural, unsweetened kinds.
2. My dough is too dry. What do I do?
Just add a tablespoon of water at a time until it comes together. Humidity and flour types vary, so don’t stress—it’s easy to fix.
3. Can I make these grain-free?
Absolutely! Use oat flour or coconut flour instead of whole wheat. Coconut flour is very absorbent, so you’ll need to adjust the water—add slowly until the dough feels right.
4. How long do these treats last?
Store them in an airtight container in the fridge for up to two weeks. You can also freeze them for up to three months—just thaw before serving.
5. Can I use this dough for a no-bake version?
I don’t recommend it. The flour needs heat to become safe and digestible for dogs. Baking also gives them that satisfying crunch. Stick with the oven method.