Learn How to Draw a Dog – 15 Cute Styles to Try (Easy Step-by-Step Ideas)
Let’s be honest—dogs are the absolute best drawing subjects. Their floppy ears, wet noses, and those big, soulful eyes just make you want to grab a pencil and sketch. But sometimes, you sit down with a blank page and think, “Where do I even start?”
I’ve been there. That’s why I put together this list of 15 completely different dog drawing styles. Whether you’re a total beginner who’s never drawn a circle on purpose, or you’re looking to add a new technique to your sketchbook, there’s something here for you. Grab your favorite pen, some paper, and let’s get those tails wagging on the page!
1. The Classic Cartoon Pup
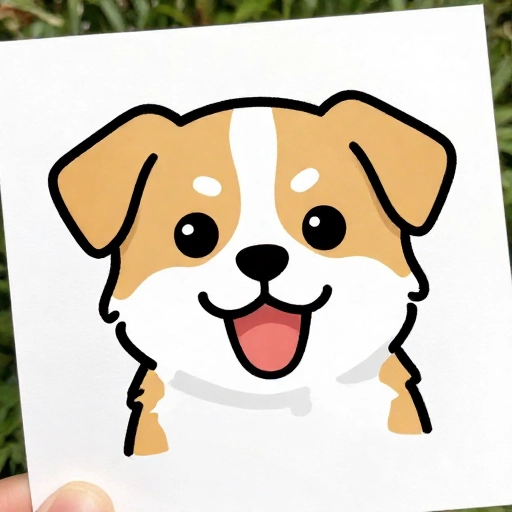
This is the style we all doodled in the margins of our notebooks in school. It’s all about big heads, tiny bodies, and exaggerated expressions. Start with a large circle for the head and a smaller oval for the body.
Add floppy ears that hang low and a happy, open-mouth smile with a little tongue sticking out. Don’t stress about perfect lines—cartoons are forgiving. The magic is in the eyes. Add two big shiny dots with a tiny white highlight in each one.
2. Super Simple Kitten-Style Dog (Chibi)
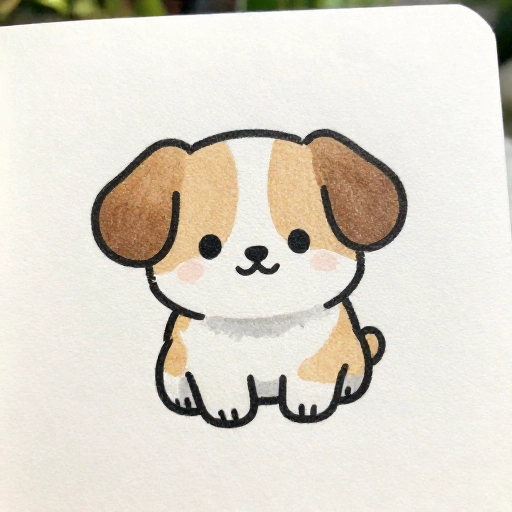
Wait, a kitten-style dog? Yes! This is the “kawaii” chibi look. It’s almost all head. Think of a potato with legs. That’s your starting point.
Draw a big, round shape. Add a tiny muzzle, two small dot eyes, and little triangle ears. The legs are just two small ovals at the bottom. This style is perfect for stickers or quick greeting cards because it’s so minimal and cute.
3. The One-Line Wonder
This is my favorite party trick. You never lift your pen from the paper. Start at the nose, loop up to the ear, down the back, and curve around for the tail.
It takes a few tries, but the result is a modern, artistic, and fluid dog that looks like it’s in motion. Don’t worry about it looking “messy”—that’s part of the charm. Use a black felt-tip pen for a bold look.
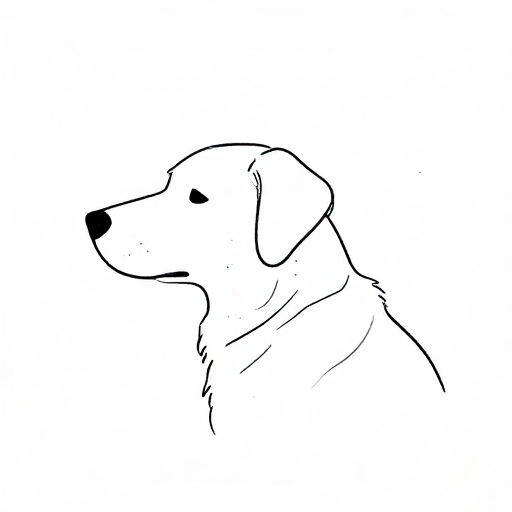
4. Geometric Geometric Fido
If you love architecture or just want a modern art vibe, this is for you. Build your dog using shapes—triangles for ears, rectangles for the snout, and circles for the joints.
Try using a ruler for the straight lines and a compass for perfect circles, or just freehand it for a more organic feel. This style looks amazing in a frame or on a tote bag.
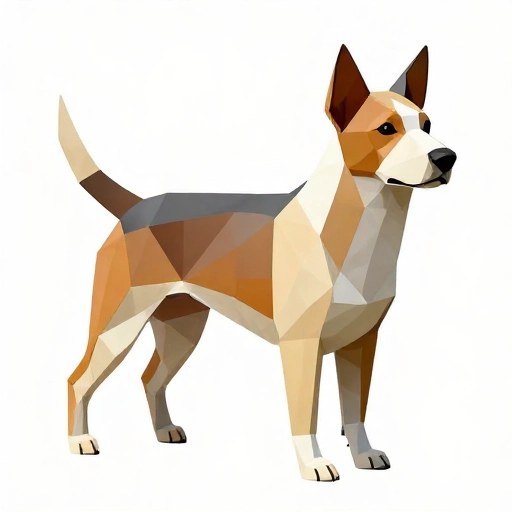
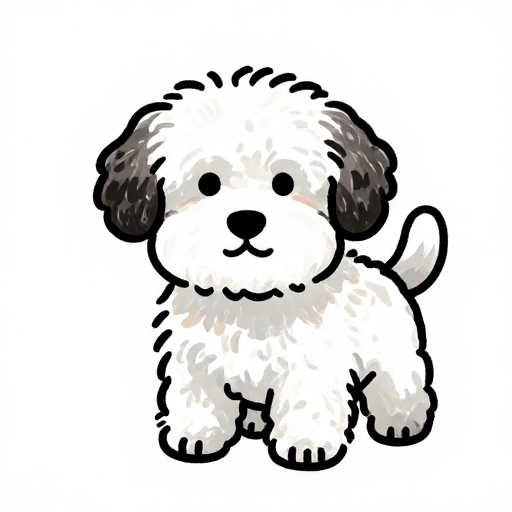
5. The Fluffy Floof (Textured Fur)
Time to get fuzzy! Instead of smooth lines, you use zig-zags and small curved strokes to build the fur. Start with a basic outline, then go over it with little “V” shapes.
Pay special attention to the chest and tail—that’s where the fluff is usually the biggest. Use a soft pencil (like a 2B) and don’t press too hard. This style is great for drawing breeds like Pomeranians or Golden Retrievers.
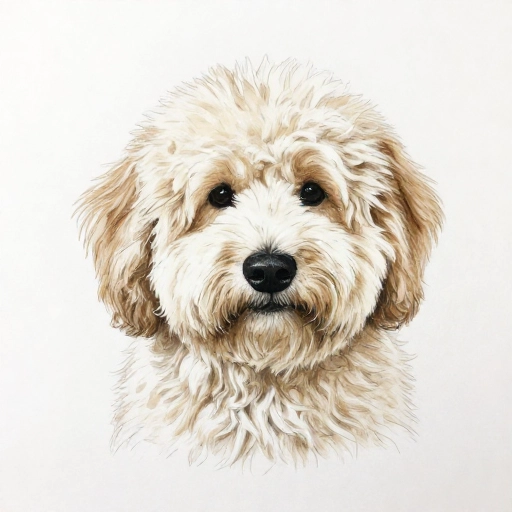
6. Realistic Portrait (Beginner Friendly)
Yes, you can do this! Start with a grid or just very light guide lines to map out the eyes and nose. The key to realism is shading, not outlines.
Look at the shapes of the light and dark areas. Use your finger or a tissue to smudge the graphite for that soft, furry look. Don’t draw every single hair—just suggest the texture in clumps.
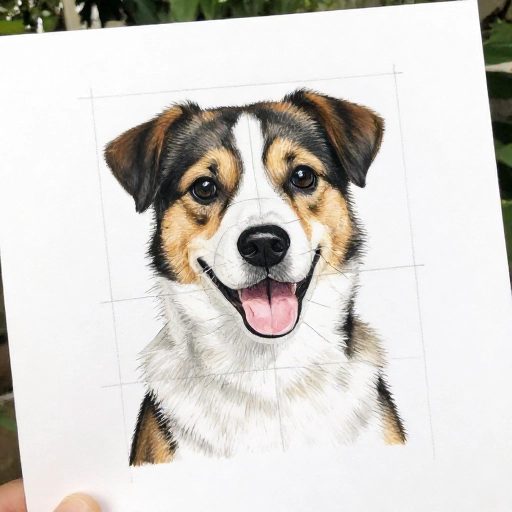
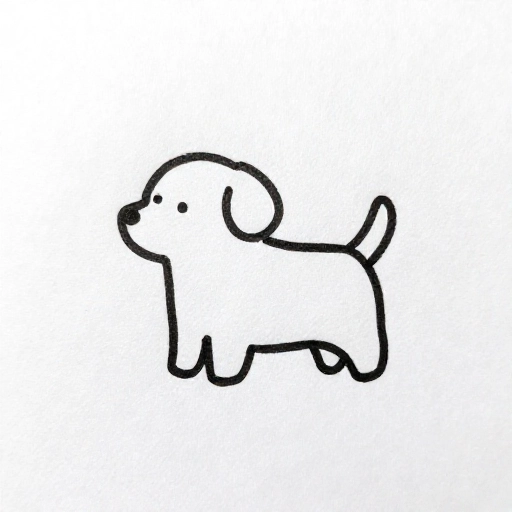
7. The Stick Dog (Minimalist)
Don’t laugh—stick dogs are surprisingly expressive! You only need lines and a few dots. The trick is in the angle of the tail and the position of the legs.
A tail pointing up means happy. Ears drooping means sad. This is a fantastic warm-up exercise before you start a bigger piece. It teaches you the essence of posture and movement.
8. The Snoopy-Inspired Beagle
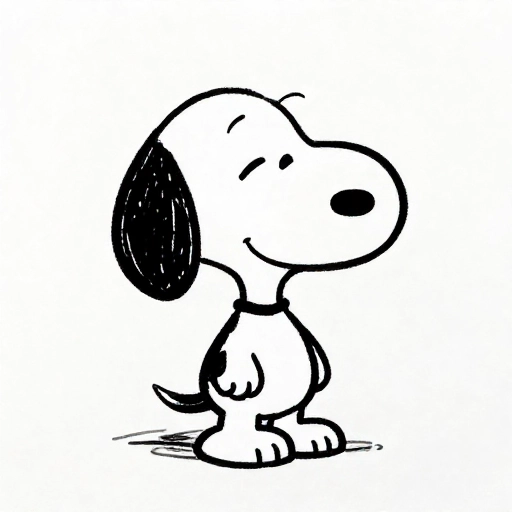
We all love that iconic black-and-white beagle. This style is all about the long snout, the floppy ears, and the happy, mischievous grin.
Use a simple black outline and leave the body mostly white with a few black patches. Keep the proportions a bit exaggerated—longer nose, bigger ears. It’s instantly recognizable and always brings a smile.
9. The “Baby” Style (Big Eyes, Tiny Nose)
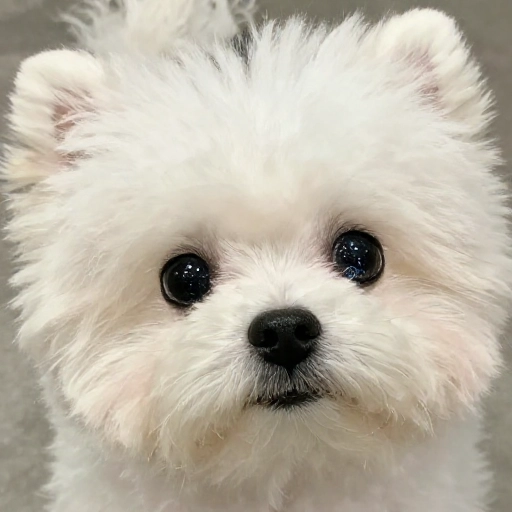
This is the ultimate “aww” style. To make a dog look like a puppy, you need to make the eyes huge. I’m talking about eyes that take up half the face.
Keep the nose tiny and the head round and chubby. Add a small, wobbly line for a mouth. This works really well with colored pencils or markers, especially if you add a little blush on the cheeks.
10. Side Profile Sketch
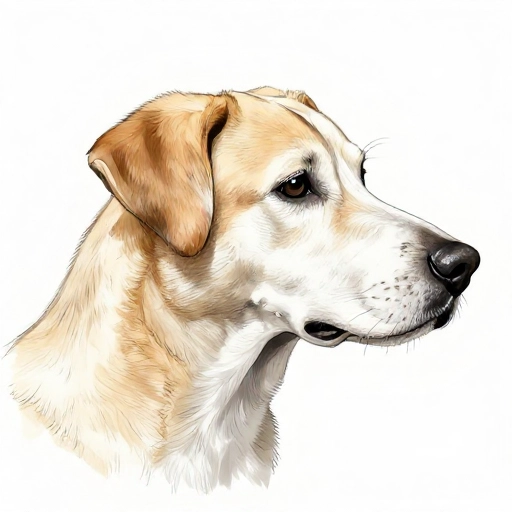
Drawing a dog from the side is actually easier than front-facing. You have a clear silhouette to work with. Start with the back of the neck, go down the back, and up to the tail.
Then, focus on the snout curve and the jawline. Don’t forget the ear—it usually sticks out or folds over. This is a great way to practice drawing specific breeds because the silhouette is so distinct.
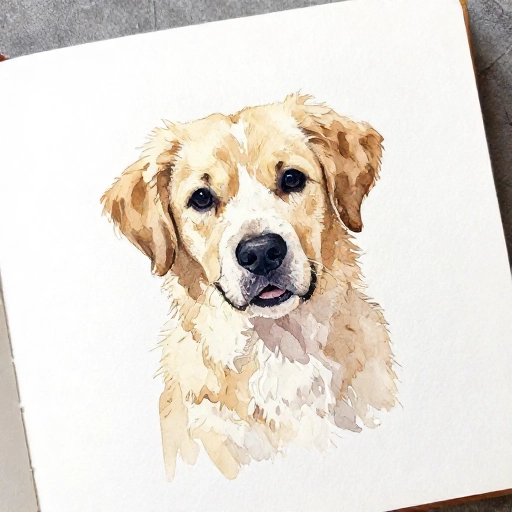
11. The Watercolor Wash
This is less about drawing lines and more about painting shapes. Start with a very light pencil sketch so you know where the face is.
Then, grab a watery brush and add a blob of color for the head. Let it dry, then add a darker blob for the nose and eyes. The beauty is in the soft, unpredictable edges. It looks artistic even if it’s simple.
12. The Doodle Monster (Scribble Art)
Get your pen moving in circles—lots and lots of tiny circles. This is called “scribble drawing.” You build up the value (light and dark) by how tightly you scribble.
Start with the dark areas like the nose and eyes. Then, loosen your scribbles for the fur. It looks chaotic up close, but from a distance, it forms a beautiful, textured dog. It’s very relaxing to do.
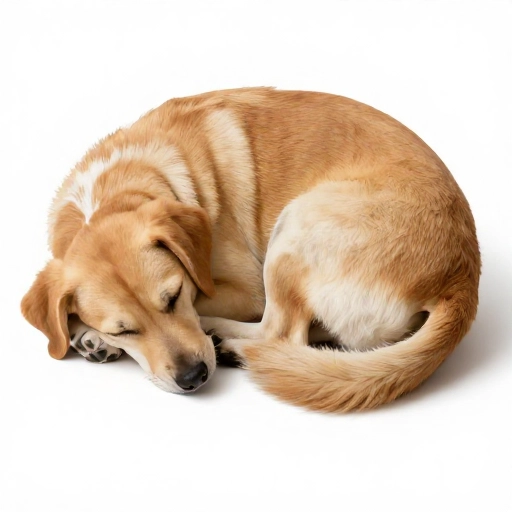
13. The Sleeping Loaf
Dogs curl up into a perfect little ball when they sleep. This is a very forgiving shape to draw. It’s basically a circle or an oval with a tail wrapped around.
Add a little ear peeking out and a closed eye (just a curved line). This is a super comforting drawing to make, and it’s perfect for practicing shading since there are no limbs to worry about.
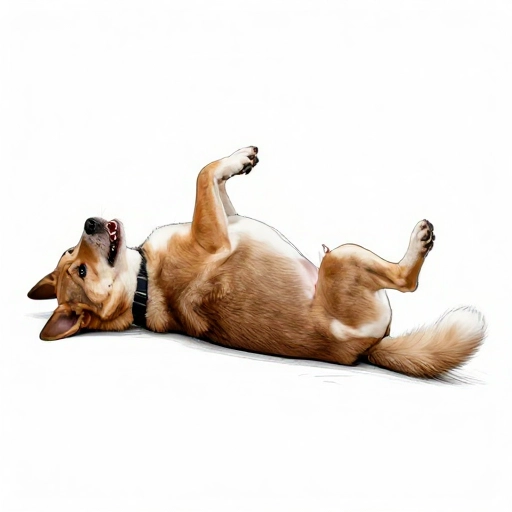
14. The “Splat” (Belly Up)
Who doesn’t love a dog showing its belly? This is a fun perspective challenge. Draw the head at an angle, with the body stretched out long.
Draw the four little legs sticking up in the air—they can be simple “U” shapes. The face should look relaxed and goofy. This style is great for comic strips or just capturing the silly side of your pet.
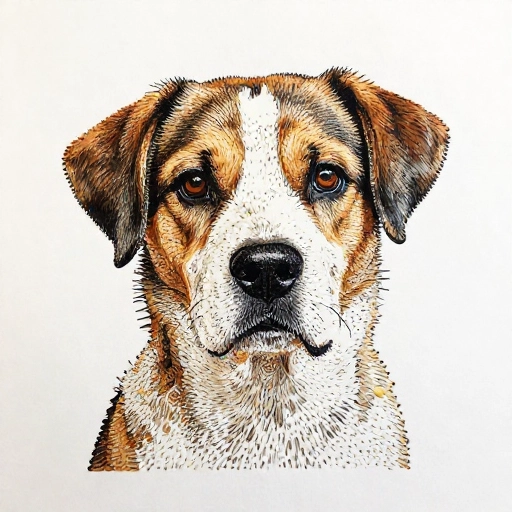
15. The “Dots Only” (Pointillism)
This is the patience-testing one. You draw the entire dog using only dots. Start with a light pencil outline so you know where to place your dots.
Use a fine-tip pen and start dotting. Closer dots = darker areas. Farther apart = lighter areas. It takes time, but the result is a stunning, textured piece of art that looks like it took hours (because it did!).
Final Thoughts: Just Start Doodling
Remember, you don’t have to be perfect. The best way to learn how to draw a dog is to just do it—badly, if necessary! Every sketch you make teaches your hand something new. Try a few of these styles and see which one feels like “you.”
Keep a sketchbook by your couch and doodle while you watch TV. Your art will improve faster than you think, and you’ll have a whole pack of paper pups to show for it.
FAQ: Your Dog Drawing Questions, Answered
Q: I can’t draw a straight line. Can I still do these?
Absolutely. Almost all of these styles use curved lines. And for the straight lines, you can use a ruler or just freehand it—wobbly lines add character.
Q: What’s the best pencil to use for beginners?
I recommend a standard HB pencil for sketching and a 2B for darker shadows. You don’t need fancy supplies to start. A regular #2 pencil works perfectly fine.
Q: What if my dog doesn’t look like a dog?
That’s okay! Every artist draws weird shapes sometimes. Try looking at a reference photo and breaking it down into simple shapes like circles and ovals. Practice makes progress.
Q: How do I draw fur that doesn’t look like spaghetti?
Instead of drawing long lines, use short, quick strokes that go in the direction the fur grows. Think of it like drawing tiny little blades of grass.
Q: Which style is the fastest to learn?
The “Stick Dog” or the “Super Simple Chibi” are the fastest. They only take a minute or two each and are perfect for warming up or for drawing in a hurry.