7 Genius Easy Dog Ramp For Bed Plans (Perfect For Tiny Pups & Senior Dogs)
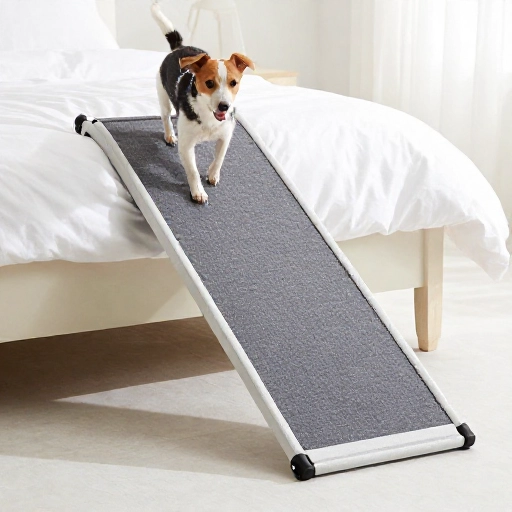
Okay, let’s be real. Watching your best furry friend struggle to hop up onto the bed is heartbreaking. My own aging Labrador, Bruno, started giving me this sad little whimper every night before bedtime. It wasn’t laziness—his hips were just done with the jump. I looked at store-bought ramps, but the prices? Ouch. They were either flimsy, ugly, or way too big for our bedroom.
That’s when I decided to get handy. I realized that building a dog ramp for your bed isn’t rocket science. It’s about safety, grip, and a gentle slope. Whether you have a tiny Chihuahua who needs a boost or a senior Golden Retriever who needs a staircase, these seven DIY plans are total game-changers. They are budget-friendly, use basic tools, and honestly, most of them take less than an afternoon to build.
1. The “No-Tools” Foldable Fabric Ramp
If the word “saw” makes you nervous, this one is for you. This is the laziest (and smartest) way to build a ramp using just dense foam and a sturdy piece of plywood you can have cut at the hardware store. You don’t need power tools—just strong glue and a staple gun.
I used a thick piece of upholstery foam glued to a plywood base, then covered it entirely with a non-slip rug runner. The trick is to cut the wood into two pieces and connect them with heavy-duty fabric hinges (like duct tape folded over) so it folds flat for storage.
This plan is perfect for small dogs. It’s lightweight, soft on their paws, and you can prop it against the bed frame during the day. It takes up zero space in your closet.
2. The “Under-Bed” Slide-Out Ramp
This is my absolute favorite design because it solves the “clutter” problem. Instead of having a ramp sticking out into the room, you build a low-profile platform that slides completely under your bed frame when not in use.
You’ll need a piece of plywood that is slightly shorter than the height of your bed. Attach small furniture gliders (those little felt pads with plastic bottoms) to the underside of the wood. This lets it slide smoothly on carpet or hardwood.
To use it, your dog just pulls it out (okay, you pull it out) and leans it against the bed. I added a simple wooden lip at the bottom edge to prevent it from slipping while Bruno walks up. It’s genius because it’s invisible until you need it.
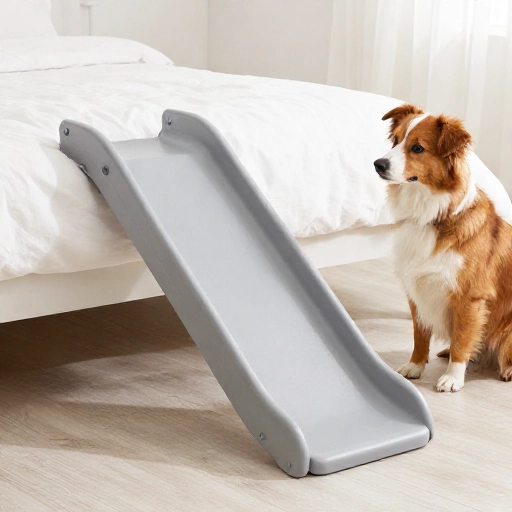
3. The “Staircase” Box Ramp (For Small, Senior Dogs)
Sometimes a long, straight ramp is too steep for a small dog. They don’t have the leg length for it! That’s where a staircase design comes in. Instead of a smooth slope, we are building a series of low, deep steps.
I built this using three small wooden crates (like the ones from craft stores) stacked in a step formation. I secured them together with screws and then added a plywood ramp on the side as a handrail or to block them from falling off the side.
The biggest win here is the stability. It’s heavy and solid. For a dog with poor eyesight or balance issues, having a flat, wide step to pause on makes them feel so much more confident than a slippery slope.
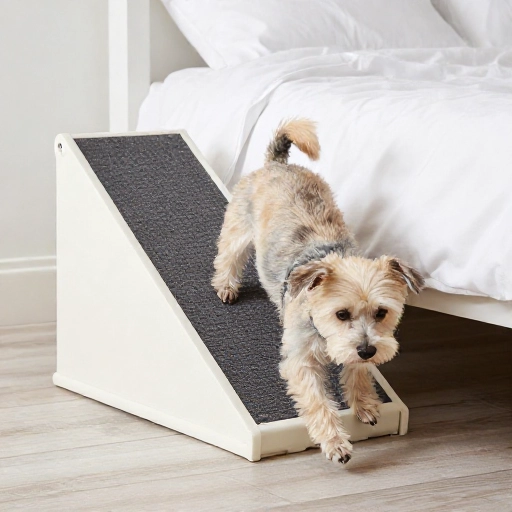
4. The “Carpet Runner” Wrap Ramp
Dogs need traction. If you use bare wood, your dog will slip, panic, and refuse to use it. Trust me. This plan focuses on the surface. It’s a simple wooden ramp, but the genius part is how you wrap it.
Buy a cheap, indoor/outdoor carpet runner. Cut it to size and use a heavy-duty staple gun to secure it to the top of the ramp. Fold the carpet over the edges and staple it underneath.
This does two things. It gives your dog a soft, grippy surface that feels like the floor, and it muffles the sound of their nails clicking. It looks way more expensive than it is. I recommend using carpet tape on the bed frame side to keep the ramp from shifting.
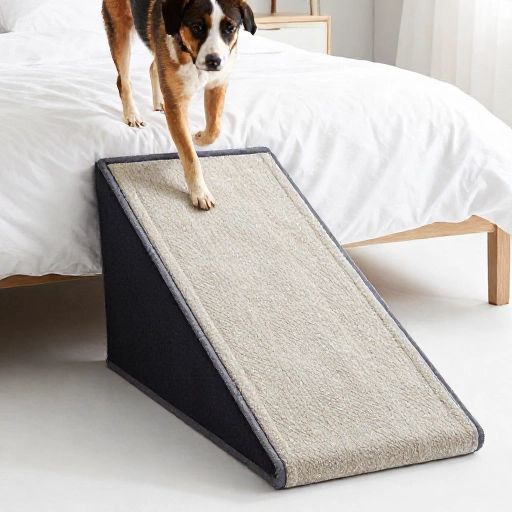
5. The “Memory Foam” Wedge Ramp
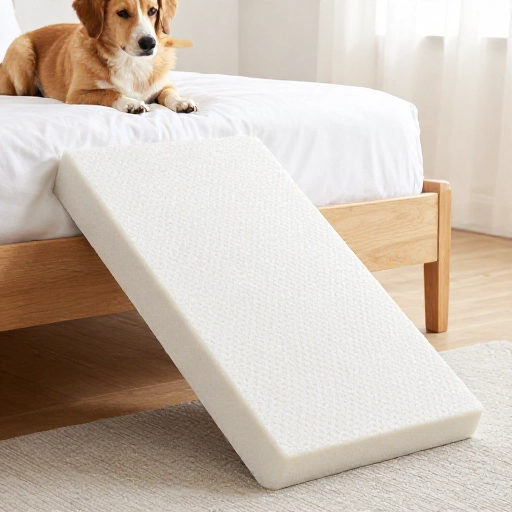
For dogs with severe joint pain, the angle of the ramp matters a lot. A standard ramp can be too steep. This plan uses an old memory foam mattress topper or a dense yoga mat to create a gradual wedge.
You don’t even need wood for the base. You stack layers of foam, cutting each layer shorter than the last to create a sloped triangle. Then, you wrap the whole thing in a fitted sheet or a waterproof blanket.
This is the gentlest option for their hips. It allows them to walk down slowly without jarring their spine. It’s also completely silent and won’t scratch your floor. The downside is it’s not as rigid, but for a small dog or a dog that just needs a little boost, it’s pure comfort.
6. The “Side-Hinge” Swing-Up Ramp
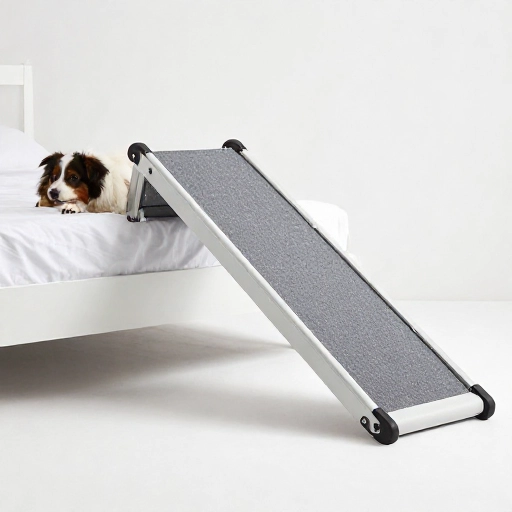
This is for the DIY pros who want a permanent solution that doesn’t take up floor space. This ramp attaches directly to the side of your bed frame using heavy-duty hinges.
When your dog is done using it, you simply swing the ramp up vertically so it rests flat against the side of the mattress. I used a magnetic latch to keep it in the “up” position.
You need to make sure the ramp is wide enough (at least 12 inches) and that the hinges are bolted into the wood frame, not just the particleboard. This design looks super sleek and modern. It’s out of the way for humans walking around the bed but always available for the pup.
7. The “Pallet Wood” Rustic Ramp
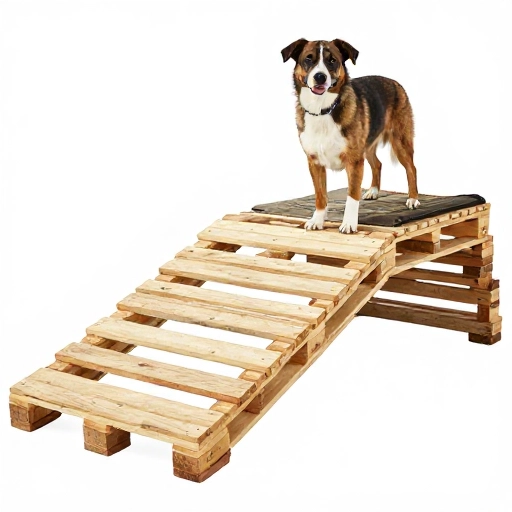
If you love a farmhouse aesthetic, this is the budget-friendly champion. You can build a sturdy ramp using reclaimed pallet wood. It’s free, durable, and looks incredible when stained.
I disassembled a pallet, sanded the boards down to avoid splinters, and nailed them across two long support beams in a ladder-like pattern. The gaps between the slats act as natural traction points for their paws.
The key here is to round the edges with a sander so it’s not sharp. This ramp is heavy, so it stays put. It has a very “outdoor adventure” vibe that dogs seem to love. Just make sure to seal it with a non-toxic pet-safe varnish to protect it from accidents and moisture.
Final Thoughts: Pick the One That Fits Your Dog
Don’t overthink this. The best ramp is the one your dog will actually use. Start by measuring the height of your bed and the space you have in your room. For a younger, agile dog, a simple lightweight ramp is fine. For a senior dog, prioritize width and low incline over looks.
Once you build it, reward them with treats and lots of praise. Let them sniff it. Put their favorite toy at the top. It might take a few days, but once they realize they can get up without pain, they will use it every single night. Good luck, and happy building!
FAQ: Your Dog Ramp Questions, Answered
Q: What is the best angle for a dog ramp to a bed?
A: You want it to be as flat as possible. A good rule of thumb is a 20-25 degree angle. For every foot of bed height, the ramp should be about 3 feet long. If it’s steeper than that, your dog might feel unsafe.
Q: Is it okay for my dog to use a ramp instead of jumping?
A: Absolutely, especially for breeds prone to back issues like Dachshunds or Corgis. Jumping off high beds puts massive stress on their spine and knees. A ramp is the healthiest way to prevent injuries.
Q: How do I get my dog to use the ramp?
A: Patience is key. Use high-value treats (like chicken or cheese) and lure them step by step. You can also place a familiar blanket with their scent at the top of the ramp to encourage them.
Q: What material is best for the ramp surface?
A: Grip is everything. Indoor/outdoor carpet or a rubber mat with texture is best. Avoid sanded paint or bare wood, as it becomes slippery when their paws are dry or dusty.
Q: Can I make a ramp for a giant breed like a Great Dane?
A: Yes, but you must reinforce it. Use thicker plywood (3/4 inch) and add a center support leg to prevent it from bowing in the middle under heavy weight. Make it wider too—at least 16 inches.