13 Weatherproof DIY Cat Houses for Winter Safety
When the temperature drops, my heart sinks thinking about the stray cats in the neighborhood. I’ve seen them shiver under cars and huddle against warm vents, and I knew I had to do something. Building a weatherproof cat house isn’t just a craft project—it’s a lifeline for our feline friends during the coldest months.
I’ve gathered 13 of my favorite DIY cat house ideas that actually keep cats warm and dry. These designs use simple materials like storage bins, plywood, and even old coolers. The best part? You don’t need to be a carpenter to make most of these. Let me walk you through each one, so you can pick the perfect shelter for your outdoor cats.
Remember, a good winter cat house needs three things: insulation from the cold, protection from wind and rain, and an entrance that keeps predators out. Every idea here checks those boxes. Grab your tools and let’s get building.
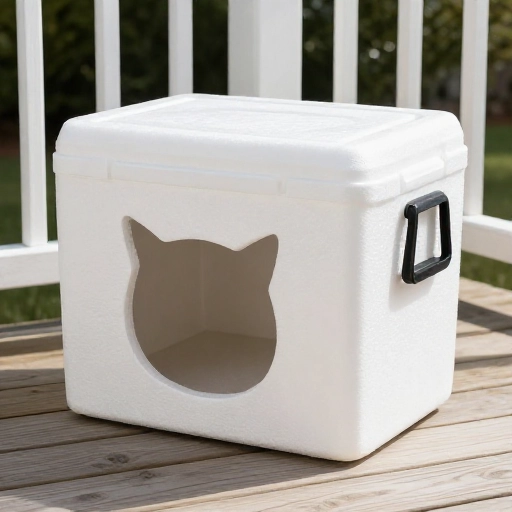
1. The Classic Styrofoam Cooler Cat House
This is the easiest project on my list. You just need a large Styrofoam cooler, a utility knife, and some duct tape. Cut a five-inch round entrance hole on one side, about three inches from the bottom. This keeps drafts out and lets the cat curl up inside.
Line the inside with straw—never hay, because hay traps moisture and gets moldy. Straw stays dry and holds warmth. Place the cooler under a covered porch or inside a larger plastic bin for extra protection. Cats love the snug, dark space.
I’ve made three of these for my local strays, and they use them every single night. It’s cheap, fast, and works like a charm.
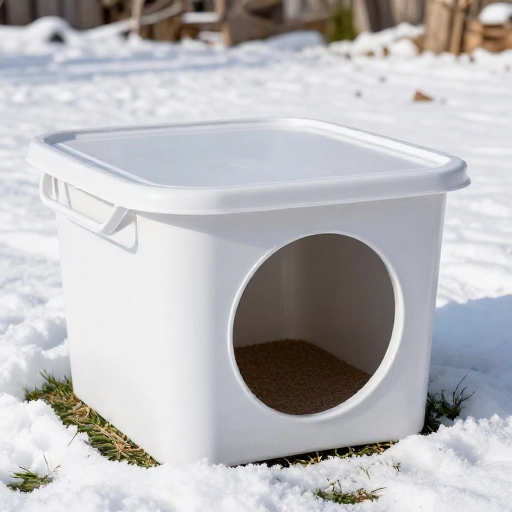
2. The Plastic Storage Bin Cat Shelter
Grab a 50-gallon plastic storage bin with a lid. Cut an entrance hole in one short side, about six inches wide. This size works for most cats but keeps out raccoons. Add a flap of clear plastic sheeting over the door to block wind—just tape it along the top edge so it hangs down.
Line the inside with foam insulation boards on the walls and floor. Cover the foam with an old towel or fleece blanket, but check it weekly for dampness. Place the lid on top and weigh it down with a brick.
I like this one because it’s sturdy and easy to clean. Just lift the lid and replace the bedding when needed.
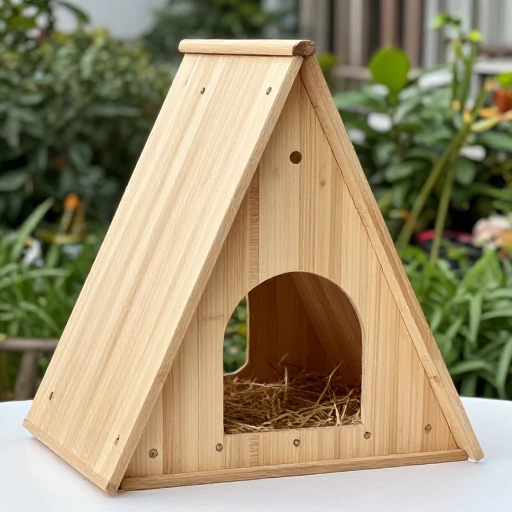
3. The Wooden A-Frame Cat House
If you have basic woodworking skills, this is a fun weekend build. Use plywood to create an A-frame shape, like a small tent. The slanted roof lets rain and snow slide right off. Add a small overhang at the entrance to keep the doorway dry.
Insulate the interior with rigid foam panels between the wood layers. Leave a small gap for ventilation near the top—otherwise, condensation builds up inside. Paint the outside with weatherproof paint in a neutral color to blend into your yard.
I placed mine near a fence line, and a mama cat raised her kittens there last spring. It’s cozy and lasts for years.
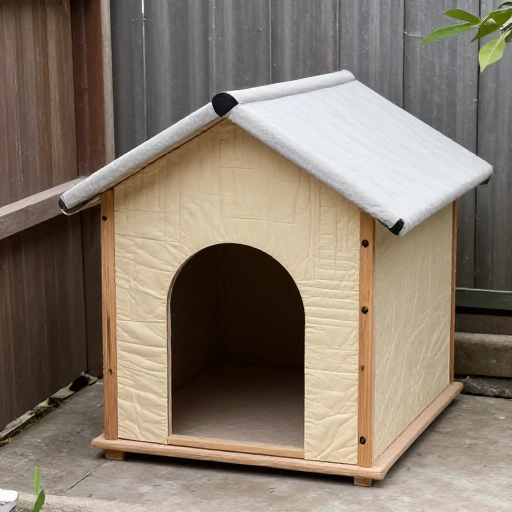
4. The Repurposed Dog House Cat Conversion
Got an old dog house that no one uses? Don’t toss it. Turn it into a cat-sized winter haven. First, block off the original large entrance with a piece of plywood, then cut a smaller cat-sized door. Add a second interior wall inside to create a windbreak—cats enter, then turn a corner to reach the sleeping area.
Fill the floor space with straw or shredded paper. Seal any cracks with exterior caulk to stop drafts. Prop the whole thing off the ground on bricks or wood blocks so moisture doesn’t seep in from below.
This project took me an afternoon, and the stray tomcat who lives in my yard claimed it immediately.
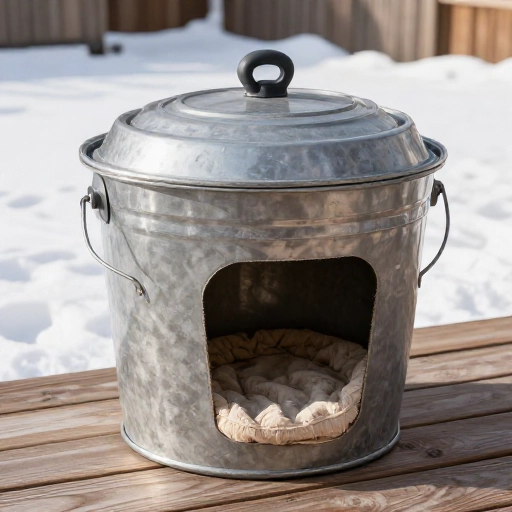
5. The Heated Bucket Cat House
This one’s for extra-cold climates. Start with a five-gallon bucket turned on its side. Cut an entrance hole in the bottom end. Place a heated pet bed or a reptile heating pad inside, wrapped in a towel for safety. Make sure the cord runs out through a small notch in the lid.
Wrap the entire bucket in foam insulation or an old sleeping bag. Secure everything with duct tape and bungee cords. Place it under a deck or in a garage corner to shield it from direct wind.
I only use heating pads with chew-resistant cords and auto shut-off. Safety first, always.
6. The Igloo-Style Cat House from a Cooler
Remember those round ice chests? They’re perfect for a dome-shaped shelter. Cut a small door in the side, about five inches wide. The thick foam walls provide natural insulation. Add a layer of straw inside for extra warmth.
Paint the outside with outdoor acrylic paint if you want it to look cute, or leave it plain. Weigh it down with a rock on top so it doesn’t tip over in strong winds. The round shape actually deflects wind really well.
I love how this one looks like a little igloo. It’s surprisingly warm inside even on freezing nights.
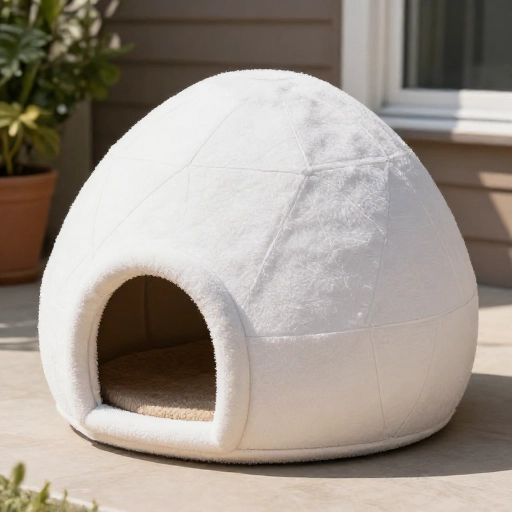
7. The Two-Bin Insulated Cat House
This design gives you double protection. Take one large plastic bin and fill it with foam insulation panels on all sides. Place a smaller bin inside, upside down, with its entrance aligned with the outer bin’s door. The gap between the bins traps air, creating a thermal break.
Cut both entrances at the same time so they match. Stuff the gap with straw or bubble wrap. The inner bin becomes the sleeping chamber, and the outer bin protects it from rain and snow.
I built this during a polar vortex, and the indoor temperature stayed above freezing when it was 10°F outside.
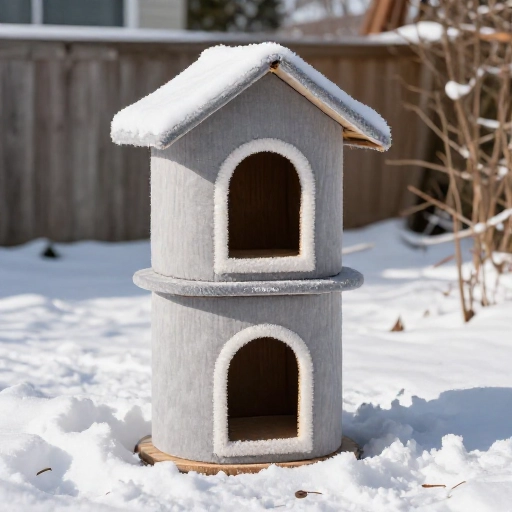
8. The Under-Deck Cat Hideaway
Sometimes you don’t need a separate structure—you can use what’s already there. If you have a deck with a crawl space underneath, turn it into a winter shelter. Nail up plywood or lattice around the sides to block wind, leaving one small opening.
Place a plastic storage bin with straw inside the crawl space for extra coziness. Make sure the ground is dry and covered with a tarp first. The deck above provides a natural roof that keeps rain and snow off.
This one is almost invisible. The cats feel safe and hidden, which they love.
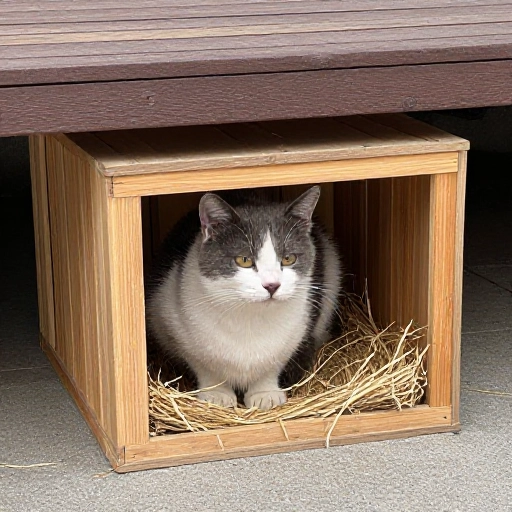
9. The Pallet Cat House on Legs
Wood pallets are free and easy to find. Stack two pallets on top of each other and nail them together. Wrap the sides with plywood or heavy-duty plastic sheeting. Leave the top open but cover it with a third pallet or a piece of corrugated roofing.
Add small legs made from 2x4s to lift it off the ground. This prevents moisture from seeping in and keeps the floor dry. Fill the inside with straw and add a small fabric flap over the entrance.
I painted mine with leftover house paint, and it looks surprisingly nice in the garden.
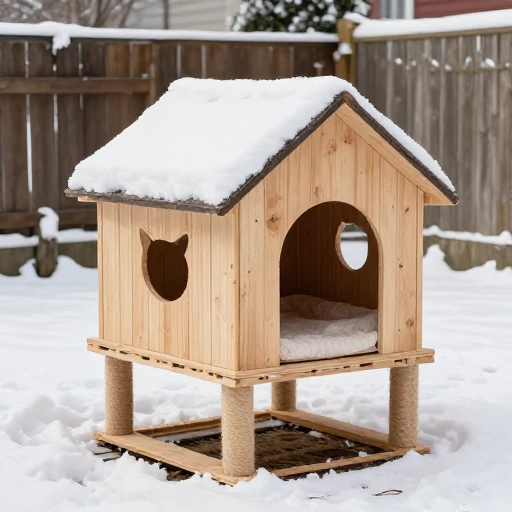
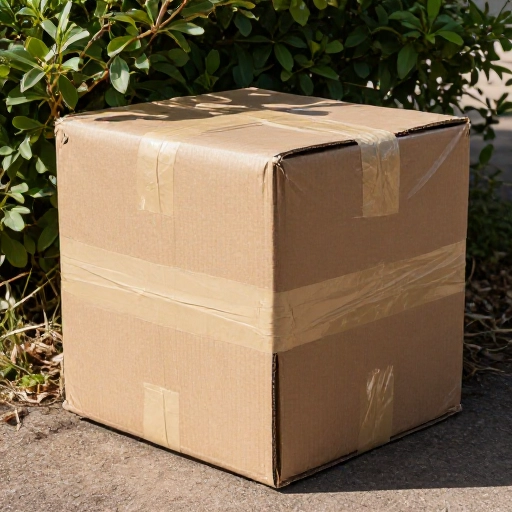
10. The Cardboard Box Survival Shelter
This is a quick emergency option. Use a large, sturdy cardboard box. Line the inside with several layers of newspaper and a thick layer of straw. Wrap the entire box in a heavy-duty trash bag, leaving the entrance open. Tape the bag in place.
Place the box inside a larger plastic bin for waterproofing. The cardboard traps heat, and the plastic keeps everything dry. Replace the cardboard if it gets wet.
I keep one of these in my shed for unexpected cold snaps. It’s not pretty, but it works in a pinch.
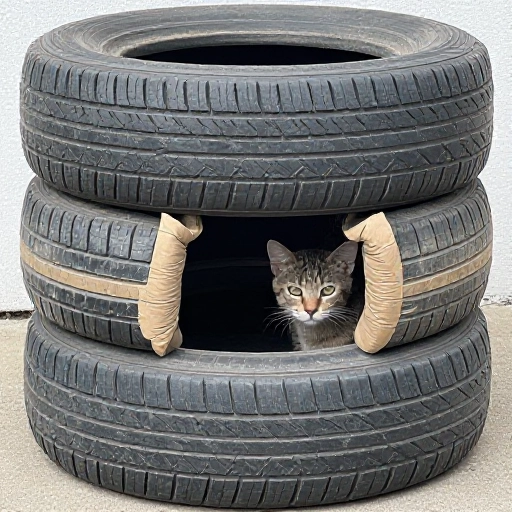
11. The Tire Tower Cat Cave
Stack two old tires on top of each other. Fill the inside of the bottom tire with straw, then place a piece of plywood on top of the second tire. Cover the plywood with a tarp and weigh it down with bricks. Cut a small entrance in the side of the bottom tire.
Tires are thick rubber that holds heat well and never rots. Make sure there are no sharp edges inside. This shelter is heavy and won’t blow away in storms.
I know it sounds weird, but cats actually love the dark, enclosed space. It’s like a little cave.
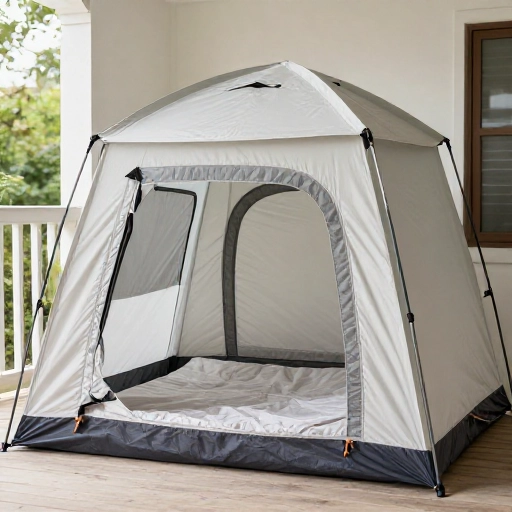
12. The PVC Frame Cat Tent
Build a simple frame using PVC pipes and connectors. Drape a heavy-duty tarp over the frame and secure it with zip ties. Cut a door flap into the tarp. Place a foam mat or a thick layer of straw inside on the ground.
This one is portable, so you can move it around your yard as needed. Add a second tarp layer for extra insulation. Weigh down the corners with stones.
I made one for my porch, and the cats love sunning themselves on the tarp during the day. At night, they crawl inside to stay warm.
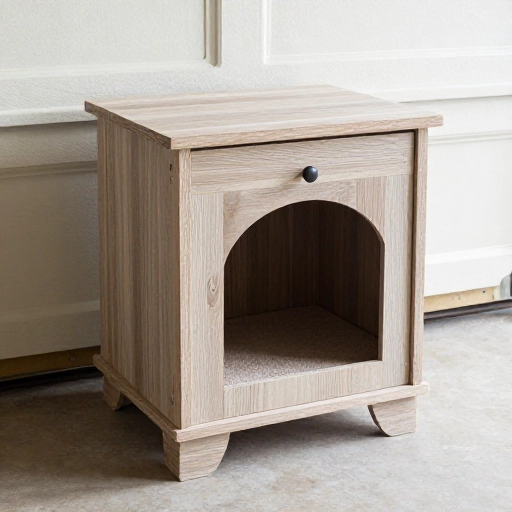
13. The Recycled Furniture Cat House
Old nightstands, dressers, or TV cabinets can become fancy cat shelters. Remove the drawers and doors, then cut a cat-sized entrance in one side. Sand and paint the piece with weatherproof paint. Add foam insulation inside and a straw bed.
You can leave the top drawer partially open as a lookout perch. The wood is thick and insulates well. Plus, it looks cute in your yard like a tiny abandoned house.
I found a free dresser on the curb and turned it into a two-story cat condo. The strays think it’s a mansion.
Building a weatherproof cat house doesn’t have to be complicated or expensive. Every single one of these projects can be made with things you already have or can find cheaply. The real reward is watching a shivering cat find a warm, dry place to sleep on a freezing night.
Remember to check your shelters regularly. Replace wet straw, clear snow from entrances, and make sure the structure stays sturdy. Your kindness makes a real difference in their lives.
Frequently Asked Questions
What is the best insulation for a DIY cat house?
Straw is my top choice for bedding because it stays dry and traps heat. For walls, rigid foam insulation boards work great. Avoid blankets and towels alone—they absorb moisture and freeze.
How do I keep the cat house dry inside?
Elevate the shelter off the ground using bricks or wood blocks. Use a waterproof outer layer like a tarp or plastic bin. Make sure the entrance has a flap or overhang to block rain.
Should I use a heated pad inside the cat house?
Only if you can monitor it closely. Use pet-safe heating pads with auto shut-off and chew-resistant cords. In extreme cold, heated pads are wonderful, but straw alone often works fine down to about 20°F.
How big should the entrance hole be?
Around five to six inches in diameter. This is big enough for most cats but too small for raccoons or dogs. Place it a few inches above the floor to keep out drafts.
How often should I clean the cat house?
Check every week during winter. Remove wet or dirty straw and replace it with fresh dry straw. Wipe down the interior with a mild bleach solution if you notice any odor or mold.