5 Simple DIY Natural Dog Treats Your Pup Will Love (Easy & Healthy!)
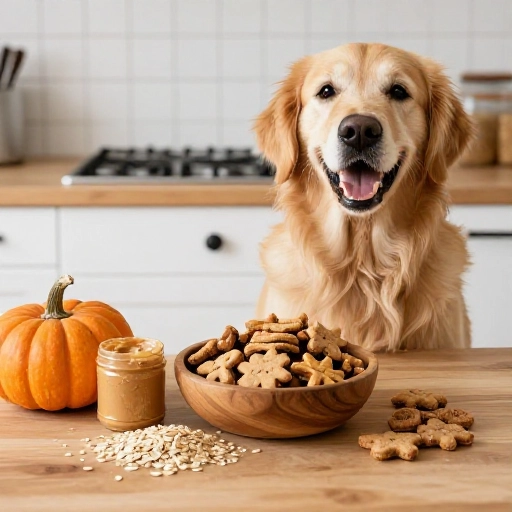
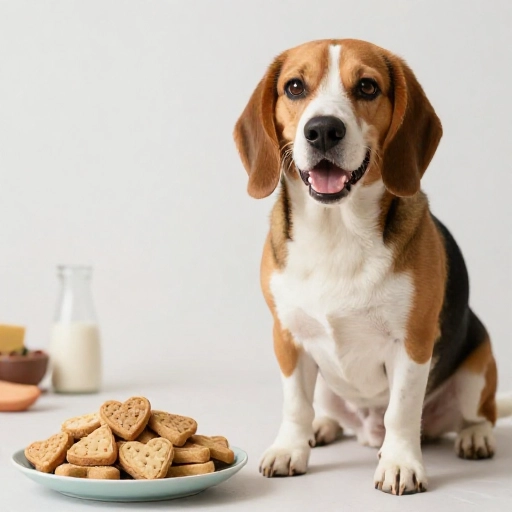
You know that look—the one where your furry best friend stares at you with those big, hopeful eyes while you’re snacking. Instead of sharing your human food (which is often full of salt and preservatives), why not whip up something special just for them? Making your own dog treats is easier than you think, and it’s such a rewarding way to show your pup some love.
I started making homemade treats during a lazy Sunday afternoon, and honestly, I haven’t looked back since. Not only do I know exactly what’s going into my dog’s belly, but the tail wags I get when the baking sheet comes out are absolutely priceless. Plus, you can tailor everything to your dog’s specific tastes and dietary needs. Let’s dive into five ridiculously simple recipes that use real, whole ingredients.
Why Make Homemade Dog Treats? Health Benefits & Tail Wags
Store-bought treats can be convenient, but they often contain fillers, artificial colors, and preservatives that aren’t great for your pup. When you make treats at home, you’re in full control. You get to choose fresh, wholesome ingredients that provide real nutritional value—think pumpkin for digestion, peanut butter for protein, and sweet potatoes for vitamins.
It’s also a fantastic way to cater to dogs with allergies or sensitive stomachs. You can easily swap out ingredients to avoid triggers. And let’s be honest, there’s a special kind of joy in seeing your dog gobble up something you made with your own two hands. It’s a simple act of love that they can literally taste!
These recipes are perfect for beginners and seasoned bakers alike. They require minimal fuss, use pantry staples, and come together in under an hour. Get ready to become your dog’s favorite chef!
Kitchen Equipment & Tools You’ll Need
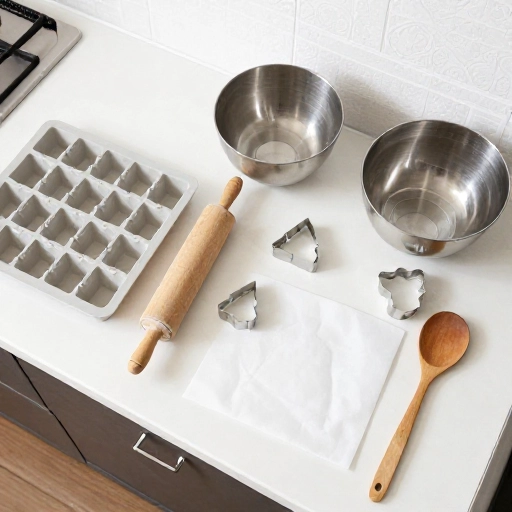
Before we get our hands messy, let’s gather the basics. You don’t need any fancy gadgets for these recipes—just a few standard kitchen items you probably already own. Having everything ready makes the process smooth and fun.
Here’s your simple shopping list for the kitchen:
- A large mixing bowl
- A sturdy wooden spoon or silicone spatula
- Measuring cups and spoons
- A baking sheet (or two!)
- Parchment paper (this is a lifesaver for easy cleanup)
- A rolling pin (optional, but helpful for rolled treats)
- Fun cookie cutters (bone shapes are a must, but stars or circles work great too)
That’s it! No dehydrators or special blenders required. We’re keeping things simple and straightforward so you can spend less time prepping and more time playing fetch.
Ingredients List & Safe Substitutions
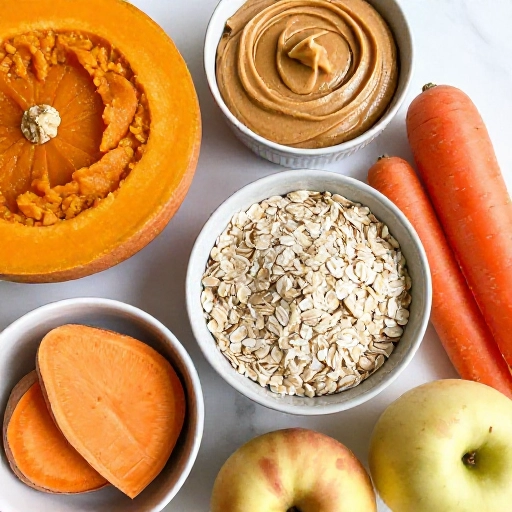
Now for the fun part—the ingredients! These recipes revolve around a few core healthy staples that are safe and delicious for dogs. Always make sure your peanut butter is xylitol-free, as that sweetener is highly toxic to dogs.
Here’s what you’ll need to stock up on:
- Canned Pumpkin (100% pure, not pie filling): Great for digestion and packed with fiber and Vitamin A.
- Natural Peanut Butter: A favorite flavor booster that’s full of healthy fats and protein.
- Sweet Potatoes: Rich in beta-carotene and a fantastic chewy texture maker.
- Rolled Oats: A great source of soluble fiber that’s gentle on tummies.
- Eggs: They add structure and are a powerhouse of protein and amino acids.
- Unsweetened Applesauce or Mashed Banana: A natural sweetener and binder.
Safe Swaps: If your dog is sensitive to chicken, swap chicken broth for beef or vegetable broth. No pumpkin? Use mashed sweet potato or butternut squash in its place. You can easily swap the flour for oat flour or coconut flour to make them grain-free!
How to Make Them: Step-by-Step Instructions
Let’s get baking! Here are my five go-to recipes that always get two paws up. Each one is incredibly easy to throw together.
Recipe 1: The Classic Peanut Butter & Pumpkin Bites
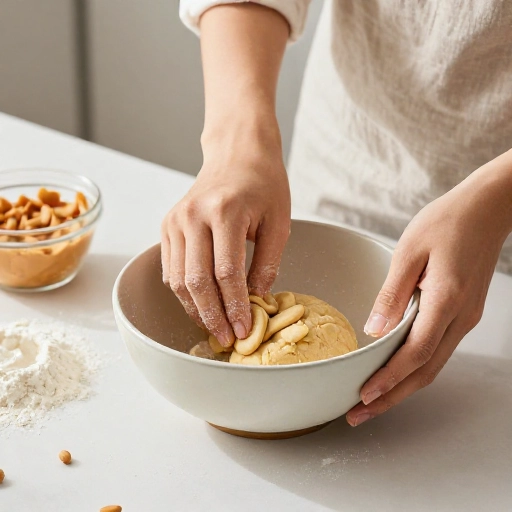
Preheat your oven to 350°F. Mix 1 cup of pumpkin, ¼ cup of peanut butter, and 2 eggs in a bowl. Slowly stir in 2 ½ cups of oat flour until a dough forms. Roll it out and cut into shapes. Bake for 12-15 minutes until firm.
Recipe 2: Sweet Potato Chews (Only 1 Ingredient!)
Slice sweet potatoes into ¼-inch thick strips. Soak them in water for 30 minutes to release some of the starch. Bake on a wire rack at 250°F for 2.5 to 3 hours, flipping once, until they are dried and chewy.
Recipe 3: Frozen Banana & Yogurt Pupsicles
Mash 2 ripe bananas and mix with 1 cup of plain Greek yogurt. Spoon the mixture into silicone molds or an ice cube tray. Add a little peanut butter on top for a swirl, then freeze for at least 4 hours.
Recipe 4: Apple & Cinnamon Oat Bars
Combine 1 cup of unsweetened applesauce, 1 egg, 1 tsp of cinnamon, and 1 ½ cups of rolled oats. Spread the batter into a lined baking dish. Bake at 350°F for 25 minutes. Let cool completely before cutting into bar shapes.
Recipe 5: Cheesy Parsley Breath Fresheners
Mix 1 cup of shredded cheddar cheese, 1 cup of whole wheat flour, ¼ cup of fresh chopped parsley, and 3 tbsp of water. Form a dough, roll it thin, and bake at 350°F for 15 minutes. This is great for freshening up that puppy breath!
Storage & Feeding Guidelines for Happy, Healthy Pups
These treats are so good, you might be tempted to give them all at once—but moderation is key! Treats should only make up about 10% of your dog’s daily caloric intake. A small-sized dog can have one bite-sized treat, while a large breed can enjoy two or three.
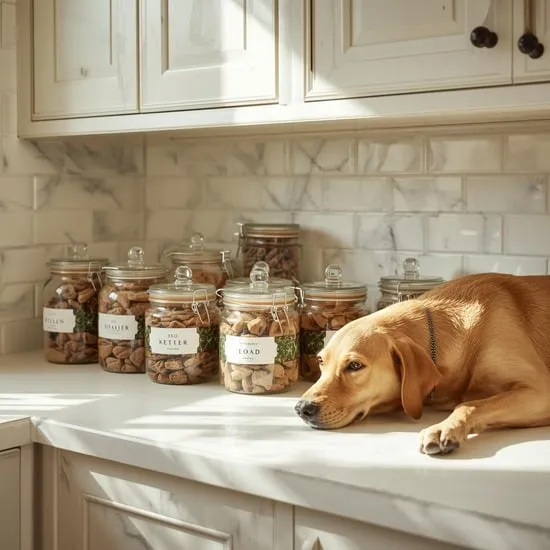
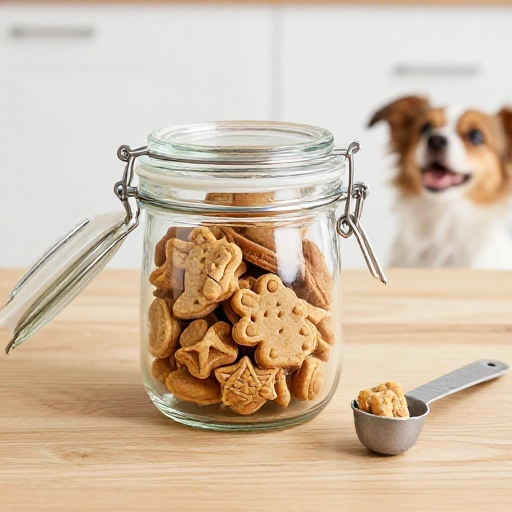
For storage, most baked treats will stay fresh in an airtight container in the refrigerator for up to two weeks. I like to keep a jar in the fridge and a smaller stash in a ziplock bag for on-the-go rewards. The frozen pupsicles are best kept in the freezer and given as a refreshing summer snack.
If you want to extend the shelf life of the baked treats, you can freeze them for up to three months. Just pull a few out the night before and let them thaw in the fridge. Always wash your dog’s water bowl after they’ve enjoyed a treat, just to keep things clean.
Final Verdict & Summary: Your Dog’s New Favorite Snack
Honestly, making these treats has completely changed how I bond with my dog. It’s so easy, affordable, and healthier than anything I can find at the pet store. The look of pure joy on their face when they see that cookie jar come out is truly unbeatable.
Start with the peanut butter and pumpkin bites—they are foolproof and loved by almost every dog I’ve met. Then, as you get more comfortable, branch out to the sweet potato chews or the frozen pupsicles for a hot day. You really can’t go wrong with any of these five options.
So, put on your apron, preheat that oven, and get ready to be showered with sloppy kisses. Your pup deserves it, and you’ll feel amazing knowing exactly what you’re feeding them. Happy baking to you and your furry friend!
Frequently Asked Questions
Can I use any type of flour for these dog treats?
Yes! While oat flour or whole wheat flour is commonly used, you can easily substitute with coconut flour or almond flour for a grain-free option. Just be aware that coconut flour absorbs a lot more liquid, so you may need to add a little extra applesauce or water to get the right dough consistency.
How long do these homemade dog treats actually last?
Baked treats stored in an airtight container in the refrigerator will last about two weeks. If you freeze them, they can last for up to three months. Just make sure they are completely cooled before storing to prevent moisture buildup and mold.
My dog has a sensitive stomach. Are these treats easy to digest?
Absolutely! These recipes are made with simple, whole-food ingredients that are generally gentle on sensitive tummies. The pumpkin and oatmeal are particularly great for digestion. However, always introduce new treats slowly and in small quantities to see how your dog reacts.
Is it okay to give these treats to puppies?
Yes, these treats are safe for puppies, but you should always monitor them while eating. Smaller treats are perfect for training sessions. Just make sure the treats are soft enough for their growing teeth, and always supervise them to ensure they chew properly.
Can I double the recipes to make a bigger batch?
Of course! These recipes are super easy to scale up. Simply double or triple all the ingredients and adjust your baking time slightly. Just make sure you spread the dough evenly on your baking sheets so they cook uniformly. They make great gifts for your doggy friends, too!