7 Crunchy Homemade Dog Treats for Small Breeds That Last for Weeks
Let me be real with you: tiny dogs have tiny teeth, but they also have big opinions about treats. I’ve spent years testing recipes for my little guy, and the biggest struggle was always finding something that didn’t turn into a crumbly mess within a day. Store-bought options are fine, but they’re pricey and often filled with stuff I can’t pronounce.
So I went on a mission to create seven homemade treats that actually last. These aren’t those soft, squishy cookies that go bad in a week. These are crunchy, shelf-stable little bites that stay fresh for weeks—perfect for training, stuffing in a treat pouch, or just spoiling your small dog without daily baking sessions. Every recipe here uses simple ingredients you probably already have in your kitchen.
Why Homemade Treats Beat Store-Bought for Small Dogs
I’ll be honest: the first time I made homemade treats, they went stale in three days. It was disappointing, and I almost gave up. But after some tweaking, I learned that the secret to long-lasting dog treats is all about moisture removal and the right fat content. These seven recipes are designed specifically for small breeds—they’re bite-sized, easy to chew, and packed with flavor without being too hard on tiny jaws.
Plus, when you make them yourself, you control everything. No mystery fillers, no excessive salt, and no artificial preservatives. Your dog gets real food, and you get the peace of mind that comes with knowing exactly what’s in that treat jar.
Essential Equipment You’ll Need
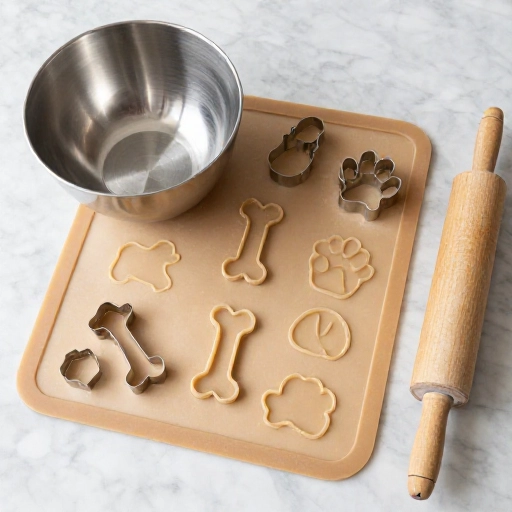
Before we dive into the recipes, let’s talk tools. You don’t need anything fancy, but a few basics will make your life much easier. A good baking sheet with a rim is non-negotiable—trust me, you don’t want melted coconut oil dripping onto your oven floor. Parchment paper is your best friend for easy cleanup and preventing sticking.
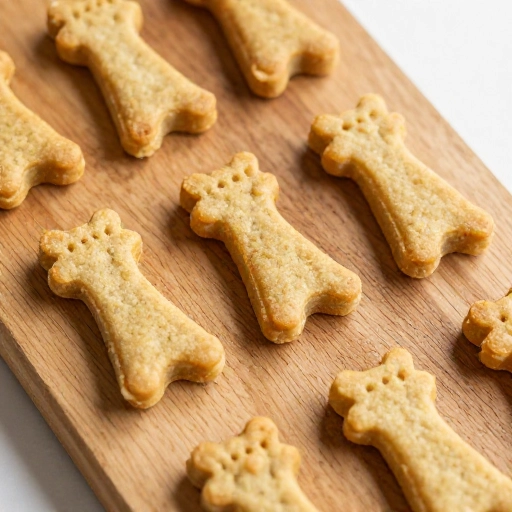
For cutting small treats, a sharp knife or a small cookie cutter works wonders. I personally love using tiny bone-shaped cutters because they make the treats look adorable, but squares work just fine. A cooling rack is also helpful for letting treats dry out completely, which is key for long shelf life.
Recipe 1: Peanut Butter & Oat Crunch Bites
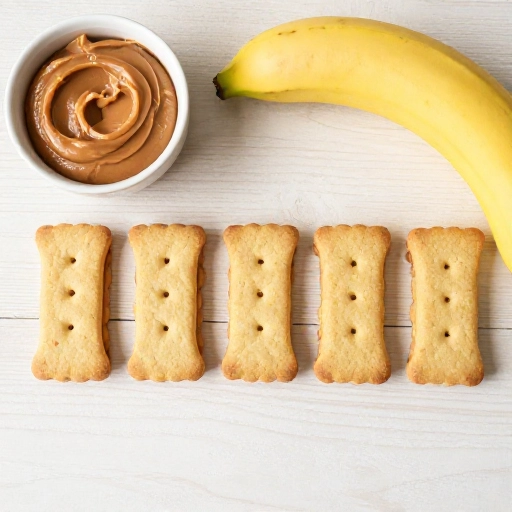
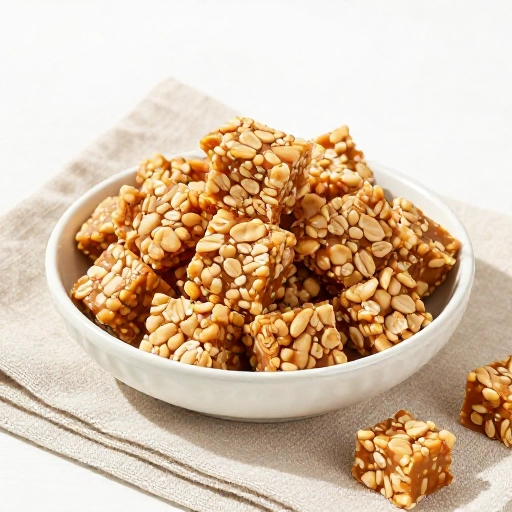
This is the recipe I make most often because it’s nearly impossible to mess up. You’ll need one cup of oat flour (just blitz rolled oats in a blender), half a cup of natural peanut butter (make sure it has no xylitol), and one egg. Mix everything together until it forms a stiff dough, then roll it out to about a quarter-inch thickness.
Cut into tiny squares—about the size of your thumbnail—and bake at 350°F for 20 minutes. The key here is to let them cool completely on a rack before storing. These little guys stay crunchy for up to three weeks in an airtight container.
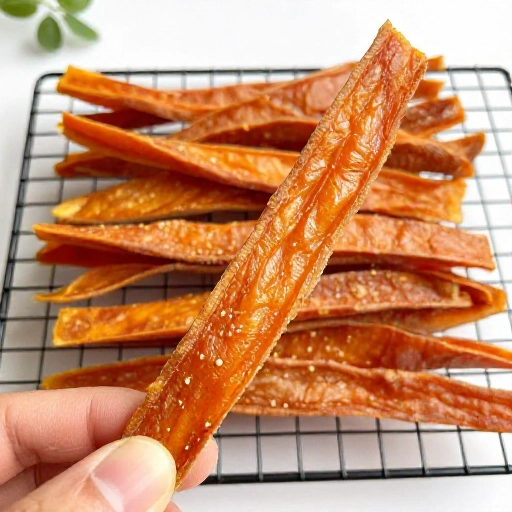
Recipe 2: Sweet Potato Jerky Strips
This is the simplest recipe on the list, and my dog goes absolutely bonkers for it. Slice one large sweet potato into thin strips—think french fry thickness but smaller. Toss them in a tiny bit of coconut oil, then arrange on a baking sheet in a single layer. Bake at 250°F for about two and a half hours, flipping halfway through.
The low temperature is what makes these last. You’re essentially dehydrating the sweet potato, which concentrates the flavor and removes moisture. Store them in a jar with a tight lid, and they’ll stay good for a month. Just break them into smaller pieces for your small dog—these can be a bit chewy.
Recipe 3: Cheddar & Brown Rice Crunchies
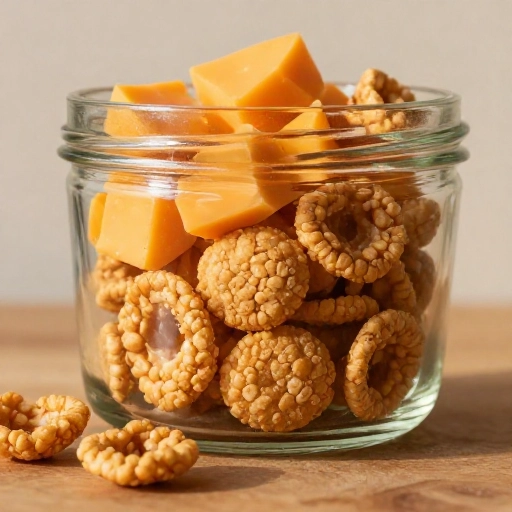
For dogs who love cheese, this one’s a winner. Cook half a cup of brown rice and let it cool completely. Mix it with one cup of whole wheat flour, a quarter cup of shredded cheddar, and one egg. The dough will be a bit crumbly, so press it together firmly before rolling it out.
Bake at 350°F for 15 minutes, then turn off the oven and leave the treats inside for another hour to dry out completely. This extra drying step is what makes them last. They come out super crunchy and have a savory flavor that small dogs seem to love. These keep for about two weeks.
Recipe 4: Pumpkin & Cinnamon Coins
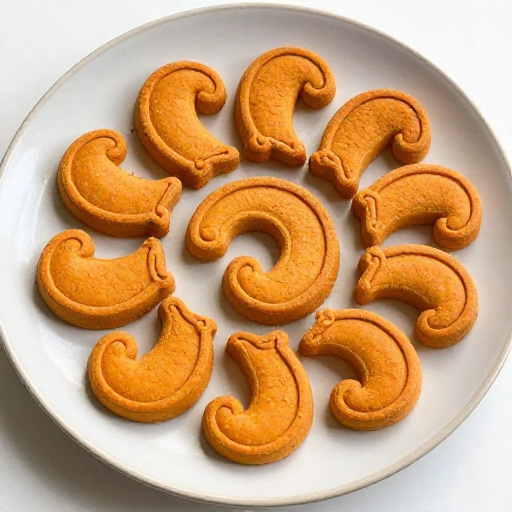
Pumpkin is great for digestion, and these treats smell amazing while baking. Mix one cup of pumpkin puree (not pumpkin pie filling) with two cups of oat flour and a teaspoon of cinnamon. The dough will be soft, so you might need to add a little more flour to get it workable.
Roll it out and cut into small circles. Bake at 350°F for 25 minutes, then let them sit in the turned-off oven for an hour. The cinnamon adds natural sweetness without any sugar, and the pumpkin keeps the treats from being too hard for small teeth. They last about two and a half weeks in a sealed container.
Recipe 5: Chicken & Apple Mini Biscuits
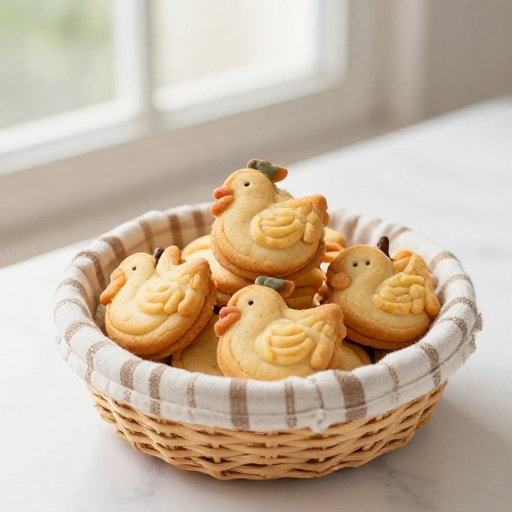
These are a bit more involved but totally worth it. Shred one cooked chicken breast (about a cup) and finely dice half an apple. Mix with two cups of whole wheat flour, one egg, and a quarter cup of chicken broth. The dough should be firm but not sticky.
Roll out and cut into tiny shapes. Bake at 350°F for 20 minutes, then reduce the heat to 250°F and bake for another 10 minutes to dry them out. These have a meaty flavor that dogs go crazy for, and they stay fresh for about three weeks. The apple adds a slight sweetness that balances the savory chicken.
Recipe 6: Coconut & Banana Chews
Mash one ripe banana and mix it with one cup of unsweetened shredded coconut and one cup of oat flour. The banana acts as a natural binder, so you don’t need eggs. Roll the dough into small balls, then flatten them into coin shapes.
Bake at 325°F for 18 minutes. These are a bit more delicate than the other recipes, so let them cool completely before handling. The coconut oil in the shredded coconut helps preserve them, and they stay good for about two weeks. They have a tropical smell that my dog finds irresistible.
[[IMG:IMG08]]
Recipe 7: Liver & Parsley Power Bites
This one sounds weird, but trust me. Cook a quarter pound of chicken liver, then blend it in a food processor until smooth. Mix with one cup of whole wheat flour, a tablespoon of dried parsley, and one egg. The liver gives these a strong smell that dogs absolutely love.
Roll into small balls or cut into tiny squares. Bake at 350°F for 15 minutes. These are the most nutrient-dense treats on this list, and they’re great for training because they’re so potent. They last about two weeks, but I doubt they’ll last that long in your treat jar—they’re too popular.
[[IMG:IMG09]]
How to Store Your Homemade Treats for Maximum Freshness
The biggest mistake I made early on was storing treats in a plastic bag. They’d get soft and weird within days. Now I use glass jars with tight-fitting lids, and I always add a silica gel packet (the kind you find in shoe boxes) to absorb any extra moisture. It sounds silly, but it works.
If you live in a humid area, consider storing treats in the fridge or freezer. They’ll last months in the freezer, and you can just grab a few as needed. For pantry storage, keep them in a cool, dark place away from the stove or dishwasher. And always check for any signs of mold before giving them to your dog—homemade treats don’t have preservatives, so they won’t last forever.
[[IMG:IMG10]]
Final Thoughts on Homemade Dog Treats
Making treats for your small dog doesn’t have to be complicated or time-consuming. These seven recipes have saved me so much money and given me peace of mind that my dog is eating real, wholesome ingredients. Plus, there’s something special about seeing your pup’s tail wag when they know you’ve made something just for them.
Start with the sweet potato jerky or the peanut butter bites—they’re the easiest and most forgiving. Once you get the hang of it, experiment with different flavors and shapes. Your dog will thank you, and you’ll never look at store-bought treats the same way again.
[[IMG:IMG11]]
Frequently Asked Questions
How long do homemade dog treats really last?
If stored properly in an airtight container in a cool place, most of these treats last 2–4 weeks. The sweet potato jerky and pumpkin coins tend to last the longest because they’re baked at low temperatures to remove more moisture.
Can I use almond butter instead of peanut butter?
Yes, as long as it’s natural and doesn’t contain xylitol. Almond butter works great in the peanut butter recipe. Just check the label carefully—many nut butters have added sugars or salt that aren’t ideal for dogs.
Are these treats safe for puppies?
Absolutely, but adjust the size. Cut them smaller for tiny puppies, and supervise them while eating, especially with the jerky-style treats. Puppies have sensitive stomachs, so introduce new treats slowly and watch for any reactions.
Can I double these recipes?
Yes, but you’ll need to adjust baking time slightly. Larger batches take longer to dry out. I recommend baking in smaller batches on separate trays to ensure even drying. And don’t overcrowd the baking sheet—treats need space to crisp up properly.
What’s the best way to make treats even crunchier?
After baking, turn off the oven and leave the treats inside for an extra 30–60 minutes. This slow drying process removes residual moisture without burning them. You can also let them sit on a cooling rack for 24 hours before storing—this is my secret for extra-crunchy treats.
[[IMG:IMG12]]