7 Dog Ramp DIY Ideas Your Pup Will Love (Easy & Affordable!)
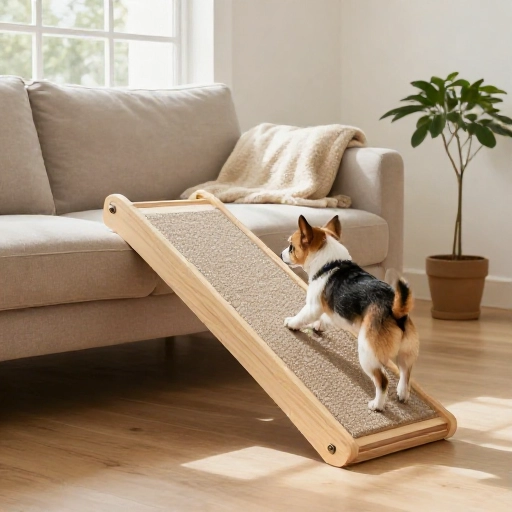
If your dog struggles to jump on the couch or into the car, a ramp can be a game-changer. I’ve built a few for my own senior beagle, and let me tell you—it’s not as hard as it looks.
Store-bought ramps can cost a fortune, and they often don’t fit your space or your dog’s needs. That’s why DIY dog ramps are so popular. You can customize the height, the surface, and even the look.
Below are 7 dog ramp DIY ideas I’ve tried or seen work great. Each one uses simple materials and basic tools. Your pup will thank you.
1. The Classic Plywood Ramp with Carpet Grips
This is the ramp I built first. It’s sturdy, cheap, and works for dogs up to about 50 pounds. You need a piece of 3/4-inch plywood, a strip of indoor/outdoor carpet, and some wood screws.
Cut the plywood to your desired length and width. I made mine 12 inches wide and 36 inches long for a low couch. Sand the edges so they’re smooth.
Staple or glue the carpet to the top. The carpet gives your dog traction and it’s easy to vacuum. For extra safety, add small wooden cleats every 6 inches—like little steps.
2. Upcycled Suitcase Ramp for Travel
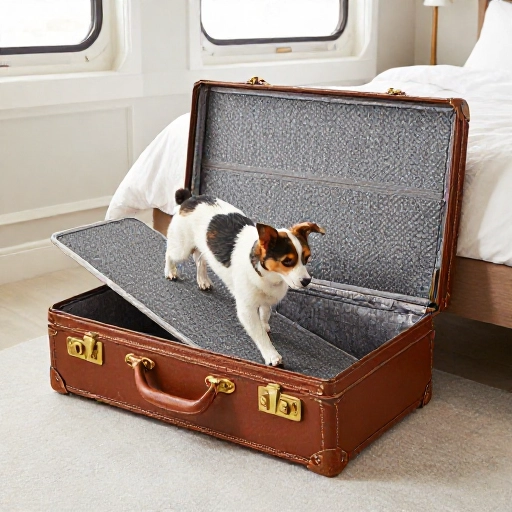
I love this one for road trips. Grab an old hard-shell suitcase from a thrift store. You’ll also need two hinges, a non-slip mat, and a drill.
Open the suitcase flat. Cut a piece of plywood to fit inside one half. Attach the plywood to the suitcase with hinges so it can fold. Cover the wood with a non-slip mat or carpet.
The suitcase becomes the base and the ramp when opened. It’s compact, has a handle, and looks cute. My dog hops right in.
3. Foldable Foam Board Ramp for Tiny Pups
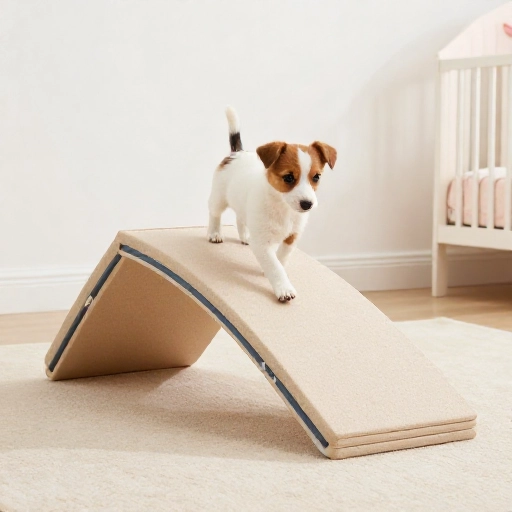
If you have a tiny dog under 15 pounds, a foam board ramp is perfect. Use two pieces of 1-inch thick foam insulation board (the kind with foil on one side).
Cut each piece to 10 inches wide and 24 inches long. Tape them together with heavy-duty duct tape to make a hinge. Cover the top with a shelf liner or a bath mat for grip.
This ramp is super light and folds in half. It’s great for the bed or a low sofa. Just don’t use it for bigger dogs—they’ll crush it.
4. PVC Pipe and Fabric Ramp
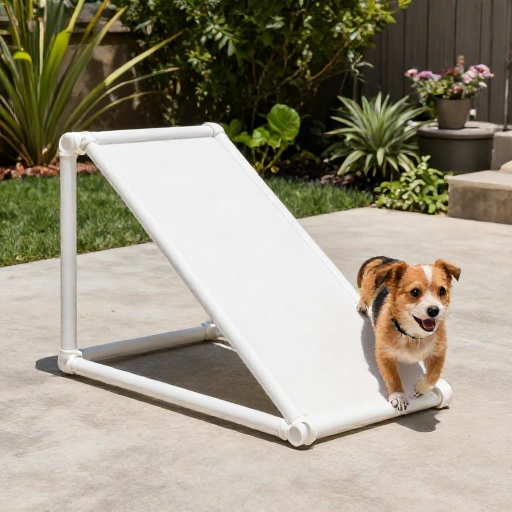
This is a modular option. You need PVC pipes, elbow joints, and a piece of canvas or denim fabric. The fabric is the ramp surface, and the PVC is the frame.
Build two long side rails with PVC. Connect them with cross pieces every 12 inches. Then sew or staple the fabric to the frame, pulling it tight. Add strips of velcro or rubber mats for traction.
I like that you can take it apart for cleaning. It’s also lightweight. Just make sure the fabric doesn’t sag—double it up if needed.
5. The IKEA Hack Ramp
I’m a sucker for a good IKEA hack. Use a Lack floating shelf or a small side table. You’ll also need a non-slip runner and some L-brackets.
Attach the shelf to a wall or a piece of furniture at an angle. The shelf becomes the ramp. Cover it with a non-slip runner (cut to size). Secure the runner with double-sided tape.
This looks sleek and modern. My dog uses it to get on the window seat. Just check the weight limit—Lack shelves hold about 50 pounds.
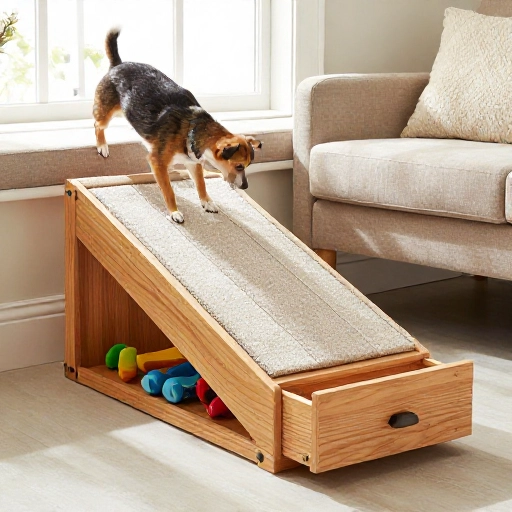
6. Drawer Ramp with Built-In Storage
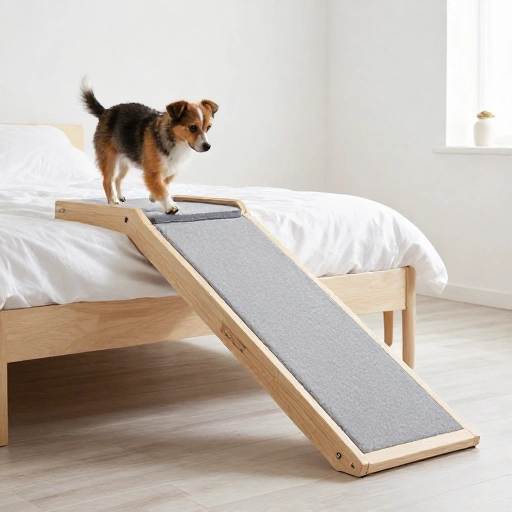
Got an old dresser drawer? Turn it into a ramp with storage. Remove the drawer front and sand the edges. Attach a piece of plywood to the bottom of the drawer with hinges.
The plywood is the ramp surface. Cover it with carpet. The drawer itself becomes a little step or a storage box for toys. I put treats in mine.
This is a bit more advanced, but it looks like furniture. My dog loves the extra height. Make sure the drawer is sturdy and won’t tip.
7. Adjustable Bed Ramp with Hinges
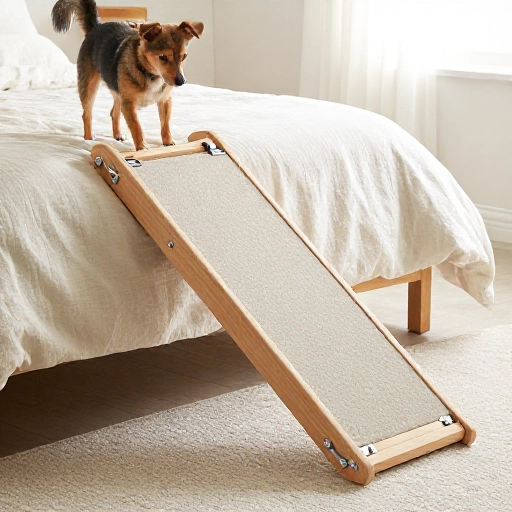
For a bed that’s higher than a couch, you need an adjustable ramp. Use two pieces of plywood connected by a piano hinge. Add a support leg that can move up or down.
Cut a notch in the support leg so it locks into place. Cover the ramp with a rubber mat. I used a horse stall mat cut to size—it’s heavy but won’t slip.
This ramp can go from 12 to 24 inches high. It’s perfect for senior dogs who need a gentle slope. Test it with your dog before they use it alone.
Conclusion
Building a DIY dog ramp is one of the most rewarding projects. You save money, get a custom fit, and your dog gets independence back. I’ve built four of these over the years, and each one taught me something new.
Start with the plywood ramp if you’re a beginner. Then try the suitcase or IKEA hack for something fun. Always test the ramp with your dog on a leash first, and add non-slip surfaces everywhere.
Your pup will love you for it—and your back will thank you too.
FAQ
What’s the best material for a dog ramp?
Plywood is the most common. It’s strong, cheap, and easy to cut. For small dogs, foam board works. For travel, hard-shell suitcases are great.
How do I make a dog ramp non-slip?
Use indoor/outdoor carpet, rubber mats, or shelf liner. Staple or glue it down. Avoid smooth surfaces like bare wood or plastic.
What angle is safe for a dog ramp?
Keep it under 30 degrees. For senior dogs, 15 to 20 degrees is best. The gentler the slope, the easier it is on their joints.
Can I use a DIY ramp for a large dog?
Yes, but you need sturdy materials. Use 3/4-inch plywood and reinforce it with 2×4 supports. Check the weight limit of any hardware.
How do I clean a dog ramp?
If you use carpet, vacuum it and spot clean with pet-safe soap. For fabric ramps, remove the cover and wash it. Wipe plastic or PVC with a damp cloth.