7 Twin Bed to Dog Bed Transformation Ideas That Are Pure Genius for Cozy Pups
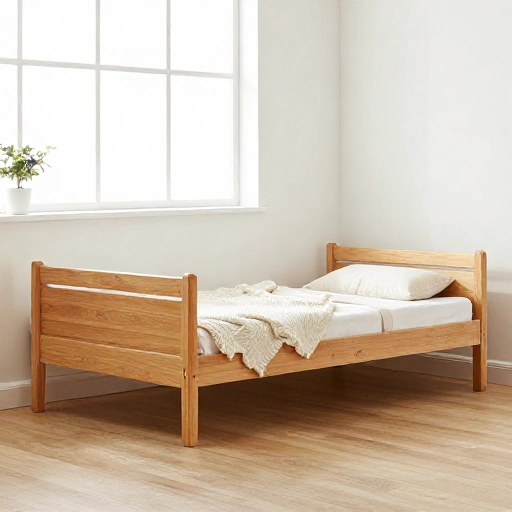
If you’ve got an old twin bed frame sitting in the garage, don’t haul it to the curb just yet. I turned mine into a dog bed last spring, and honestly? My golden retriever Otto now spends about 80% of his day on it. It looks better than anything I could have bought, and it cost me almost nothing.
The magic of a twin bed is that it’s already the perfect size. It’s long enough for big dogs to stretch out, wide enough for two small pups to share, and the frame gives you a sturdy base that doesn’t slide around the floor when your dog does that excited spin thing.
Below are seven ways I’ve personally tried (or helped friends build) to convert a twin bed into a dog bed. Some take an afternoon, others a full weekend. Pick the one that matches your tools, your space, and your dog’s personality.
1. The Classic Leg Trim: Cut the Frame Down to Dog Height
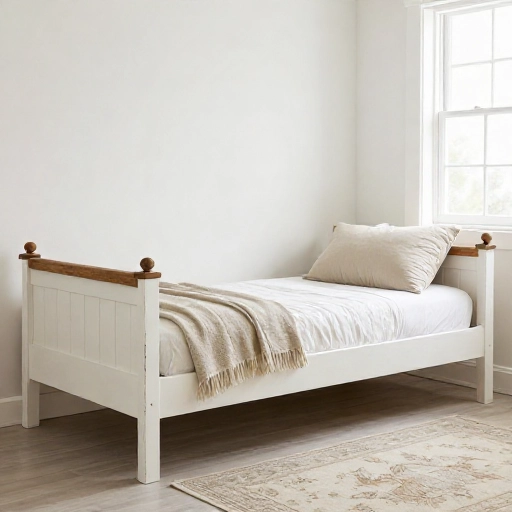
This is the one I recommend for almost everyone because it works with any twin frame and takes about an hour. Twin bed legs are usually 12–15 inches tall, which is way too high for most dogs to hop onto comfortably, especially seniors.
I used a handsaw to take off the bottom 6 inches of each leg, then sanded the cut ends and added rubber furniture caps so the wood wouldn’t scratch my floors. Suddenly the whole thing sat at a low, welcoming height my dog could just walk onto.
After that, it’s just a mattress. I used a cheap foam crib mattress cut down, but you could also use two stacked memory foam toppers or a washable orthopedic dog bed that fits the frame’s dimensions. A fitted sheet or custom cover hides the foam and makes cleanup easy.
What I love most is that the frame stays intact. If you ever want the bed back, you can pop new legs on it. No regrets, no wasted wood.
2. Headboard Repurposed as a Cozy Backrest Wall
Here’s a trick I wish I’d thought of sooner: detach the headboard and mount it against the wall behind your dog’s bed. It instantly turns a plain rectangle on the floor into a fancy little nook that looks intentional rather than thrown together.
I sanded mine, gave it two coats of soft sage paint, and screwed it into wall studs at about 18 inches off the ground. Then I pushed the frame right up against it. Otto now leans against the headboard like a tiny king.
If your headboard has slats or spindles, you can weave in a little battery-powered string light or drape a washable blanket over one corner. Just make sure nothing dangles low enough to become a chew toy.
This is a great option for anyone who lives in a rental and wants the transformation to be reversible. Two screws and it’s back to normal.
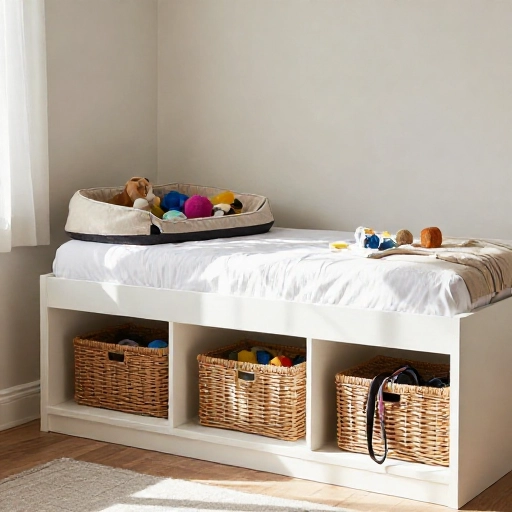
3. The Built-In Storage Base for Toys, Treats, and Leashes
My dog has more gear than I do. So for my second build, I raised the whole twin frame up on a plywood box base and added two sliding drawers underneath. Now the bed doubles as the dog supply station.
You don’t need fancy joinery for this. I built a simple box from 2x4s and plywood, attached it under the frame, and used inexpensive rolling storage bins as the drawers. Total cost was under $40 because I already had the bed.
I keep the bins labeled: one for toys, one for food and treats, one for grooming stuff. It ended up being the most organized corner of my house, which I did not expect from a dog project.
- Measure the space under the frame before you buy bins
- Use a lip or trim piece to keep bins from sliding out
- Line the bins with a washable mat to catch crumbs and fur
4. A Curtained Nook for Nervous or Burrowing Dogs
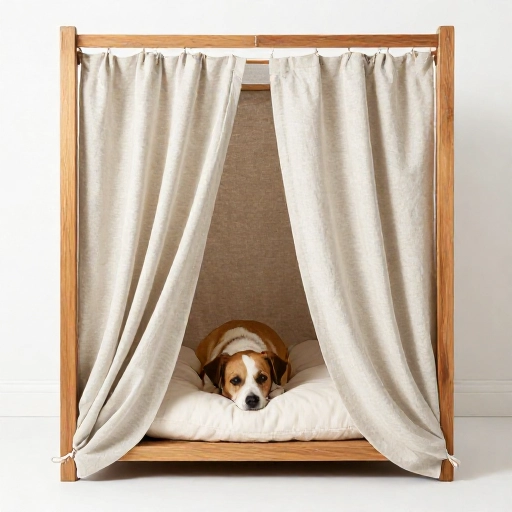
Some dogs want to hide. If yours is a burrower, a rescue pup, or just gets spooked by thunderstorms, take that twin bed and turn it into a cozy cave instead of an open platform.
I built a simple frame around the mattress using 1×4 boards painted white, then hung a fabric curtain across the front on a tension rod. The inside stayed soft and dark, and my anxious foster dog finally started sleeping through the night in it.
For the mattress layer, I used a memory foam base topped with a fluffy fleece blanket that I can pull out and wash weekly. Fleece holds up way better than the cheap sherpa covers I tried first.
One tip: leave the back partially open for airflow. A closed box can get musty fast, especially in humid rooms.
5. Two Dogs, Two Sides: Split the Mattress Into a Shared Bed
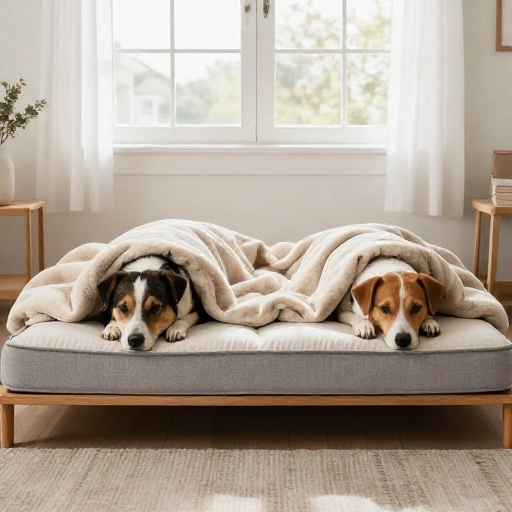
If you’ve got two dogs who actually like each other, a twin bed is a surprisingly good size for a shared sleeping spot. I split mine down the middle and gave each pup their own half.
I used a foam cutter (a serrated bread knife works too) to slice the mattress into two long sections, then made separate covers for each side. Each dog gets their own smell, their own blanket, and their own little zone.
To keep things tidy, I added a low divider board wrapped in fabric down the center. It stopped the nightly turf wars completely. Turns out dogs are a lot like siblings about personal space.
This setup is especially handy if one dog is older and needs a firmer surface while the other wants plush. You can customize each half separately.
6. Elevated Wooden Platform Bed for Chewers and Seniors
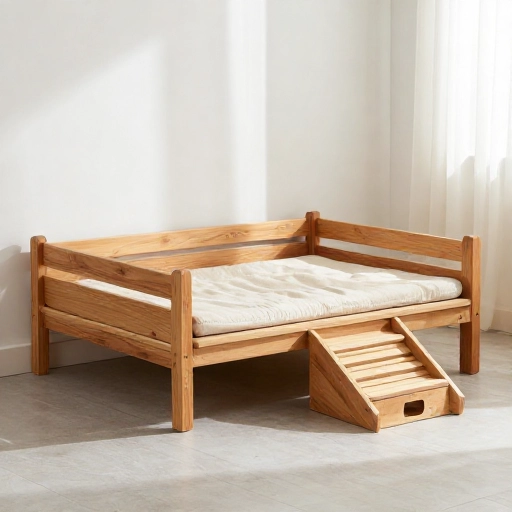
Some dogs destroy anything soft, and some older dogs need a little lift to get up without straining. This build solves both problems.
I kept the twin frame at a medium height (about 10 inches), reinforced the slats with extra cross boards, and topped it with a waterproof crib mattress wrapped in a heavy canvas cover. No foam edges, no loose stuffing, nothing to shred.
For senior dogs, I added a short ramp made from a scrap board with grip tape on top. It took ten minutes and completely changed how confidently my neighbor’s arthritic lab used the bed.
If your dog is a chewer, skip the fabric skirt entirely. A plain painted frame with a washable canvas topper looks surprisingly clean and holds up way longer.
7. The Farmhouse Look: Paint, Trim, and a Chunky Cushion
Sometimes the transformation is mostly cosmetic, and that’s completely fine. I took a beat-up wooden twin frame, sanded it down, and painted it classic black with a matte finish. Then I added simple trim along the inside edge where the mattress sits.
For the cushion, I ordered a custom-size foam pad cut to the frame’s inner dimensions, then sewed a removable cover from a thick linen-look fabric. A washable zipper closure means I can toss it in the machine when it gets, well, doggy.
This is the version I’d recommend if your dog bed is going in a living room or bedroom where guests will see it. Nobody guesses it used to be a kid’s bed. Everyone assumes it’s a custom piece.
Small touches make a big difference here: brass corner brackets, a monogrammed blanket, or a little name tag on the frame. It sounds silly until you see how good it looks in person.
Wrapping It Up
Turning a twin bed into a dog bed is one of those projects that sounds harder than it actually is. The frame is already there, the size is already right, and the finished piece looks like something you’d pay hundreds for in a boutique pet store.
Start with the leg trim if you want a quick win. Go for the storage base or the curtained nook if you want something more custom. Either way, your dog will claim it within about thirty seconds, and you’ll wonder why you didn’t do this years ago.
Frequently Asked Questions
What size is a twin bed compared to a standard dog bed?
A twin mattress is roughly 38 by 75 inches, which is much larger than even an XXL dog bed. It’s ideal for large breeds, multiple small dogs, or one dog who likes to sprawl.
How do I stop the cushion from sliding around on the frame?
Add a non-slip rug pad or a strip of velcro between the cushion and the frame slats. A fitted cover with elastic corners also helps a lot.
Is a crib mattress safe to use as the cushion?
Yes, as long as it’s waterproof and you cover it with a washable fabric. Crib mattresses are firm, which is actually good for dogs with joint issues.
How do I clean a repurposed bed frame?
Wipe painted wood with a damp cloth and mild soap. For raw wood, sand lightly and reseal if it starts absorbing odors. Wash all fabric covers weekly.
Can I do this project without power tools?
Absolutely. A handsaw, sandpaper, and a screwdriver will handle most of these builds. The leg trim idea especially needs almost nothing.