At Home Dog Grooming Made Simple: 10 Easy Tips I Swear By for a Clean, Calm Pup
If you’ve ever left the groomer feeling like your wallet needed a haircut more than your dog did, you’re in good company. I started grooming my dog at home purely out of necessity, but it quickly turned into one of my favorite bonding routines. There is something so satisfying about a fluffy, clean, happy pup that you pampered with your own two hands.
What I’ve learned is that you don’t need a professional table, a fancy dryer, or even a lot of experience. You just need a little patience, the right order of steps, and a dog who knows treats are coming. These are the exact methods I use to keep my dog looking and smelling fresh between salon visits — and sometimes instead of them.
Below I’m sharing my simple, real-life at home dog grooming routine. It’s beginner friendly, low stress, and designed to make your pup feel loved rather than handled. Grab your brush and a handful of treats, and let’s get started.
Create a Cozy Grooming Corner That Feels Safe
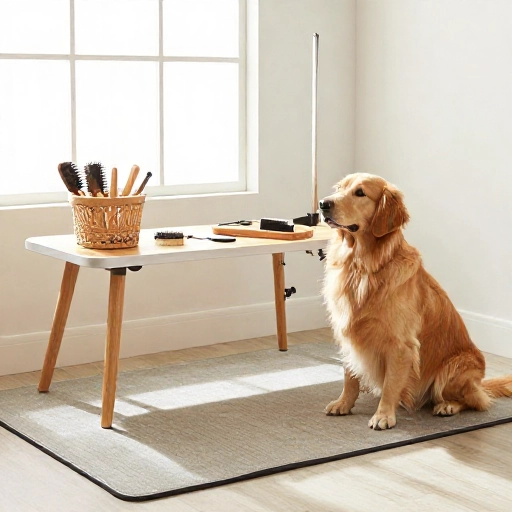
Before I even pick up a brush, I make sure my dog has a dedicated spot that feels calm and familiar. A non-slip bath mat on the floor or a folded towel on a sturdy table works perfectly. Good lighting helps me see mats, ticks, or irritations before they become bigger problems, and having all my tools in one basket keeps me from scrambling mid-session.
I let my dog sniff every single tool before I use it. Clippers, brushes, nail trimmers, ear cleaner — everything gets a slow introduction. This tiny step makes a huge difference because it turns scary metal objects into everyday household items. I also keep a small jar of high-value treats within reach at all times.
Start with just two or three minutes in the grooming spot with no actual grooming. Give treats, offer praise, and let your pup hop down. Do this a few times during the week, and soon your dog will see the grooming corner as a treat station rather than a punishment zone.
Brush First, Bathe Later: The Order That Changes Everything
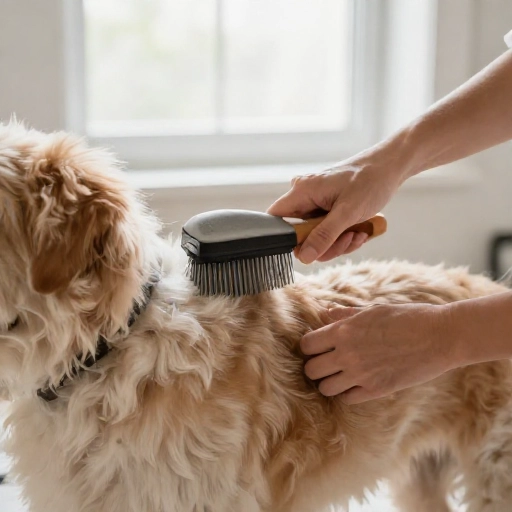
I used to think a bath was the first step in grooming, but brushing before water is a total game changer. Loose fur, tangles, and light mats are much easier to remove when the coat is dry. If you bathe a tangled dog, those mats tighten into solid lumps that are painful to brush out later.
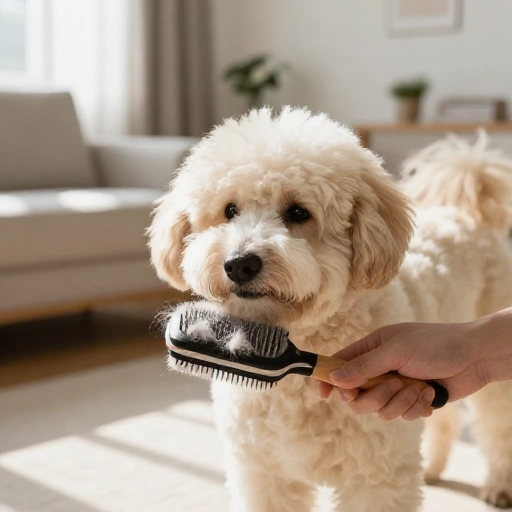
The kind of brush matters more than you think. For short coats, I love a rubber curry brush or a soft bristle brush. For long or double-coated dogs, a slicker brush and a wide-tooth comb are my go-to. A little detangling spray on stubborn spots helps the brush glide without pulling.
Work in small sections and always brush in the direction the hair grows. I chat to my dog the whole time, telling her what a good girl she is. It keeps both of us relaxed, and she usually flops onto her side halfway through because it feels like a massage.
My No-Stress At-Home Dog Bath Routine
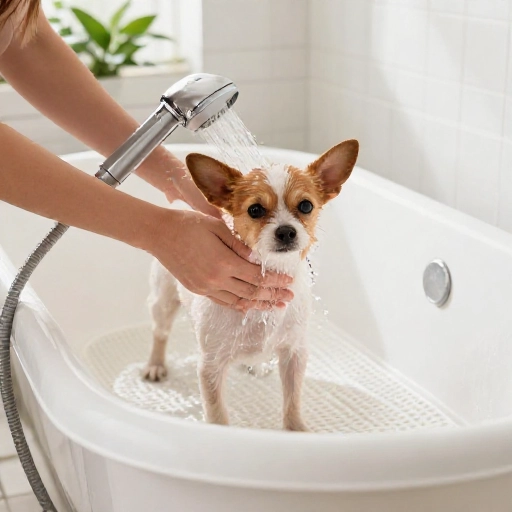
The key to a calm bath is lukewarm water and zero rushing. I close the bathroom door so we don’t have any surprise escapes, then I wet my dog from the neck down first. I never pour water directly over her head because that is the fastest way to create a dog who hates bath time forever.
I always use dog-specific shampoo because human products can strip the natural oils from a pup’s skin. I dilute the shampoo with a little warm water in a cup before applying it, which makes it easier to spread and rinse. Starting at the neck and working backward prevents fleas from running toward the face, and I take extra care around the belly and legs.
Rinsing takes twice as long as washing, and that’s normal. Any leftover shampoo can cause itching and flaking, so I keep rinsing until the water runs completely clear. For the face, I use a damp washcloth with no soap at all — just gentle wipes around the eyes, nose, and mouth.
Drying Tricks That Keep Your Pup from Zoomies
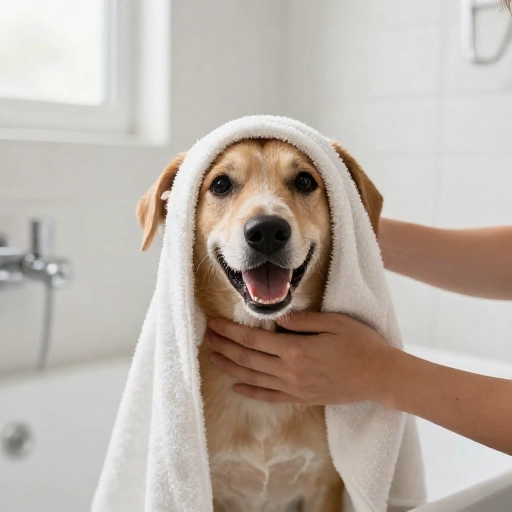
After the bath, I wrap my dog in a big, fluffy towel and squeeze — never rub — the water out of her coat. Rubbing can create tangles and frizz, especially on curly or long-haired breeds. A second dry towel usually gets her damp enough to air dry comfortably in a warm room.
I avoid human hair dryers because the heat is far too intense for a dog’s sensitive skin. If I’m in a hurry, I use a pet dryer on the lowest, coolest setting and keep it moving constantly. But honestly, most of the time I just let my dog air dry on a towel while she chews a frozen treat.
Once she’s about 80 percent dry, I do a quick brush through to fluff up the coat and check for any leftover soap or tangles. This is also a great moment to reward her for surviving the bath, which makes the next one easier.
Nail Trims Without the Tears (for Both of You)
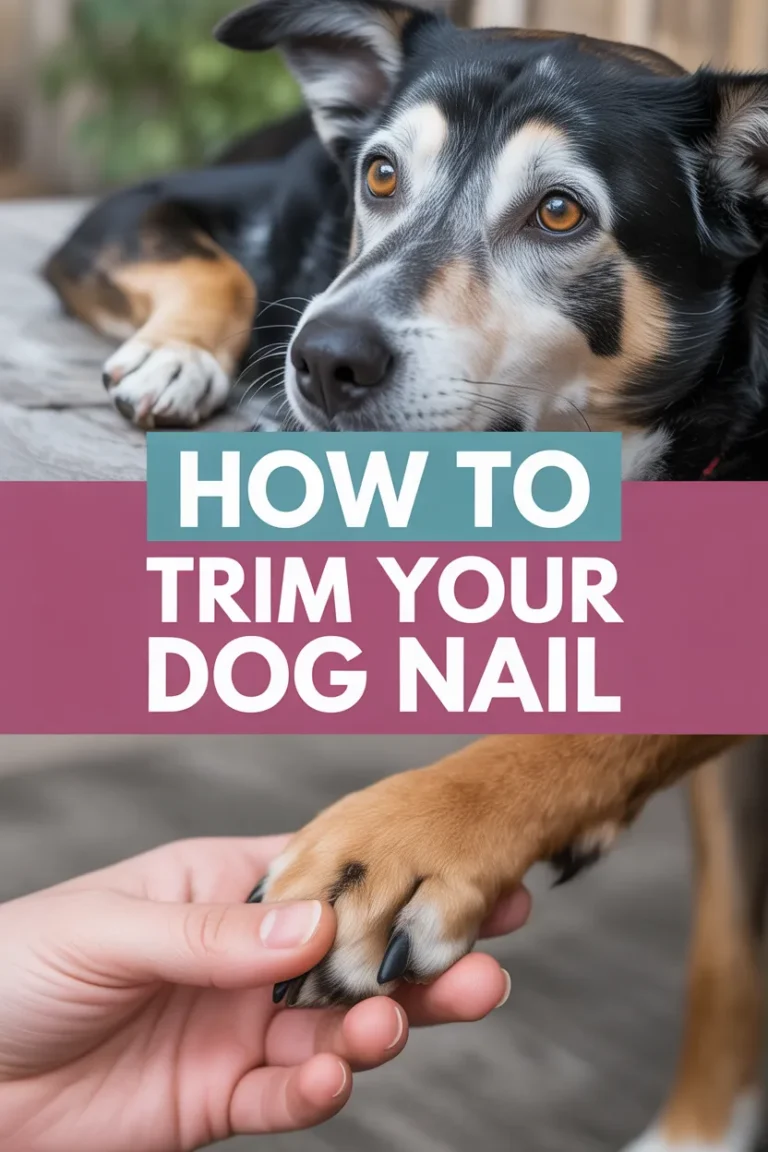
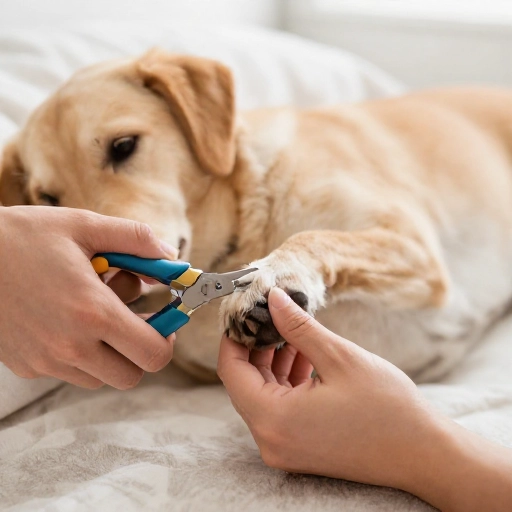
Nail trimming used to be the part we both dreaded most. What changed everything was teaching my dog that having her paws touched is perfectly safe. Every evening while we watch TV, I hold each paw for a few seconds, touch her nails, and give a tiny treat. After a week, she stopped pulling away completely.
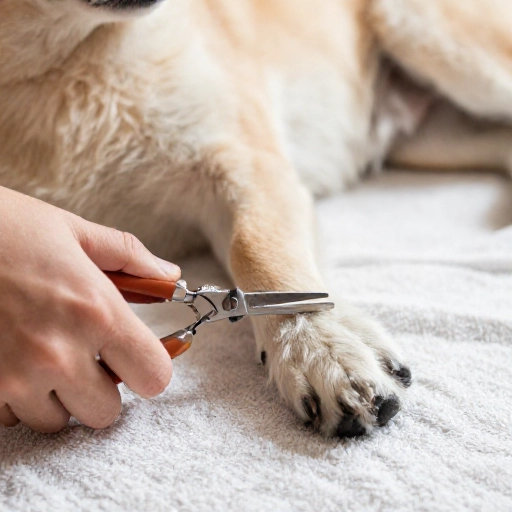
I only trim the very tip of each nail, using sharp, high-quality clippers or a nail grinder. If your dog has light nails, you can usually see the pink quick — that’s the sensitive part you want to avoid. For dark nails, I trim a sliver at a time and stop as soon as I see a small dark dot in the center of the cut surface.
I always keep styptic powder or cornstarch nearby just in case I nick the quick. If my dog gets too wiggly, I stop after one or two nails and try again tomorrow. A few nails a day is still progress, and it keeps the experience positive instead of traumatic.
Ears, Eyes, and the Spots Most People Skip
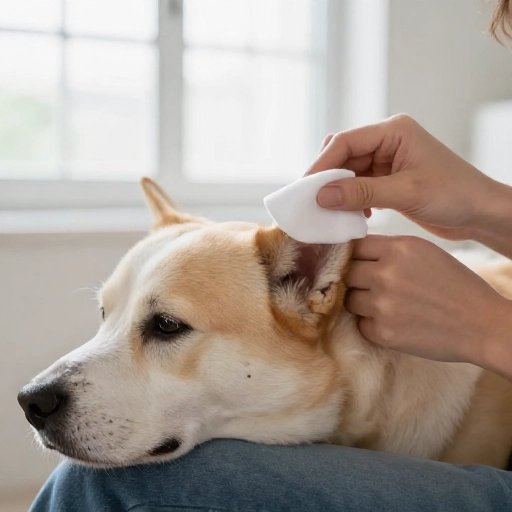
Grooming isn’t just about fur. The ears and eyes need regular gentle attention, and they’re easy to overlook until there’s a problem. Once a week, I flip my dog’s ear flap back and take a quick look inside. If it looks clean and pale pink, I leave it alone. If I see a little wax or dirt, I use a vet-approved ear cleaner on a cotton ball.
I never push anything deep into the ear canal. A gentle wipe of the outer ear and the flap is all that’s needed. For tear stains around the eyes, I use a warm, damp washcloth with no soap and wipe outward from the corner of the eye. This daily habit takes ten seconds and prevents crusty buildup.
I also check paw pads, under the tail, and around the collar area for mats, burrs, or irritations. These hidden spots are where tangles and skin issues love to hide. A quick once-over after every walk makes full grooming sessions much easier down the line.
Simple Haircut Steps When You Don’t Want a Full Shave
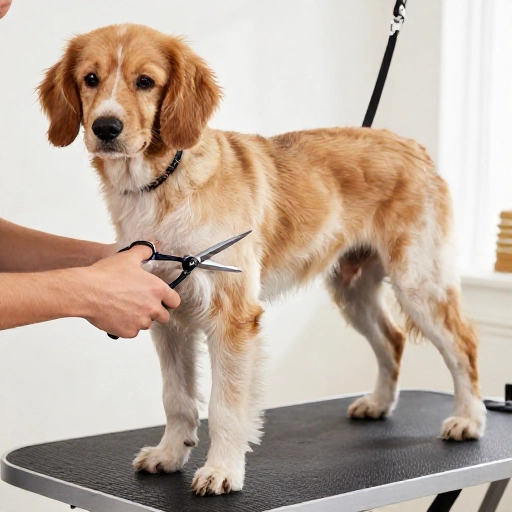
Full haircuts at home can feel intimidating, but you don’t have to give your dog a perfect breed cut. I focus on the areas that matter most for comfort and cleanliness: the face, paws, belly, and sanitary areas. Using clippers with a guard comb or rounded safety scissors is my go-to for beginners.
I start with a clean, fully dry dog because wet hair clogs clippers and cuts unevenly. I use a comb to lift small sections of hair, then trim a little at a time, always going in the direction of the hair growth. I never rush the face — that’s the area where dogs feel most vulnerable, so I pause often and offer lots of treats.
If my dog gets restless, I stop after one area and finish the rest the next day. A half-groomed dog for 24 hours is totally fine. A scared, traumatized dog is not. Keeping each session short and sweet is the secret to stress-free home haircuts.
Paw Pad Cleanups and Sanitary Trims
The hair between paw pads can grow long and cause slipping on hard floors, not to mention it traps dirt, ice, and burrs. I use rounded-tip scissors or a small trimmer to carefully trim that hair level with the pads. It takes about two minutes per paw and makes a huge difference in cleanliness.
Sanitary trims around the rear and belly are just as important. Long hair in those areas can get messy and lead to skin irritation. I use clippers with a #10 blade or a guard comb and work slowly, keeping the skin flat and smooth. I talk in a calm, cheerful voice the entire time.
If your dog is ticklish or nervous about these spots, do one paw and then take a treat break. Over time, your pup will learn that paw and sanitary trims come with rewards, not pain. Consistency and gentleness win every time.
Deshedding Hacks for Fluffy Dogs
If your dog’s fur ends up in every corner of your house, deshedding before the bath is a lifesaver. An undercoat rake or a deshedding tool pulls out the loose, dead undercoat without cutting the top coat. I use it outside or in the garage because it creates a fur cloud.
I work in short strokes in the direction of the hair growth, focusing on the back, chest, and haunches. For very thick double coats, I do five minutes of deshedding every other day instead of one long weekly session. This keeps shedding under control without overwhelming my dog.
After deshedding, a bath with a gentle deshedding shampoo helps loosen even more dead fur. Once the coat is dry, a final brush removes whatever the bath brought to the surface. The result is a visibly lighter, cooler, and softer dog — and less fur on my black leggings.
Turn Grooming Into Bonding Time with Treats and Praise
The biggest mistake I made early on was treating grooming like a chore to finish as fast as possible. Dogs pick up on that energy, and they get anxious. Now I treat grooming like a slow, cuddly activity — something we do together, not something I do to her.
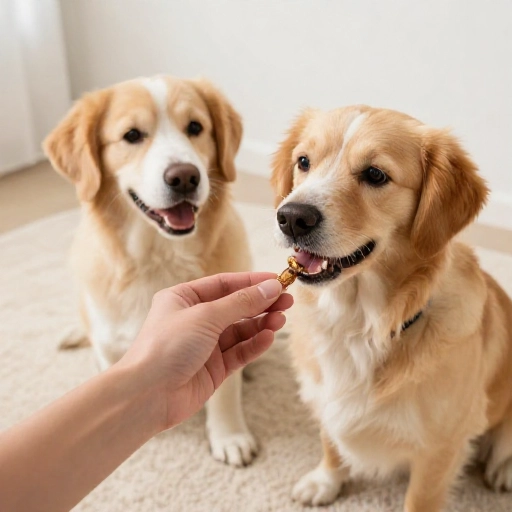
I smear a little peanut butter or plain yogurt on a lick mat and stick it to the wall of the tub or the side of the grooming table. That keeps my dog happily occupied while I brush, trim, and clip. I also keep a jar of tiny training treats on hand and reward every single calm moment.
At the end of each session, we have a quick play break or a short walk, even if the session went perfectly. Ending on a high note teaches my dog that grooming always leads to something good. That positive association is worth more than any expensive tool.
My Final Take on At-Home Dog Grooming
At-home dog grooming doesn’t have to be perfect to be wonderful. Some days we get through a full bath, nail trim, and brush. Other days we just wipe ears and call it a win. What matters is that my dog feels safe, loved, and comfortable — and that I’m saving money while building trust.
Start small, use the right tools, and never force your pup past their comfort zone. Over time, you’ll develop your own rhythm and your dog will start to look forward to grooming time. A clean, calm dog and a deeper bond? That’s the best result a grooming session can give you.
FAQ: At Home Dog Grooming Questions
Q: How often should I groom my dog at home?
A: It depends on coat type, but most dogs benefit from a quick brush two to three times per week, a bath every four to six weeks, and nail trims every three to four weeks. Ears can be checked weekly and paw pad trims every month or as needed.
Q: What if my dog hates being bathed?
A: Start by introducing the tub without water and giving treats for calm behavior. Use a non-slip mat, warm (not hot) water, and a handheld sprayer on low pressure. Wash from the neck down and avoid the face entirely. Short, positive sessions will gradually build tolerance.
Q: Can I use human shampoo on my dog?
A: No. Human shampoo has a different pH balance and can strip your dog’s natural skin oils, leading to dryness, itching, and irritation. Always use a shampoo formulated specifically for dogs, ideally one suited to your pup’s coat and skin type.
Q: How do I trim my dog’s nails if I can’t see the quick?
A: For dark nails, trim only a tiny sliver at a time using sharp clippers. Stop as soon as you see a small dark dot in the center of the cut surface, which means you’re near the quick. If you’re unsure, a nail grinder is often safer because it removes small amounts gradually.
Q: What should I do if I accidentally cut my dog’s quick?
A: Stay calm. Apply styptic powder, cornstarch, or flour directly to the bleeding nail and hold gentle pressure for a minute. The bleeding usually stops quickly. Give your dog extra treats and end the grooming session on a positive note so the experience doesn’t become scary.