DIY Dog Chew Sticks That Last: Your Pup Will Go Wild For These Homemade Treats
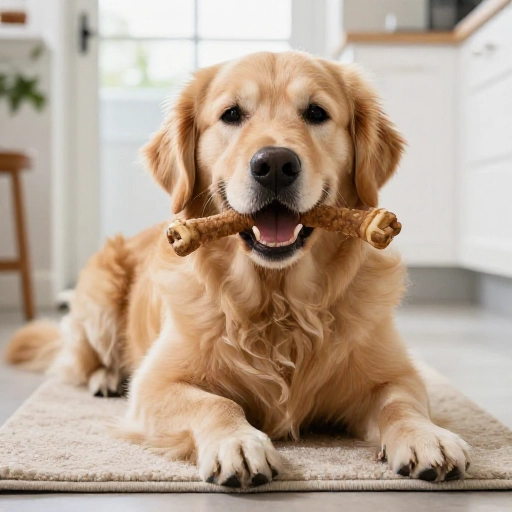
Let’s be honest—buying chew sticks for your dog can get expensive fast. And sometimes, those store-bought options are gone in ten minutes or filled with stuff you can barely pronounce. I wanted something better for my pup: a long-lasting, natural chew that would keep her busy without breaking the bank.
These homemade chew sticks are tough, flavorful, and surprisingly simple to make. They use just a few kitchen staples, and they last way longer than you’d expect. If you’ve got a heavy chewer or a dog who loves to gnaw, this is about to become your new favorite recipe.
Why Homemade Chew Sticks Beat Store-Bought Every Time
When you make chew sticks at home, you control every single ingredient. No mystery fillers, no artificial preservatives—just real food your dog will love. Plus, the texture and density you get from baking them low and slow creates a chew that actually lasts.
These sticks are also great for dental health. The gnawing action helps scrape away plaque and keeps those chompers clean. And because they’re fully digestible, you don’t have to worry about splintering or choking hazards like with rawhide or antlers.
Kitchen Equipment & Tools You’ll Need
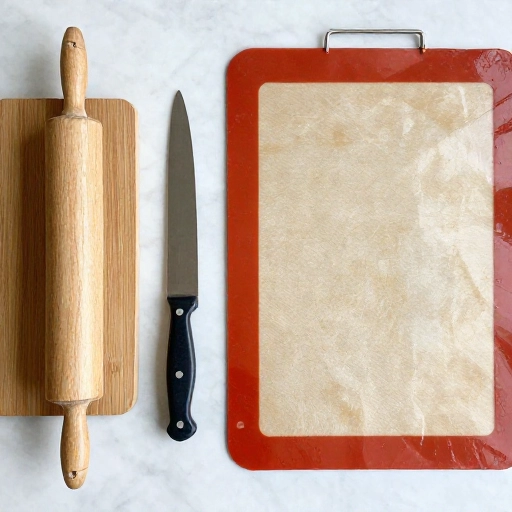
You probably already have most of this in your kitchen. I kept it simple because I know we don’t all have fancy gadgets.
- Large mixing bowl
- Baking sheet or two (rimmed works best)
- Parchment paper or silicone baking mat
- Sharp knife or pizza cutter
- Rolling pin (or a sturdy glass bottle works too)
- Cooling rack
That’s it. No special molds or dehydrators required. Your oven does all the heavy lifting.
Ingredients List & Safe Substitutions
Here’s what I used for my batch of long-lasting chew sticks. Feel free to swap based on what your dog likes or what you have on hand.
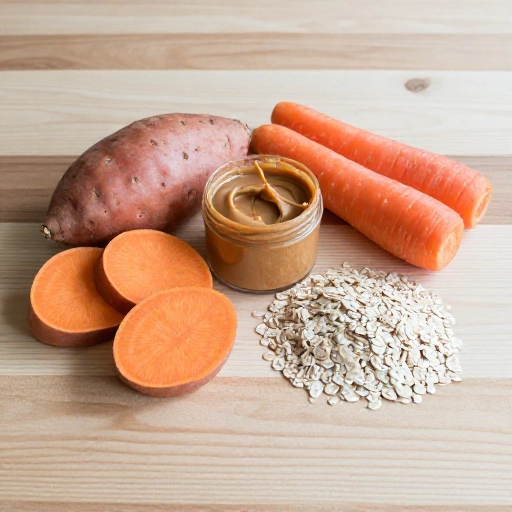
- 2 cups whole wheat flour (or oat flour for sensitive tummies)
- 1 cup pure pumpkin puree (not pie filling—check the label)
- 1/4 cup unsweetened applesauce
- 2 tablespoons coconut oil, melted
- 1 large egg (or 1 flax egg for an egg-free version)
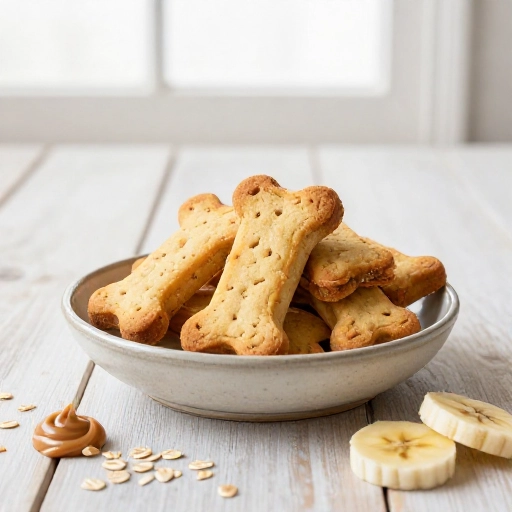
- Optional: 1/4 cup peanut butter (xylitol-free, always!) or a sprinkle of dried parsley for fresh breath
If your dog is grain-sensitive, swap the whole wheat flour for chickpea flour or oat flour. The pumpkin adds fiber and moisture, which helps bind everything together without needing extra fats.
Step-by-Step Instructions for Perfect Chew Sticks
Making these is almost too easy. Here’s how I do it every time.
- Preheat your oven to 300°F (150°C). Line your baking sheets with parchment paper.
- Mix the wet ingredients in a large bowl: pumpkin, applesauce, melted coconut oil, egg, and peanut butter if you’re using it. Stir until smooth.
- Add the flour gradually, mixing until a stiff dough forms. You might need a little extra flour if it’s sticky—just add a tablespoon at a time.
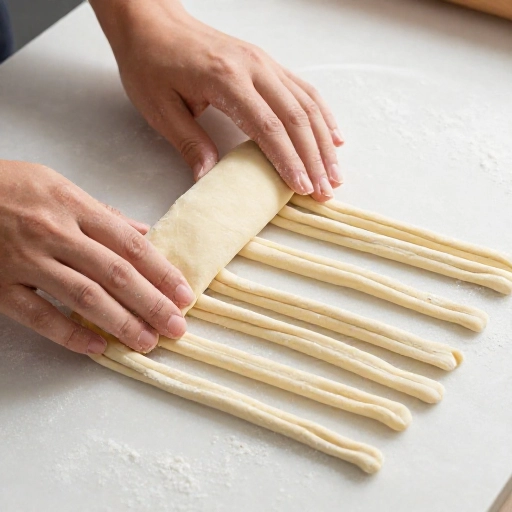
- Roll out the dough on a floured surface to about 1/2-inch thickness. Don’t go thinner or the sticks will be too brittle.
- Cut into stick shapes using a knife or pizza cutter. I make mine about 4 inches long and 1/2-inch wide—perfect for grabbing and gnawing.
- Bake for 40–50 minutes, then flip the sticks and bake another 20–30 minutes. You want them dry and firm, but not burnt. They’ll harden more as they cool.
Let them cool completely on a rack before handing one over to your pup. Trust me, the hardest part is waiting for them to cool!
Feeding Guidelines, Serving Size & Storage Tips
These are treats, not a meal replacement. For a medium-sized dog, one stick a day is plenty. For smaller pups, break the stick in half. And always supervise your dog while they chew—especially the first time they try a new treat.
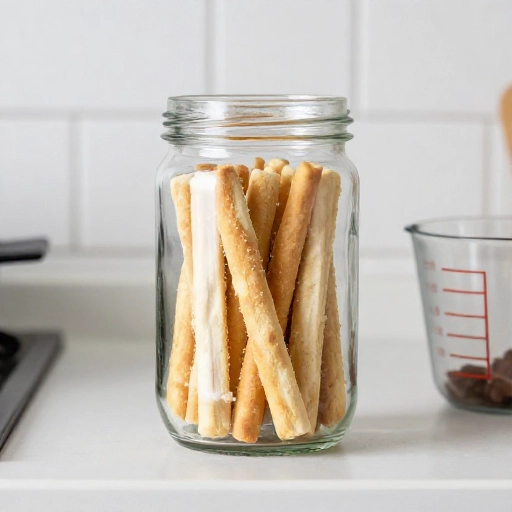
To keep them fresh and crunchy, store the sticks in an airtight container at room temperature for up to two weeks. If you want them to last longer, pop them in the fridge for up to a month, or freeze them for up to three months. They thaw in minutes, so you can grab one whenever your dog needs a quiet activity.
Final Verdict & Summary
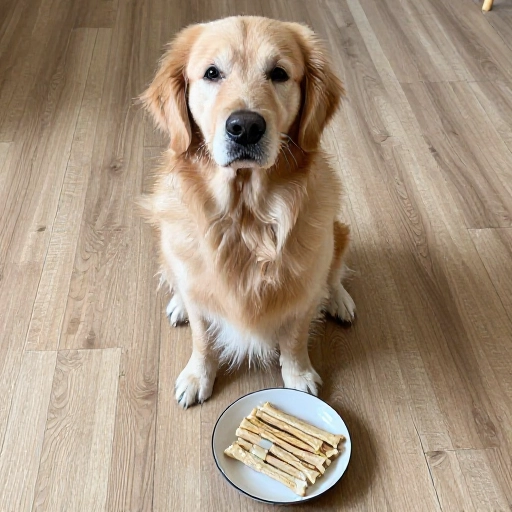
I’ll be honest—I was skeptical at first. Would my dog actually chew these for more than a few minutes? But the first batch was a total win. She spent a solid 20 minutes working on one stick, and it was still in one piece when she finally wandered off for a nap.
These homemade chew sticks are budget-friendly, totally customizable, and way healthier than most store-bought options. Plus, the smell of pumpkin and peanut butter baking is pretty great for humans too. If you’ve got a dog who loves to chew, this recipe is a keeper.
Frequently Asked Questions
Can I use sweet potato instead of pumpkin?
Absolutely. Just cook and mash the sweet potato first, then use it in the same amount. It’ll add a bit more natural sweetness, which most dogs love.
How long do these chew sticks actually last?
For a moderate chewer, expect 15–30 minutes of active chewing. For power chewers, they might last a bit less, but they’re still tougher than most soft treats. The key is baking them long enough to dry them out completely.
My dough is too sticky. What should I do?
Just add a little more flour, one tablespoon at a time, until it feels like play dough. Different flours absorb moisture differently, so don’t stress if you need a bit extra.
Can I make these without an egg?
Yes. Use a flax egg (1 tablespoon ground flaxseed mixed with 3 tablespoons water, let it sit for 5 minutes). The texture will be slightly different, but they’ll still hold together well.
Are these safe for puppies?
For puppies over three months old, yes—but make sure the sticks aren’t too large. You want a size they can hold comfortably without choking. Always watch them while they chew, just in case.