Homemade Meat Snacks for Dogs: The Only Recipe Your Pup Will Beg For
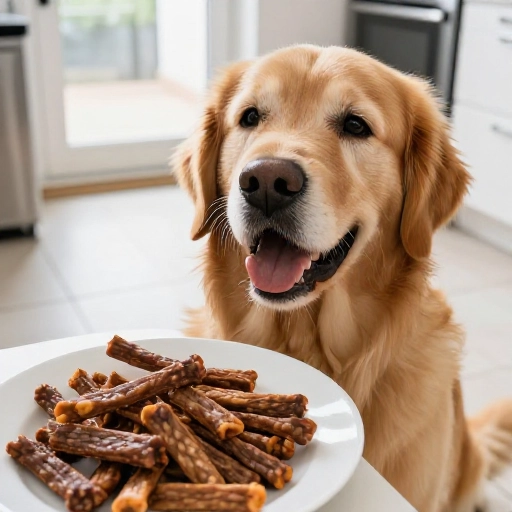
Have you ever watched your dog’s tail go into overdrive at the sound of a treat bag crinkling? I know I have. But those store-bought bags? They’re full of stuff I can barely pronounce. That’s why I started making my own homemade meat snacks for my pup, and honestly, I’ve never looked back.
These little meaty bites are pure, simple, and packed with flavor. No fillers, no weird preservatives, just real food. Plus, they’re so easy to whip up on a Sunday afternoon. Your dog will think you’re a kitchen wizard, and you’ll feel amazing knowing exactly what’s in every single piece.
Trust me, once you start making these, you’ll never want to buy treats again. Let’s get started on the best homemade meat snacks your dog has ever had.
Why Make This Recipe
Making your own dog treats isn’t just a fun hobby—it’s a game-changer for your dog’s health. First off, you control the ingredients. That means no mystery meats, no artificial flavors, and no excess salt or sugar. These snacks are pure protein, which is great for muscle health and energy.
Think about it: your dog gets a high-value reward that’s actually good for them. Plus, homemade treats are way more affordable than those boutique brands. You can batch-make a big bag for a fraction of the cost. And the best part? The smell of baking meat fills your kitchen, and your dog will be your best friend forever.
Equipment & Tools You’ll Need
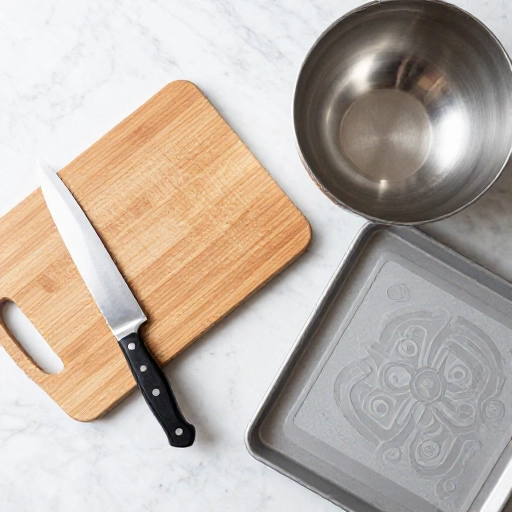
You don’t need a fancy kitchen to make these. Here’s the simple gear that gets the job done:
- A sharp knife or a food processor (for grinding the meat if you prefer)
- A large mixing bowl
- A baking sheet or dehydrator tray
- Parchment paper (for easy cleanup)
- A cooling rack (optional, but helps them dry out evenly)
- An airtight container for storage
That’s it. No special equipment required. If you own a basic oven, you’re already set. I like to use a food processor because it makes the texture nice and uniform, but chopping by hand works perfectly too.
Ingredients List & Safe Substitutions
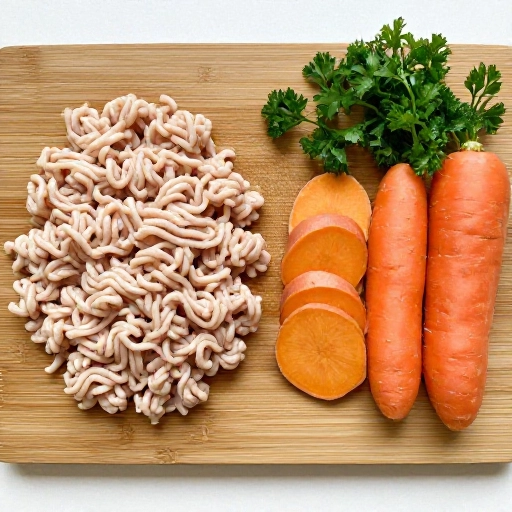
Here’s what you’ll need for the basic recipe. The beauty of this is you can swap things around based on what your dog loves or what you have on hand.
- 1 lb lean ground meat (chicken, turkey, beef, or lamb work great)
- 1 large egg (acts as a binder)
- 1/2 cup oat flour (or whole wheat flour, or even mashed sweet potato)
- 1 tablespoon coconut oil (for healthy fats and shine; olive oil works too)
- Optional: 1/4 cup grated carrot or spinach (for extra nutrients)
Important substitutions: If your dog is grain-sensitive, use oat flour or chickpea flour. No egg? No problem—use a mashed banana or 2 tablespoons of unsweetened applesauce. Keep it simple and safe. Always avoid garlic, onion, and too much salt.
Step-by-Step Instructions
Follow these steps, and you’ll have perfect treats in under an hour. I promise it’s easier than making dinner for yourself.
- Preheat your oven to 350°F (175°C) and line a baking sheet with parchment paper.
- Mix it all up: In a large bowl, combine the ground meat, egg, flour, coconut oil, and any add-ins. Use your hands (it’s messy but fun) until everything is well combined.
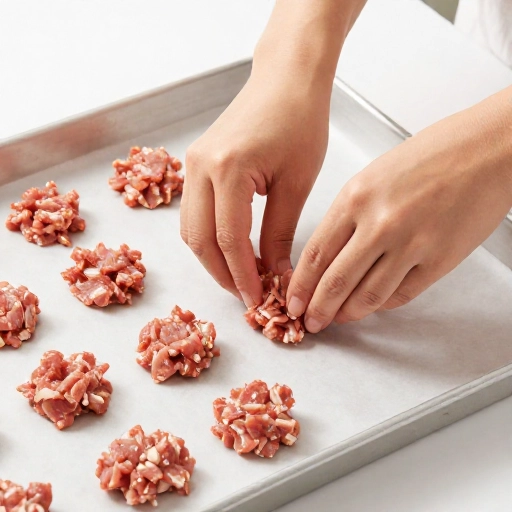
- Shape the snacks: Roll small balls about the size of a marble, or flatten them into little patties. Remember, dogs don’t care about perfect shapes—just make them bite-sized.
- Bake: Place them on the prepared sheet, leaving a little space between each. Bake for 15-20 minutes, or until they’re firm and cooked through. The edges should be slightly browned.
- Cool completely: Let them sit on a cooling rack for at least 20 minutes. They’ll get firmer as they cool. This step is crucial so they don’t get soggy in storage.
That’s it. You’ve just made the best dog treats ever. The smell is incredible, and your dog will be doing happy spins around the kitchen.
Feeding Guidelines, Serving Size & Storage Tips
Now for the practical part. How many should you give? It depends on your dog’s size. A small dog (under 20 lbs) can have 1-2 treats per day. A medium dog (20-50 lbs) gets 2-3 treats. Larger dogs can have up to 4-5, but remember, these are snacks, not a meal replacement.
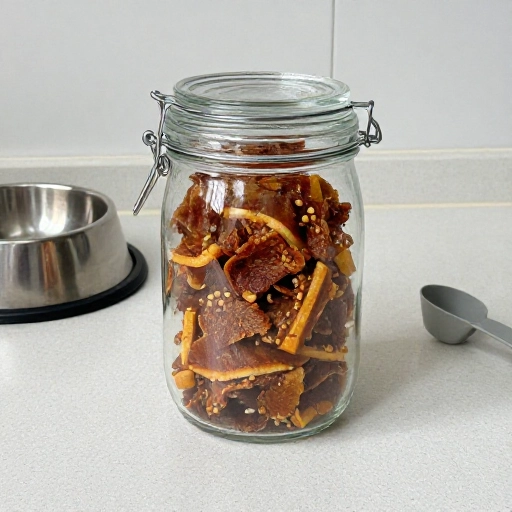
For storage: Keep them in an airtight container in the fridge for up to 7 days. Want them to last longer? Freeze them! They’ll keep for up to 3 months in a freezer bag. Just thaw a few at a time as needed. I always make a double batch and freeze half—it saves so much time.
Pro tip: If they get a little soft after a few days, pop them back in the oven at 250°F for 10 minutes to re-crisp them. Your dog won’t mind either way.
Final Verdict & Summary
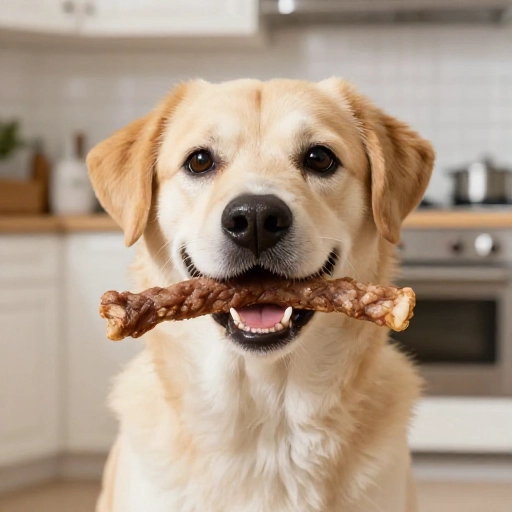
This recipe is a winner, plain and simple. It’s fast, affordable, and your dog will absolutely lose their mind over the taste. I’ve made these dozens of times, and every single pup who tries them gives a tail-wagging approval. Plus, you get the peace of mind that comes from feeding your furry friend real, wholesome ingredients.
So go ahead, give it a try. Your dog deserves the best, and you deserve the joy of making them smile. Once you see that happy face, you’ll be hooked. Happy cooking, and even happier snacking for your pup.
Frequently Asked Questions
Can I use raw meat for these treats?
No, always cook them thoroughly. Baking at 350°F ensures any bacteria is killed, making the treats safe and shelf-stable for a few days in the fridge.
My dog has allergies. Can I still make these?
Absolutely. Use a single protein source your dog tolerates (like turkey or lamb) and swap the flour for oat or chickpea flour. Skip the egg if needed and use mashed banana instead.
How long do these treats last at room temperature?
They’re best kept in the fridge. At room temperature, they might last 1-2 days, but they can spoil quickly because they’re meat-based. Stick to the fridge or freezer for safety.
Can I add supplements like fish oil or flaxseed?
Yes! Just be mindful of the texture. Add small amounts (like a teaspoon of flaxseed) and adjust the flour if the mixture gets too wet. Always check with your vet before adding new supplements.
Why did my treats turn out too hard?
You might have baked them a little too long, but that’s okay! Hard treats are great for dental health. Just reduce the baking time by a few minutes next batch for a softer texture.