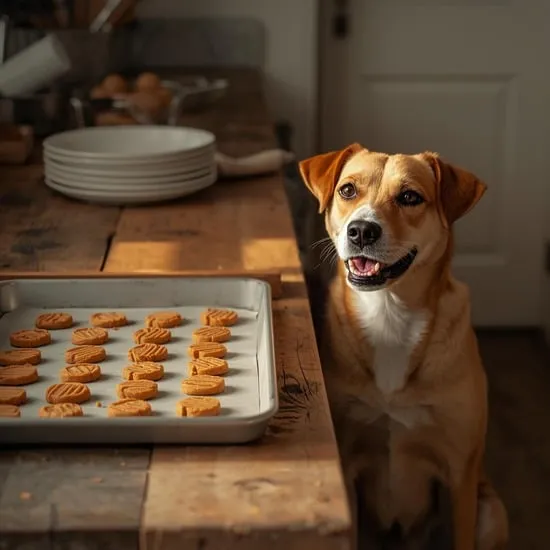
How To Make Healthy Homemade Dog Biscuits In Minutes Your Pup Will Love
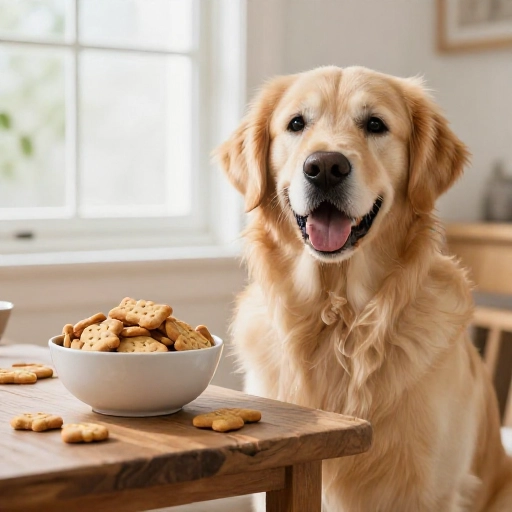
I have a confession. I used to spend way too much money on fancy dog treats at the pet store. Then I realized I could make something better, fresher, and way healthier right in my own kitchen. My pup, Charlie, goes absolutely wild for these biscuits. The best part? They take almost no time to prep.
These aren’t just empty calories for your dog. They are packed with simple, whole ingredients you already have in your pantry. No weird preservatives, no mystery meat by-products. Just real food that makes your dog’s tail wag like crazy. Let me show you how easy this really is.
Why Make These Homemade Dog Biscuits?
You might wonder why you should bother making treats from scratch. The answer is simple: control. You know exactly what goes into every single bite. Store-bought treats can be full of fillers, sugar, and salt that aren’t great for your dog’s digestion or weight.
Homemade biscuits are also a fantastic way to sneak in extra nutrition. You can add pumpkin for fiber, peanut butter for healthy fats, or oats for slow-release energy. Plus, the cost is surprisingly low. A batch of these costs a fraction of what you would pay for premium treats. And honestly, seeing your dog sniff the air while they bake is pure joy.
Kitchen Equipment & Tools You’ll Need
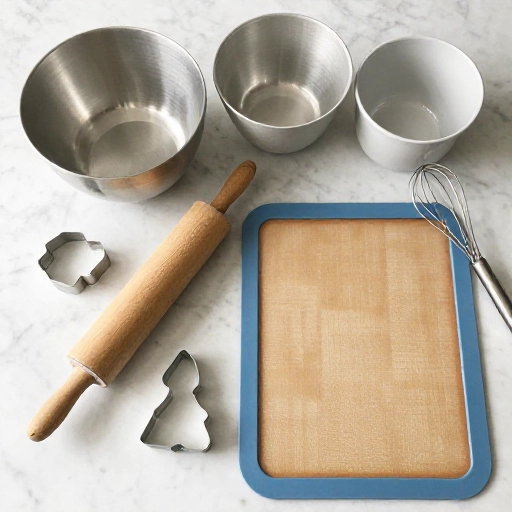
You do not need a fancy kitchen to make these biscuits. I use basic tools that I already had sitting in my drawers. Keep it simple. Here is exactly what you need:
- A large mixing bowl
- A wooden spoon or sturdy spatula
- A rolling pin (a clean wine bottle works too)
- Cookie cutters in fun shapes (bone, paw, or star are my favorites)
- A baking sheet lined with parchment paper
- A fork for mixing and creating texture
That is it. No stand mixer required. No complicated gadgets. If you have these items, you are ready to roll. The whole process from bowl to oven takes about ten minutes of active work.
Ingredients List & Safe Substitutions
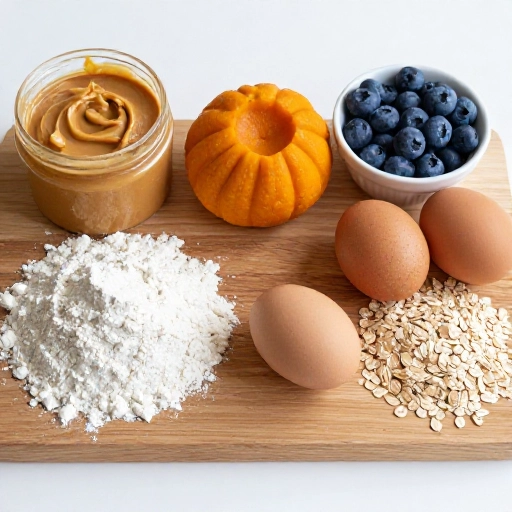
This recipe is forgiving, which I love. You can swap things based on what you have in your pantry. Always check that substitutions are dog-safe. Here is my go-to base recipe:
- 1 cup whole wheat flour (or oat flour for sensitive tummies)
- 1/2 cup rolled oats
- 1/3 cup unsalted peanut butter (must be xylitol-free)
- 1/2 cup pumpkin puree (plain, not pie filling)
- 1/4 cup water (add more if dough feels dry)
Safe substitutions: You can use mashed sweet potato instead of pumpkin. Swap peanut butter for sunflower seed butter if your dog has allergies. For a grain-free option, use coconut flour, but reduce the water slightly. Never use any ingredient with added sugar, salt, or artificial sweeteners.
Step-by-Step Instructions: How To Make Them
This part is so easy you will memorize it after one batch. Follow these steps and you will have perfect biscuits every time:
- Preheat your oven to 350°F (175°C). Line your baking sheet with parchment paper so nothing sticks.
- Mix the wet ingredients first. In a large bowl, combine the peanut butter, pumpkin puree, and water. Stir until smooth and creamy.
- Add the dry ingredients. Pour in the flour and rolled oats. Mix with a wooden spoon until a stiff dough forms. If it is too sticky, add a little more flour. If it is too dry, add a splash of water.
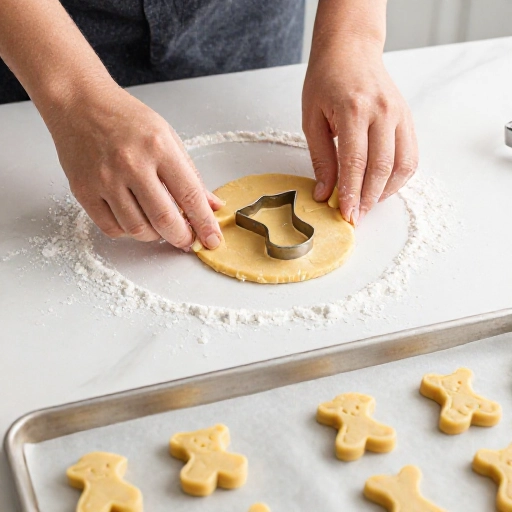
- Roll out the dough. Lightly flour your countertop. Roll the dough to about 1/4 inch thick. Not too thin or they will burn.
- Cut into shapes. Press your cookie cutters into the dough. Gather the scraps, re-roll, and cut again until all dough is used.
- Bake for 12-15 minutes. The biscuits should be firm and slightly golden on the bottom. Let them cool completely on a wire rack before serving.
Storage Tips & Feeding Guidelines
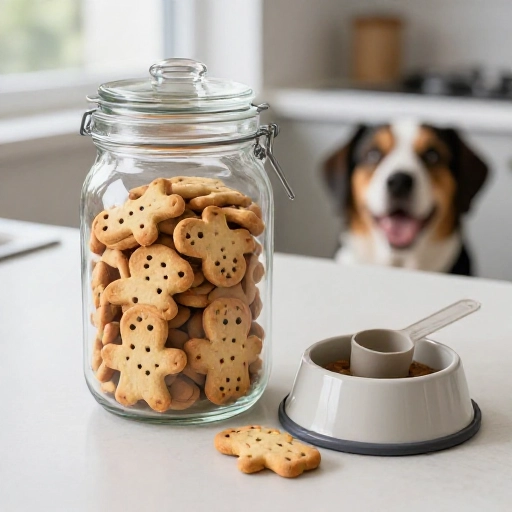
Once your biscuits are completely cool, store them properly to keep them fresh. I put mine in an airtight glass jar on the counter. They stay fresh for about two weeks at room temperature. If you want them to last longer, pop them in the fridge for up to a month.
You can also freeze these biscuits. Place them in a freezer-safe bag or container. They will keep for up to three months. Just thaw a few at a time as needed. For feeding, I give my medium-sized dog one or two biscuits per day as a treat. Adjust the amount based on your dog’s size and daily food intake. Remember, treats should only make up about 10% of your dog’s daily calories.
Final Verdict & Summary
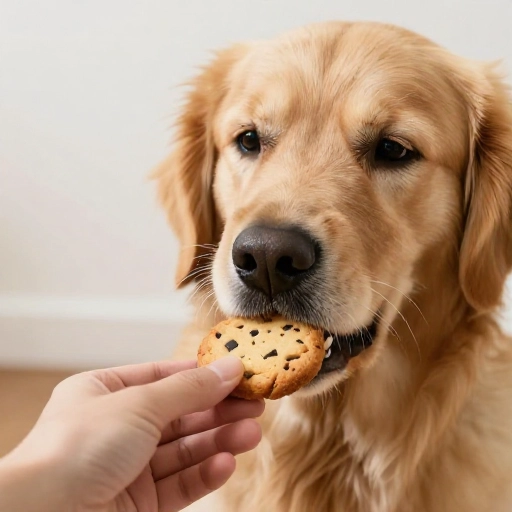
These healthy homemade dog biscuits are a total win for any dog parent. They are quick, affordable, and packed with love. Your dog gets a crunchy, tasty reward, and you get peace of mind knowing exactly what they are eating. The recipe is so simple you can make a fresh batch anytime you run out.
I have made these for friends’ dogs, for puppy parties, and just for a rainy afternoon treat. Every single dog has given them two paws up. If you have been thinking about switching to homemade treats, this is the perfect place to start. Your dog will thank you with sloppy kisses and happy zoomies.
Frequently Asked Questions
Can I use regular flour instead of whole wheat?
Yes, you can use all-purpose flour. It will still work, but whole wheat flour adds more fiber and nutrients for your dog.
How do I know if my peanut butter is safe for dogs?
Always check the ingredient list. It must be xylitol-free. Xylitol is toxic to dogs. Look for peanut butter that only contains peanuts and maybe a little salt.
Why are my biscuits too hard or too soft?
If they are too hard, you may have rolled the dough too thin or baked them too long. If they are too soft, add a little more flour next time. Every oven runs slightly different.
Can I add other flavors like bacon or cheese?
Absolutely, but keep portions small. A little bit of shredded cheddar or crumbled cooked bacon can be a tasty addition. Just reduce the water slightly to balance the moisture.
How long do these biscuits stay fresh without preservatives?
At room temperature in an airtight container, they stay fresh for about two weeks. In the fridge, they last up to a month. Freezing them extends the shelf life to three months.