DIY Dog Collars & Leashes for Beginners (Step-by-Step)
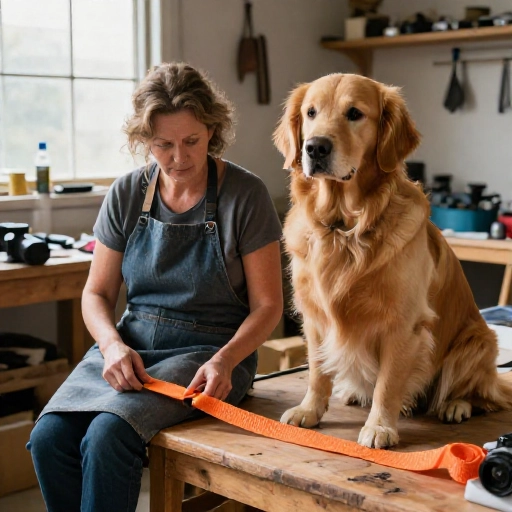
I still remember standing in the craft store aisle, holding a roll of bright teal webbing and wondering if I was about to waste twenty dollars. My dog, Biscuit, needed a new collar, and the ones at the pet shop cost more than my lunch for a week. So I decided to try making one myself.
Turns out, DIY dog collars and leashes are one of the friendliest beginner projects out there. You don’t need a sewing machine. You don’t need years of crafting experience. You need a few basic supplies, a measuring tape, and about an hour of your time.
Below, I’m sharing ten beginner-friendly ideas I’ve actually tried, plus the little mistakes I made along the way so you can skip them. Grab a coffee, put your pup nearby, and let’s make something they’ll wear every single day.
1. Start With a Simple Flat Nylon Collar
If you’ve never made dog gear before, a flat nylon collar is the perfect first project. It’s basically a strip of webbing, a buckle, and a D-ring. That’s it.
I grabbed 1-inch nylon webbing in a fun pattern, a plastic side-release buckle, a metal D-ring, and a slider. I measured Biscuit’s neck, added about four inches for the buckle and adjustment room, and cut the webbing with a hot knife so the ends wouldn’t fray.
The whole thing took me about twenty minutes. It wasn’t perfect, but it held up for months of walks, mud, and one very enthusiastic roll in the grass.
- 1-inch nylon webbing works for most medium and large dogs
- 5/8-inch webbing is better for small breeds
- Always use a metal D-ring, not plastic
- Melt the cut ends slightly to stop fraying
2. Pick the Right Webbing for Your Dog’s Size
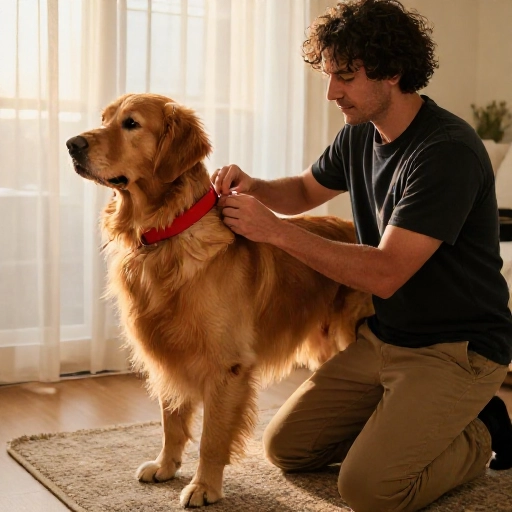
Not all webbing is created equal, and picking the wrong width can make a collar look clunky or feel uncomfortable. Here’s the rough guide I wish someone had handed me on day one.
For tiny pups under 15 pounds, go with 3/8-inch or 5/8-inch webbing. Medium dogs between 15 and 50 pounds usually do great with 3/4-inch. Bigger dogs, especially strong pullers, need the full 1-inch width for safety and comfort.
I made the mistake of using 1-inch webbing on my neighbor’s Chihuahua once. It looked like a belt around his neck. Lesson learned.
3. Add a Buckle the Easy Way
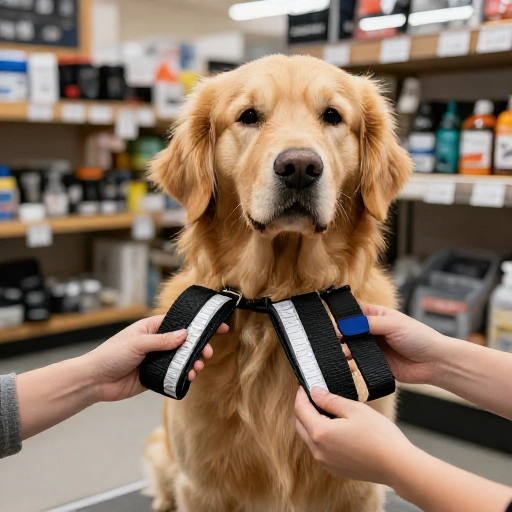
Attaching the buckle is the step that trips up most beginners, including me. The trick is to thread the webbing through the buckle before you sew or rivet anything. Once it’s on, it’s on.
Lay the webbing flat, thread one end through the female half of the buckle, then through the D-ring, then back through the male half. Fold the end over about an inch and a half. That folded section is where your stitch or rivet goes.
If you’re hand-sewing, use a heavy-duty needle and nylon thread. If you’re using rivets, hammer them through the folded layers. Either way, that’s your strongest point, so take your time.
4. Try Rivets Instead of Sewing
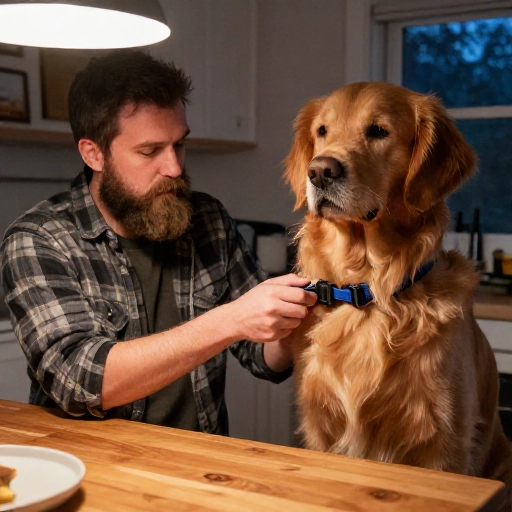
Here’s a secret: you don’t have to sew at all. Rivets are strong, fast, and honestly kind of fun to set. I use them on almost every collar I make now.
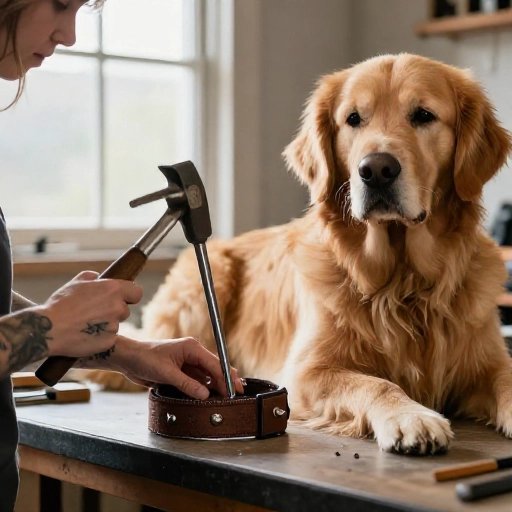
You’ll need a rivet setter, a hammer, and the right size rivets for your webbing. Punch a small hole through all the layers, push the rivet through, set the cap, and hit it firmly a few times with your hammer. Done.
The rivet should sit snug, not loose. If it wiggles after setting, you didn’t hit it hard enough. Just take it slow and check your work as you go.
5. Make a Matching 4-Foot Leash
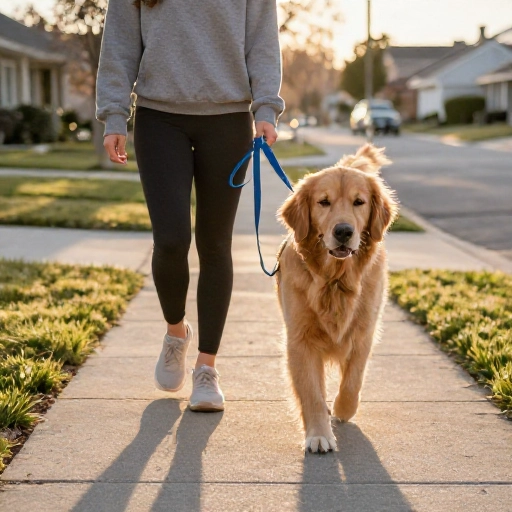
Once you’ve nailed the collar, a matching leash is the natural next step. A standard 4-foot or 6-foot leash is just a long strip of webbing with a bolt snap on one end and a loop handle on the other.
I cut my webbing to about 5 feet for a 4-foot leash, leaving extra for the handle loop and hardware. The handle loop gets folded over and riveted or stitched just like the buckle section on your collar.
Use a heavy-duty bolt snap or swivel snap for the clip end. Skip the cheap ones, they tend to snap under pressure when a squirrel runs by.
6. Add a Buckle-Free Martingale for Escape Artists
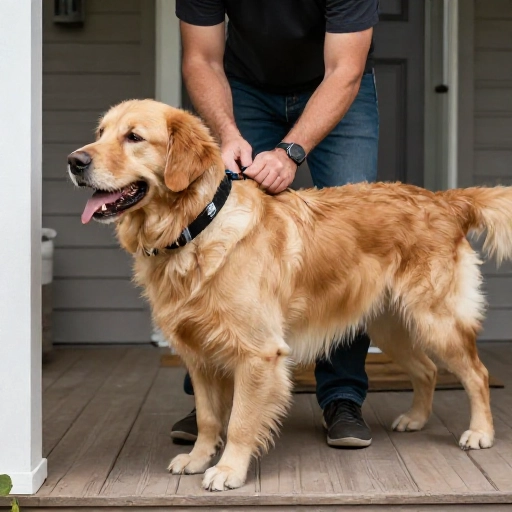
Some dogs, especially greyhounds and whippets, can slip out of a regular collar in half a second. A martingale collar solves that without needing a buckle at all.
It’s a loop of webbing with a smaller loop on top that tightens gently when your dog pulls. Two slides and one D-ring are all the hardware you need. No buckle means it slips over the head easily.
The key is adjusting the small loop so it tightens enough to prevent escape but never chokes. Two fingers should fit between the loop and your dog’s neck when relaxed.
7. Sew a Soft Fabric Lining for Sensitive Skin
Some dogs get irritated by nylon rubbing against their neck, especially in hot weather. A quick fabric lining fixes that and makes the collar feel more custom.
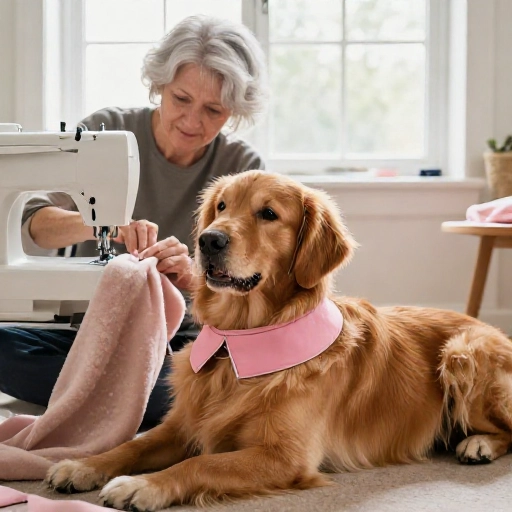
I use soft flannel or cotton quilting fabric. Cut a strip slightly narrower than your webbing, fold the edges under, and sew or glue it to the inside of the collar. Just make sure the lining doesn’t cover where your rivets or stitches go.
My friend’s boxer used to scratch at his neck constantly. After I lined his collar with flannel, the scratching stopped. Small change, big difference.
8. Personalize With a Stitched Name or Tag Holder
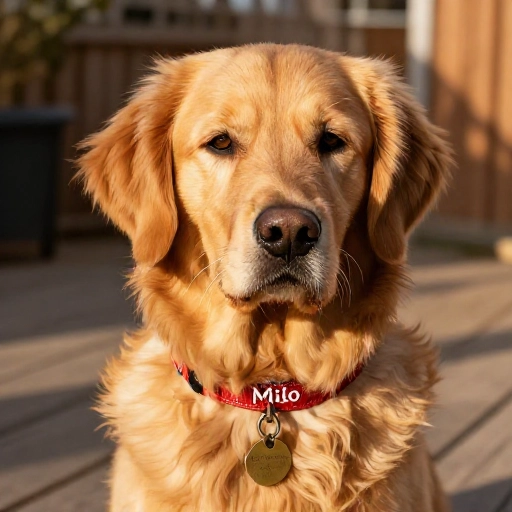
This is the fun part where your dog’s personality shows up. I embroider Biscuit’s name right onto the webbing with a thick needle and colorful thread, but you can also add a small fabric tag holder if stitching letters feels intimidating.
For the name, use a simple backstitch so it doesn’t unravel. Keep letters big and blocky. Tiny cursive letters look cute but disappear after a few months of wear.
If stitching isn’t your thing, make a tiny fabric sleeve, slide it onto the collar, and rivet it in place. Boom. Instant custom collar with zero embroidery skills required.
9. Build a Traffic Leash Handle
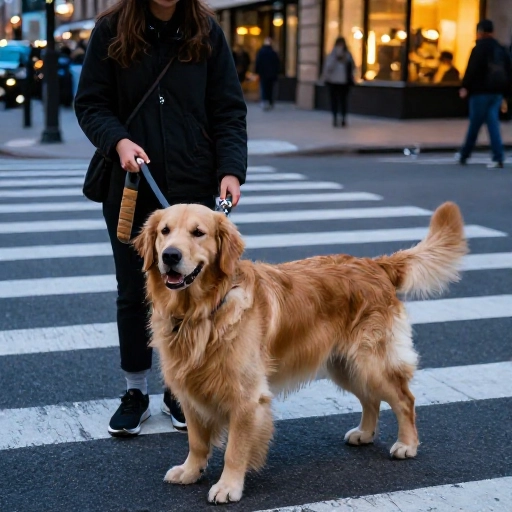
A traffic leash has an extra handle near the clip end so you can grab your dog close in busy areas. It’s a game changer for city walks or vet visits.
You make it by attaching a second loop of webbing about 12 to 18 inches from the clip. Fold the webbing into a loop, rivet it down, and you’re done. Same technique as your main handle, just closer to the snap.
I add one to every leash I make for Biscuit now. It gives me instant control when a car or another dog surprises us.
10. Finish With a Water-Resistant Coating
Your homemade collar and leash will get wet, muddy, and maybe rolled in something unpleasant. A simple water-resistant coating helps them last longer and stay cleaner.
I brush on a thin layer of fabric sealant or use a spray-on water repellent designed for outdoor gear. Let it dry for a full day before putting it on your dog. Check the label to make sure it’s pet-safe once cured.
This step isn’t mandatory, but it doubles the lifespan of your project. My first collar without coating started fraying after two months. The coated ones are still going strong a year later.
A Few Final Thoughts Before You Start Cutting
DIY dog collars and leashes are one of those rare projects that are cheap, useful, and genuinely satisfying. You get to pick the colors, the size, and every little detail that fits your dog’s personality.
Start with a simple flat collar, get comfortable with the hardware, then work your way up to leashes and fun extras like traffic handles and name stitching. Don’t stress about perfection. Dogs don’t judge your stitching.
And honestly, watching my dog trot around in something I made with my own hands still makes me smile. Give it a try. Your pup will wear it proudly, and you’ll probably end up making a few more for friends.
FAQ
How much webbing do I need for a collar?
For a medium dog collar, about 20 to 24 inches of 3/4-inch or 1-inch webbing. Add a few extra inches if you’re new, so you have room to trim.
Can I make a dog collar without sewing?
Yes. Rivets and heavy-duty snaps work great and are actually stronger than a lot of beginner sewing jobs. Just set them firmly and check them after a few walks.
Is nylon webbing safe for dogs?
Absolutely. Nylon is the same material used in most commercial collars. Just make sure the cut edges are melted or sewn so they don’t fray or scratch.
How tight should a DIY collar fit?
You should be able to fit two fingers between the collar and your dog’s neck. Any tighter and it’s uncomfortable. Any looser and they might slip out.
What’s the best leash length for a beginner?
4 to 6 feet is the sweet spot for most everyday walks. It gives your dog a bit of freedom without turning every walk into a tug-of-war.