How to Make Dog Leashes & Matching Collars: A Simple DIY Guide
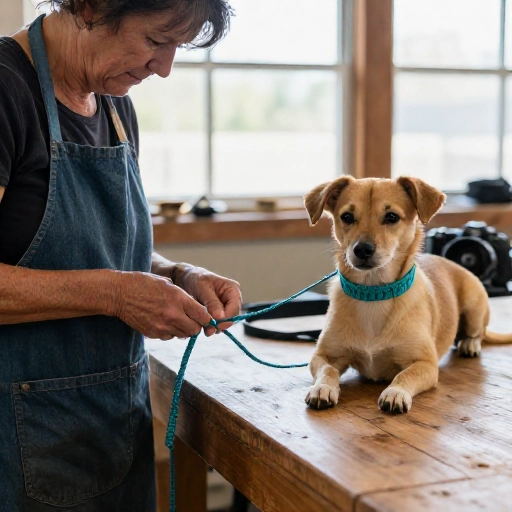
I love when my dog’s gear looks pulled together. A matching collar and leash can cost a small fortune in stores, but making your own is easier than it sounds. You just need a few supplies, basic sewing skills, and a little patience.
In this guide, I’ll walk through how I make dog leashes and matching collars from scratch. I’ll share material picks, sizing tips, hardware tricks, and the little details that make a set feel custom instead of homemade.
Whether you want a sturdy everyday leash, a cute paracord collar, or a fabric set for weekend walks, you can mix and match these ideas. Let’s make something your pup will actually wear with pride.
1. Pick the Right Material for Your Everyday Set
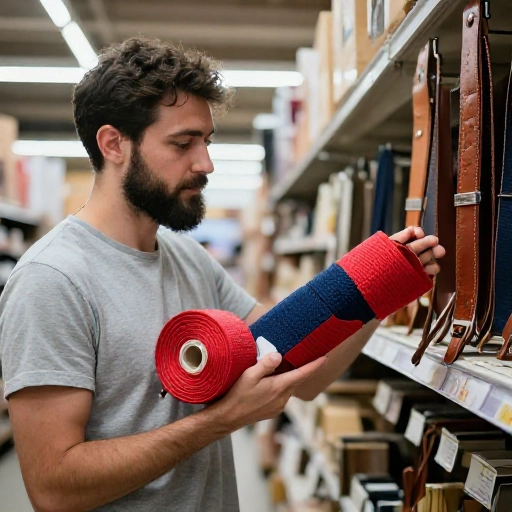
For collars and leashes, I start with strong webbing. Nylon webbing is affordable, washable, and comes in tons of colors. For a softer look, cotton webbing or canvas works, but it may fade faster with heavy use.
If your dog pulls, choose wider webbing: 1 inch for medium and large dogs, 5/8 inch for small pups. It feels more comfortable and holds hardware better. I also think about the leash handle, because a padded fleece handle or a rolled fabric handle makes walks easier on my hands.
Pick material that matches your collar but can handle daily wear. I usually buy a little extra so I can make a matching bandana or poop bag holder later.
2. Measure Your Dog Before You Cut Anything
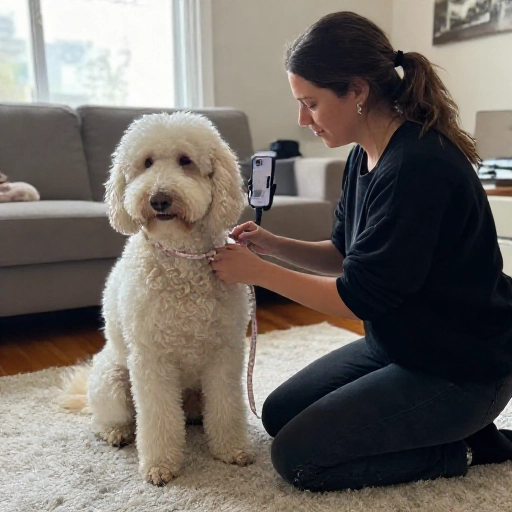
A collar that’s too loose can slip off, and one that’s too tight is uncomfortable. Use a soft tape measure around the middle of your dog’s neck, then add two fingers of wiggle room.
For the leash, decide length first. I like 4 feet for training, 5 to 6 feet for everyday walks, and 10 to 15 feet for a long line in safe areas. Write down neck size, leash length, and hardware width.
Then add extra inches for folding and stitching. Trust me, measuring twice saves a trip to the craft store and a lot of seam ripping.
3. Choose a Style That Matches Your Dog’s Personality
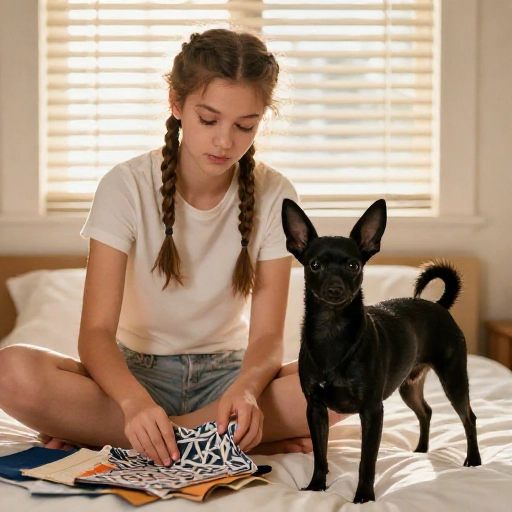
Matching doesn’t mean boring. I love a solid webbing collar with a printed leash, or a patterned collar with a solid leash. It ties the set together without being too matchy-matchy.
For a classic look, use nylon webbing and metal hardware. For a boho vibe, try cotton fabric with wooden beads. For sporty pups, reflective webbing is a win for evening walks.
Think about the buckle too. Plastic buckles are light and quick, while metal buckles feel sturdier. I choose based on my dog’s size and how often we walk.
4. Gather the Right Hardware and Tools
You’ll need a side-release buckle, a D-ring, and a slider for the collar. For the leash, grab a bolt snap or trigger snap plus a D-ring for the handle if you want a hook for bags or keys.
My basic tool kit includes heavy-duty thread, a sewing machine or strong hand-sewing needle, scissors, a lighter for sealing webbing, and a ruler or cutting mat.
Don’t forget a seam ripper and wonder clips. They make the project smoother, especially when you’re working with thick layers of webbing.
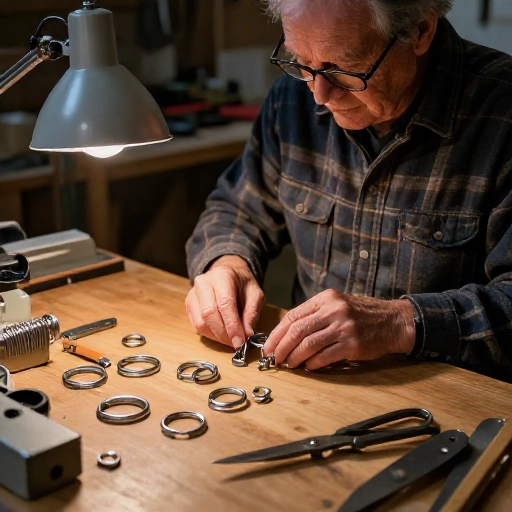
5. Cut and Seal Your Webbing
Measure your final collar length: neck size plus overlap for the buckle and D-ring. Cut webbing with sharp scissors so the edge is clean and straight.
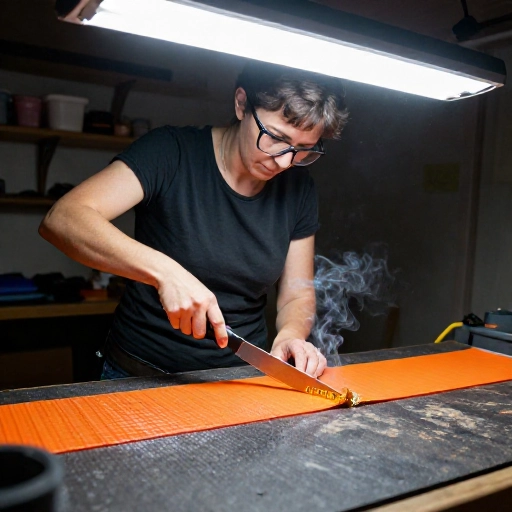
Melt the cut ends with a lighter just until they stop fraying. Keep the flame moving, don’t breathe in the fumes, and let the edges cool before you sew.
For the leash, cut your desired length plus extra for the handle loop and hardware folds. I label pieces with tape so I don’t mix them up.
6. Sew the Collar Step by Step
Start by folding one end of the webbing through the buckle and stitching a box with an X. This is the strongest way to secure hardware, and it’s the stitch I trust most.
Slide the D-ring onto the webbing before the slider, then thread the other end through the slider and buckle. Adjust it to your dog’s size before the final stitch.
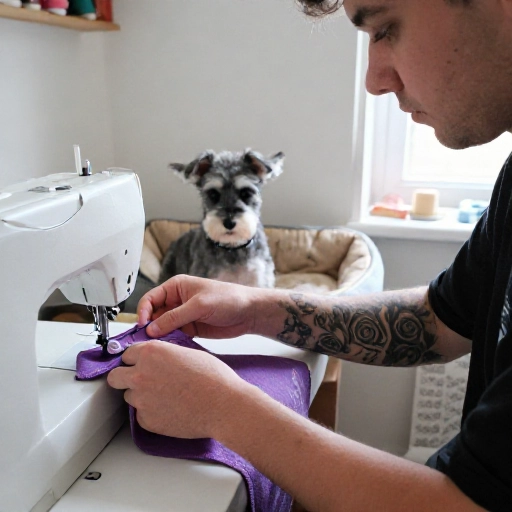
Sew the final end with another box-X stitch. Go slow through thick layers, use a heavy needle, and backstitch at both ends for extra security.
7. Build a Sturdy Leash Handle
Fold the handle end into a loop that fits over your wrist comfortably. I like a 10 to 12 inch loop for a 5-foot leash, but you can adjust based on your hand size.
Place a D-ring at the base of the handle if you want to clip a poop bag holder or keys. Sew a box-X stitch across the folded webbing to lock it in place.
For extra comfort, wrap the handle with fleece, paracord, or a fabric sleeve. Sew it down so it doesn’t slide around during walks.
8. Attach the Leash Clip the Safe Way
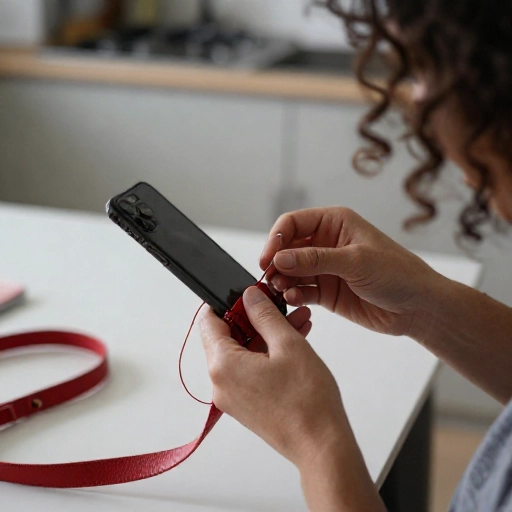
Thread the other end of the leash through the bolt snap. Fold the webbing over itself by at least 1.5 inches so there’s plenty of material to stitch through.
Sew a box-X stitch through all layers. I also add a second row of straight stitching for peace of mind, especially for strong pullers.
Test the clip with a good tug before you use it. If a stitch looks loose, rip it out and redo it. Safety first, always.
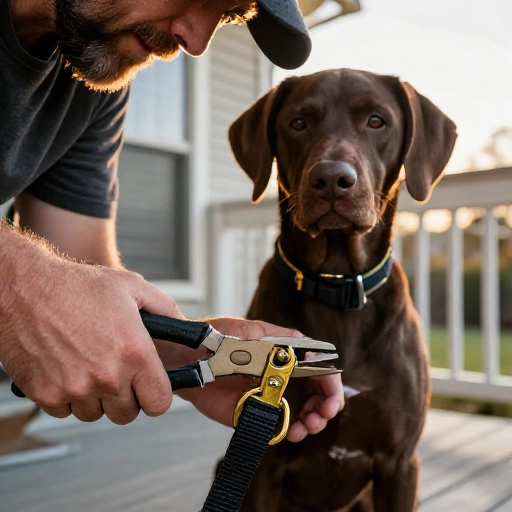
9. Add Matching Details and Personal Touches
This is my favorite part. I add a small fabric tag, an embroidered name, or a pop of color with a ribbon loop. It makes the set feel truly custom.
For a truly matching set, use the same thread color, hardware finish, and a tiny scrap of the same fabric on both pieces. Little repeats make a big difference.
You can also make a matching bow tie, bandana, or poop bag holder. It’s a cute way to use up leftover webbing and fabric.
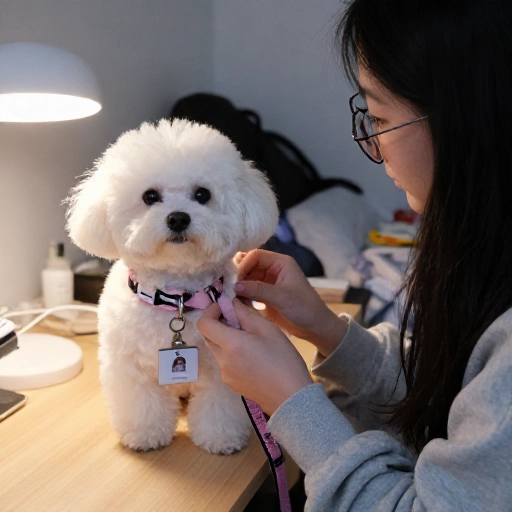
10. Test, Clean, and Care for Your DIY Set
Before the first walk, check every stitch and hardware piece. Pull on the leash and collar gently to make sure nothing shifts or feels loose.
Hand wash with mild soap and cold water, then air dry. Avoid the dryer because heat can weaken webbing and plastic buckles over time.
Inspect your set monthly. Look for fraying, loose threads, or cracked buckles. Replace worn parts before they become a problem on a walk.
My Final Thoughts
Making a dog leash and matching collar is one of those projects that looks impressive but is totally doable. Once you know your dog’s size and have the right hardware, you can whip up a custom set in an afternoon.
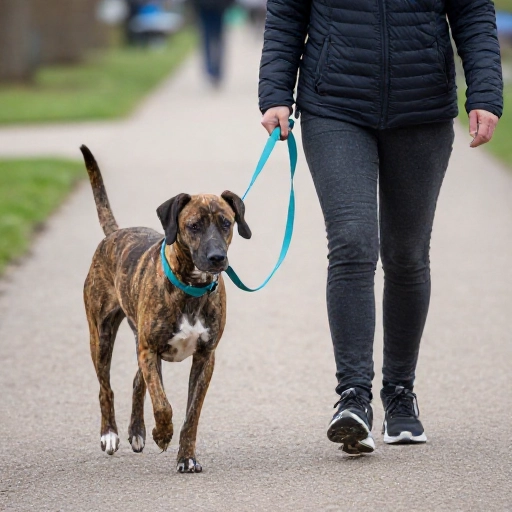
I love that every walk becomes a little style moment, and that I know exactly how it was made. Start with one collar, then make the leash to match. Before you know it, you’ll have a closet full of options for every season.
FAQ: DIY Dog Leashes and Collars
Q: Can I make a dog collar without a sewing machine?
A: Yes. Use strong hand-sewing with a needle and heavy thread. Box-X stitches are still the goal, so take your time and pull each stitch tight. You can also use a no-sew kit with rivets, but check it often.
Q: What width webbing should I use for a small dog?
A: For small dogs, 5/8 inch or 1/2 inch webbing is usually comfortable. For medium and large dogs, 1 inch is a good standard. Match the width to your hardware.
Q: How long should a dog leash be?
A: I like 4 to 6 feet for everyday walks. A 4-foot leash gives more control, while 6 feet gives more sniffing room. Long lines are 10 to 15 feet and should only be used in safe, enclosed areas.
Q: Is nylon webbing strong enough for a strong dog?
A: Yes, quality nylon webbing is very strong, especially when you use box-X stitching and metal hardware. For heavy pullers, choose 1-inch or wider webbing and a sturdy metal buckle.
Q: How do I make the collar and leash match perfectly?
A: Pick one main color or pattern and repeat it in a small way. Use the same hardware finish, thread color, and a shared fabric accent. You can also make a matching bandana or tag.