DIY Frozen Pupsicle Treats Made Easy: The Coolest Way to Spoil Your Dog This Summer
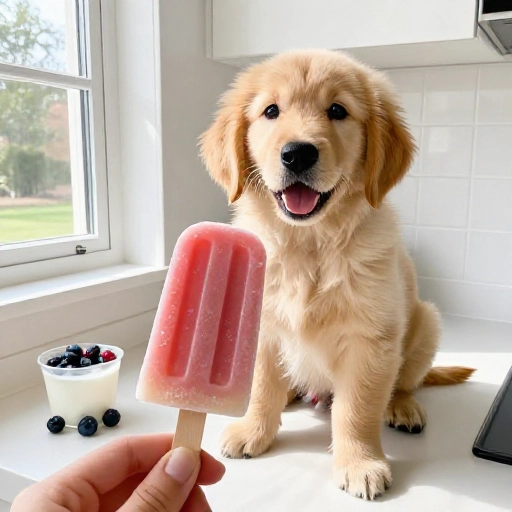
When the summer heat hits, my pup starts giving me those big, soulful eyes from the kitchen floor. He knows exactly what’s coming. These DIY frozen pupsicle treats are our little ritual now, and they couldn’t be simpler to make.
I used to buy expensive frozen dog treats from the store, but honestly, they’re full of weird fillers and cost a small fortune. Once I realized I could blend up a few dog-friendly ingredients and freeze them in cute molds, I never looked back. Your dog will love you for it, and your wallet will thank you.
Why Make This Recipe
These pupsicles aren’t just a fun snack; they’re packed with real benefits for your furry friend. They help keep your dog hydrated on hot days, soothe teething puppies, and provide a healthy dose of natural vitamins and minerals from simple ingredients like yogurt, peanut butter, and pumpkin.
Making your own treats also means you control exactly what goes in. No artificial colors, no excessive sugar, no mystery preservatives. Plus, it’s a great way to use up leftover fruit or plain yogurt from your fridge. Your dog gets a special treat, and you get the satisfaction of knowing it’s good for them.
Equipment You’ll Need
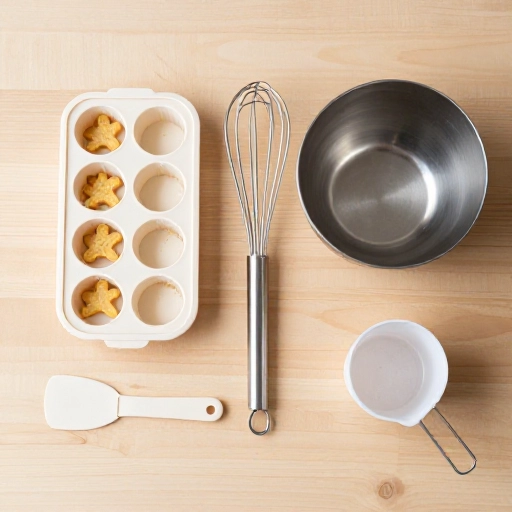
You probably already have most of this stuff in your kitchen. Keep it simple and use what you’ve got.
- A blender or small food processor
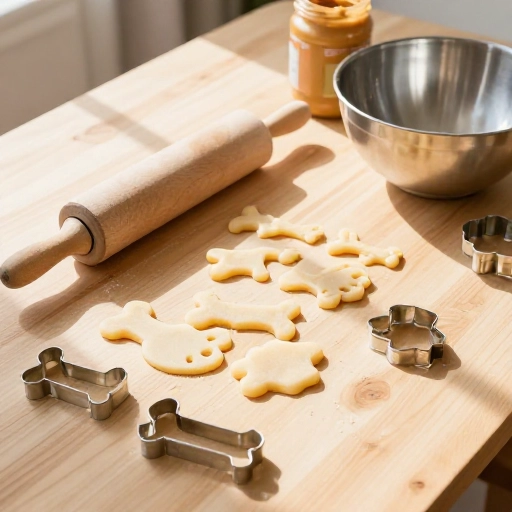
- Silicone treat molds (bone shapes are cute, but ice cube trays work perfectly)
- A small mixing bowl and spoon
- A measuring cup and spoons
- A freezer-safe container or zip-top bag for storage
If you don’t have silicone molds, don’t sweat it. Just pour the mixture into a standard ice cube tray or even a small loaf pan. You can cut the frozen block into chunks later.
Ingredients List & Safe Substitutions
Here’s the base recipe that works every time. Feel free to swap things out depending on what your dog likes and what you have on hand.
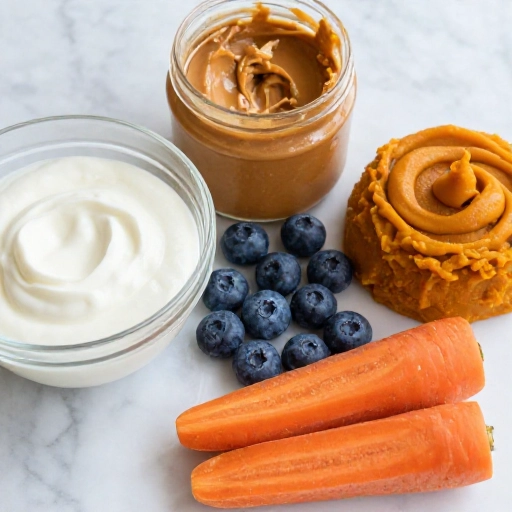
- 1 cup plain, unsweetened yogurt (Greek or regular, just no xylitol)
- 1/2 cup all-natural peanut butter (check the label: no xylitol, no added sugar)
- 1/4 cup mashed banana or pumpkin puree (about half a banana)
- 1/4 cup water or unsalted chicken broth (optional, for thinner consistency)
Safe substitutions: Swap banana for unsweetened applesauce or cooked sweet potato. Use plain cottage cheese instead of yogurt. Replace peanut butter with plain pumpkin or a little unsalted bone broth. Always double-check that any ingredient you use is safe for dogs.
How to Make Frozen Pupsicle Treats
This is so easy you’ll wonder why you ever bought store-bought. Follow these steps and you’ll have a batch ready in no time.
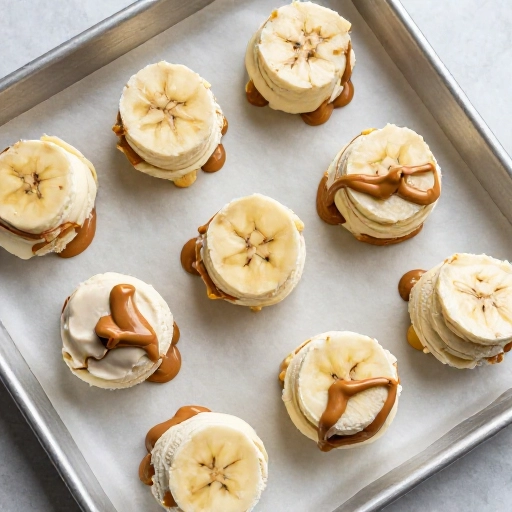
- Add the yogurt, peanut butter, and mashed banana (or pumpkin) to your blender. If the mixture looks too thick, pour in a little water or broth.
- Blend on low until everything is smooth and well combined. It should look like a thick, creamy milkshake.
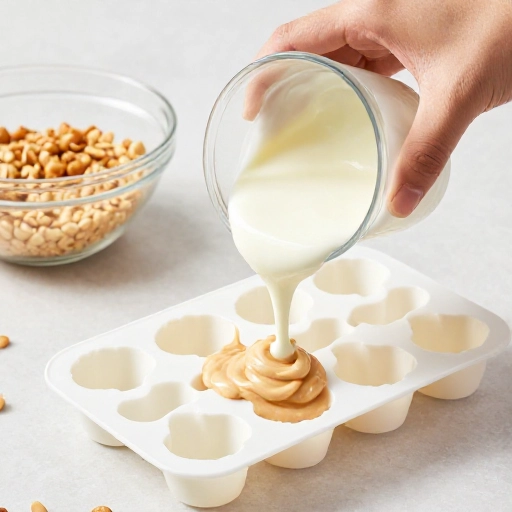
- Spoon the mixture into your silicone molds or ice cube trays. Tap the mold gently on the counter to release any air bubbles.
- Place the filled molds in the freezer and let them set for at least 4 hours, or overnight for best results.
- Once frozen solid, pop the pupsicles out of the molds and transfer them to a freezer-safe bag or container. Label it with the date if you want.
That’s it. Seriously. You just made your dog a gourmet frozen treat.
Storage & Serving Tips
Store your finished pupsicles in an airtight container or zip-top bag in the freezer. They’ll stay fresh for up to three months, though I doubt they’ll last that long with a happy pup around.
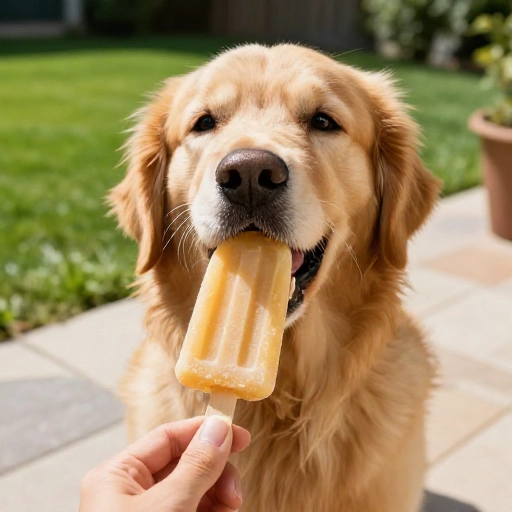
When it’s treat time, consider the size of your dog. A small pup might only need one small cube, while a larger dog can handle a whole bone-shaped treat. Always supervise your dog when they’re eating a frozen treat to prevent any choking, especially if it’s their first time.
If your dog is a fast eater, you can pop the pupsicle on a lick mat or in a slow feeder bowl to make it last longer. On extra hot days, I sometimes give my dog one outside to keep the mess contained.
Final Verdict & Summary
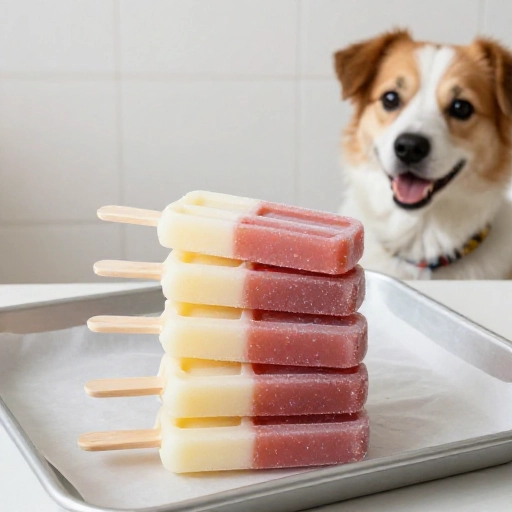
These DIY frozen pupsicle treats are a game-changer for summer dog parenting. They’re cheap, healthy, and take about five minutes of active prep time. My dog goes absolutely bonkers every time I open the freezer door, and I love that I’m giving him something that’s actually good for him.
Honestly, once you try this recipe, you’ll never go back to store-bought. Play around with different flavors and shapes, and don’t be surprised if your pup starts following you around the kitchen every time you reach for the blender. It’s a small act of love that makes a big difference in your dog’s day.
FAQ: Your Pupsicle Questions Answered
Can I use flavored yogurt?
Stick to plain, unsweetened yogurt. Flavored yogurts often contain added sugar or artificial sweeteners, including xylitol, which is toxic to dogs. Plain yogurt is safer and healthier.
How many pupsicles can I give my dog per day?
Treats should only make up about 10% of your dog’s daily calories. For most medium-sized dogs, one or two small pupsicles a day is plenty. Adjust based on your dog’s size and diet.
My dog has a sensitive stomach. What’s the safest base?
Use plain pumpkin puree and a little water or unsalted bone broth as the base. Skip the yogurt and peanut butter if those bother your dog’s tummy. Pumpkin is gentle and great for digestion.
Can I add protein powder or supplements?
Only add supplements that are specifically formulated for dogs and that your vet has approved. Human protein powders often contain ingredients that are not safe for dogs, so be very careful.
How long do these treats take to freeze?
Small cubes in a silicone mold usually take about 4 hours to freeze solid. Larger molds or a loaf pan might need 6 to 8 hours. I always make them the night before so they’re ready to go in the morning.