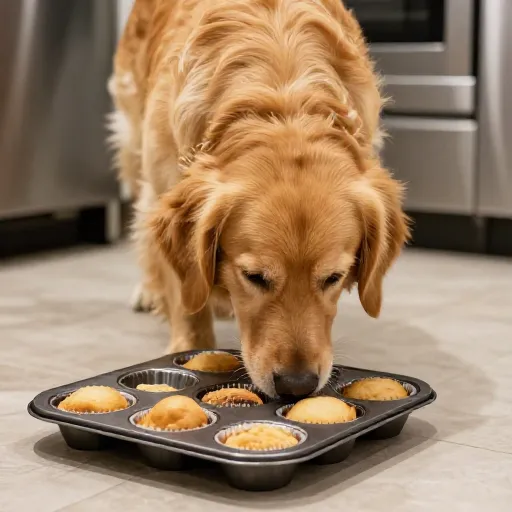
DIY Pantry Dog Treats: 3-Ingredient Peanut Butter & Pumpkin Biscuits Your Pup Will Love
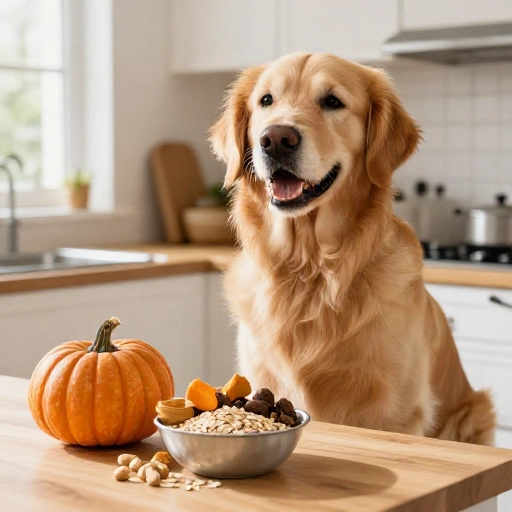
You know those days when you reach for the dog treats, only to find an empty bag? Or maybe you are just looking for a way to skip the questionable preservatives in store-bought snacks. I have totally been there. It is so easy to overthink homemade dog treats, but honestly, the best recipes are the ones you can whip up with staples you already have in your kitchen.
This pantry dog treat recipe is my absolute go-to. It uses simple, wholesome ingredients like peanut butter, pumpkin, and oats—things you probably already have on hand. The best part? Your dog will go absolutely bonkers for these crunchy, flavorful biscuits, and you will feel amazing knowing exactly what went into every single bite. No weird fillers, just pure love and simple ingredients.
Let’s get baking! This recipe is forgiving, budget-friendly, and comes together in less than 30 minutes. Trust me, the tail wags you will get are worth every second.
Why Make This Recipe (Health & Nutritional Benefits for Dogs)
I love this recipe because it is more than just a tasty snack; it is genuinely good for your furry friend. When you make treats at home, you control the quality of every ingredient, which is a huge win for your dog’s health. We are using pantry staples that offer real nutritional value, not just empty calories.
Here is why these ingredients are superstars for your pup:
- Pumpkin Puree: This is a miracle worker for digestion. It is packed with fiber, which helps regulate your dog’s tummy. It is great for pups with sensitive stomachs or those who need a little extra help in the bathroom department. Just make sure to use 100% pure pumpkin, not the sweetened pie filling!
- Peanut Butter: A fantastic source of protein and healthy fats. It is full of Vitamin B and E, which are great for a shiny coat and healthy skin. Always check the label to ensure it does not contain xylitol, an artificial sweetener that is extremely toxic to dogs. Natural, unsalted peanut butter is the best choice here.
- Whole Wheat Oats: These provide a great source of energy from complex carbohydrates. They are gentle on the stomach and give the treats a nice, hearty texture that dogs love to crunch on.
These biscuits are not just a treat; they are a functional snack that supports your dog’s overall well-being. It is a simple way to show your dog some extra love while supporting their health from the inside out.
Kitchen Equipment & Tools You’ll Need
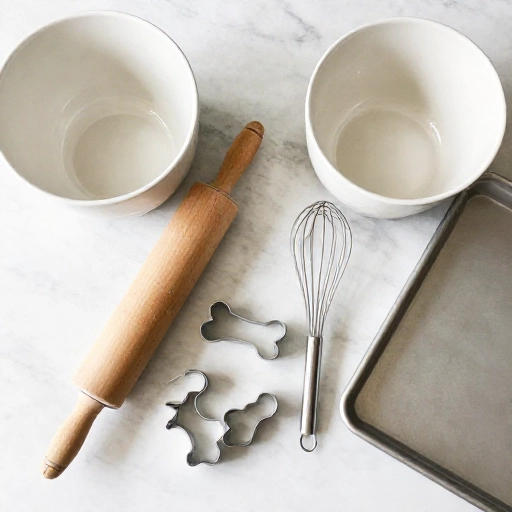
One of the best things about this recipe is that you do not need any fancy gadgets. It is all about simplicity. I bet you have most of these items already sitting in your kitchen drawers and cabinets. Here is the simple lineup you will need to get started.
The Essential Tools:
- Mixing Bowl: A standard medium-sized mixing bowl is perfect for combining all the ingredients. Any bowl you have will do the trick.
- Measuring Cups & Spoons: Accuracy is key for the perfect dough consistency, so have these on hand.
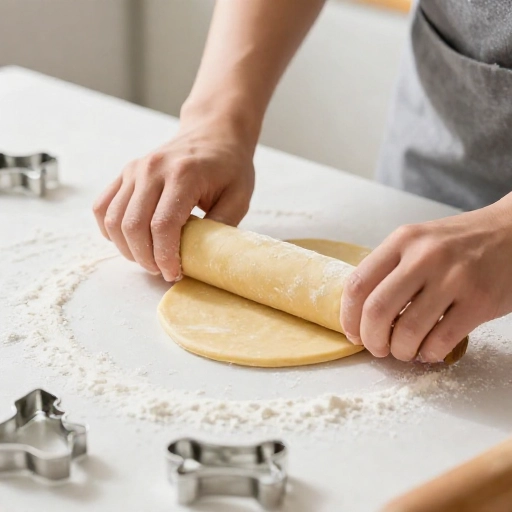
- Rolling Pin: This helps you get the dough to an even thickness, so the biscuits bake evenly. If you do not have one, you can use a clean glass bottle or even your hands to press the dough flat.
- Cookie Cutters: The fun part! Bone-shaped cutters are adorable, but any small shape works. You can also just use a knife to slice the dough into simple squares or rectangles.
- Baking Sheet: A standard baking sheet lined with parchment paper will prevent the treats from sticking and make cleanup a breeze.
- Rolling Pin or Glass: For flattening the dough evenly.
That is honestly it! With just these few basic tools, you will be well on your way to creating a kitchen full of happy, tail-wagging smells.
Ingredients List & Safe Substitutions
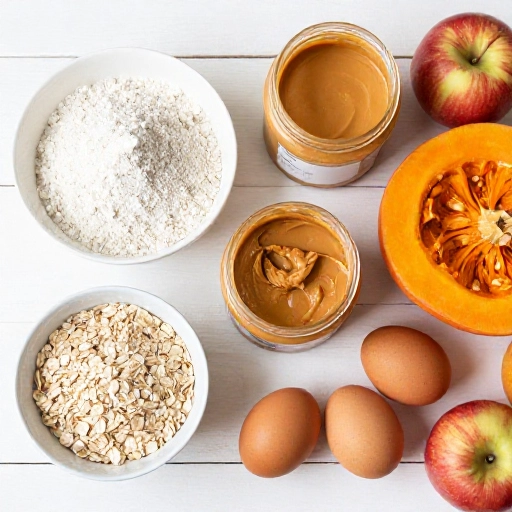
This is the magic of the recipe—it is so flexible! I am giving you the exact measurements I use, but I will also share some easy swaps in case you are missing something. Remember, the goal is to use what you have, not to run to the store.
Here is what you will need:
- 2 cups Whole Wheat Flour (or oat flour)
- 1 cup Rolled Oats
- 1 cup 100% Pure Pumpkin Puree
- 1/2 cup Natural Peanut Butter (no xylitol)
- 1/2 cup Water or Low-Sodium Chicken Broth
Easy Substitutions & Notes:
- Flour: If your dog is sensitive to wheat, you can easily substitute the whole wheat flour with oat flour or brown rice flour. You can even grind up more rolled oats in a blender to make your own oat flour!
- Peanut Butter: If you have a peanut allergy concern, you can use unsweetened applesauce or mashed sweet potato instead. It will change the flavor slightly, but it will still be delicious and safe.
- Pumpkin: Not a fan of pumpkin? You can swap it for mashed sweet potato or unsweetened applesauce. Just make sure whatever you use is fully cooked and pureed.
- Water: The water is just there to bring the dough together. You can use plain water, or for extra flavor, use a low-sodium chicken or beef broth.
These substitutions make this recipe perfect for any dog, no matter their dietary needs. Just keep it simple and avoid any ingredients that are known to be toxic to dogs, like xylitol, onions, or garlic.
Step-by-Step Instructions: How to Make the Perfect Biscuits
Alright, let’s get to the fun part! The process is so simple, even a beginner baker can nail it on the first try. I like to think of it like making a batch of cookies for a friend, but this friend has four legs and a cold nose. Follow these steps, and you will have a happy dog in no time.
Let’s get baking!
- Preheat and Prep: First, preheat your oven to 350°F (175°C). Line your baking sheet with a piece of parchment paper and set it aside.
- Mix the Dry Ingredients: In your large mixing bowl, whisk together the whole wheat flour and rolled oats. Make sure they are well combined.
- Add the Wet Ingredients: Add the pumpkin puree and peanut butter to the bowl with the dry ingredients. Use a spatula or your (clean!) hands to mix everything together.
- Combine the Dough: Slowly add the water or broth, one tablespoon at a time, mixing until a dough starts to form. You want the dough to be firm but not sticky. If it is too dry, add a little more water. If it is too sticky, add a bit more flour.
- Roll and Cut: Lightly flour your countertop and place the dough on it. Use your rolling pin to roll the dough out to about 1/4-inch thickness. Now, use your cookie cutters to cut out your fun shapes. Re-roll the scraps and continue cutting until you have used all the dough.
- Bake to Perfection: Place the cut-out biscuits onto your prepared baking sheet. Bake for 20-25 minutes, or until the bottoms are golden brown and the biscuits are firm to the touch. For extra crunchy treats, you can turn the oven off and leave them inside for another 10-15 minutes to dry out.
- Cool Completely: This is the hardest part! Let the biscuits cool completely on a wire rack before you give one to your dog. They will crisp up as they cool.
And that is it! Once they are cool, they are ready to be devoured by your very excited furry friend.
Storage & Serving: Feeding Guidelines and Storage Tips
Now that you have a batch of delicious, homemade treats, you need to know how to store them and how many to give your pup. These treats are made with fresh ingredients, so they are not shelf-stable like the ones from the store. But don’t worry, it is easy to keep them fresh.
Here is the best way to store and serve them:
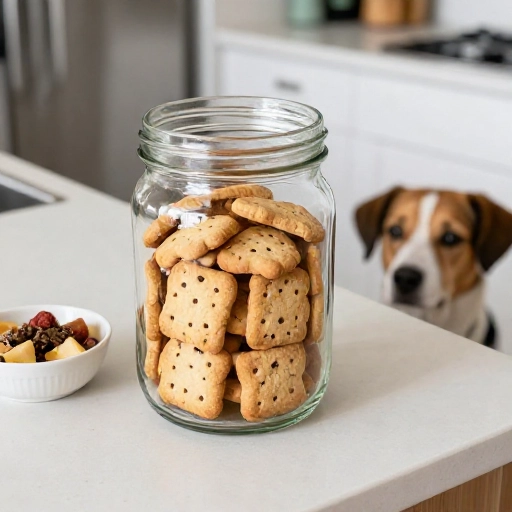
- Storing in the Pantry: Place the fully cooled biscuits in an airtight container. They will stay fresh for up to one week at room temperature. I like to keep mine in a glass jar on the counter.
- Refrigerator Storage: For longer shelf life, you can keep the airtight container in the refrigerator. The treats will stay fresh for up to two weeks this way. They will be a little harder when cold, which makes them great for chewing.
- Freezer Storage: This is my favorite tip! These treats freeze beautifully. Place them in a freezer-safe bag or container and freeze for up to three months. You can give them to your dog frozen on a hot day, or just take out a few at a time to thaw.
- Serving Size: Treats should only make up about 10% of your dog’s daily caloric intake. For a small dog, one or two biscuits a day is plenty. For a larger dog, you can give three or four. Always monitor your dog to ensure they are chewing properly and not swallowing large pieces whole.
Remember, these are treats, not a meal replacement. They are perfect for training rewards or just to show your dog how much you care, but balance is key to keeping your pup happy and healthy.
Final Verdict & Summary
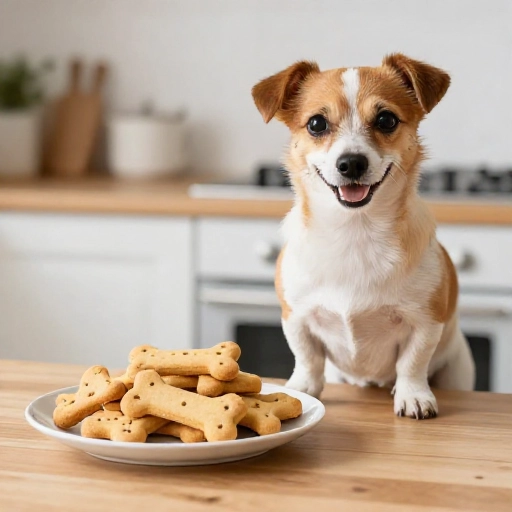
Honestly, this is the best pantry dog treat recipe I have ever made. It is foolproof, uses simple ingredients, and yields a treat that my dog absolutely loses his mind over. The texture is perfectly crunchy, which also helps with dental health, and I love that I can make a huge batch to keep in the freezer for weeks.
The best part is the peace of mind. I know exactly what is in every single biscuit, and I can feel good about giving my pup a snack that is both delicious and nutritious. Plus, the joy of watching your dog eagerly wait by the oven while the treats bake is a feeling like no other.
So, the next time you run out of dog treats or just want to do something special for your furry best friend, look no further than your own pantry. This recipe is a game-changer, and I promise your dog will thank you with endless kisses and tail wags. It is simple, healthy, and made with love—the three best ingredients of all.
Frequently Asked Questions (FAQ)
Can I use creamy and chunky peanut butter?
Yes, absolutely! Both work great in this recipe. Creamy peanut butter will create a smoother dough, while chunky peanut butter adds a little extra texture and crunch that some dogs really enjoy. Just be sure it is natural and free from xylitol.
My dough is too crumbly. What did I do wrong?
Don’t worry, this is a common fix! It just means the dough needs a little more moisture. Add water or broth one tablespoon at a time until the dough holds together nicely when you pinch it. The humidity in your kitchen can affect the dough’s consistency.
How long do these homemade dog treats last?
When stored in an airtight container at room temperature, they last for about a week. In the refrigerator, they will stay fresh for up to two weeks. For the longest shelf life, you can freeze them for up to three months. Just thaw them out as needed.
Can I make these treats grain-free?
Yes, you can! Simply swap the whole wheat flour for a grain-free alternative like coconut flour or a store-bought grain-free flour blend. You may need to adjust the amount of liquid, as coconut flour absorbs a lot more moisture than regular flour.
My dog is a picky eater. Will he like these?
I have never met a dog that does not love these treats! The combination of peanut butter and pumpkin is almost irresistible to our canine companions. However, if your dog is extra picky, you can try adding a little bit of cooked, crumbled bacon or a splash of low-sodium chicken broth to enhance the flavor.