Dog Run Animation: Speed and Energy Tips That Bring Your Pup to Life
If you’ve ever tried to animate a dog running, you know it’s not just about moving legs back and forth. There’s a rhythm, a bounce, a certain joy that makes a dog look like it’s truly sprinting through a park. I’ve spent countless hours watching slow-motion videos of greyhounds and golden retrievers, and let me tell you—the secret is in the details.
Whether you’re creating a cartoon, a game asset, or a fun GIF, nailing that canine energy is a game-changer. You want viewers to feel the wind and hear the paws thumping. This guide is packed with practical, easy-to-understand tips that will transform your dog run animation from stiff to spectacular. Let’s dig in and get those tails wagging!
1. Master the Gallop Cycle: It’s All About the Suspension
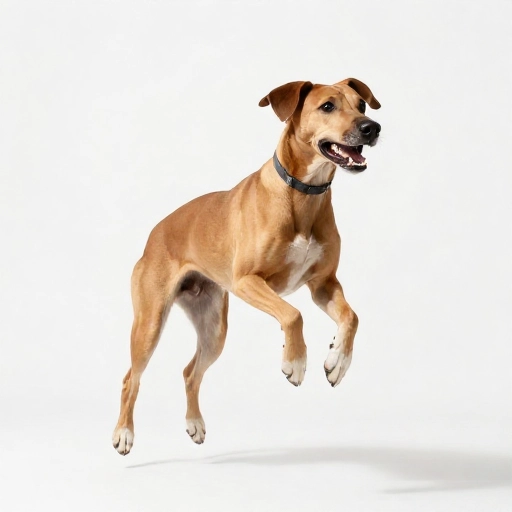
The most energetic dog run isn’t a trot; it’s a full-out gallop. This gait has a distinct rhythm: a moment where all four paws leave the ground. This is your “suspension phase.” If you don’t include this, your dog will look like it’s gliding on a skateboard instead of running.
Think of it like a bouncing ball. The energy goes down into the ground, then bursts upward. Your keyframes should emphasize that explosive lift-off and the graceful, stretched-out moment of flight.
- The Gather: The front legs reach forward, back legs are tucked under.
- The Launch: The body propels upward and forward.
- The Stretch: All legs are extended, body fully elongated.
- The Land: Paws hit the ground, absorbing the shock.
Nail this cycle, and you’ve instantly added 50% more life to your animation.
2. The Spine is a Spring, Not a Stick
A common mistake is keeping the dog’s back straight like a table. A real dog’s spine flexes and extends with each stride. This is where the “speed” feeling comes from. When the front legs reach out, the back arches slightly; when the back legs push off, the spine compresses and extends.
I like to think of the body as a coiled spring. The more you compress it, the more powerful the release. This “gather and stretch” motion is what makes a run look powerful and dynamic, rather than mechanical.
Try sketching the spine as a simple curve first. Animate the curve, then add the legs on top. You’ll be amazed at how much more organic the motion looks.
3. Head Bobbing: The Hidden Key to Energy
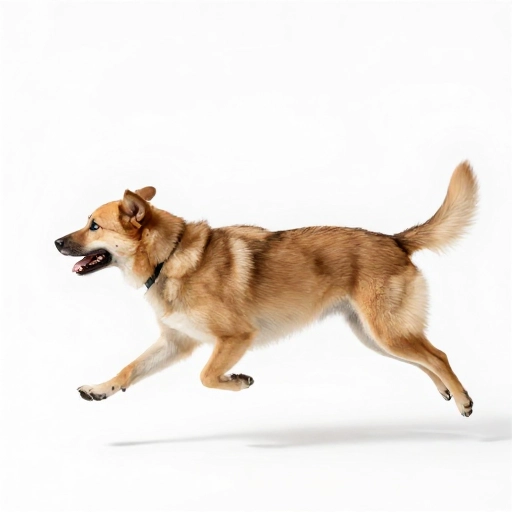
Watch a dog run and you’ll see its head isn’t locked in place. It bobs up and down in sync with the stride. This isn’t random; it’s a natural counterbalance. The head dips slightly as the front paws hit the ground, and rises as they push off.
This subtle motion is a cheat code for energy. Without it, the dog looks stiff and robotic. The bob doesn’t need to be huge—just a few pixels of movement can make a world of difference.
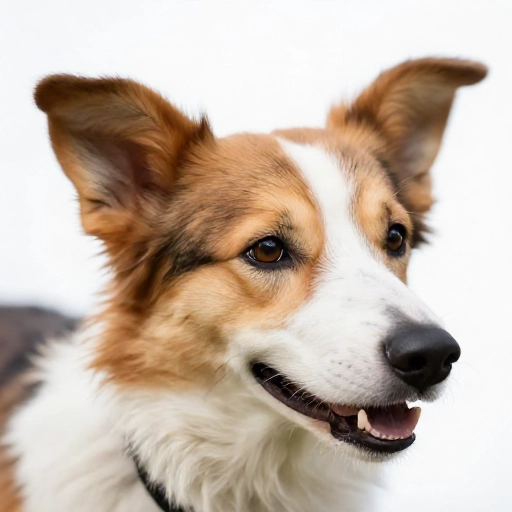
To add even more life, let the ears flop and the cheeks jiggle just a tiny bit on the bounce. That loose, floppy motion screams “fast” to the viewer’s eye.
4. The Tail Tells the True Story
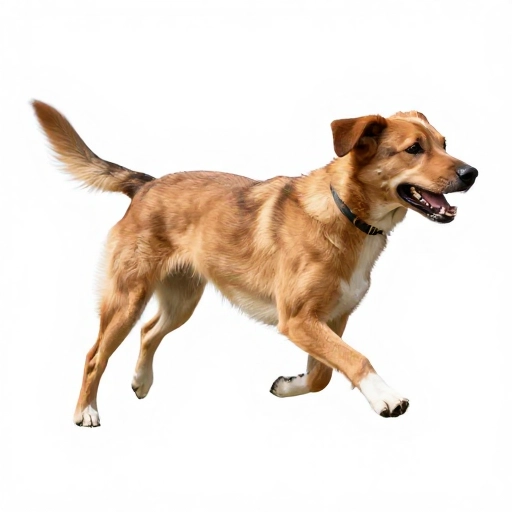
The tail is the dog’s emotional barometer. During a high-energy run, the tail isn’t just stuck out behind; it’s a flowing ribbon of excitement. It might be raised up, curved slightly, or even wagging furiously. The momentum carries it in a wave-like motion.
Don’t animate the tail as a single solid object. Animate it as a series of joints or segments that follow the base. The tip of the tail should lag behind the movement of the base, creating a natural, fluid whip.
- Joyful: Tail high, curved, with a vigorous wag.
- Focus: Tail straight out, slightly stiff.
- Playful: Tail in a low, sweeping arc.
This simple addition will instantly communicate the dog’s mood and the intensity of the run.
5. Squash and Stretch for Cartoon Impact
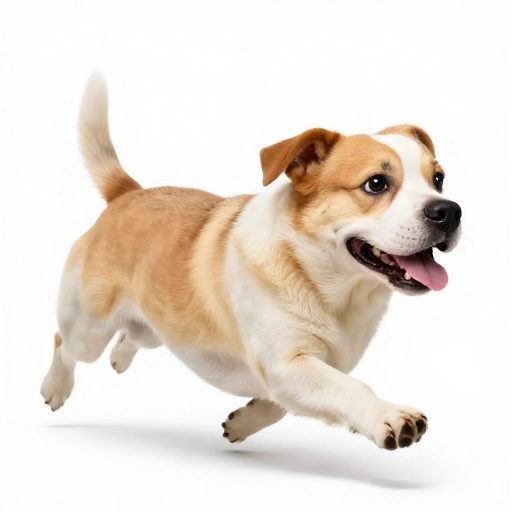
If you want a more stylized, cartoonish feel, you have to use squash and stretch. This is the classic animation principle that makes motion feel exaggerated and fun. As the dog lands, its body squashes down and widens. As it leaps, the body stretches out and thins.
This is your secret weapon for injecting “juice” into your animation. It’s not about realism; it’s about feeling. A quick, sharp squash on the landing makes the ground impact feel heavy. A long, drawn-out stretch on the leap makes the dog feel weightless and fast.
Try pushing this principle further than you think you should. In most cases, it will look better and more entertaining.
6. Paw Placement and the “Pushing” Ground
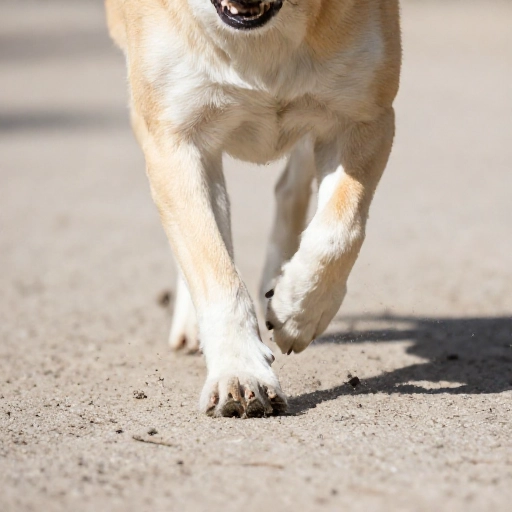
Think about where the paws are in relation to the body. A common error is having the paws touch down too far forward. In a real run, the paws push off from underneath the body, driving the dog forward. The front paws reach out to catch the body’s weight, while the back paws provide the thrust.
Focus on that “pushing” action. Show the back leg extending fully behind the dog at the end of the stride. That full extension is what sells the idea of effort and speed.
Also, pay attention to the paws themselves. They shouldn’t be flat on the ground for long. They should be on the ground for only a split second before lifting again. Quick contact, quick release.
7. The Power of the “Anticipation” Pause
Speed isn’t just about moving fast; it’s about contrast. A tiny moment of anticipation before a burst of speed makes the speed feel faster. Before the dog launches into a full sprint, there might be a slight crouch or a pause. This builds tension.
In your animation loop, consider adding a beat. Maybe the dog gathers itself for a split second before the gallop cycle begins. This tiny “wind-up” makes the subsequent motion feel explosive and energetic.
Think of it as the calm before the storm. A silent beat of focus before the whirlwind of motion.
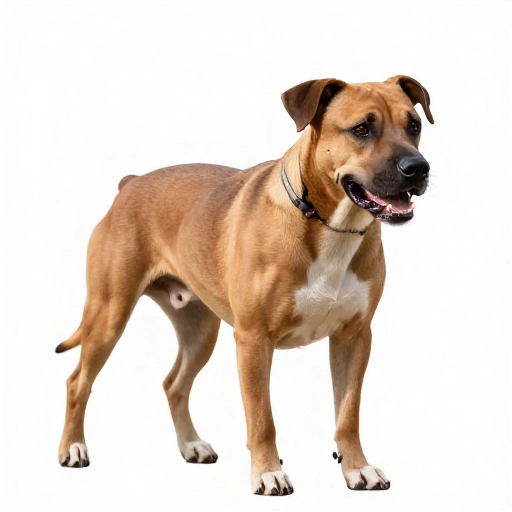
8. Use “Motion Lines” to Boost Visual Speed
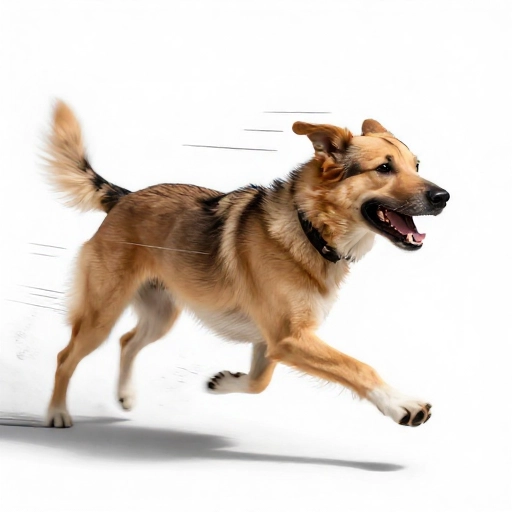
Sometimes, the character itself isn’t enough. You need to augment the motion with visual cues. Motion lines, dust puffs, or even a slight speed blur behind the dog can drastically increase the perceived energy. These elements are like sound effects for the eyes.
Add a few curved lines trailing from the paws or the tail. Draw a small cloud of dust behind the back paws for the push-off. These little flourishes tell the viewer’s brain, “This is fast!”
Just be careful not to overdo it. A few subtle lines are more effective than a chaotic mess of streaks.
9. Different Breeds, Different Runs
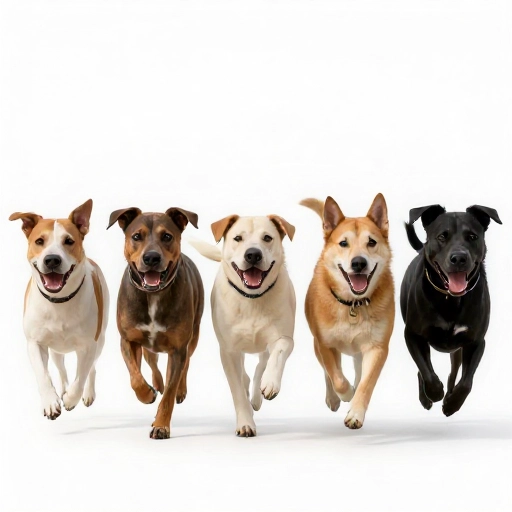
A chihuahua doesn’t run like a greyhound. The body mechanics are different. A small dog has a quicker, higher-stepping stride. A large dog has a longer, more powerful gallop. Think about the breed you’re animating and adjust the timing accordingly.
For a playful labrador, the run might be bouncier, with more vertical movement. For a sleek whippet, the run is more horizontal, with the body staying low and streamlined. The head position also changes—a curious dog runs with its head up, a focused scent-hound runs with its nose to the ground.
This specificity is what makes your animation feel authentic and engaging.
10. Loop the Animation Seamlessly
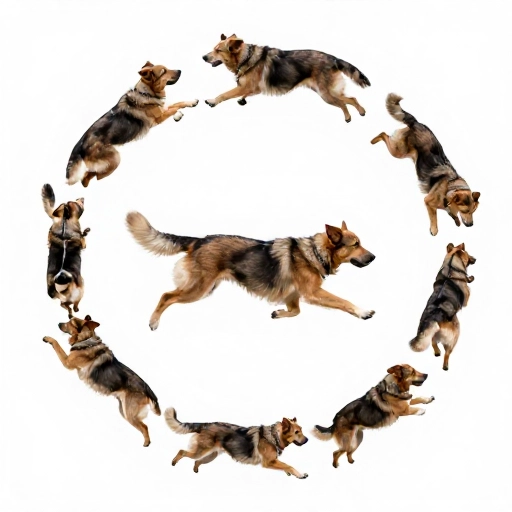
If you’re creating a loop for a GIF or a game, the end of the cycle must blend perfectly into the beginning. This is the hardest part. The last frame should be the natural precursor to the first frame. If the timing is off, you’ll get a visible “hiccup” in the motion.
I like to animate the full cycle and then check the first and last frames. They should feel like they are part of the same continuous stride. Sometimes, it helps to work in a pose-to-pose method, starting with the key poses of the cycle and then filling in the in-betweens.
A seamless loop is the mark of a professional. It creates a hypnotic, energetic effect that keeps viewers watching.
Conclusion: Let Your Creativity Run Wild
Bringing a dog to life through animation is one of the most rewarding challenges. It’s about combining technical skill with a deep observation of what makes dogs so wonderfully dynamic. Remember to focus on the spring in the spine, the joy in the tail, and the power of a well-placed pause.
Don’t be afraid to experiment and break the rules. The most important thing is to have fun and let your passion for the craft shine through. Now, go make some amazing art!
Frequently Asked Questions
Q1: What is the most common mistake in dog run animation?
The biggest mistake is making the dog’s body rigid and just sliding the legs back and forth. Forgetting the up-and-down bounce of the body and the flexing of the spine makes it look like a toy, not a living creature.
Q2: How many frames should a full run cycle be?
This depends on your style. For a smooth, realistic run, you might use 12 to 16 frames. For a snappy, cartoonish run, 6 to 8 frames is usually perfect. The key is consistency in your timing.
Q3: Should I animate the dog in 2D or 3D?
Both are great! The principles are exactly the same. In 2D, you focus on drawing the squash and stretch. In 3D, you’re manipulating controllers to achieve the same effect. Pick the medium you enjoy most and focus on the fundamentals.
Q4: How can I make my animation look less stiff?
Add overlapping action! This means the floppy ears, the tail, and the loose skin move a few frames behind the main body movement. This secondary motion adds a ton of life and fluidity to your work.
Q5: What’s the best way to practice?
Find reference videos! Watch slow-motion clips of dogs running and try to break down the movement into key poses. Then, try to animate a simple ball with the same bounce pattern. It’s all about training your eye to see the rhythm.