Easy Homemade Chewy Dog Treats Your Pup Will Devour (3-Ingredient Recipe)
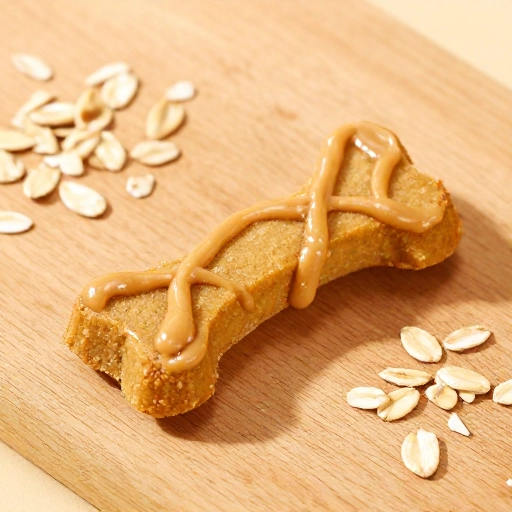
There’s nothing quite like the look in your dog’s eyes when they know a treat is coming. I used to grab bags of store-bought biscuits, but I always wondered what was really inside them. That’s when I decided to start making my own—and honestly, it changed everything. These chewy, peanut-buttery bites are so simple, you’ll wonder why you didn’t start sooner.
Not only are these treats made with just three basic ingredients you probably already have in your kitchen, but they’re also soft enough for senior dogs and puppies alike. No weird preservatives, no fillers—just real food your pup will go wild for. And the best part? They take less than 20 minutes from start to finish.
So grab your apron (and your furry sous-chef), because we’re about to make the easiest, most tail-wagging dog treats you’ve ever baked.
Why This Recipe Works
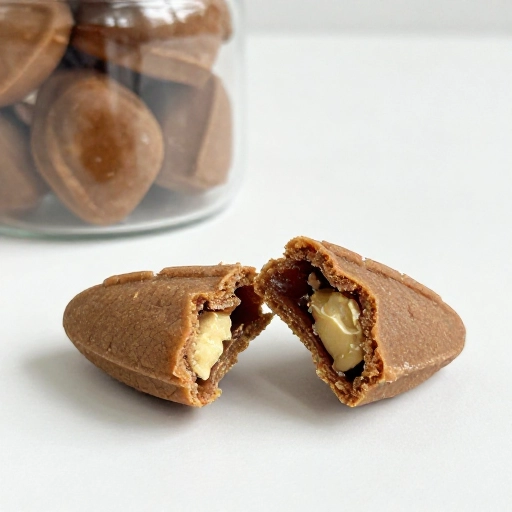
I’ve tested a dozen dog treat recipes, and this one wins every single time. It’s chewy, not crumbly, which means less mess on your floor. The peanut butter gives it that irresistible flavor dogs crave, while the pumpkin adds fiber and a soft texture. Plus, there’s no salt or sugar hiding in these bites—your pup gets all the goodness with none of the junk.
Another reason I love this recipe? It’s endlessly adaptable. You can swap pumpkin for sweet potato or unsweetened applesauce, and they’ll still come out perfectly chewy. Whether you’re training a new puppy or just want to spoil your best friend, these treats deliver every single time.
Equipment You’ll Need
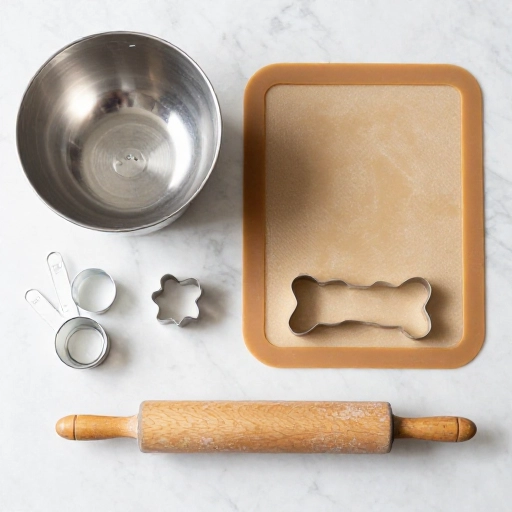
Don’t worry—you don’t need any fancy kitchen gadgets for these treats. Here’s what I use:
- One medium mixing bowl
- A wooden spoon or silicone spatula
- Measuring cups and spoons
- A baking sheet (any size works)
- Parchment paper (trust me, this makes cleanup a breeze)
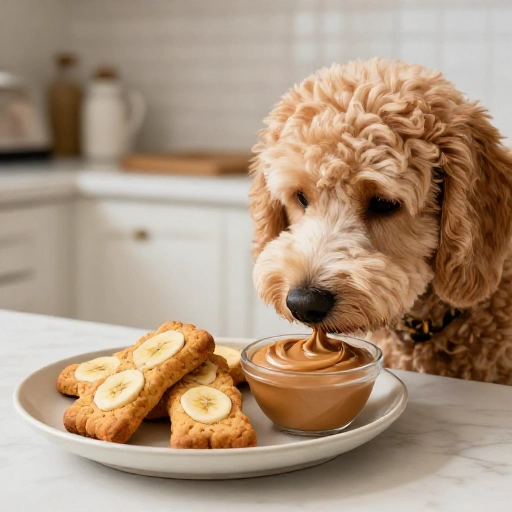
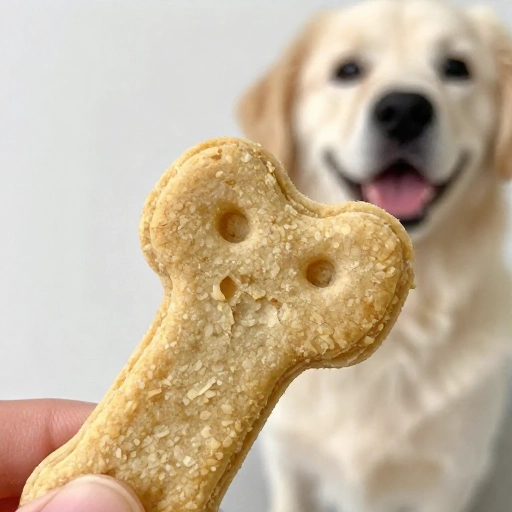
- A cookie cutter (I use a bone shape, but a small round cutter or even a knife works fine)
If you don’t have a cookie cutter, just roll the dough into small balls and flatten them with your palm. Your dog won’t care about the shape—they just want the taste!
Ingredients You Need
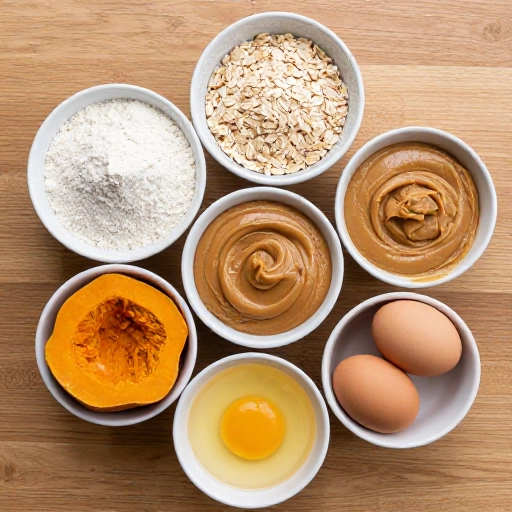
This recipe makes about 30 small treats, depending on your cutter size. Here’s what goes in them:
- 1 cup whole wheat flour (or oat flour for sensitive tummies)
- 1/2 cup natural unsalted peanut butter (make sure it’s xylitol-free!)
- 1/2 cup canned pumpkin puree (not pumpkin pie filling)
That’s it. Seriously. Three ingredients. I always double-check my peanut butter label because xylitol is extremely toxic to dogs. Stick with brands that list only peanuts (and maybe salt) as ingredients.
How to Make These Chewy Dog Treats
Preheat your oven to 350°F (175°C) and line a baking sheet with parchment paper. In your mixing bowl, combine the flour, peanut butter, and pumpkin puree. Stir everything together with your spoon until it forms a stiff, slightly sticky dough. If it feels too dry, add a teaspoon of water; if too sticky, sprinkle in a little more flour.
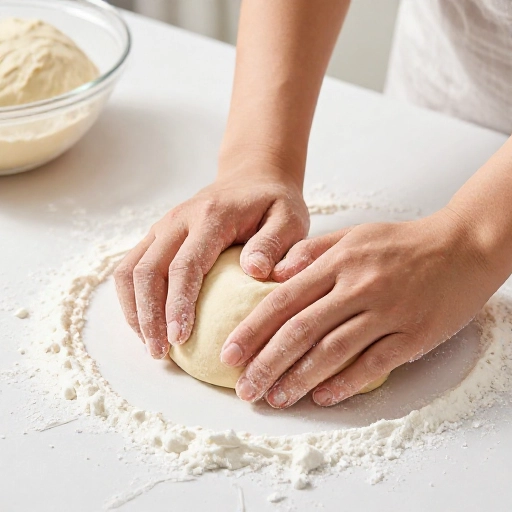
Sprinkle a light dusting of flour on your countertop and roll the dough out to about 1/4-inch thickness. Use your cookie cutter to press out shapes, then place them on the prepared baking sheet about an inch apart. Gather the scraps, reroll, and repeat until all the dough is used up.
Bake for 12 to 15 minutes, or until the treats are firm to the touch but still slightly soft in the center. Let them cool completely on the baking sheet—they’ll firm up a bit more as they cool. Store in an airtight container in the fridge for up to two weeks, or freeze for up to three months.
Tips for the Chewiest Treats
If you want that perfect chewy texture, don’t overbake. The treats should look dry on top but still feel a little soft when you press them. They harden as they cool, so pulling them out at the right moment is key. For extra chewy treats, I sometimes add a tablespoon of plain yogurt to the dough—it makes them even softer and adds a tangy flavor dogs love.
Also, let the treats cool completely before storing. If you put them away while they’re still warm, the trapped steam can make them soggy. Nobody wants a mushy dog treat.
Conclusion
Making homemade dog treats doesn’t have to be complicated or time-consuming. With just three ingredients and a few minutes of your time, you can whip up a batch of chewy, delicious snacks that your pup will absolutely devour. I love knowing exactly what’s in every bite, and seeing my dog’s happy dance when I pull out the treat jar makes it all worth it.
Give this recipe a try, and don’t be surprised if you end up making them every week. Your dog will thank you—probably with a slobbery kiss or two.
Frequently Asked Questions
Can I use regular flour instead of whole wheat?
Absolutely. White flour, oat flour, or even coconut flour (adjust liquid as needed) all work well. Whole wheat is just a bit heartier and adds a little more fiber.
How long do these treats stay fresh?
In an airtight container in the fridge, they stay fresh for up to two weeks. In the freezer, they last about three months. Just thaw a few at a time as needed.
My dog has a sensitive stomach. Are these safe?
Yes, this recipe is gentle on most dogs. The pumpkin actually helps with digestion. If your dog is sensitive to grains, swap the flour for oat flour or chickpea flour.
Can I add other flavors like bacon or cheese?
Definitely. Try adding a tablespoon of shredded cheddar or a teaspoon of bacon bits (ensure no added salt or preservatives). Just keep the dough consistency in mind—you may need a touch more flour.
Why are my treats hard instead of chewy?
You likely overbaked them or rolled the dough too thin. Next time, roll to 1/4-inch thickness and check them at 12 minutes. They should still feel slightly soft in the center when you pull them out.