Homemade Pumpkin Dog Treats: Easy 4-Ingredient Recipe Your Pup Will Go Nuts For
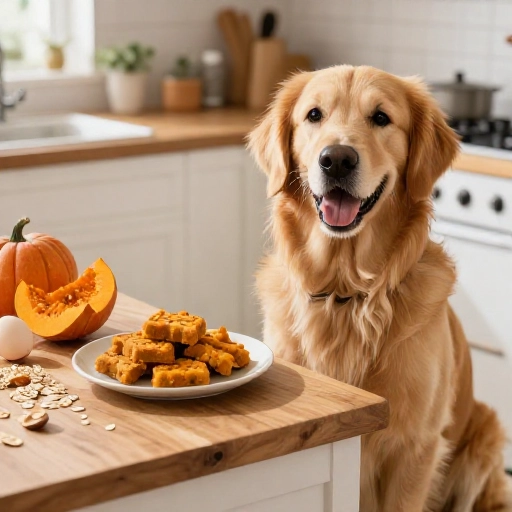
If your dog watches you open the treat jar like it’s the best part of the day, you’re going to love this one. These homemade pumpkin dog treats are soft, chewy, and smell just enough like a cozy fall bakery that you’ll be tempted to sneak one yourself (spoiler: they’re totally people-safe, just a little bland).
I started making these because my rescue mutt has a sensitive stomach, and store-bought biscuits were hit or miss. Pumpkin turned out to be the magic ingredient — it’s gentle on digestion, full of fiber, and it makes the dough come together with almost no effort. Four ingredients, one bowl, and about 25 minutes of your time.
Best of all, you control what goes in. No mystery preservatives, no weird fillers, just real food your dog can actually recognize. Let’s make a batch.
Why Make These Pumpkin Dog Treats? (Health Benefits for Dogs)
Pumpkin is one of those rare ingredients that vets actually nod at. It’s naturally low in calories, high in fiber, and packed with beta-carotene and vitamin A, which support a healthy coat and immune system. The fiber is the real star, though — it helps firm up loose stools and gently gets things moving when your pup is a little backed up.
Because these treats are soft-baked rather than rock-hard, they’re also a great option for older dogs, puppies, and any pup with missing or sensitive teeth. You can break them into tiny pieces for training, which means one batch lasts a surprisingly long time.
And honestly? There’s something satisfying about knowing exactly what your dog is eating. If your dog has allergies or a sensitive tummy, homemade treats let you skip the ingredients that cause trouble and keep the ones that help.
Kitchen Equipment & Tools You’ll Need
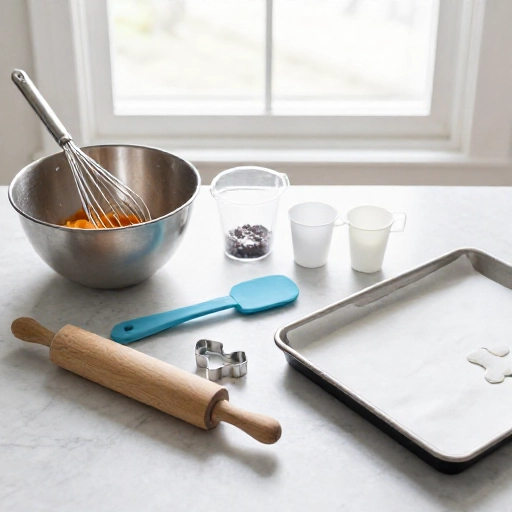
You don’t need a fancy kitchen setup for these — if you can make cookies, you can make dog treats. Here’s what I keep on the counter:
- Two mixing bowls — one large, one medium
- Measuring cups and spoons — accuracy matters, especially with the pumpkin
- A whisk or fork for the wet ingredients
- A sturdy spatula or wooden spoon for folding the dough
- A rolling pin — optional, but helpful for even thickness
- Parchment paper or a silicone baking mat
- A baking sheet
- Cookie cutters — dog bone shapes are cute, but a simple circle or square works fine
- A wire cooling rack
One tip: if you’re using a cookie cutter with small details, dip it in a little flour or oat flour between cuts so it releases cleanly. And if you’d rather skip the rolling entirely, just drop spoonfuls of dough onto the sheet and flatten them with a fork. They’ll look rustic and your dog will not care one bit.
Ingredients List & Safe Substitutions
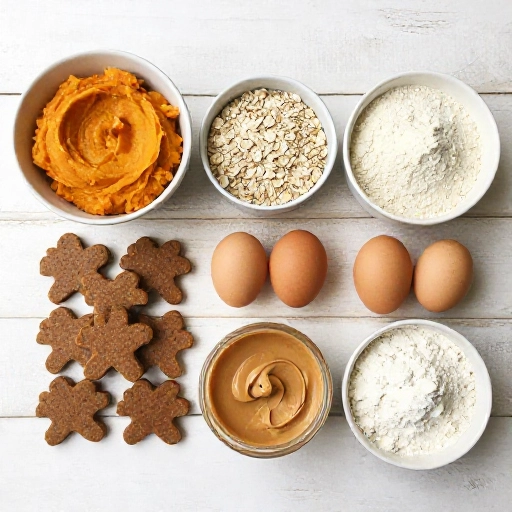
Here’s the base recipe. It makes about 30 small treats, depending on how you cut them.
- 1 cup pure pumpkin puree — NOT pumpkin pie filling. Pie filling has sugar, spices, and sometimes xylitol, which is toxic to dogs. Check the label: the only ingredient should be pumpkin.
- 2 large eggs — these bind everything together
- 2 ½ cups whole wheat flour — or swap for oat flour, brown rice flour, or a gluten-free blend if your dog is wheat-sensitive
- ¼ cup rolled oats — optional, but they add nice texture
- 1 tablespoon coconut oil or olive oil — for a slightly softer chew
Safe add-ins if you want to mix it up:
- 1 tablespoon unsweetened peanut butter (make sure it has no xylitol)
- 1 mashed ripe banana
- 1 tablespoon plain unsweetened Greek yogurt
- A pinch of cinnamon — fine for most dogs, but skip it if yours has a sensitive stomach
Please avoid: nutmeg, raisins, chocolate, xylitol, onion or garlic powder, and added sugar or salt. Those are all no-gos for dogs, no matter how small the amount.
How to Make Homemade Pumpkin Dog Treats (Step-by-Step)
Preheat your oven to 350°F (175°C) and line a baking sheet with parchment paper. Now grab your bowls.
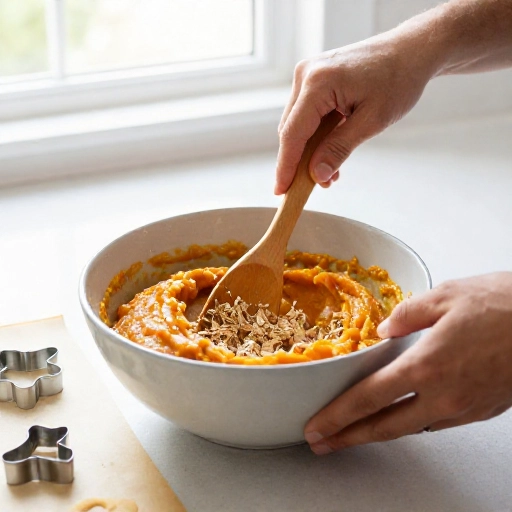
- Whisk the wet ingredients. In a large bowl, combine the pumpkin puree, eggs, and oil until smooth and glossy. It should look like thick baby food.
- Add the dry ingredients. Stir in the flour and oats. Mix until a soft, slightly sticky dough forms. If it’s too wet to handle, add flour one tablespoon at a time. If it’s crumbly, add a tiny splash of water.
- Rest the dough. Cover the bowl and let it sit for 10 minutes. This gives the flour time to hydrate and makes rolling much easier.
- Roll and cut. Lightly flour your counter and roll the dough to about ¼ inch thick. Cut into shapes and place them on your baking sheet, leaving a little space between each one.
- Bake for 20–25 minutes. The edges should be set and slightly firm. For softer treats, pull them out at 20 minutes. For crunchier biscuits, bake closer to 30 and then turn the oven off and let them dry inside for another 20 minutes.
- Cool completely. This part is important — warm treats can upset a dog’s stomach, and they’ll crumble in storage if there’s any moisture left.
Once they’re cool, hand one over and watch the tail go. That first crunch is genuinely the best part of making these.
Storage, Serving Size & Feeding Guidelines
These treats are soft, so they don’t last as long as hard commercial biscuits. Here’s how I handle them:
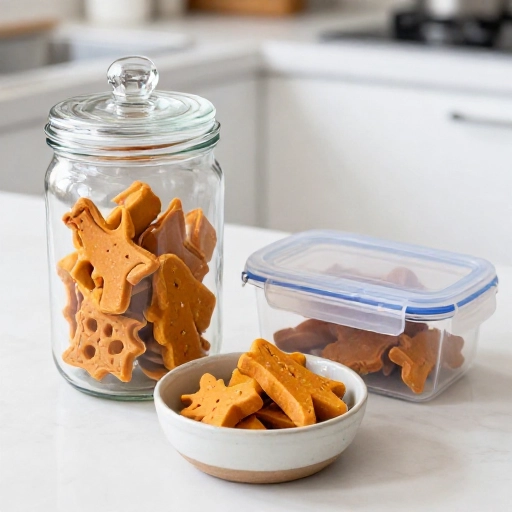
- Counter: up to 5 days in an airtight container
- Fridge: up to 2 weeks — my go-to for everyday use
- Freezer: up to 3 months. Freeze on a tray first, then transfer to a bag so they don’t stick together
How much to feed: Treats should never make up more than about 10% of your dog’s daily calories. For a small dog, that’s roughly 1–2 small treats a day. For a medium dog, 2–3. For a big dog, 3–4 larger ones. If you’re using these for training, break each treat into pea-sized pieces and you’ll get way more mileage out of a single batch.
A quick heads-up: pumpkin is high in fiber, so too many treats at once can cause loose stools. Start with one and see how your dog handles it. And if your dog is on a prescription diet or has a medical condition, run any new treat past your vet first — they know your pup best.
Final Verdict: Are These Pumpkin Dog Treats Worth Making?
Absolutely, yes. This is one of those rare recipes that’s genuinely easy, cheap, and better for your dog than most of what’s on the shelf. Four core ingredients, one bowl, and a batch that lasts weeks in the freezer.
What I love most is how flexible it is. Sensitive stomach? Swap the flour. Picky eater? Add peanut butter. Training a puppy? Cut them tiny. Once you’ve made them a couple of times, you’ll stop measuring and just eyeball it like I do.
Give it a try this week and see how fast that first batch disappears. Fair warning: your dog may start following you into the kitchen every time the oven turns on.
Frequently Asked Questions About Pumpkin Dog Treats
Can I use pumpkin pie filling instead of pure pumpkin puree?
No — please don’t. Pumpkin pie filling contains added sugar, spices, and sometimes xylitol, which is highly toxic to dogs. Stick with 100% pure pumpkin puree, and read the ingredient label to confirm pumpkin is the only thing in the can.
How long do homemade pumpkin dog treats last?
About 5 days in an airtight container at room temperature, up to 2 weeks in the fridge, and up to 3 months in the freezer. If you spot any mold or a sour smell, toss the whole batch.
Can I make these treats grain-free?
Yes. Swap the whole wheat flour for oat flour, brown rice flour, or a dog-safe gluten-free blend. Use the same amount, but add it gradually — different flours absorb liquid differently, so you may need a tablespoon or two more or less.
Are these safe for puppies?
They are, as long as your puppy is already eating solid food. Just keep portions small — half a treat at a time for tiny pups — and break them into pieces so they’re easy to chew.
My dough is too sticky to roll. What should I do?
Sprinkle in flour one tablespoon at a time until it stops sticking to your hands. Chilling the dough for 20–30 minutes also helps a lot, especially if your kitchen is warm.