How to Build Dog Steps for Your Bed: A Simple DIY Guide for Small Dogs
If you have a small dog, a dachshund, a senior pup, or just a furry friend who loves snuggling but struggles to jump, you know the struggle. My little guy would look at the bed like it was Mount Everest. I tried lifting him, but it got old fast. That’s when I decided to build my own dog steps.
Store-bought steps are often flimsy, ugly, or way too expensive. DIY dog steps are stronger, cheaper, and you can make them match your room. Plus, your dog will feel safe and confident climbing up and down. Here’s how I built mine, with 10 simple ideas to get you started.
1. Measure Your Bed Height First
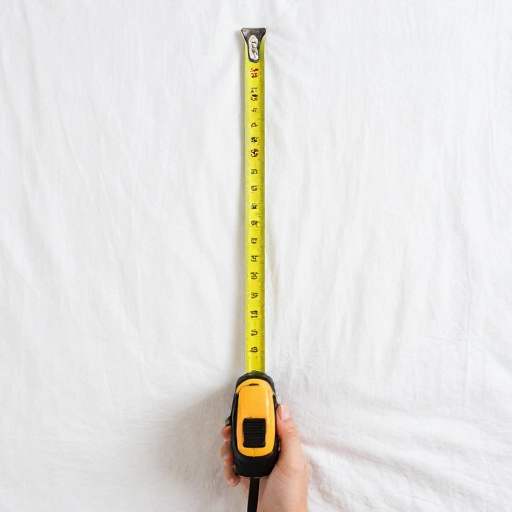
Before you cut a single piece of wood, you need to know exactly how high your bed is. This is the most important step. If the steps are too tall, your dog won’t use them. Too short, and they’re useless.
Grab a tape measure. Measure from the floor to the top of your mattress. For a standard bed, that’s usually around 24 to 28 inches. Write it down. Now decide how many steps you want. Most small dogs do best with two or three steps.
- Two steps: Each step is about half the bed height.
- Three steps: Each step is about a third of the bed height.
2. Choose the Right Wood (Don’t Overthink It)
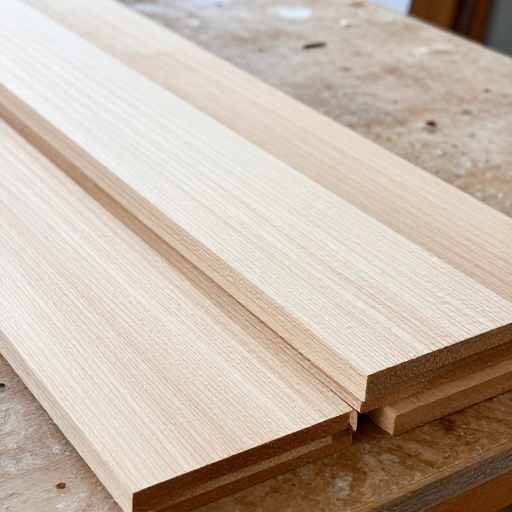
You don’t need fancy lumber. I used basic plywood from the hardware store. It’s cheap, sturdy, and easy to cut. You could also use pine boards if you want something a bit nicer. Just make sure it’s at least ½ inch thick so it holds your dog’s weight.
If you have a heavy dog, go with ¾ inch plywood. That’s what I used for my 15-pound terrier mix. It’s solid. Don’t use particle board—it’s too weak and will crumble over time.
3. Keep the Step Width Comfortable
Your dog needs enough room to place all four paws without feeling cramped. I made my steps 12 inches wide. That’s plenty for a small dog. For a medium dog, go 14 to 16 inches. For a giant breed, you might want 18 inches.
Also, don’t make the tread too deep. A 10-inch depth is perfect. It gives your dog a natural place to step without overstretching. Too deep, and they’ll have to do a little jump anyway. Keep it shallow and safe.
4. Build a Simple Box Frame (No Fancy Tools Needed)
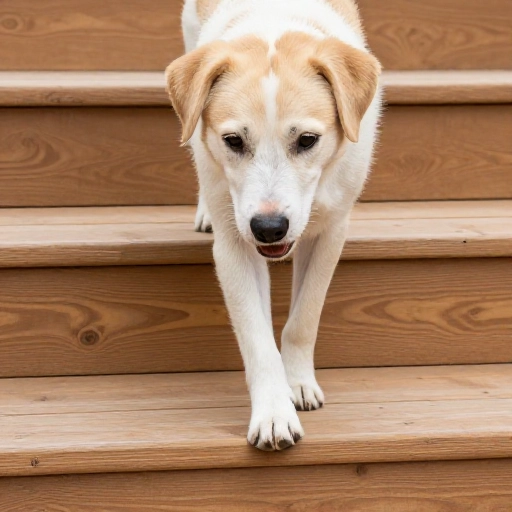
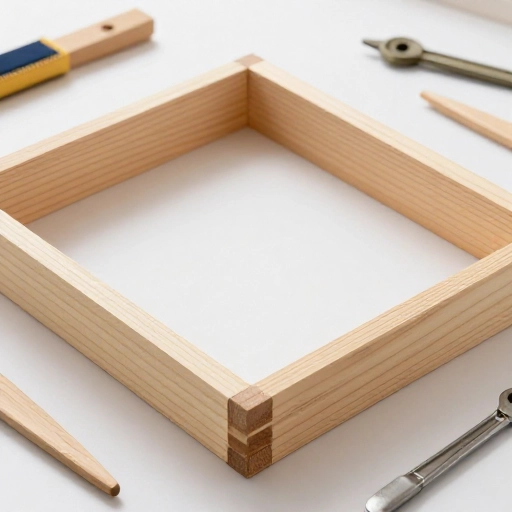
This is the easiest way to build dog steps. Think of it like building a small staircase box. Cut two side pieces (the height of your total steps) and several tread pieces (the step surfaces).
I used a circular saw, but a hand saw works if you’re patient. Screw the side pieces to the treads using wood screws. Make sure everything is square. You can also add a back piece for extra stability. This keeps the whole thing from wobbling.
5. Add a Non-Slip Surface (Your Dog Will Thank You)
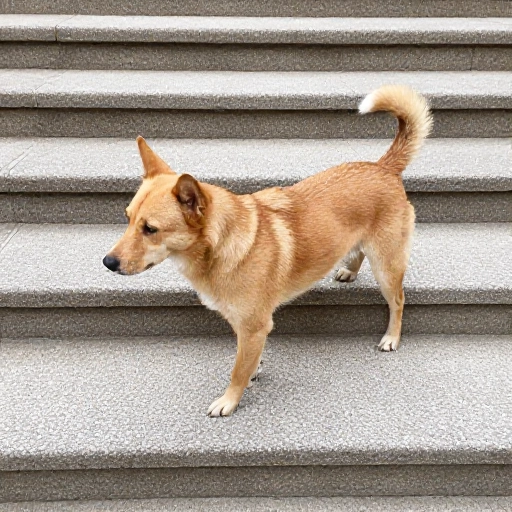
Wood is slippery, especially for little paws. My dog slipped once and refused to use the steps for a week. Don’t make that mistake. Add a non-slip surface to each tread.
You can use carpet remnants, stick-on stair treads, or even yoga mat material. I used a cheap indoor-outdoor rug and cut it to size. Glue it down with carpet adhesive or use a staple gun. It looks nice and gives your dog confidence.
6. Make It Light Enough to Move (But Heavy Enough to Stay Put)
You don’t want a permanent staircase in your bedroom. I wanted something I could slide under the bed during the day. So I kept the design simple and portable.
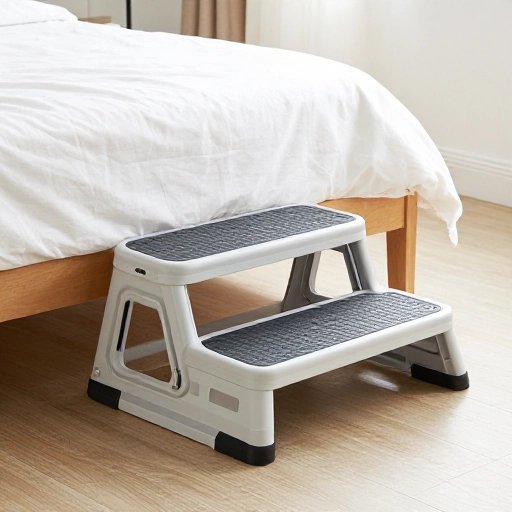
Use lightweight plywood, but don’t go too thin. Add handles or cut a small hole on the side for gripping. My steps weigh about 10 pounds. Easy to move, but they don’t tip over when my dog climbs. If your steps are too light, they’ll slide. Add rubber feet on the bottom to keep them in place.
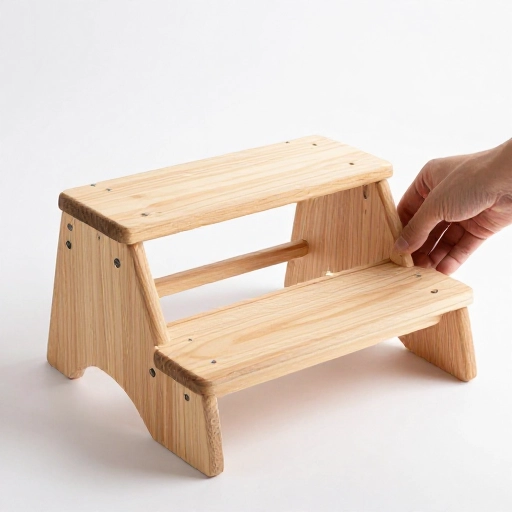
7. Paint or Stain to Match Your Room
Your dog steps don’t have to be an eyesore. You can paint them any color you want. I painted mine white to match my bed frame. It blends right in. You could also stain the wood for a natural look.
Just make sure you use pet-safe paint or stain. Let it dry completely before letting your dog use them. If you used carpet on the treads, paint the sides only. It makes the whole thing look like furniture, not a project.
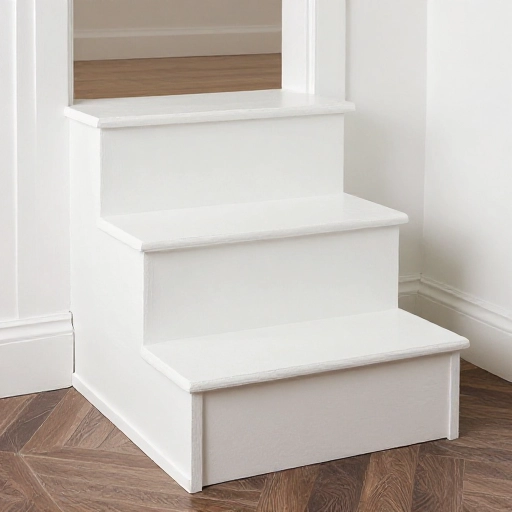
8. Train Your Dog to Use the Steps (It’s Easier Than You Think)
Some dogs take to steps right away. Others need a little encouragement. My dog was scared at first. I sat on the floor next to the steps and lured him with a treat. Step by step, I moved the treat higher.
Be patient. Never force your dog. Place them on the bottom step and let them sniff. Reward every small success. Within a few days, they’ll be running up and down like a pro. Consistency is key. Do it every night before bed.
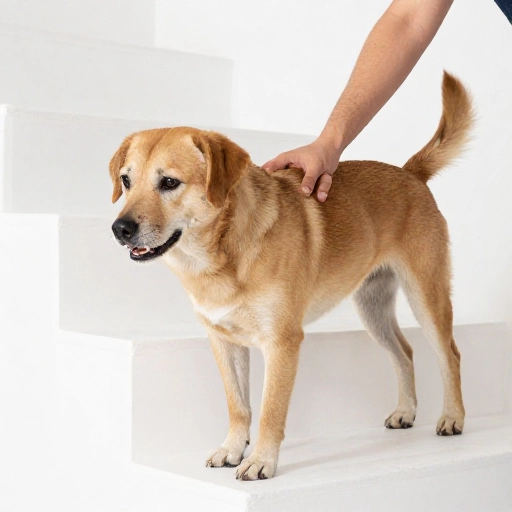
9. Add a Storage Compartment (Bonus Points)
If you’re building steps anyway, why not make them work harder? I added a small storage drawer inside the bottom step. It’s perfect for storing dog toys, leashes, or treats. It doesn’t affect the steps at all.
You can do this by leaving one side open and adding a small box that slides in and out. Or just create a hinged top on the bottom step. It’s a simple upgrade that makes your DIY project even more useful.
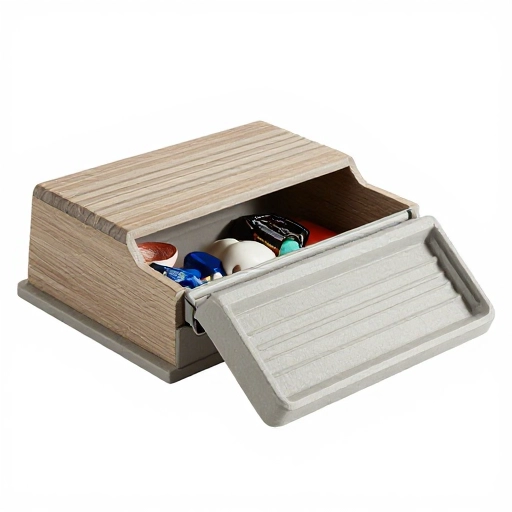
10. Build a Foldable Version for Small Spaces
If you live in a tiny apartment or travel a lot, foldable dog steps are a game-changer. Instead of a solid box, use hinges to connect the steps. When you’re not using them, fold them flat and store them under the bed or in a closet.
This design is a little more advanced, but totally doable. Use a piano hinge along the back. Make sure the steps lock into place when open. Test the stability before letting your dog use it. A foldable set is perfect for RV life or visiting grandma’s house.
Conclusion
Building dog steps for your bed is one of the easiest and most rewarding DIY projects you can do. Your dog gets safe access to the bed, your back gets a break from lifting, and you save money. Plus, you get the satisfaction of making something with your own hands.
Start simple. Measure your bed, pick your wood, and build a basic box. Add non-slip treads and a coat of paint. Train your dog with treats and patience. Before you know it, your pup will be climbing up for cuddles all on their own. Good luck, and have fun building!
Frequently Asked Questions
1. How tall should each step be for a small dog?
Aim for 4 to 6 inches per step. Small dogs have short legs, so low steps are easier and safer. Measure your dog’s leg height to be sure.
2. Can I build dog steps without power tools?
Yes, you can. Use a hand saw, a hammer, and nails. It will take longer, but it’s totally doable. Ask the hardware store to cut the wood for you.
3. What’s the best material for the treads?
Carpet is the most comfortable and non-slip. You can also use rubber stair treads or adhesive grip tape. Avoid bare wood—it’s too slippery.
4. How do I stop the steps from sliding on hardwood floors?
Attach rubber furniture pads to the bottom corners. You can also use a non-slip rug pad underneath. This keeps the steps stable when your dog climbs.
5. How long does it take to build a set of dog steps?
For a simple box design, plan on 2 to 3 hours. That includes cutting, assembling, and adding the non-slip surface. Painting adds extra drying time.