How to Clean Dog Ears (Without the Struggle)
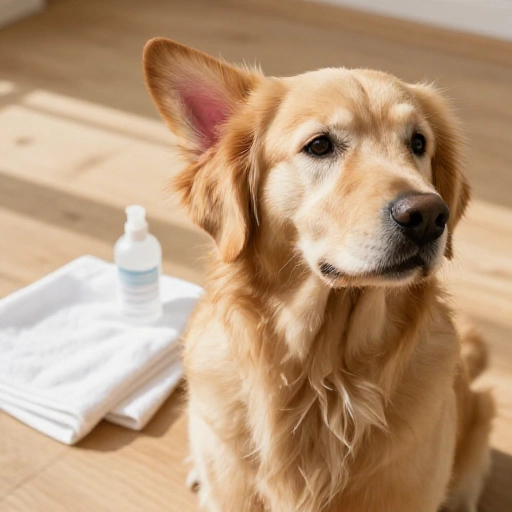
I used to dread cleaning my dog’s ears. The wiggling, the whining, the mystery gunk. But after a few messy attempts and one very grumpy golden retriever, I figured out a simple routine that actually works. Ear cleaning doesn’t have to be a wrestling match—it can be a quick, calm part of your week.
Healthy dog ears are clean, pink, and odor-free. But dirt, wax, and moisture can build up fast, especially in floppy-eared breeds. Regular cleaning prevents infections and keeps your pup comfortable. The trick is knowing exactly what to do and what products to use.
Let me walk you through the step-by-step process I use, plus a few things I learned the hard way. Your dog’s ears will thank you—and so will your sanity.
1. Gather Your Supplies First
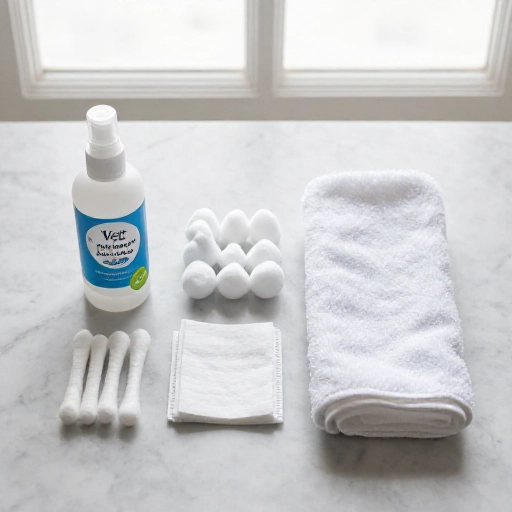
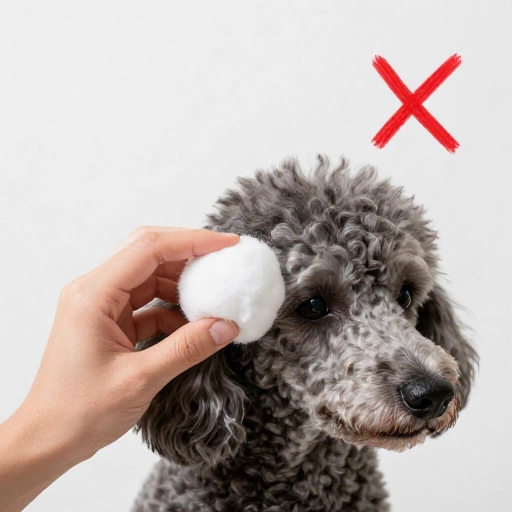
I learned early on that running around mid-cleaning is a recipe for disaster. Get everything ready before you even call your dog over. You’ll need a vet-approved ear cleaning solution (no alcohol or hydrogen peroxide), cotton balls or gauze pads, and some treats. Cotton swabs are a no-go—they can push debris deeper into the ear canal.
I keep a designated “ear cleaning basket” in my bathroom. It has everything inside, so I can grab it and go. This small prep step makes the whole process feel less like a chore and more like a quick grooming session.
Also, choose a spot with good lighting. Natural light or a bright lamp helps you see inside the ear without having to poke around blindly. Trust me, you want to see what you’re doing.
2. Pick a Calm Time of Day
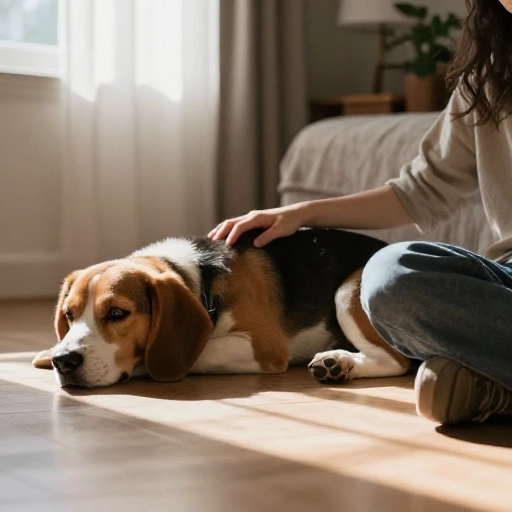
You don’t want to clean your dog’s ears right after a walk or when they’re in full zoomie mode. I clean my dog’s ears after a long nap or a lazy morning snuggle. They’re relaxed, less wiggly, and more willing to tolerate a little ear handling.
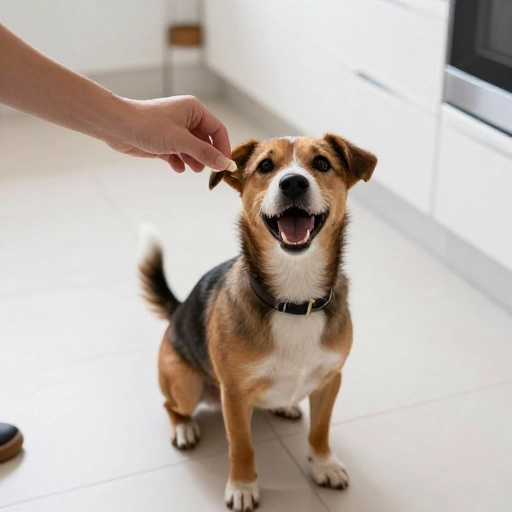
If your dog is nervous, start by just touching their ears without cleaning. Give treats and praise. Do this for a few days before you actually clean. It builds trust and makes the real cleaning session much smoother.
Some dogs do better after a little exercise—a short walk can take the edge off. Just make sure they’re not panting heavily or covered in mud. Clean ears are easier to work with.
3. Do a Quick Ear Check First
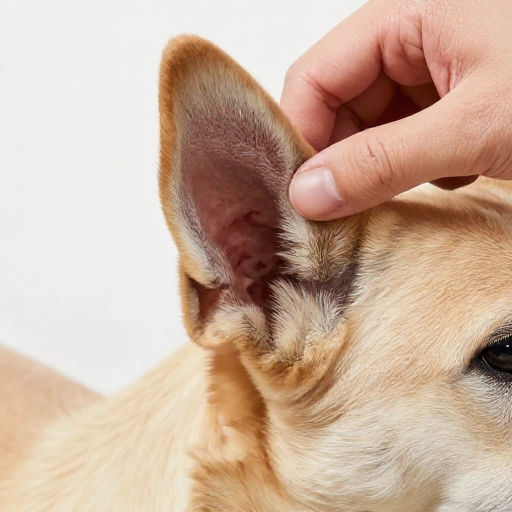
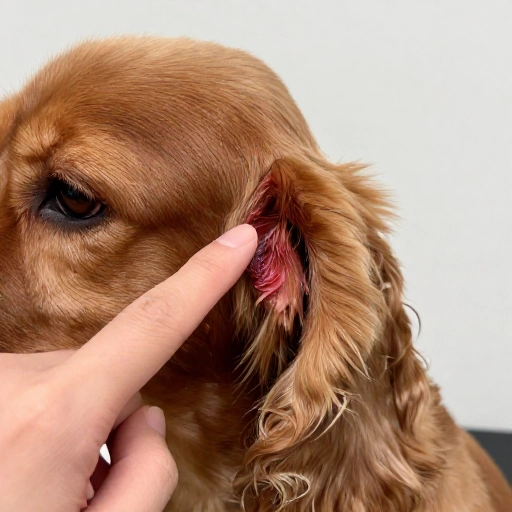
Before you pour anything into your dog’s ear, take a peek. Lift the ear flap and look inside. A healthy ear is pale pink with a tiny bit of wax. If you see redness, swelling, dark brown or yellow discharge, or smell something funky, skip the cleaning and call your vet.
I check my dog’s ears once a week, even if they don’t look dirty. This helps me catch problems early. A quick look takes ten seconds and can save your dog from a painful ear infection.
If everything looks normal, move on. If you see a lot of debris or a bad smell, that’s a sign of infection, not just dirt. Don’t try to clean an infected ear at home—you’ll just make it worse.
4. Apply the Ear Cleaning Solution Gently
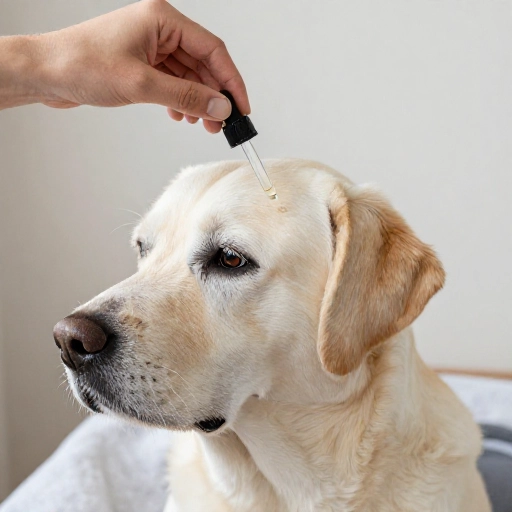
Fill the ear canal with the cleaning solution. I know that sounds scary, but it’s the best way to loosen dirt and wax. Use the nozzle to squeeze a generous amount directly into the ear. Your dog might shake their head—that’s normal. It actually helps move the solution around.
After applying, gently massage the base of the ear for about 20–30 seconds. You’ll hear a squishing sound. That means the solution is breaking up the gunk. Don’t be alarmed if your dog tries to pull away—just keep a gentle but firm hold.
Let your dog shake their head. They’ll fling out the solution and loosened debris. I always do this step outside or in the bathroom where splashes are easy to clean. A towel on your shoulder helps too.
5. Wipe Away Loose Debris with Cotton or Gauze
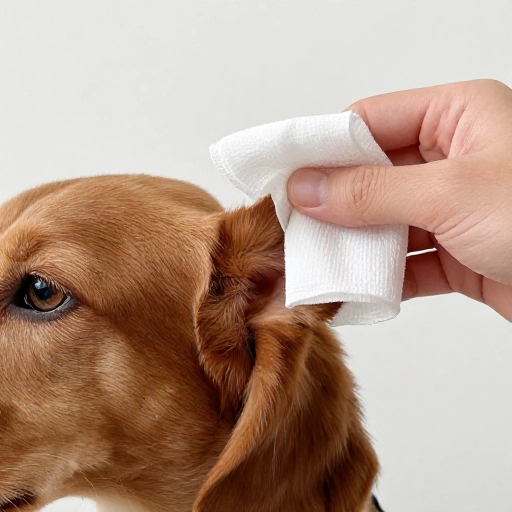
Once your dog has shaken, it’s time to wipe. Use a cotton ball or gauze pad wrapped around your finger. Gently wipe the visible part of the ear canal and the inner ear flap. Don’t dig deep—just clean what you can see.
I use a fresh cotton ball for each ear to avoid spreading any germs. If one ear is dirtier than the other, I do the cleaner ear first. This might sound silly, but it prevents transferring gunk from one ear to the other.
Wipe until the cotton comes away clean. Sometimes it takes two or three rounds. If the ear is really dirty, repeat the cleaning solution step. But don’t overdo it—cleaning too often can irritate the ear.
6. Dry the Ear Thoroughly
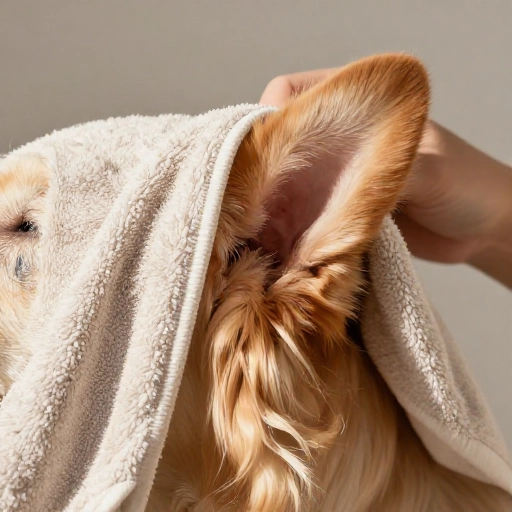
Moisture is the enemy of healthy dog ears. After cleaning, use a dry cotton ball to gently pat the inside of the ear flap and the visible canal. Don’t rub—just blot. You want to absorb any leftover solution or moisture.
If your dog has floppy ears, lift the ear flap and let the ear air out for a minute or two. This prevents that damp, warm environment where yeast and bacteria love to grow. I usually give my dog a treat during this step to keep them still.
Some dogs have hairy ear canals. If that’s your pup, you might need to pluck or trim the hair to keep the ear dry. I use a small pair of blunt-nosed scissors and only trim what I can see. If you’re unsure, ask your groomer or vet for a demo.
7. Reward Your Dog Immediately
This is non-negotiable. The second you’re done, give your dog a high-value treat. I use tiny pieces of chicken or cheese. You want your dog to associate ear cleaning with something positive, not a struggle.
I also give treats during the process—one for letting me pour the solution, one for the massage, one for the wipe. It turns the whole thing into a game. My dog now comes running when I grab the ear cleaning basket because she knows treats are coming.
Praise works too. Use a happy voice and lots of pets. If your dog stays calm, they get rewarded. Over time, they’ll be more cooperative and less stressed.
8. Know When to Skip a Cleaning
Sometimes, the best thing you can do is nothing. If your dog’s ears look clean and healthy, skip the cleaning. Over-cleaning strips the natural protective oils and can lead to irritation or infections. I clean my dog’s ears once every two to four weeks, unless they’re visibly dirty.
Certain dogs need more frequent cleaning—like those with allergies, floppy ears, or dogs that swim a lot. But even then, once a week is usually plenty. If you’re cleaning more often than that, check with your vet. There might be an underlying issue.
Trust your eyes and your nose. If the ears smell clean and look pink, you’re good. If they smell like yeast or corn chips, it’s time to clean or call the vet.
9. Watch for Signs of Ear Problems
Cleaning is great, but it’s not a cure-all. Pay attention to your dog’s behavior. Are they scratching their ears more than usual? Shaking their head a lot? Rubbing their ears on the carpet? Those are red flags.
Other signs include redness, swelling, discharge (black, brown, yellow, or bloody), and a bad smell. If you see any of these, stop cleaning and make a vet appointment. Ear infections are painful and can get worse fast.
I keep a little notebook where I jot down any changes I notice. It helps me track patterns, like if my dog’s ears get dirtier after swimming or during allergy season. That info is gold when talking to the vet.
10. Make It a Routine, Not a Drama
Ear cleaning doesn’t have to be a big production. I do it on the same day each month, kind of like a mini spa session. My dog knows the drill now—she hops onto the bath mat, gets her treats, and lets me work. It took practice, but now it’s just part of our routine.
If your dog is still nervous, take it slow. Do one ear one day, the other ear the next. Use lots of positive reinforcement. Eventually, it’ll feel normal for both of you.
Remember, you’re not just cleaning ears—you’re building trust. A calm, consistent routine keeps your dog healthy and strengthens your bond. Plus, clean ears mean fewer vet visits and more cuddle time.
Conclusion
Cleaning your dog’s ears doesn’t have to be a battle. With the right supplies, a calm approach, and a little patience, you can keep those ears healthy and happy. Regular checks and gentle cleaning make a huge difference in preventing infections and discomfort.
Start slow, reward often, and listen to your dog. They’ll let you know what works. And if something seems off, don’t guess—ask your vet. Your dog’s ears are worth the extra care.
[[IMG:IMG12]]
Frequently Asked Questions
How often should I clean my dog’s ears?
Most dogs need their ears cleaned every two to four weeks. Dogs with floppy ears or those that swim a lot may need it weekly. If ears look clean and smell fine, you can wait longer.
Can I use hydrogen peroxide to clean my dog’s ears?
No. Hydrogen peroxide can irritate the sensitive skin inside the ear and delay healing if there’s an infection. Stick to a vet-approved ear cleaning solution.
What if my dog hates having their ears touched?
Start slow. Just touch their ears briefly and give a treat. Do this daily for a week before you try cleaning. Build positive associations. Some dogs need extra patience, but most come around.
Is it normal for my dog’s ears to smell after cleaning?
No. A healthy ear should not have a strong odor after cleaning. If you notice a bad smell, it could be a sign of infection. Check with your vet to be safe.
Can I use baby wipes to clean my dog’s ears?
Not really. Baby wipes can have fragrances or chemicals that irritate your dog’s ears. Use cotton balls or gauze with a proper ear cleaning solution instead. It’s safer and more effective.