How to Set Up a Safe Home Grooming Station That Actually Works (10 Simple Steps)
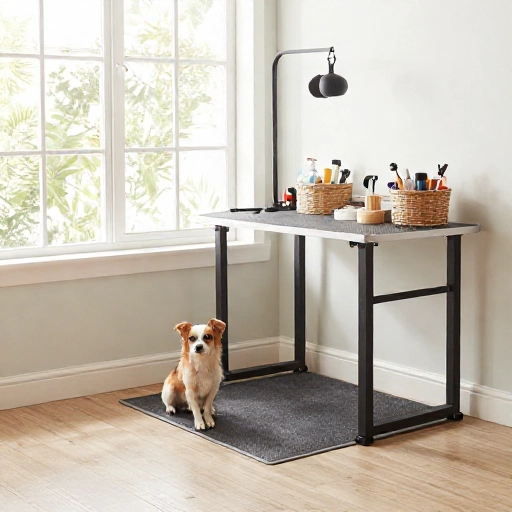
I used to groom my dog on the bathroom floor with a towel, a pair of scissors, and a whole lot of regret. Water everywhere, hair in places I didn’t know hair could go, and one very dramatic dog trying to escape through a closed door.
Then I finally slowed down and built an actual grooming station. Nothing fancy, no contractor, no expensive renovation. Just a corner of my laundry room set up with intention — and honestly, it changed everything. Grooming went from a wrestling match to a fifteen-minute routine I don’t dread.
If you’re tired of the chaos too, here’s exactly how I set mine up, step by step. Whether you have a full utility room or just a corner of a bathroom, you can make this work.
1. Choose a Spot That Works With Your Space (Not Against It)
Before you buy a single thing, watch where you already groom your pet. Most of us default to the bathroom or kitchen because that’s where water is. That’s a decent start, but think it through a little more.
I picked my laundry room because it has a door I can close, a hard floor, and a sink nearby. That combination matters more than square footage. You want somewhere you can contain the mess and contain your pet without a chase scene.
A few things to weigh:
- Flooring: Tile, vinyl, or concrete beats carpet every time. Hair and water clean up in seconds.
- Water access: A nearby sink or a filled spray bottle saves you a lot of trips.
- A door: Being able to close it keeps a nervous pet from bolting mid-trim.
- Noise level: Away from the front door and the dishwasher if your pet startles easily.
Even a small bathroom corner can work. The goal isn’t a salon — it’s a spot that stays consistent, so your pet learns what to expect there.
2. Gather Your Tools Before You Touch Your Pet
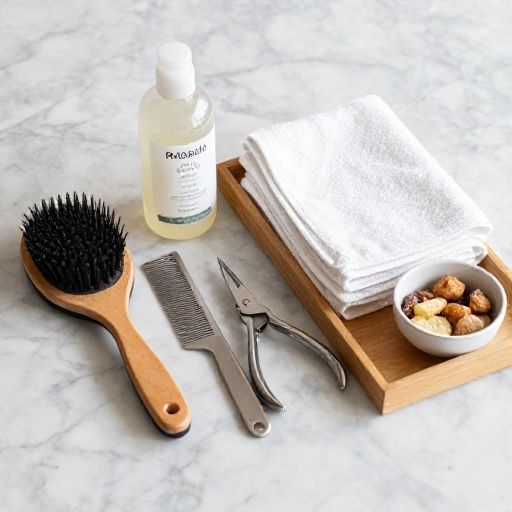
The biggest mistake I made early on was digging through drawers with one hand while holding a squirming dog with the other. Never again. Now everything is out and ready before I bring my pet in.
Here’s the basic kit that covers most grooming needs at home:
- Pet-safe shampoo and a cup or sprayer for rinsing
- A brush suited to your pet’s coat type
- Nail clippers or a grinder, plus styptic powder just in case
- Blunt-tip grooming scissors
- Absorbent towels (two more than you think you need)
- Cotton balls for ears, and a pet-safe ear cleaner
- Pet toothpaste and a finger brush
Styptic powder is the one item people skip and then wish they hadn’t. A tiny nick on a nail bleeds more than you’d expect, and having it within reach keeps you calm.
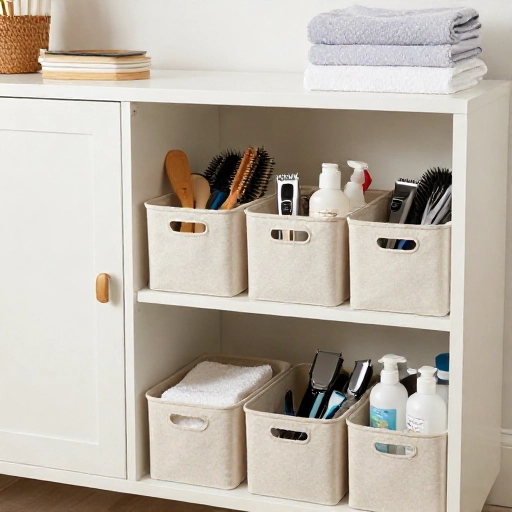
Store everything in one caddy or bin so setup takes thirty seconds instead of ten minutes.
3. Build a Non-Slip, Easy-to-Clean Base
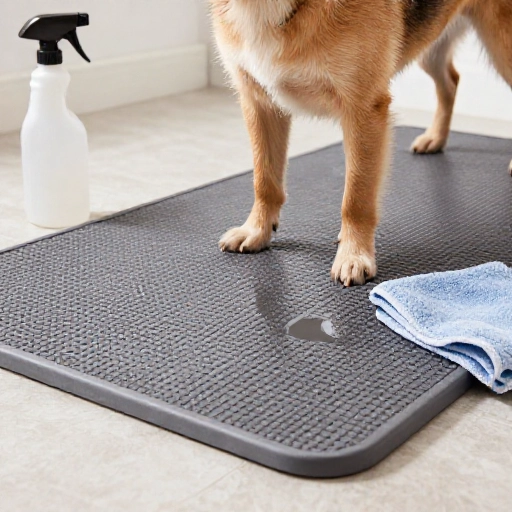
Slip is the silent safety hazard in home grooming. A wet tile floor plus a nervous pet equals falls, and a fall can end grooming sessions for months.
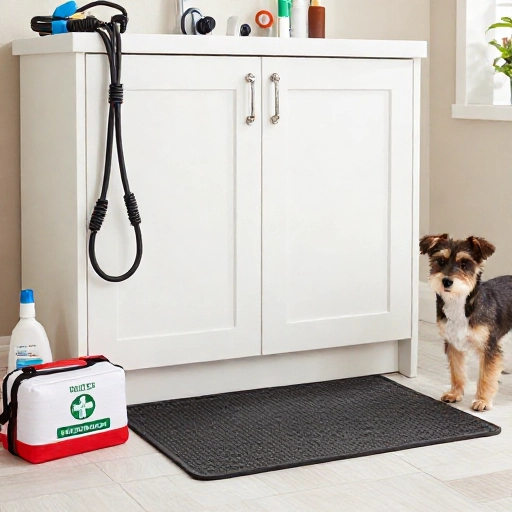
I lay down a rubber-backed bath mat or a cheap yoga mat on top of the floor. That alone gave my dog confidence to stand still. On top of that, I use a cheap shower curtain liner or a cut-open trash bag as a hair catcher — I just toss it when I’m done and skip the sweeping.
If your pet is small, a nonslip mat inside a laundry sink or a plastic tub works beautifully. For bigger pets, consider a low, sturdy table with a non-slip mat rather than bending over the floor for twenty minutes. Your back will thank you.
4. Get the Lighting and the Height Right
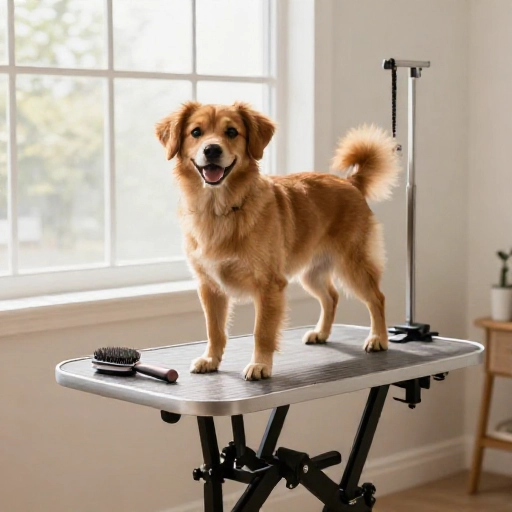
You can’t safely trim nails or clean ears in dim light. I hung a simple clip-on lamp above my station, and suddenly I could actually see what I was doing. That one change cut my nail-trimming mistakes down to almost zero.
Height matters just as much. If you’re hunched over the floor, your hands get shaky and your pet feels your tension through every touch. A stable counter, a sturdy table, or even a stack of firm cushions can bring your pet up to a comfortable working level.
Whatever you use, test it first. Press down on it, nudge it, make sure it doesn’t wobble. If it moves at all, don’t put your pet on it.
5. Create a Reachable, Organized Layout
Picture yourself mid-groom with one hand on your pet. What can you grab with the other hand without letting go? That’s your layout.
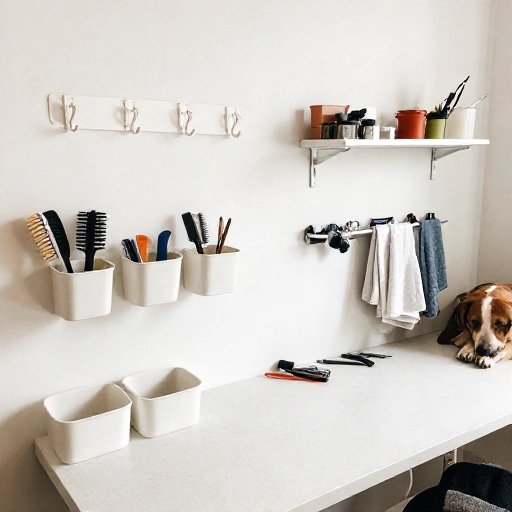
I keep three zones at my station: a tool tray right beside me, a towel stack at knee height, and a waste bin hidden below. Anything I use constantly lives in the tray. Anything messy or occasional lives below. Nothing lives behind me.
Small bins and hook-on caddies are perfect here. I mounted a cheap shower caddy to the wall with removable adhesive hooks, and it holds my brushes, clippers, and ear cleaner without drilling a single hole.
If your space has to double as something else, use a portable caddy you can lift onto a shelf when grooming is done. Five seconds of cleanup beats leaving tools out where kids or pets can reach them.
6. Lock Down the Safety Basics
This is the part I wish I’d thought about sooner. A grooming station has water, electricity, sharp tools, and a possibly wiggling animal — all in one small space.
Here’s what I check every single time:
- Cords: Clipper and dryer cords stay behind me, never draped near paws or water.
- Outlets: Use a GFCI outlet if you can, and never plug in wet hands.
- Blades and scissors: Blunt tips only, and set them down flat on a tray — never on a curved edge where they can slide.
- Chemicals: Shampoos, cleaners, and flea products go up high, out of reach, and stay capped.
- Water temperature: Test on your inner wrist. Lukewarm, always.
And never leave a pet unattended on a raised surface. Not for one second. I learned that the hard way with a cat who decided mid-session that she could fly.
7. Prep Your Pet Before Grooming Day
A safe station doesn’t help if your pet arrives terrified. The setup starts days earlier, not the moment you pick up the clippers.
I started leaving the tools out where my dog could sniff them during normal, calm moments. I’d turn on the clippers for a few seconds while handing out treats, then turn them off. No grooming, just noise and snacks. After a week, the sound stopped meaning anything scary.
On grooming day, I take a short walk first. A slightly tired pet stands still far better than a restless one. Then I do a quick touch check — paws, ears, belly, tail — before any tools come out, so there are no surprises.
If your pet is genuinely panicked, stop. Some pets do better with a professional groomer or a vet’s guidance, and that’s a completely reasonable choice, not a failure.
8. Make the Atmosphere Calm and Predictable
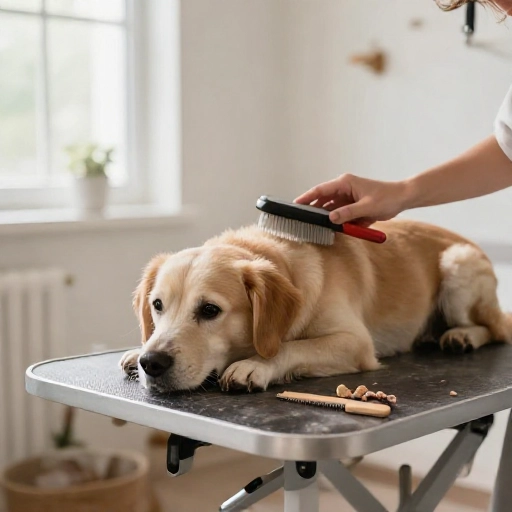
Pets read the room. If I’m rushing and stressed, my dog is stressed. So I made my station boring in the best way — same order, same voice, same pace every time.
A few things that helped us:
- Soft music or quiet, low chatter instead of silence
- A smear of peanut butter on a lick mat to occupy the front end
- Breaks every few minutes, even when things are going well
- Treats for standing still, not just for finishing
I also stopped grooming right before bed or right after a big meal. Midday, when my pet is naturally chill, is our sweet spot.
9. Clean the Station Every Single Time
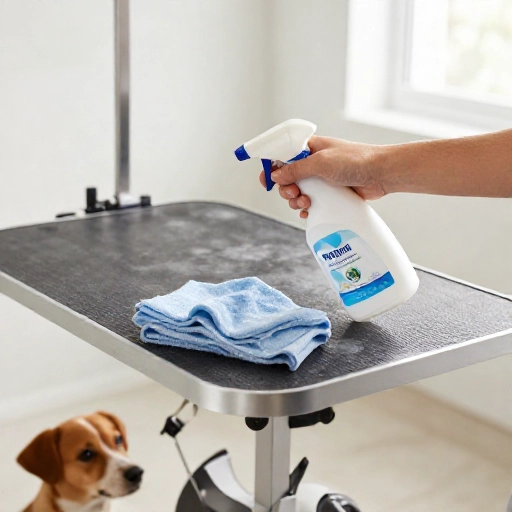
A station you don’t clean becomes a station you avoid. I keep a spray bottle of pet-safe cleaner and a dedicated rag right in the caddy, so cleanup takes about ninety seconds.
My routine is simple: rinse the tub or sink, wipe down surfaces, sweep or vacuum the hair, and spray the floor. Every couple of weeks I pull everything out and wipe the shelves too, because hair and dust hide in corners.
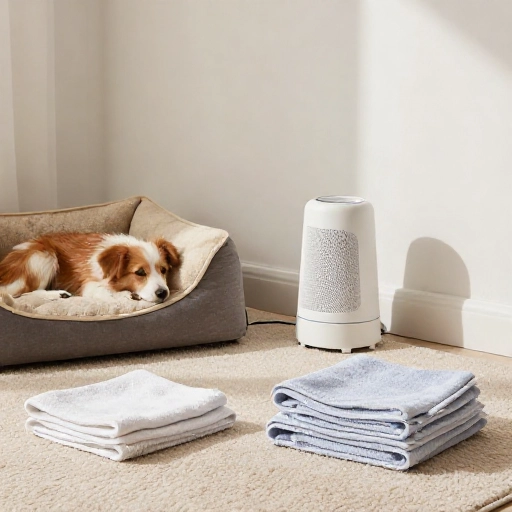
Wash towels after every session, and let brushes and combs dry completely before they go back in the bin. Damp tools grow things you don’t want near your pet’s skin.
10. Store and Maintain Your Gear Between Sessions
The last piece is making sure your station is ready next time without a scramble. Maintenance is what keeps this whole setup safe long-term.
Once a month, I check the clipper blade for rust, make sure the cord isn’t frayed, and confirm my shampoo and ear cleaner aren’t expired. Blades get oiled, scissors get wiped, and dull nail clippers get replaced — dull tools cause more nicks than sharp ones.
I also keep a running list on my phone of anything running low. That way I restock before grooming day instead of discovering I’m out of shampoo with a wet, soapy dog in front of me.
Final Thoughts
A safe home grooming station really comes down to four things: a contained space, the right tools within reach, non-slip footing, and a calm routine. You don’t need a fancy setup or a dedicated room. You need consistency and a little preparation.
Start small. Pick your corner, lay down a mat, and stock a caddy. Add one improvement each time you groom, and within a month you’ll have a station that feels like second nature — for both of you.
FAQ
Do I really need a dedicated space, or can I just use my bathroom?
Your bathroom is a perfectly good station. It has water, hard flooring, and a door. Just add a non-slip mat, a tool caddy, and better lighting, and you’re set.
What’s the most important safety item for home grooming?
Non-slip footing, in my opinion. Slips cause injuries and fear, and fear makes every future session harder. Styptic powder is a close second for nail trimming.
How do I keep my pet from jumping off a raised table?
Never leave them unattended, even briefly. Use a non-slip mat, work slowly, and if your pet is a jumper, groom on the floor instead. There’s no shame in it.
How often should I clean my grooming station?
Give it a quick wipe after every session and do a deeper clean every couple of weeks. Wash towels after each use and let brushes dry fully before storing.
My pet hates grooming no matter what. What now?
Go back to basics with very short sessions, lots of treats, and no cutting or clipping for a while. If the fear is severe, talk to your vet or a professional groomer — sometimes a little help is the safest route.