No Bake Dog Treats: 7 Easy Recipes Your Pup Will Love (No Oven Required!)
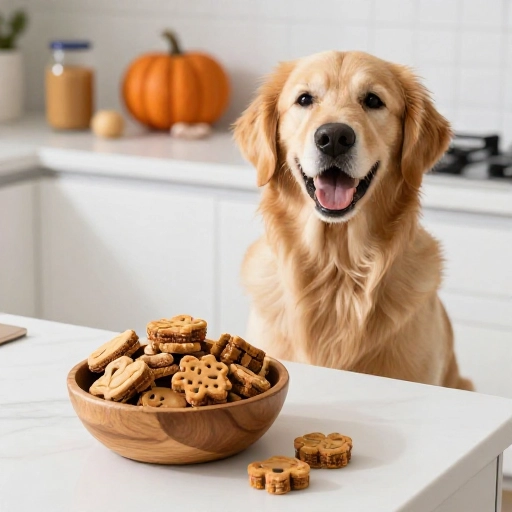
Let’s be honest—our dogs don’t care if a treat took two hours to bake or two minutes to stir together. They just care that it’s delicious. And honestly? I care about saving my own time and energy. That’s why I’ve completely fallen in love with no bake dog treats. They’re fast, they use simple pantry ingredients, and they’re perfect for hot summer days when turning on the oven feels like a punishment.
I’ve rounded up my absolute favorite no-bake recipes—seven of them, actually—that are packed with flavor and good-for-them ingredients. From frozen peanut butter bites to chewy oat balls, there’s something here for every picky pup. Plus, they’re so easy you can make them with your kids (or just let your dog supervise from the kitchen floor, which is what mine prefers). Let’s get started!
Why Make No-Bake Treats? Health Benefits & Convenience
There are so many reasons to love these treats, but the biggest one is control. When you make treats at home, you know exactly what’s going into them. No mystery fillers, no artificial preservatives, no weird by-products. Just real food your dog’s body recognizes and can actually digest.
No-bake recipes are also gentler on your dog’s tummy. Because we’re not cooking everything down, the natural enzymes and nutrients in ingredients like peanut butter, oats, and pumpkin stay intact. Plus, they’re incredibly forgiving—if your dog has sensitivities, you can swap ingredients easily without ruining the texture.
And let’s be real: the convenience is unbeatable. Most of these come together in under 15 minutes. That means you can whip up a fresh batch on a whim, whether it’s for a training session or just to see that happy little tail wag.
Kitchen Equipment & Tools You’ll Need
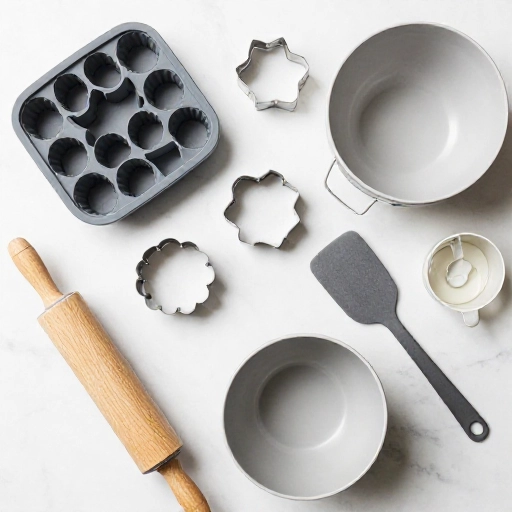
Here’s the best part about no-bake dog treats: you probably already own everything you need. I’m not asking you to buy a fancy dehydrator or a special silicone bone mold (unless you want to—no judgment). Keep it simple.
Here’s what I keep on hand:
- A large mixing bowl for stirring everything together.
- A wooden spoon or spatula for mixing. A stand mixer works too if you’re making a double batch.
- Parchment paper to line your baking sheet or tray. This prevents sticking and makes cleanup a breeze.
- A baking sheet or flat tray that fits in your fridge or freezer.
- Measuring cups and spoons for accuracy.
- Cookie scoop or melon baller if you want perfectly uniform treats. Totally optional but cute.
- Resealable container or zip-top bag for storing the finished treats.
That’s it. No fancy gadgets needed. If you have a fork and a bowl, you’re basically 90% of the way there.
Ingredients List & Safe Substitutions
Before we dive into the recipes, let’s talk about the star ingredients. Most of these are probably already sitting in your pantry, which is exactly why I love them.
Core Ingredients:
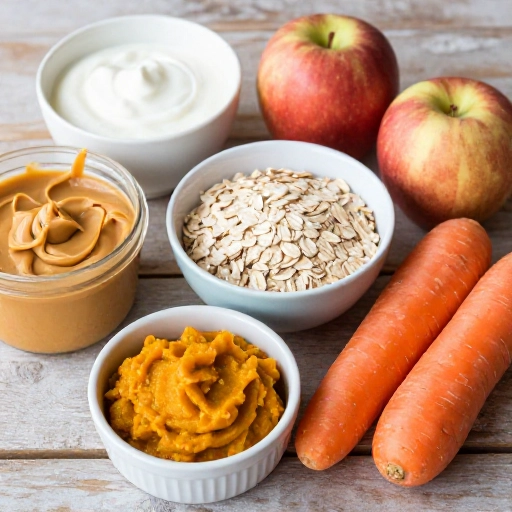
- Peanut butter (xylitol-free!)—This is non-negotiable. Xylitol is toxic to dogs, so always check the label. Look for natural, unsweetened peanut butter with just peanuts (and maybe salt).
- Rolled oats—These add bulk and fiber. Quick oats work too, but rolled oats give a better texture.
- Canned pumpkin (pure, not pie filling)—Great for digestion and adds a natural sweetness dogs love.
- Unsweetened applesauce—A good binder and adds a touch of sweetness.
- Plain Greek yogurt or unsweetened yogurt—Perfect for frozen treats. Just make sure it doesn’t contain artificial sweeteners.
- Bananas—Mashed ripe bananas are a fantastic natural sweetener and binder.
- Shredded carrots—Adds crunch and vitamins.
Safe Swaps:
If your dog has allergies, don’t worry. Swap peanut butter for sunflower seed butter or tahini. Use sweet potato puree instead of pumpkin. Coconut flour works in place of oats, but you’ll need to adjust the liquid since it absorbs more. Just keep the ratios close and you’ll be fine.
One thing to avoid: any sugar-free products that might contain xylitol. Also, skip the chocolate, raisins, and macadamia nuts. Those are all no-gos for dogs.
Step-by-Step Instructions & Preparation Guide
Alright, let’s get to the good stuff! Here are seven of my go-to no-bake recipes. I’ll walk you through the basic method for each, but they all follow the same simple pattern: mix, shape, chill.
Recipe 1: Classic Peanut Butter & Oat Bites
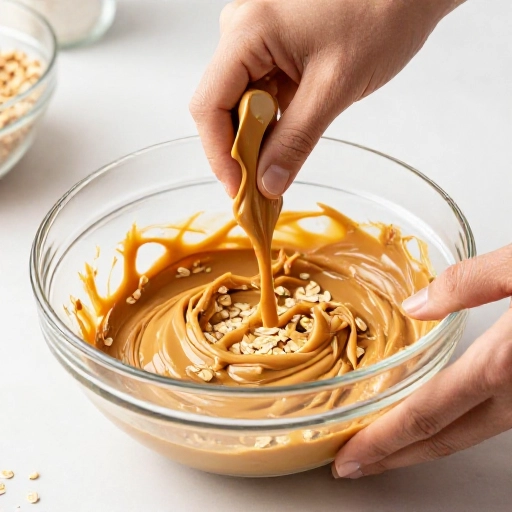
In a bowl, mash 1 ripe banana. Stir in 1/2 cup peanut butter and 1 cup rolled oats. Mix until it forms a thick dough. Roll into small balls and refrigerate for 30 minutes.
Recipe 2: Pumpkin & Coconut Bliss Balls
Combine 1 cup canned pumpkin, 1/2 cup unsweetened shredded coconut, and 1/2 cup oat flour. Shape into balls and freeze until firm. These are great for sensitive tummies.
Recipe 3: Frozen Yogurt & Berry Pupsicles
Blend 1 cup plain Greek yogurt with 1/2 cup blueberries and 1/2 cup chopped strawberries. Pour into silicone molds or ice cube trays. Freeze for at least 3 hours. Perfect for hot days!
Recipe 4: Carrot & Apple Crunch Bites
Finely shred 1 carrot and 1/2 apple. Mix with 1/2 cup peanut butter and 1/2 cup oats. Press into a parchment-lined dish and refrigerate until firm, then cut into squares.
Recipe 5: Sweet Potato & Cinnamon Drops
Mix 1 cup mashed sweet potato (canned or boiled), 1/2 cup oat flour, and 1/4 teaspoon cinnamon. Drop teaspoon-sized portions onto a tray and freeze.
Recipe 6: Cheesy Spinach Bites
Blend 1 cup cottage cheese, 1/2 cup shredded spinach, and 1 cup oat flour. Roll into small balls and chill. These are weirdly loved by even picky dogs.
Recipe 7: Banana & Honey Frozen Cubes
Mash 2 bananas with 1 tablespoon honey and 1/2 cup plain yogurt. Spoon into ice cube trays and freeze. Simple, creamy, and irresistible.
For all recipes, just make sure everything is well combined. If the mixture feels too dry, add a splash of water or yogurt. If it’s too wet, add more oats. It’s really that easy.
Storage & Serving: Feeding Guidelines & Tips
Since we’re skipping the oven, these treats need a little extra love when it comes to storage. Most of them will last a few days in the fridge, but freezing is your best friend.
Fridge Storage: Keep treats in an airtight container in the fridge for up to 5-7 days. I like to layer them with parchment so they don’t stick together.
Freezer Storage: For longer shelf life, pop them in the freezer. They’ll keep for up to 3 months. You can serve them frozen—especially the pupsicles—or let them thaw for a few minutes on the counter.
Serving Size: Treats should make up no more than 10% of your dog’s daily calorie intake. For a medium-sized dog, 1-2 small treats a day is plenty. For smaller pups, maybe just one. Remember, these are treats, not meals!
Pro Tip: If your dog is on a special diet or has health issues, always check with your vet before introducing new foods. Better safe than sorry.
Final Verdict & Summary
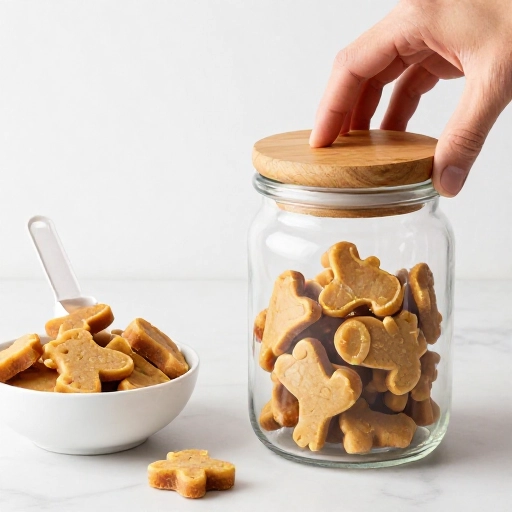
Honestly, I don’t think I’ll ever go back to store-bought treats. Making these no-bake dog treats has been a game-changer in our house. My dog, Biscuit, does a happy dance every time he hears the mixing bowl come out. And I love knowing I’m giving him something healthy and handmade.
These seven recipes are just the beginning. Once you get the hang of the basic formula, you can start experimenting. Add a little flaxseed for omega-3s, or mix in some chopped green beans for extra crunch. The possibilities are endless, and your pup will love being your taste tester.
So go ahead, grab your peanut butter and your bowl, and make some tail-wagging magic. Your dog will thank you—probably with a slobbery kiss or two.
FAQ: No-Bake Dog Treats, Answered
Can I use any peanut butter?
Only if it’s xylitol-free. Double-check the label. Natural peanut butter with just peanuts is the safest bet.
How long do these treats last?
In the fridge, about a week. In the freezer, up to three months. Just make sure they’re in an airtight container.
Can I make these treats for puppies?
Yes! Just make sure the treats are small enough for their little mouths. And check with your vet if your puppy is under 12 weeks old.
My dog is a picky eater. Will he like these?
I’d bet on it. The peanut butter and banana ones are usually the crowd-pleasers. But if he’s extra picky, try the cheese and spinach ones—they smell amazing.
Can I add supplements to these treats?
Absolutely. If your vet recommends a daily supplement, you can mix it right into the dough. Just reduce the liquid slightly to keep the texture right.