The Only 2-Ingredient Organic Dog Treats Recipe Your Pup Will Beg For
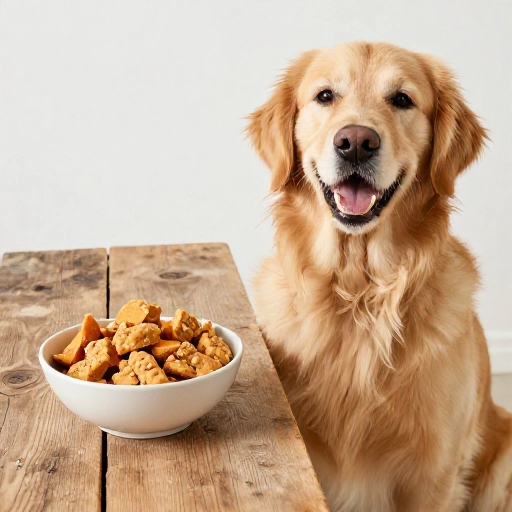
Let me guess—you’ve read the ingredient list on your dog’s favorite store-bought treats and felt a little uneasy. I’ve been there. Names you can’t pronounce, preservatives, and fillers that do nothing for your furry friend’s health. It’s one of the reasons I started making treats at home, and let me tell you, it changed everything.
This recipe is the one I come back to again and again. It’s ridiculously simple, uses only two organic ingredients, and takes less than 30 minutes from start to finish. Your dog will think you’re a culinary genius, and you’ll love knowing exactly what’s going into their bowl. No fuss, no complicated steps, just pure, wholesome goodness that makes tails wag.
Why Make This Recipe & Health Benefits for Dogs
When I started making my own dog treats, I wanted something that was not only easy but also genuinely good for my pup. This recipe delivers on both fronts. It’s a game-changer for pet parents who want to skip the mystery meat and artificial additives without spending hours in the kitchen.
The beauty of this recipe lies in its simplicity. One ingredient is a fantastic source of fiber and essential vitamins, while the other provides healthy fats and a boost of protein. Together, they create a treat that supports digestion, promotes a shiny coat, and gives your dog a natural energy lift. It’s also perfect for dogs with sensitive stomachs because there are no common allergens like wheat, corn, or soy.
Plus, making treats at home means you control the quality. Choosing organic versions of these two ingredients ensures your pup isn’t exposed to pesticides or harmful chemicals. It’s a small step that makes a big difference in their long-term health. And honestly, seeing the pure joy on your dog’s face is the best reward.
Kitchen Equipment & Tools You’ll Need
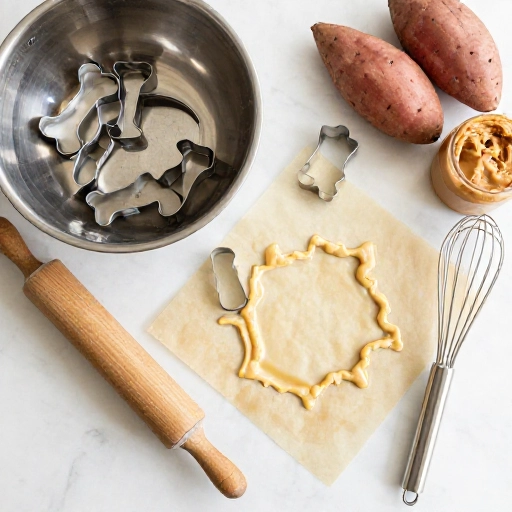
One of the things I love most about this recipe is that it doesn’t require a drawer full of specialty gadgets. You probably have everything you need already sitting in your kitchen cabinets. Here’s the short and sweet list:
- A medium-sized mixing bowl
- A sturdy fork or spoon for mixing
- A baking sheet lined with parchment paper
- A cookie cutter (any shape your dog loves—bones are my favorite)
- A rolling pin (optional, but helpful for even thickness)
- An airtight container for storage
That’s it! No food processor required, no fancy dehydrator. Just simple tools that make this recipe incredibly approachable, even for beginner bakers. I’ve made these treats in a tiny apartment kitchen with zero counter space, and it worked perfectly. The key is to have your parchment paper ready so cleanup is a breeze.
Ingredients List & Safe Substitutions
Here’s the magic part—only two ingredients. I’m going to give you the base recipe that works every single time, and then I’ll share a few safe swaps in case you need them. Remember, quality matters, so always look for the organic label when you can.
- 1 cup organic pumpkin puree (make sure it’s 100% pure pumpkin, not pumpkin pie filling which has added sugar and spices)
- 2 cups organic oat flour (you can blend rolled oats in a blender to make your own, or buy it pre-made)
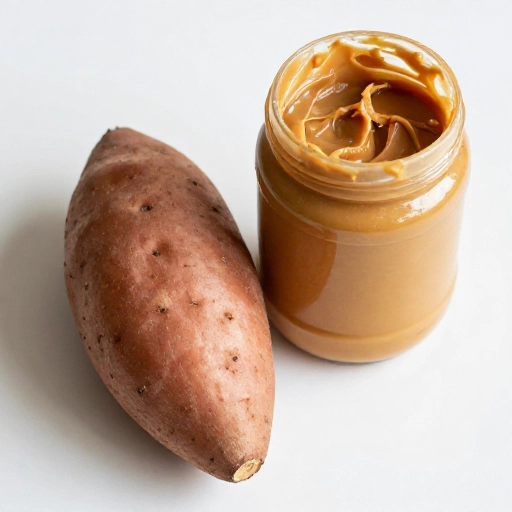
For substitutions, if your dog is sensitive to grains, you can swap the oat flour for organic coconut flour—just use 1 cup instead of 2 since coconut flour absorbs more liquid. If pumpkin isn’t in season, organic sweet potato puree works beautifully as a 1:1 replacement. Both offer similar nutritional benefits and the same soft, chewy texture your dog will love. Always introduce new ingredients slowly, just in case your pup has a hidden allergy.
Pro tip: I like to warm the pumpkin puree slightly before mixing. It makes the dough easier to work with and creates a more uniform texture in the final treats.
Step-by-Step Instructions: How to Make the Treats
Now for the fun part! This process is so forgiving, you can even get your kids involved. Follow these simple steps, and you’ll have a batch of healthy treats ready in no time. Here’s exactly how I do it:
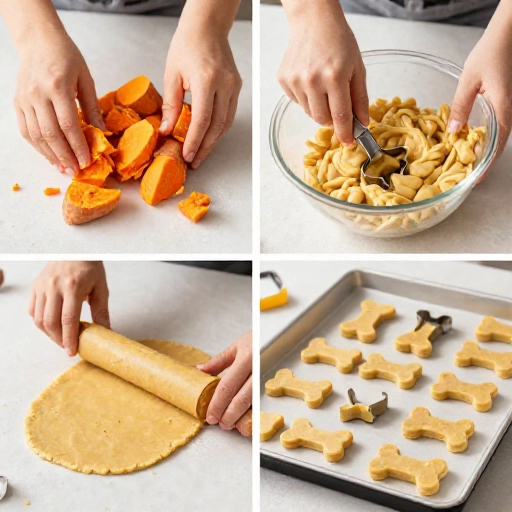
- Preheat your oven to 350°F (175°C). Line your baking sheet with parchment paper.
- Mix the ingredients in your bowl. Add the pumpkin puree first, then gradually mix in the oat flour. Use a fork to combine, then switch to your hands to form a firm dough. If it feels too sticky, add a little more flour. If it’s too dry, add a tablespoon of water.
- Roll out the dough on a lightly floured surface to about 1/4-inch thickness. This thickness gives the perfect crunch on the outside with a slight chew in the middle.
- Cut out your shapes using your cookie cutter. Place them on the prepared baking sheet, leaving a little space between each treat so they bake evenly.
- Bake for 20-25 minutes, or until the edges start to turn a light golden brown. For crunchier treats, bake for an extra 5 minutes. For softer treats, pull them out at the 18-minute mark.
- Cool completely on a wire rack. This helps them firm up and prevents them from getting soggy in storage.
That’s all there is to it! The dough is very forgiving, so don’t stress about perfection. Your dog definitely won’t care if the shapes are a little wonky.
Storage & Serving: Feeding Guidelines & Tips
Once your treats are baked and cooled, you’ll want to store them properly to keep them fresh. Because these treats don’t contain any preservatives, they won’t last as long as store-bought ones—but trust me, they’ll be gone before that becomes a problem.
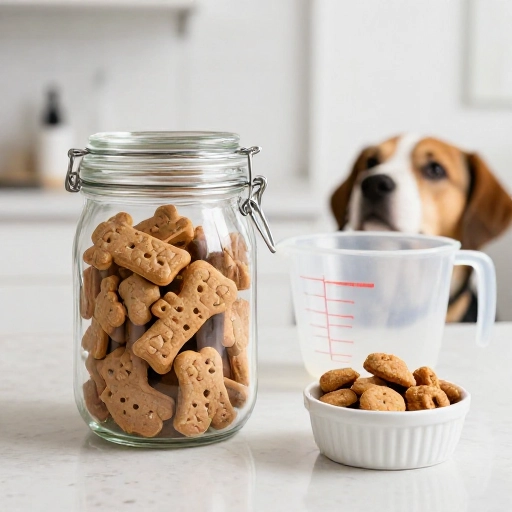
Store the treats in an airtight container in the refrigerator for up to one week. For longer storage, you can freeze them for up to three months. Just pop a few in a zip-top bag and thaw them in the fridge overnight when you’re ready to use them. They taste great straight from the freezer on a hot day too—my dog loves them as a frozen snack.
When it comes to serving, portion control is key. For small dogs, give one treat per day. For medium to large breeds, two to three treats is plenty. These are meant to be a snack, not a meal replacement, so always adjust your dog’s main food intake accordingly. And of course, always provide fresh water, especially when introducing new treats.
Final Verdict & Summary
I have to say, this recipe has become a staple in my home. It’s the perfect balance of convenience, nutrition, and pure canine happiness. I love that I can whip up a batch in the time it takes to watch one episode of my favorite show, and I never have to worry about hidden ingredients or sketchy additives.
The texture is spot on—crispy on the outside, slightly chewy on the inside—and the flavor is something dogs genuinely crave. My picky eater, who turns her nose up at almost everything, devours these in seconds. That’s the highest praise I can give.
If you’ve been on the fence about making your own dog treats, let this be your sign. It’s budget-friendly, incredibly easy, and your furry best friend will love you even more (if that’s possible). Give this recipe a try, and I promise you’ll never go back to the store-bought stuff again.
Frequently Asked Questions
Can I use regular flour instead of oat flour?
You can use whole wheat flour or all-purpose flour as a substitute, but oat flour is gentler on sensitive stomachs and offers more fiber. If you use regular flour, the texture might be a bit denser, so you may need to add a splash of water to get the right consistency.
How long do these homemade treats last?
Stored in an airtight container in the refrigerator, they’ll stay fresh for up to one week. In the freezer, they’ll keep for up to three months. Just be sure to thaw them in the fridge before serving.
Are these treats safe for puppies?
Yes, these treats are safe for puppies over 8 weeks old, but you should always supervise them when giving any new food. Start with a small piece to ensure they handle it well, and consult your vet if you have any concerns.
Can I add other flavors to this recipe?
Absolutely! You can add a tablespoon of natural peanut butter (make sure it’s xylitol-free), a sprinkle of cinnamon, or some finely chopped parsley for fresh breath. Just keep the additions minimal so the dough doesn’t become too wet.
Why are my treats spreading out in the oven?
If your treats are spreading, it usually means the dough is too wet. Add a little more oat flour next time until the dough holds its shape and isn’t sticky. Also, make sure the dough is chilled for 10 minutes before baking—this helps them hold their shape better.