Peanut Butter & Oatmeal Dog Treats (Only 2 Ingredients!) – The Easiest Homemade Biscuits Your Pup Will Beg For
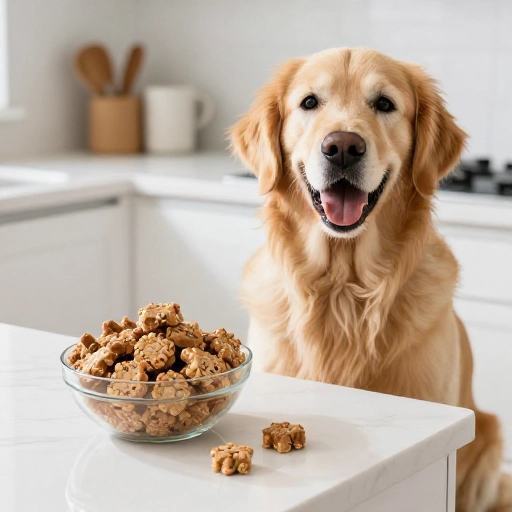
Let me tell you, the first time I made these treats, my golden retriever, Biscuit, literally did a happy dance around the kitchen. I was skeptical—just two ingredients? It seemed too good to be true. But trust me, this is the real deal.
These crunchy, wholesome bites are perfect for training, spoiling, or just showing your furry best friend some love. Plus, they take less time to prep than it takes to find your car keys. You’ll never buy store-bought treats filled with mystery ingredients again once you see how simple (and affordable) these are.
Why You’ll Love These 2-Ingredient Treats & Their Health Benefits
This isn’t just about convenience; it’s about giving your dog something genuinely good for them. We’re ditching all the fillers, preservatives, and artificial flavors you find in commercial options. What you’re left with is pure, simple goodness.
Peanut butter is packed with healthy fats and protein that give your dog energy and keep their coat shiny. Oatmeal is a fantastic, gentle source of fiber that’s easy on sensitive stomachs and helps keep them feeling full and satisfied. Together, they make a powerhouse duo that supports digestion and muscle health.
I love that I can pronounce every single ingredient that goes into these. No weird chemicals, just pantry staples that I always have on hand. It feels good to be in control of what my dog is eating, and it’s a great way to use up that last bit of oats in the cupboard.
Kitchen Equipment & Tools You’ll Need
One of the best parts about this recipe is that you probably already own everything you need. No fancy dehydrators or special molds are required! Just your standard baking gear.
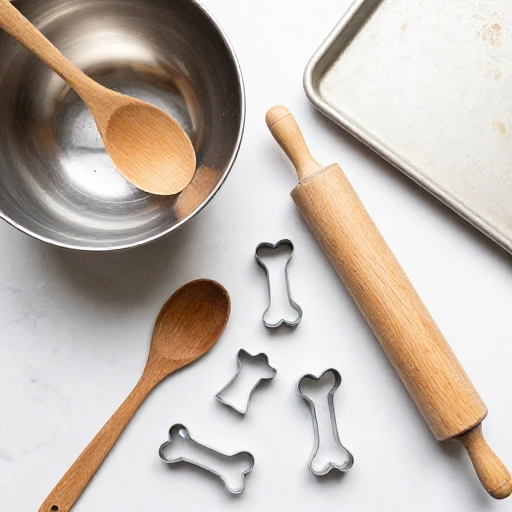
- Mixing Bowl: Any medium-sized bowl will work perfectly for combining your dough.
- Fork or Spoon: For mashing the ingredients together until a cohesive dough forms.
- Rolling Pin (Optional): This helps get the dough evenly flat, but a bottle of wine works in a pinch!
- Cookie Cutters: Bone-shaped cutters are adorable, but round or square ones work just as well. A simple knife will do if you don’t have cutters.
- Baking Sheet: A standard sheet pan lined with parchment paper makes cleanup a breeze.
- Oven: Preheated to 350°F (175°C) for perfectly crispy biscuits.
That’s it! Seriously. If you can boil water, you can make these treats. It’s a foolproof process that anyone can master, even on a busy weeknight.
Ingredients List & Safe Substitutions
Here’s the magic formula. You only need two humble ingredients to create these crunchy delights. Make sure you check the labels carefully on the peanut butter—it matters more than you think!
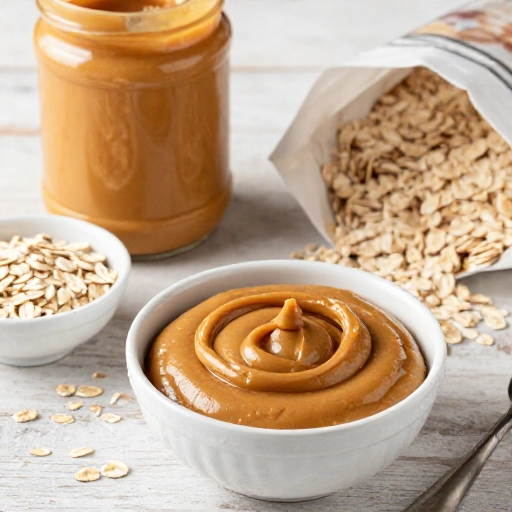
- 1 cup Oatmeal (Old-Fashioned or Quick) – I prefer old-fashioned for a slightly heartier texture, but quick oats work beautifully too.
- 1/2 cup Natural Peanut Butter – This is crucial. Look for one that contains only peanuts (and maybe a little salt). Do not use peanut butter with xylitol, an artificial sweetener that is extremely toxic to dogs.
Substitutions & Add-Ins:
If you don’t have peanut butter, you can swap it for unsweetened applesauce or mashed pumpkin for a fruitier twist. These will make the dough a bit stickier, so you might need to add a sprinkle more oats. You can also grind the oats in a blender to make a fine oat flour for a smoother texture. For a special treat, fold in a little mashed banana or a dash of cinnamon for extra flavor.
Step-by-Step Instructions & Preparation Guide
Alright, let’s get to the fun part! This is where the kitchen starts smelling like a cozy bakery. The dough comes together in minutes, and the oven does the rest of the work.
- Preheat & Prep: Start by preheating your oven to 350°F (175°C). Line a baking sheet with parchment paper or a silicone baking mat.
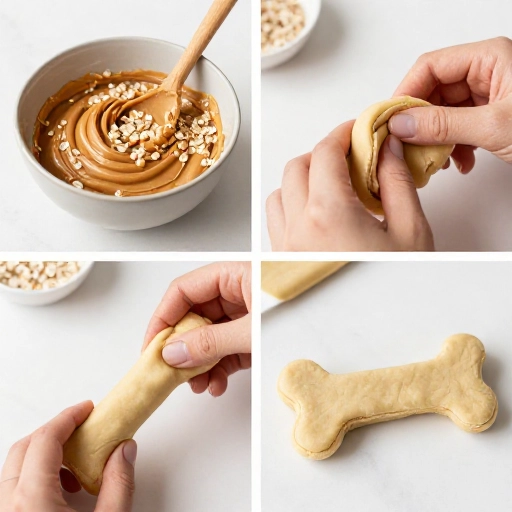
- Mix the Dough: In a medium bowl, combine the oatmeal and peanut butter. Use a fork to mash and mix them together until a thick, crumbly dough forms. It might seem dry at first, but keep working it—it will come together.
- Knead & Roll: Turn the dough out onto a lightly floured or oat-dusted surface. Knead it a few times with your hands. Then, roll it out to about 1/4-inch thickness.
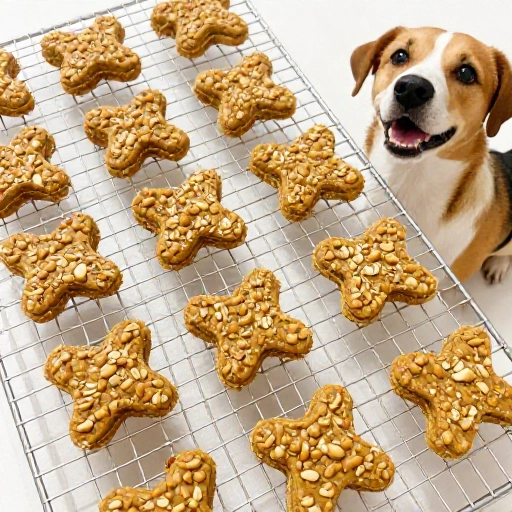
- Cut the Shapes: Use your cookie cutters to press out your desired shapes. Gently transfer them to your prepared baking sheet, leaving a little space between each one.
- Bake to Perfection: Bake for 12-15 minutes, or until the treats are golden brown and firm to the touch. For extra crispy treats, you can flip them halfway through and bake for an additional 5 minutes.
- Cool Completely: This is important! Let the treats cool completely on a wire rack. They will continue to harden as they cool, giving them that perfect crunch.
That’s it! In under 30 minutes, you’ll have a batch of delicious, healthy treats ready to go. The look on your dog’s face when they smell these baking is worth the tiny bit of effort.
Feeding Guidelines, Serving Size & Storage Tips
These treats are meant to be just that—treats! While they’re healthy, they should still be given in moderation as part of a balanced diet. They’re perfect for training sessions or as a special afternoon snack.
Serving Size: For a small dog, one treat is plenty. For a medium to large dog, you can offer two. Always start with a small amount to see how your dog’s stomach handles the new treat. Remember, every dog is different!
Storage: Because these are baked and have low moisture, they store very well. Keep them in an airtight container at room temperature for up to a week. For longer storage, pop them in the refrigerator for up to two weeks, or freeze them for up to three months. Just thaw them out at room temperature before giving them to your pup.
If they do get a little soft, you can pop them back in a low oven (200°F) for 10 minutes to re-crisp them. They’re pretty forgiving!
Final Verdict & Summary
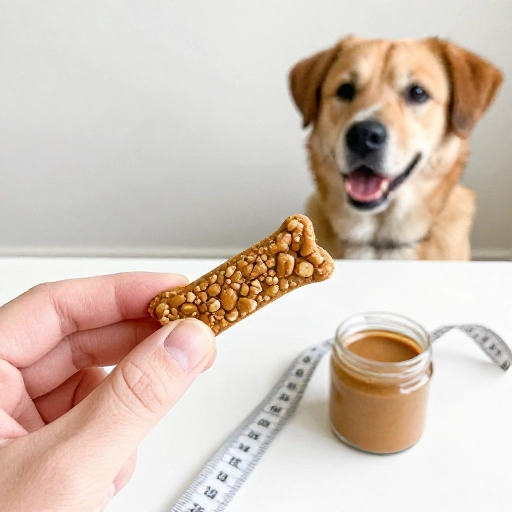
I honestly don’t think I’ll ever buy another bag of store-bought dog treats again. These 2-ingredient peanut butter and oatmeal biscuits are a game-changer. They’re simple, budget-friendly, and my dog absolutely loses his mind over them.
The best part is the peace of mind knowing exactly what’s in the food I’m giving my furry family member. No hidden nasties, no weird by-products—just wholesome, delicious goodness that makes Biscuit’s tail wag non-stop.
This is one of those “why didn’t I think of this sooner” recipes. It’s so easy that you can whip up a batch on a lazy Sunday afternoon. I hope your pup enjoys them as much as mine does. Happy baking!
Frequently Asked Questions
Can I use any type of peanut butter?
No, you must be careful here! You need to use peanut butter that is 100% natural and contains only peanuts (and perhaps some salt). You must avoid any peanut butter that contains xylitol, which is highly toxic to dogs. Always check the label!
Can I make these treats grain-free?
Absolutely! Instead of oatmeal, you can use oat flour made from certified gluten-free oats, or you can substitute with coconut flour or almond flour. Just note that you may need to adjust the quantity slightly to get the right dough consistency.
My dough seems too crumbly. What should I do?
This can happen depending on the brand of peanut butter you use. If the dough feels too dry, add a tablespoon of water or a splash of unsweetened applesauce at a time until it holds together. If it’s too sticky, just add a bit more oatmeal.
How long do these treats stay fresh?
When stored in an airtight container at room temperature, they will stay fresh for up to a week. You can extend their life by keeping them in the fridge for up to two weeks or in the freezer for up to three months.
Can I make these treats bigger or smaller?
Of course! The size is totally up to you. Make them tiny for small dogs or for training, or make them larger for big dogs. Just remember to adjust the baking time slightly—smaller treats will cook faster, while larger ones might need a few extra minutes.