No-Bake Sweet Potato Dog Treats: Quick & Easy 3-Ingredient Recipe Your Pup Will Love
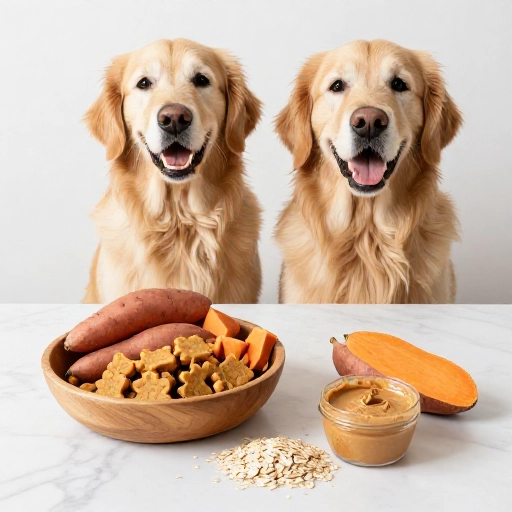
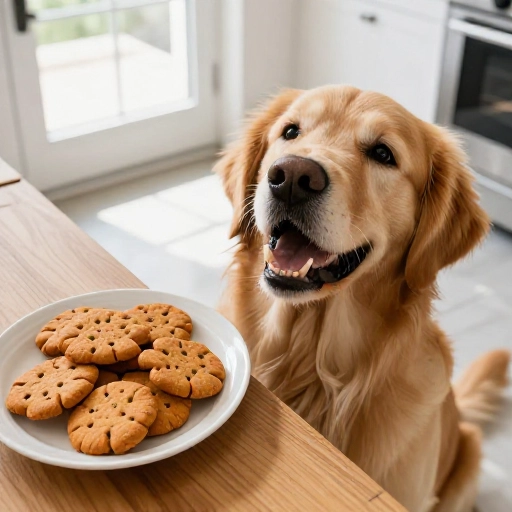
Let’s be honest—our dogs are basically furry food critics with tails. If I’m spending time in the kitchen, my pup is right there, giving me those big “excuse me, what about me?” eyes. Store-bought treats are fine, but they’re pricey, and sometimes the ingredient list looks like a chemistry experiment. That’s why I started making these no-bake sweet potato treats. They’re stupidly simple, require zero oven time, and use ingredients you probably already have in your pantry.
Sweet potatoes are a powerhouse for dogs. They’re packed with fiber, vitamin A, and antioxidants that support your dog’s digestion and immune system. Plus, when you mix them with peanut butter and oats, you get a chewy, satisfying texture that dogs absolutely go bonkers for. This recipe is perfect for a rainy afternoon, a quick weekend project, or just when you want to feel like the best dog parent on the block.
Why Make This Recipe: Health Benefits & Cost Savings
I love this recipe because it cuts out all the junk. When you make treats at home, you have total control over what goes into your dog’s belly. No artificial preservatives, no weird fillers, no excessive salt or sugar. Just real, whole foods that are actually good for them.
The star ingredient, sweet potato, is gentle on sensitive stomachs and provides slow-burning energy for those long walks. The peanut butter adds healthy fats and protein for a shiny coat, and the oats offer a nice dose of fiber to keep things moving along. Plus, making these at home saves you a ton of money. A single sweet potato and a handful of oats make a batch that would cost triple at a specialty pet store.
Kitchen Equipment & Tools You’ll Need
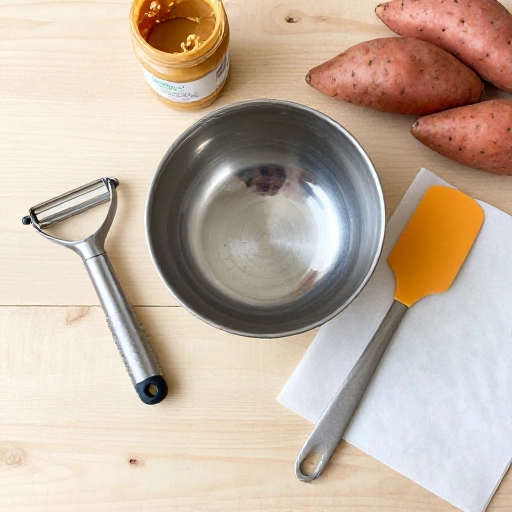
Don’t worry, you won’t need any fancy gadgets for this one. It’s a truly low-effort recipe that’s perfect for busy days. I usually just use a mixing bowl and a fork, but there are a couple of tools that make the process smoother.
- A mixing bowl: Any medium-sized bowl works. If you have a silicone one, even better—it makes cleanup a breeze.
- A potato masher or fork: For getting the sweet potato nice and smooth. A fork works in a pinch, but a masher gets it creamier faster.
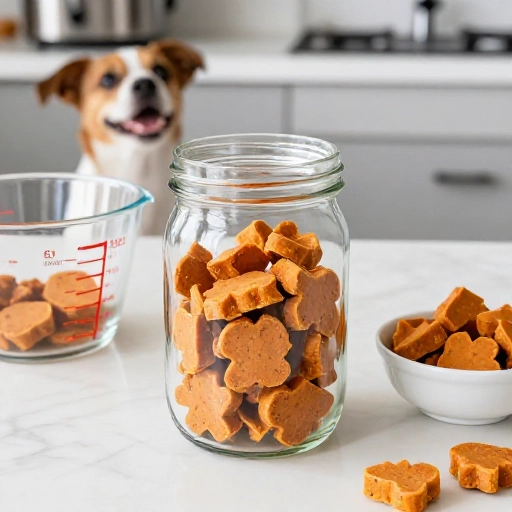
- Cookie cutters or a small scoop: This is optional but fun. I like using tiny bone-shaped cutters for the aesthetic (dogs don’t care, but I do). If you’re in a rush, just roll them into small balls.
- Airtight container: For storing the finished treats in the fridge. A glass container with a lid works perfectly.
That’s seriously it. No food processor, no dehydrator, no oven mitts required. If you have these three things in your kitchen, you’re ready to roll.
Ingredients List & Safe Substitutions
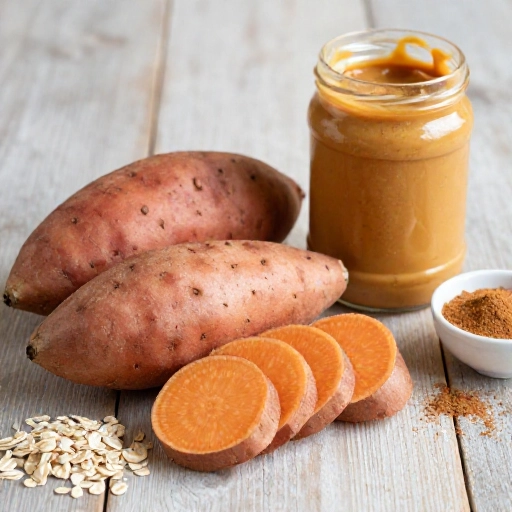
Here’s the magic trio: sweet potato, peanut butter, and oats. It’s the perfect ratio of flavor and texture. But I know every dog has different dietary needs, so I’ve included some simple swaps below that work just as well.
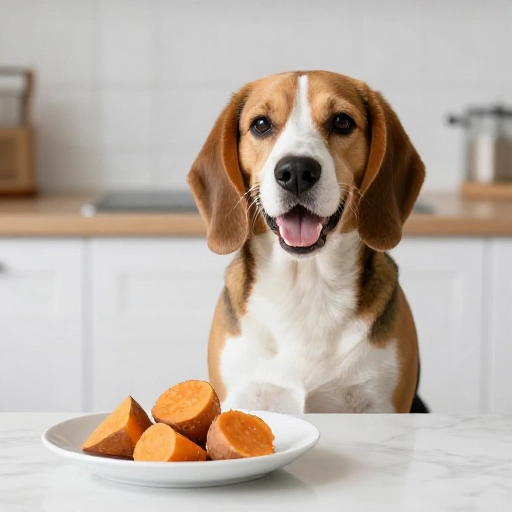
- 1 cup mashed sweet potato: Roast or boil a medium sweet potato until fork-tender, then mash it. Make sure it’s fully cooled before you mix it—warm potato will make the dough sticky and hard to handle. Substitution: Canned pumpkin purée works beautifully here (not pumpkin pie filling!).
- 1/4 cup natural peanut butter: Check the label! You want pure peanut butter with no added sugar, salt, or xylitol. Xylitol is extremely toxic to dogs, so always double-check. Substitution: Unsweetened applesauce or sunflower seed butter are great alternatives if your pup has a peanut allergy.
- 1 1/2 cups old-fashioned rolled oats: These give the treats their chewy structure. Substitution: Quick oats work, but they make the dough a bit softer. You can also use oat flour or even finely ground rolled oats for a smoother texture.
That’s it. Three ingredients, maximum love. If you want to add a little extra flair, a pinch of cinnamon (a safe, anti-inflammatory spice for dogs) is a lovely addition, but it’s totally optional.
How to Make Them: Step-by-Step Preparation Guide
This is the fun part. It’s so fast that you’ll probably be done before your dog finishes his afternoon nap. The process is basically mash, mix, and shape. Here’s how I do it step by step.
- Mash the sweet potato: Ensure your sweet potato is cooked and completely cool. Add it to your mixing bowl and mash until there are no large chunks. You want a smooth, thick purée.
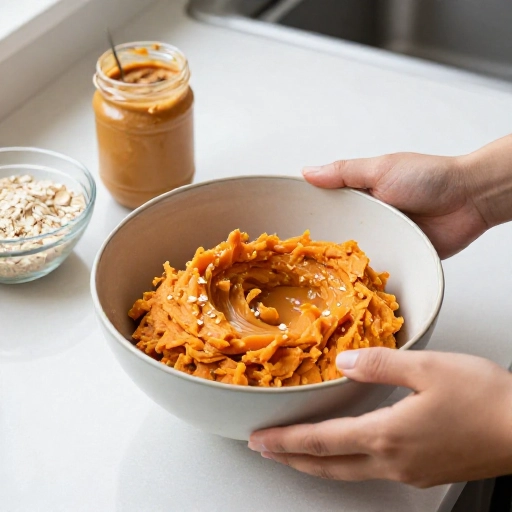
- Add the peanut butter: Scoop in your peanut butter and stir it into the sweet potato until it’s fully combined. The mixture will look glossy and smell amazing (trust me, it smells like a healthy dessert).
- Mix in the oats: Add the oats to the bowl and stir everything together. You’ll get a thick, slightly sticky dough. If it’s too wet to handle, add a tablespoon more of oats. If it’s too dry, add a teaspoon of water.
- Shape the treats: Dust your hands with a little oat flour or water to prevent sticking. Roll the dough into small, bite-sized balls (about 1 inch in diameter) and flatten them slightly with your fingers. You can also press the dough into a flat sheet and use cookie cutters to make fun shapes.
- Chill to set: Place the shaped treats on a plate or baking sheet lined with parchment paper. Pop them in the fridge for at least 30 minutes so they firm up. This step is crucial—it turns the soft dough into a chewy treat your dog can really sink his teeth into.
- Serve: Once chilled, they’re ready to go. Watch that tail wag! I usually give my dog one right away and save the rest for later.
The whole process takes about 15 minutes of active time. It’s fast, it’s easy, and it’s virtually mess-free.
Storage & Serving: Feeding Guidelines & Tips
Since these treats are no-bake and contain fresh ingredients, they need to be kept cold. Proper storage is key to making sure they stay fresh and safe for your pup. Here’s my routine.
Storage: Keep the treats in an airtight container in the refrigerator. They’ll stay fresh for up to one week. If I want to make a big batch, I freeze them. Just place them in a single layer on a baking sheet, freeze until solid, then transfer to a freezer bag. Frozen treats will last for up to three months. You can serve them straight from the freezer—dogs love a cold, chewy snack on a hot day.
Serving Size: Portion control matters. For small dogs (under 20 lbs), give 1 treat per day. For medium dogs (20–50 lbs), 2 treats is perfect. For large breeds (50+ lbs), 3 treats is a good rule of thumb. Treats should only make up about 10% of your dog’s daily caloric intake, so adjust their regular meals accordingly if they’re getting a few of these.
Always supervise your dog when giving them a new treat, and make sure they have plenty of water available.
Final Verdict & Summary: Why These Treats Win
Look, I’m not saying baking for your dog is a requirement to be a good pet parent, but it definitely doesn’t hurt. These no-bake sweet potato treats have become a staple in my house for one simple reason: they work. They’re quick to throw together, they’re budget-friendly, and my dog genuinely goes nuts for them. He does a little happy dance every time I open the fridge.
What I love most is the texture. Because they’re chilled and not baked, they have a soft, chewy consistency that’s perfect for senior dogs with sensitive teeth or puppies who are still learning to chew. They’re also incredibly forgiving. If your dough is too dry, add a splash of water. Too wet? Toss in a few more oats. It’s impossible to mess up.
If you’re looking for a healthy, wholesome snack that takes less time than a trip to the pet store, this is it. Give them a try this weekend. Your dog will thank you with sloppy kisses and endless tail wags.
FAQ: Everything Else You Need to Know
Q: Can I use a raw sweet potato instead of a cooked one?
No, raw sweet potato is hard for dogs to digest and can be a choking hazard. Always cook the sweet potato first—boiling or roasting until it’s soft and mashable is the way to go.
Q: My dog is allergic to chicken. Is this recipe safe?
Yes, this recipe is completely chicken-free. It only contains sweet potato, peanut butter, and oats, making it a great option for dogs with common protein allergies.
Q: How long do these treats last at room temperature?
Because they’re no-bake, they should not be left out for more than a couple of hours. Always store them in the fridge or freezer to keep them from spoiling.
Q: Can I add extra ingredients like flaxseed or coconut oil?
Absolutely. A teaspoon of ground flaxseed adds Omega-3s, and a small drizzle of melted coconut oil can help with skin and coat health. Just make sure any add-ins are dog-safe and given in moderation.
Q: Are these treats suitable for puppies?
Yes, as long as your puppy is over 8 weeks old and is already eating solid food. The soft texture is easy for them to chew, but always supervise young puppies when they’re eating treats.