Vet-Approved DIY Dog Treats: 11 Easy, Healthy & Budget-Friendly Recipes Your Pup Will Love
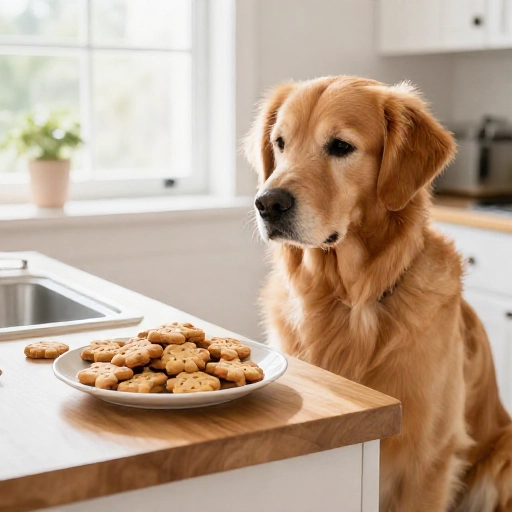
I’ll be honest—once I started making dog treats at home, I couldn’t stop. There’s something about seeing my pup’s tail wag the second I pull a tray of peanut butter pumpkin bites out of the oven that just hits different. Plus, I know exactly what’s going into every single little biscuit: no mystery meat meals, no artificial dyes, no added junk.
This collection of 11 vet-approved DIY dog treats covers everything from crunchy training bites to soft chews and even cool frozen drops for hot afternoons. Each recipe uses simple, dog-safe ingredients you probably already have in your pantry. I’ve kept the base method the same so you can batch-bake easily, then mix and match flavors to your dog’s preferences.
If you’re new to homemade dog treats, don’t worry. I’ll walk you through the health benefits, the basic equipment, safe ingredient swaps, step-by-step instructions for all 11 recipes, storage tips, and a few questions I get asked the most. Let’s get baking for your best friend.
Why Make These Vet-Approved Dog Treats?
Homemade dog treats aren’t just a fun weekend project—they come with real health perks. When you bake from scratch, you control the ingredient list, which is huge if your dog has allergies, a sensitive stomach, or needs to drop a few pounds. You can easily swap ingredients to avoid wheat, chicken, or dairy, and you’ll never accidentally feed something with xylitol or hidden preservatives.
Another big win is cost. Even the fancier “healthy” store-bought treats can run $8–12 for a tiny bag. Most of these recipes cost under $5 per batch and last weeks in the freezer. Plus, the bonding time in the kitchen is good for both of you.
Vet-approved means each recipe sticks to dog-safe foods and keeps treats under 10% of daily calories. I use wholesome bases like oats, pumpkin, lean meats, and dog-friendly fruits. Your pup gets real nutrition in every bite, not empty fillers.
Kitchen Equipment & Tools You’ll Need
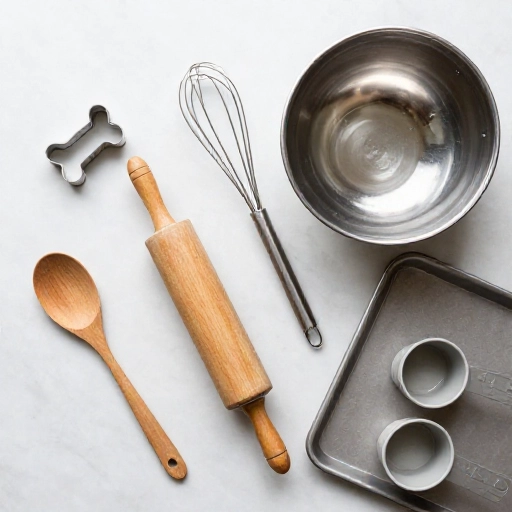
You don’t need fancy gadgets for these dog treats, but a few basics will make the process smooth and mess-free. Here’s what I keep on hand:
- Mixing bowls: One for wet ingredients, one for dry.
- Measuring cups and spoons: Accuracy matters, especially with sticky ingredients like peanut butter and pumpkin.
- Baking sheet: A standard rimmed sheet pan works for most crunchy recipes.
- Parchment paper or silicone baking mat: Keeps treats from sticking and makes cleanup easy.
- Rolling pin: Optional but helpful for rolling dough into an even layer before cutting.
- Cookie cutters or a knife: Bone-shaped cutters are cute, but a simple knife and small squares work just as well.
- Food processor or blender: Great for pureeing fruits, shredding carrots, or pulsing oats into flour.
- Silicone molds: Perfect for frozen yogurt drops or soft no-bake treats.
- Airtight storage containers: You’ll want these for the fridge, freezer, or countertop.
If you only have a bowl, a spoon, and an oven, you can still make most of these recipes. I started with just that and upgraded later when I got hooked.
Ingredients List & Safe Substitutions
The beauty of homemade dog treats is swapping ingredients based on what you have or what your dog tolerates. My go-to dry bases are oat flour, brown rice flour, and rolled oats. For binding and moisture, I rely on pumpkin puree, unsweetened applesauce, mashed banana, eggs, or plain Greek yogurt.
Always check labels before using peanut butter—xylitol (birch sugar) is toxic to dogs even in tiny amounts. Also avoid chocolate, grapes, raisins, onions, garlic, macadamia nuts, and anything with added artificial sweeteners. When in doubt, keep it simple and dog-safe.
- Oat flour — swap with brown rice flour or coconut flour (use half the amount if coconut flour).
- Pumpkin puree — not pumpkin pie filling; swap with mashed sweet potato or butternut squash.
- Xylitol-free peanut butter — swap with almond butter (no xylitol), sunflower seed butter, or mashed banana.
- Eggs — use flax egg (1 tbsp ground flax + 3 tbsp water, rest 5 min) for egg-free diets.
- Unsweetened applesauce — swap with pureed pear or mashed banana.
- Plain Greek yogurt — use dairy-free coconut yogurt if your dog is lactose sensitive.
- Lean meats — cooked chicken, turkey, salmon, or lean beef all work; avoid seasoned or processed meats.
- Fruits & veggies — blueberries, apple (no seeds), carrot, green beans, sweet potato, and cranberries are safe in small amounts.
I always keep a batch of oat flour on hand by pulsing rolled oats in the blender. It’s cheaper than store-bought and works beautifully in almost every recipe.
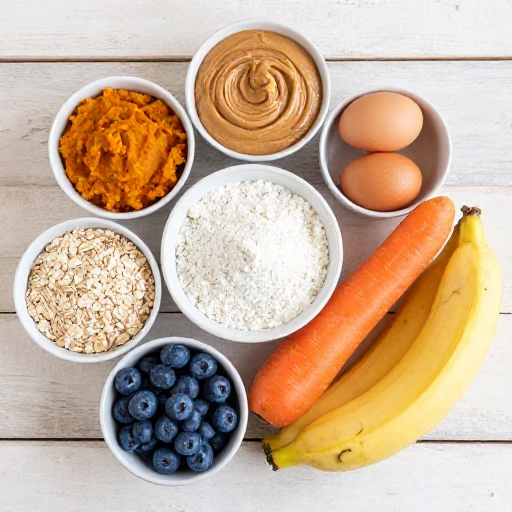
Step-by-Step Instructions for 11 DIY Dog Treats
All 11 recipes below follow the same easy base method, which makes baking day much less stressful. I’ll share the five-step process first, then list the flavor combos you can run with it. Most treats bake at 350°F (180°C) for 15–20 minutes, so you can batch different shapes and flavors at once.
- Preheat your oven to 350°F (180°C) and line a baking sheet with parchment paper.
- In one bowl, whisk together the dry ingredients. In another bowl, combine the wet ingredients.
- Pour the wet mixture into the dry and stir until a dough forms. If it’s too sticky, add a spoonful of oat flour; if too dry, add a splash of water or broth.
- Roll or press the dough to about 1/2-inch thickness, then cut into small squares or use cookie cutters. For soft training treats, roll into tiny pea-sized balls.
- Bake for 15–20 minutes, or until the treats are firm and lightly golden around the edges. Cool completely on a wire rack before serving.
Now here are my 11 vet-approved flavor combos. Use the base method for each unless noted.
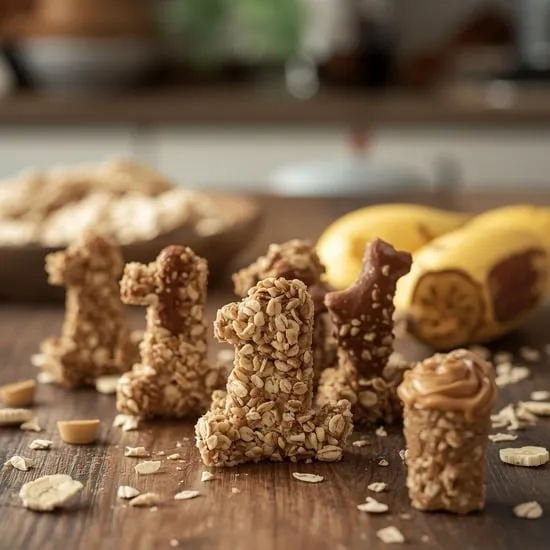
- Peanut Butter Pumpkin Bites: 1 cup oat flour + 1/2 cup pumpkin puree + 1/4 cup xylitol-free peanut butter. Bake 18 minutes.
- Apple Cinnamon Crunchies: 1 cup oat flour + 1/2 cup unsweetened applesauce + 1/4 teaspoon cinnamon. Bake 20 minutes.
- Carrot & Oat Chews: 1 cup blended rolled oats + 1/2 cup finely shredded carrot + 1 egg. Bake 18 minutes.
- Chicken & Rice Training Treats: 1/2 cup finely shredded cooked chicken + 1/2 cup brown rice flour + 1 egg + 2 tablespoons water. Roll into tiny balls, bake 15 minutes.
- Blueberry Banana Softies: 1 cup oat flour + 1/2 cup mashed ripe banana + 1/3 cup fresh or thawed blueberries. Bake 15 minutes for softer centers.
- Sweet Potato Chews: Slice 1 sweet potato into 1/4-inch rounds or strips. Bake at 250°F (120°C) for 2–3 hours, flipping halfway, until chewy not crunchy.
- Yogurt Berry Frozen Drops: Mix 1 cup plain Greek yogurt with 1/2 cup chopped strawberries or blueberries. Spoon into silicone molds and freeze at least 2 hours.
- Cheese & Herb Biscuits: 1 cup whole wheat flour + 1/2 cup shredded cheddar + 1 egg + 1 teaspoon dried parsley. Bake 20 minutes.
- Salmon & Potato Pillows: 1/2 cup mashed cooked sweet potato + 1/2 cup canned salmon (no salt, drained) + 1/2 cup oat flour. Bake 18 minutes.
- Turkey & Cranberry Festive Treats: 1/2 cup cooked ground turkey + 1/4 cup chopped unsweetened dried cranberries + 1 cup brown rice flour + 1 egg. Bake 18 minutes.
- Green Bean Crunch Sticks: 1/2 cup pureed cooked green beans + 1 cup oat flour + 1 egg. Shape into finger-length sticks, bake 20 minutes.
Each recipe makes roughly 20–30 small treats depending on shape and thickness. I always cool them completely and test one myself for texture—if it’s too hard for an older dog, I’ll dip it in a little water or break it into smaller pieces.
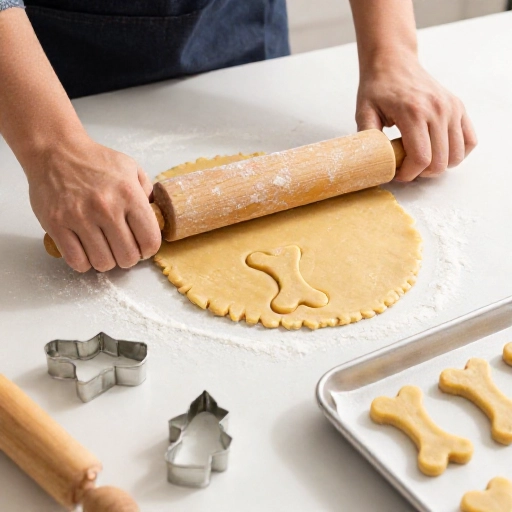
Feeding Guidelines, Serving Size & Storage Tips
Because these treats are made with real food and no preservatives, they need a little more care than store-bought biscuits. I store crunchy treats in an airtight container on the counter for up to 1 week, in the fridge for up to 2 weeks, or in the freezer for up to 3 months. Soft or meat-based treats should go straight to the fridge and be used within 5–7 days, or frozen for longer.
Frozen yogurt drops live in the freezer and are perfect for a quick cool-down on hot days. Just grab one at a time. For chews like sweet potato slices, keep them in a paper bag or open container in the fridge to avoid moisture making them soggy.
- Small dogs (under 20 lbs): 1–2 small treats per day.
- Medium dogs (20–50 lbs): 2–3 treats per day.
- Large dogs (50+ lbs): 3–5 treats per day, depending on calorie needs.
Treats should make up no more than 10% of your dog’s daily calories. If your pup has a medical condition or you’re unsure about an ingredient, check with your vet before introducing new foods.
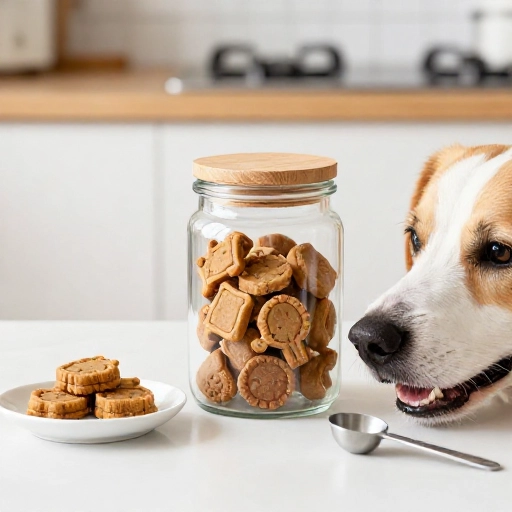
Final Verdict & Summary
After testing all 11 of these vet-approved DIY dog treat recipes, I can honestly say they’re the easiest way to spoil your dog without the guilt. The ingredient lists are short, the methods are forgiving, and the cost savings add up fast. My own dog goes absolutely wild for the peanut butter pumpkin bites and the chicken rice training treats.
What I love most is the flexibility. You can keep a few staples—oat flour, pumpkin, eggs, and peanut butter—on hand and whip up a batch in under 30 minutes. Whether you need crunchy biscuits, soft chews, or frozen drops, this collection has something for every season and every dog.
If you’re looking for a simple, healthy, budget-friendly way to show your pup extra love, start here. Bake a small batch, watch that tail wag, and never look back.
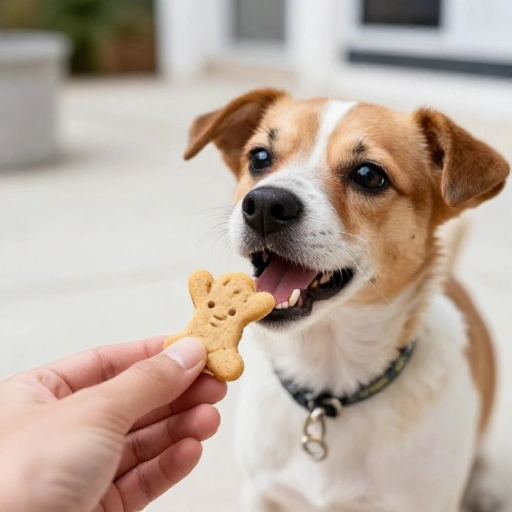
FAQ: Homemade Dog Treat Questions
Can I use all-purpose flour instead of oat flour?
Yes, you can use whole wheat or all-purpose flour in most baked dog treat recipes. I prefer oat flour because it’s more digestible for some dogs and adds natural sweetness. If you swap, start with a little less liquid since white flour absorbs moisture differently.
How do I know if peanut butter is safe for dogs?
Check the label for xylitol, also called birch sugar or wood sugar. It’s extremely toxic to dogs even in small amounts. Choose peanut butter with just peanuts or peanuts and salt—no added sweeteners, no hydrogenated oils. When in doubt, grind your own or use a dog-specific peanut butter.
Can I make these treats without eggs?
Absolutely. For each egg, you can use 1/4 cup of mashed banana, 1/4 cup of pumpkin puree, or a flax egg (1 tablespoon ground flax mixed with 3 tablespoons water, rested for 5 minutes). The texture may be a little softer, so add a touch more oat flour if needed.
How long do homemade dog treats last?
Crunchy treats last up to 1 week at room temperature in an airtight container, 2 weeks in the fridge, and 3 months in the freezer. Soft treats with meat or yogurt last 5–7 days in the fridge. Always store fully cooled treats and label containers with the date.
Can I give these treats to a puppy?
Yes, most of these recipes are safe for puppies once they are eating solid food. Cut treats into very small, soft pieces to avoid choking. Introduce one new ingredient at a time, watch for any tummy upset, and check with your vet if your puppy has special dietary needs.