11 Genius DIY Dog Food Stand Ideas Your Pup Will Absolutely Love (Easy & Budget-Friendly!)
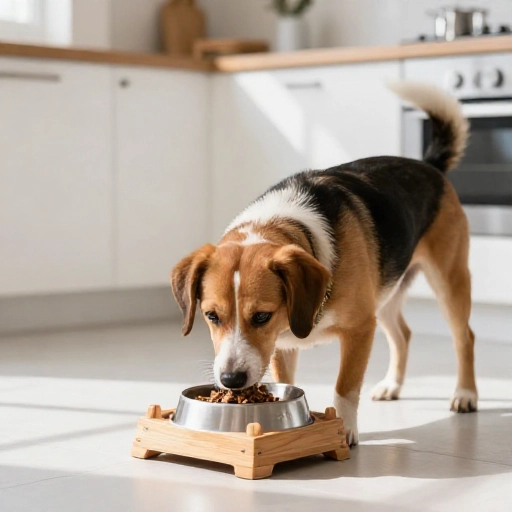
Let’s be honest, watching your furry best friend awkwardly crane their neck down to eat from a bowl on the floor just isn’t great. It looks uncomfortable, and honestly, it can be bad for their digestion and posture over time. I remember building my first one on a lazy Sunday, and the difference it made for my golden retriever was amazing—he finished his dinner in half the time and seemed so much more relaxed.
If you’ve been scrolling Pinterest for hours looking at beautifully crafted wooden stands that cost a fortune, stop right there. I’ve rounded up my absolute favorite DIY dog food stand ideas that are simple, affordable, and look like you bought them from a boutique pet store. Whether you’re a woodworking pro or a total beginner with just a glue gun, there’s a project here for you. Let’s get building for your favorite four-legged friend!
Why Build a Raised Dog Feeder? (Health & Comfort Benefits)
This isn’t just a fancy furniture trend for pets. Raising your dog’s food bowl to their chest or shoulder height actually makes mealtime much more natural for their anatomy. Instead of stretching down and putting strain on their neck and spine, they can stand comfortably and swallow with ease. This is a huge win for larger breeds like Labs, Great Danes, or German Shepherds who are prone to joint issues.
Beyond the posture perks, a raised stand is a lifesaver for fast eaters. Gravity helps the food settle in the esophagus, which reduces the amount of air they swallow. That means less bloating, less gas, and a much happier tummy. For senior dogs with arthritis, it takes the pressure off their hips and shoulders, letting them enjoy their dinner without pain.
Plus, let’s be real—it keeps the floor area so much cleaner. You can say goodbye to food and water splashing all over your kitchen tiles because the bowls stay put in their designated holes. It’s a simple upgrade that improves your dog’s quality of life and keeps your home tidier.
Gathering Your DIY Arsenal (Equipment & Tools)
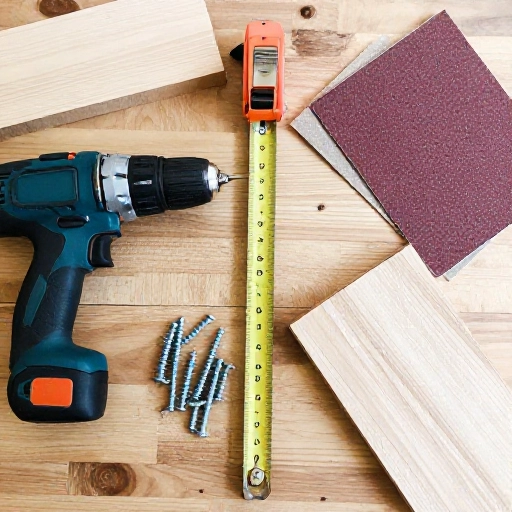
Before you dive into these projects, let’s talk about what you’ll need. The tools vary depending on which of the 11 ideas you choose, but most of them rely on a pretty basic toolkit. For the wood projects, you’ll want a power drill (with a paddle bit or hole saw for cutting bowl holes), a jigsaw for freehand cutting, and a sander to make sure everything is smooth to the touch. Don’t forget a measuring tape—measure twice, cut once is the golden rule here!
If you’re leaning toward the “no-cut” methods using crates or PVC pipes, you’ll need less machinery. A strong adhesive or zip ties are your best friends here to secure everything. A staple gun is also super handy if you’re adding fabric or trim to give the stand a polished, finished look that matches your home decor.
Finally, always have safety gear on hand. Safety glasses protect your eyes from sawdust, and earplugs are a good idea if you’re using a loud drill. A set of clamps is crucial for holding pieces in place while the glue dries or while you screw them together—trust me, they make the job ten times easier.
Choosing the Right Materials (Ingredient List & Safe Options)
Your “ingredients” here are the building blocks of your stand. For a durable, classic look, Pine or Birch plywood is fantastic. It’s sturdy, relatively inexpensive, and easy to work with. You’ll also need wood screws, wood glue, and a non-toxic paint or sealant. Since this is for your pup, make sure any finish you use is food-safe and pet-safe—look for water-based polyurethane or milk paint to avoid harsh chemicals.
For a rustic or industrial vibe, you can use PVC pipes and wood planks. PVC is waterproof and super cheap, making it perfect for a messy eater’s station. If you’re upcycling, look for an old wooden crate or a sturdy side table—these make instant bases that just need a couple of holes added. Just ensure the wood isn’t treated with toxic pesticides.
No matter which design you pick, the bowls are the star of the show. You can use heavy ceramic bowls that fit snugly into your cut holes, or go for stainless steel which is more hygienic and durable. Just make sure the lip of the bowl is wider than the hole so it doesn’t slip through, and that the height matches your dog’s shoulder level.
How to Build Your Very First Stand (Step-by-Step Guide)
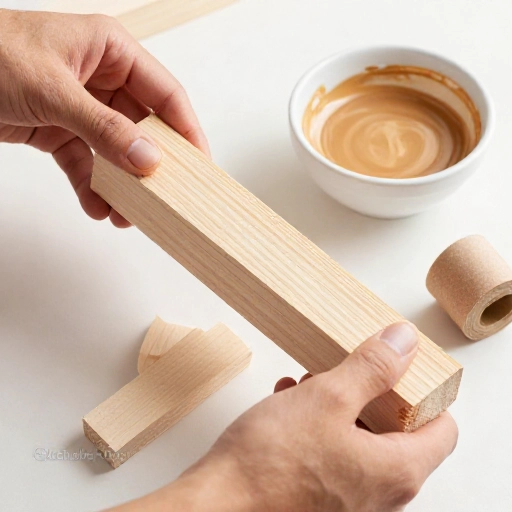
Alright, let’s get to the fun part! The easiest beginner-friendly build is the classic two-bowl wooden stand. First, measure your dog’s chest height (from the floor to their chest) and subtract about 2 inches for the bowl height. Cut two side panels and one top panel from your plywood based on these measurements. Typically, the top is about 24 inches long and 12 inches deep.
Next, trace your bowls onto the top piece. Use a hole saw attachment on your drill to cut out those circles—this makes a perfectly smooth edge. If you don’t have a hole saw, you can use a jigsaw, but go slowly to keep it neat. Sand down all the edges, especially around the bowl holes, so there are no splinters to hurt your pup’s face.
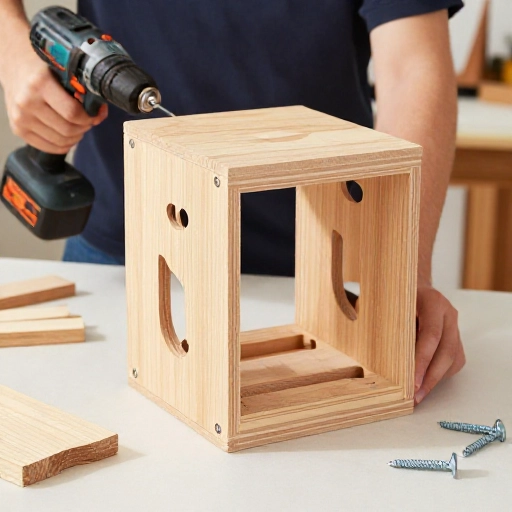
Now, assemble the frame. Attach the side panels to the bottom of the top panel using wood screws and glue. Make sure it’s level and let the glue dry completely. Once dry, apply a couple of coats of your non-toxic sealant. Let it cure for 48 hours (this is important so the fumes dissipate), drop in the bowls, and treat your dog to their new dining station!
Serving Size & Maintenance (Storage & Feeding Tips)
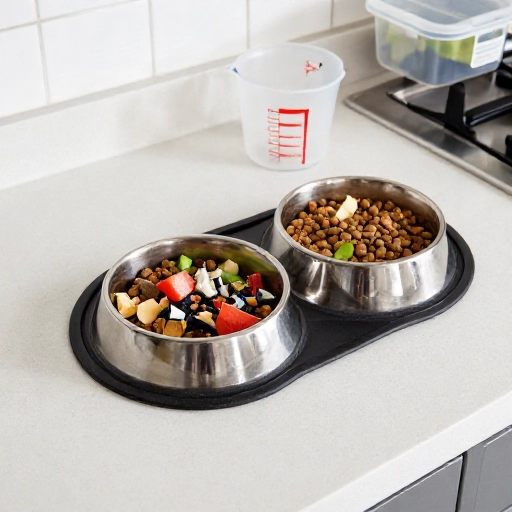
Once your stand is built, it is time to figure out the dining experience. Always place the stand on a non-slip mat to prevent it from sliding across the floor while your dog eats enthusiastically. Keep it out of direct sunlight and away from high-traffic areas to avoid it getting knocked over. If you used a painted finish, check it weekly for chips or wear and tear.
Cleanup is a breeze—just wipe down the stand with a damp cloth daily. The bowls themselves should be washed after every meal to prevent bacteria buildup. I recommend removing the bowls after feeding if you have a puppy who likes to chew on the wood, but for most adult dogs, the stand can stay out all day as a permanent fixture.
Keep an eye on your dog’s weight, too. A raised feeder doesn’t change their portion size, but it does make them eat slower. Stick to your vet’s recommended portion sizes based on your dog’s weight and activity level. If your dog is a gulper, adding a slow feeder bowl insert into the stand can be a game-changer for their digestion.
Final Verdict & Style Inspo
I genuinely believe that building a DIY food stand is one of the most rewarding pet projects you can do. It’s practical, saves you a ton of money compared to boutique pet stores, and you get the satisfaction of saying, “I made that!” Seeing your dog use something you built with your own two hands brings a level of joy that buying a mass-produced item just can’t match.
Don’t be afraid to add a personal touch! You can stain the wood to match your living room furniture, paint their name on the front, or even attach a small tray underneath to catch stray kibble. The possibilities are endless, and your dog won’t care if it’s not perfect—they’ll just love that you made it for them.
So grab your tools, pick your favorite idea from this list, and get to work. Your furry best friend deserves a comfortable place to enjoy their dinner, and now you have all the know-how to make it happen. Happy building, and give your pup a scratch behind the ears for me!
FAQ: Your Burning Questions Answered
How high should a DIY dog food stand be?
The ideal height is usually at your dog’s lower chest, right around the base of their neck. Measure from the floor to the top of their shoulders (withers) and subtract about 2 to 4 inches to account for the depth of the bowl. This allows them to eat without lowering their head too much or reaching up too high.
Is it better to use wood or PVC for a dog feeder?
Wood is better if you want a stable, furniture-like piece that looks great in your home. PVC is an excellent choice for outdoor use or for dogs that are super messy, as it is waterproof and incredibly easy to hose down. Both are sturdy options; it just depends on your aesthetic and needs.
Can I use any type of wood for this project?
You should stick to untreated, solid wood like pine, poplar, or oak. Avoid pressure-treated lumber, as it contains chemicals that can be toxic to pets if they chew on it. Always finish the wood with a pet-safe, non-toxic sealant to protect it from moisture and keep your pup safe.
How do I stop the bowls from sliding around in the holes?
If your bowls seem a little loose, you can attach small wooden stops or rubber bumpers around the inside edges of the holes. Alternatively, use a thin bead of food-safe silicone caulk around the rim of the hole before inserting the bowl. This keeps them snug but still removable for cleaning.
Will a raised feeder help with my dog’s bloat risk?
There is some debate among vets about this. While a raised feeder helps with posture and swallowing less air, some studies suggest it may not prevent bloat and could even be a risk factor for large breeds. It is always best to consult your veterinarian about what is right for your specific dog’s breed and health history.