Your DIY Dog Treadmill: A Step-by-Step Guide for Happy, Healthy Pups
Ever feel guilty when the weather turns nasty and your energetic dog misses their walk? I’ve been there. My high-energy retriever would pace by the door, full of unused zoomies, while rain poured outside. That’s when I started looking into solutions and discovered the world of DIY dog treadmills.
Building one isn’t as daunting as it sounds. It’s a rewarding project that gives your dog a safe, consistent way to burn energy, rain or shine. It’s perfect for busy schedules, post-surgery rehab, or just ensuring your pup gets their daily cardio. Let’s build something amazing together!
This guide breaks it down into simple, manageable steps. You don’t need to be a master carpenter—just a willingness to learn and create a fantastic tool for your furry best friend.
Idea 1: Gather Your Tools & Materials First
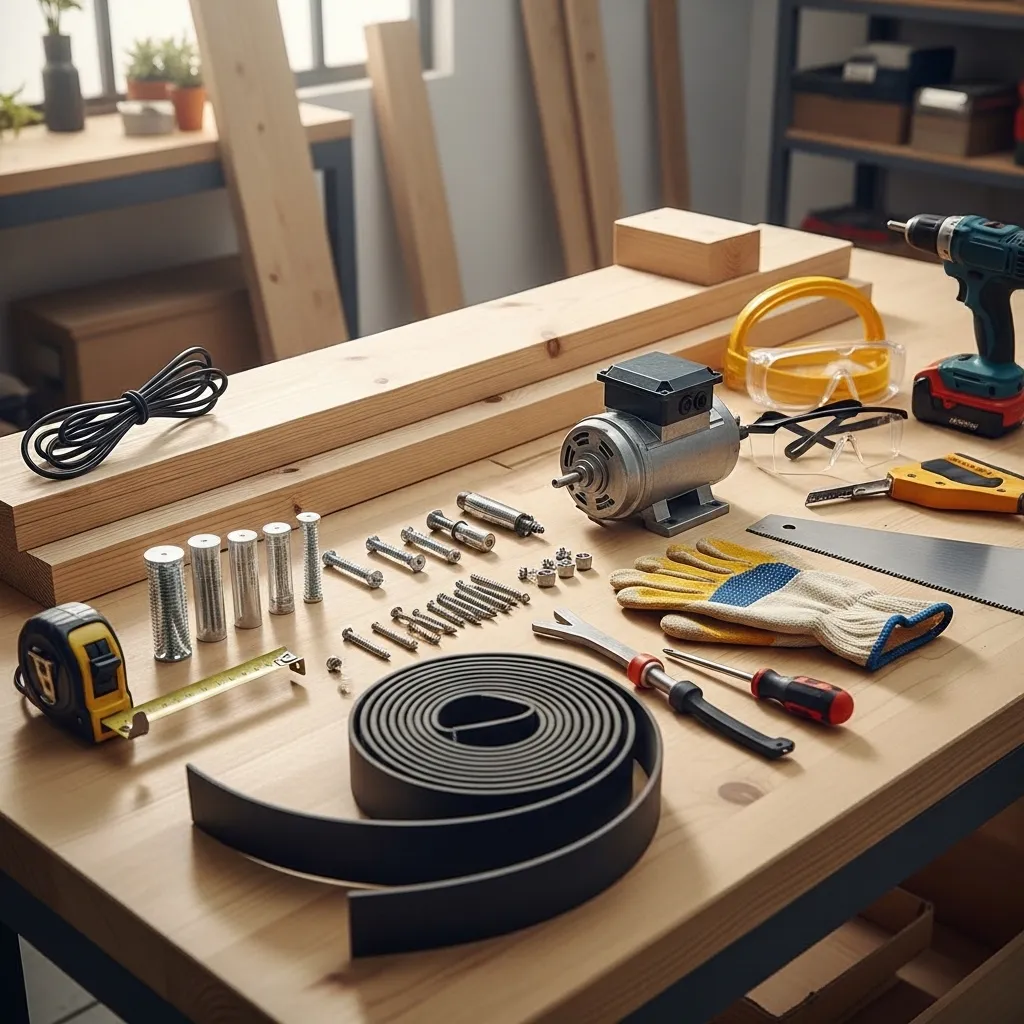
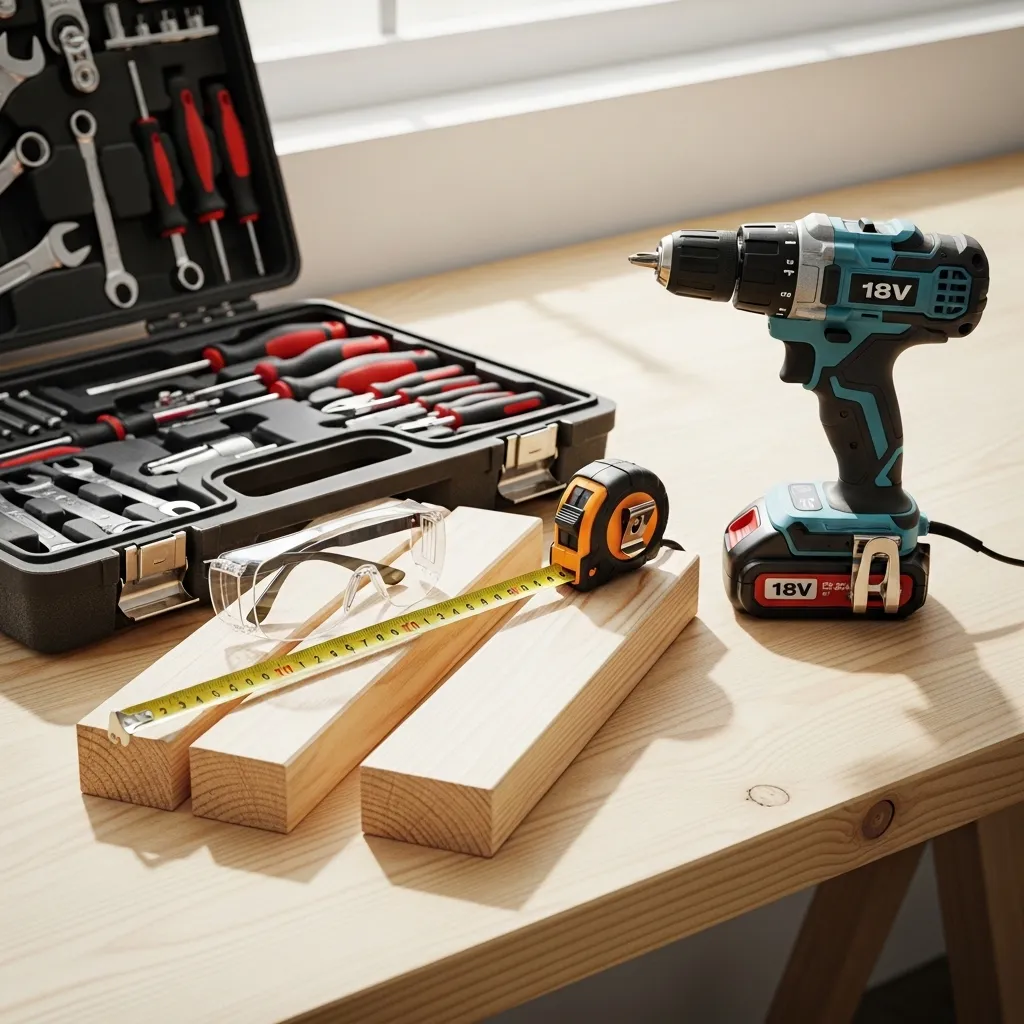
Before we cut a single piece of wood, let’s get organized. Having everything on hand makes the process smooth and fun. You’ll be surprised how many items you might already own.
For the basic frame, you’ll need:
- Plywood sheet (for the running surface)
- 2×4 lumber (for the frame and legs)
- A powerful, variable-speed electric motor
- A conveyor belt (heavy-duty rubber matting works perfectly)
- Bolts, screws, wood glue, and safety gear (goggles, gloves)
Don’t forget the key extras: a sturdy on/off switch, a safety key, and non-slip paint or traction tape for the belt. Planning is half the battle won!
Idea 2: Design Your Treadmill’s Frame
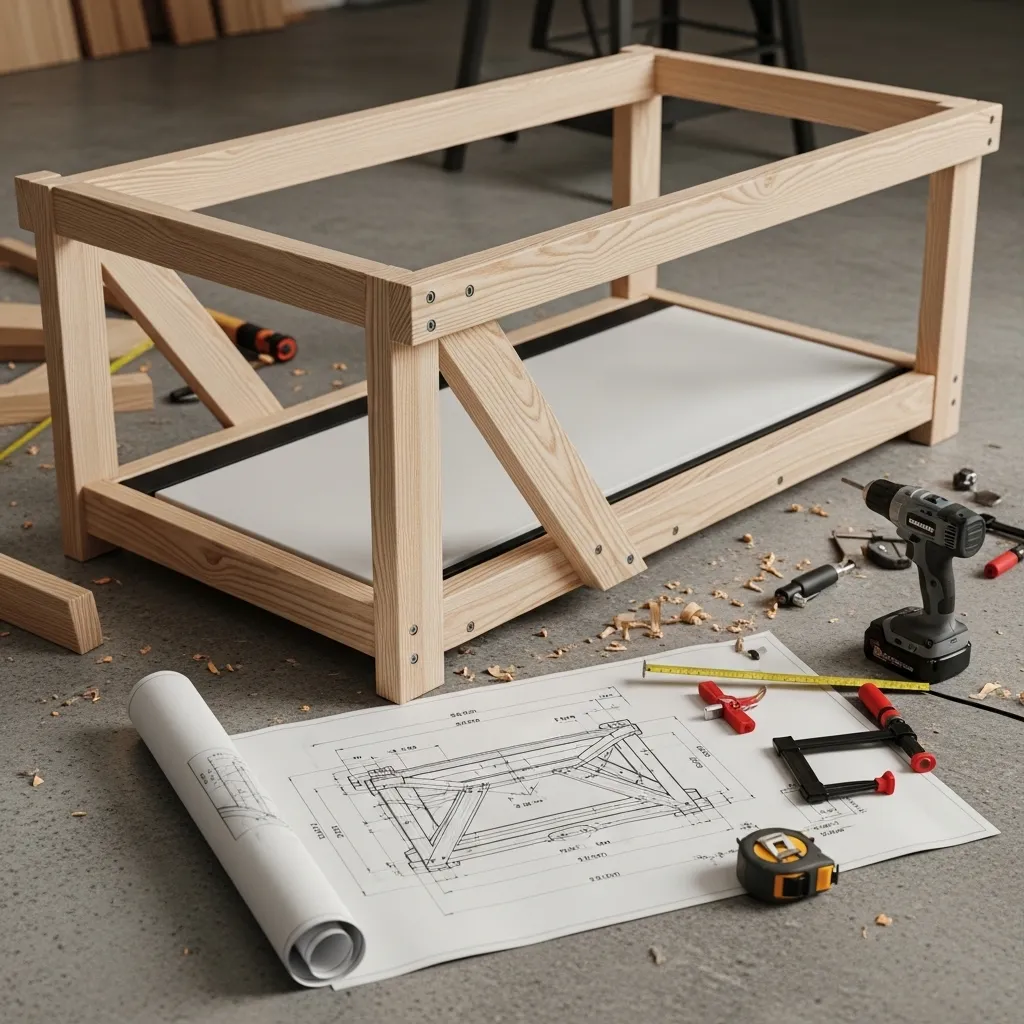
The frame is the skeleton of your project. It needs to be rock-solid to handle your dog’s weight and movement. I sketched my design on paper first, measuring my dog’s stride and length.
Keep it simple: a rectangular frame with sturdy cross-supports. The height should allow the motor and roller system to sit underneath comfortably. Remember, this isn’t just functional; building it strong is about your dog’s safety above all else.
Consider adding adjustable legs at the front. This lets you slightly incline the treadmill, mimicking a more challenging walk, which is great for building muscle.
Idea 3: Build the Running Deck & Belt
This is where your dog will spend their time, so comfort and safety are key. Cut your plywood to the size of your frame. This is the deck. Sand every edge until it’s completely smooth to prevent any splinters.
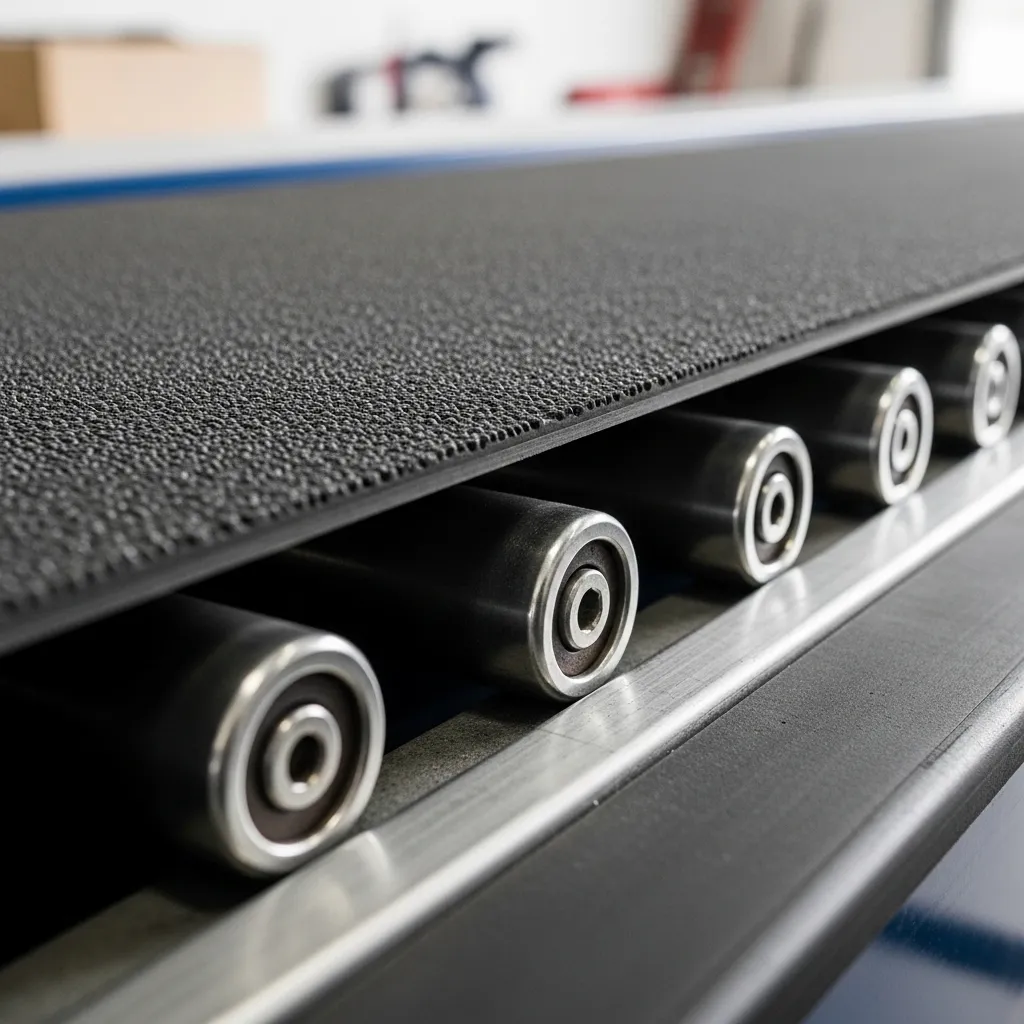
Next, attach your rubber conveyor belt material to the deck. I used strong adhesive and then bolted the ends securely underneath. The belt needs to be taut but with a little give. This creates the moving “ground” that will rotate around the deck.
Finally, apply non-slip traction tape in strips across the entire belt surface. This gives your pup’s paws the grip they need to feel confident and secure while walking or trotting.
Idea 4: Install the Motor & Drive System
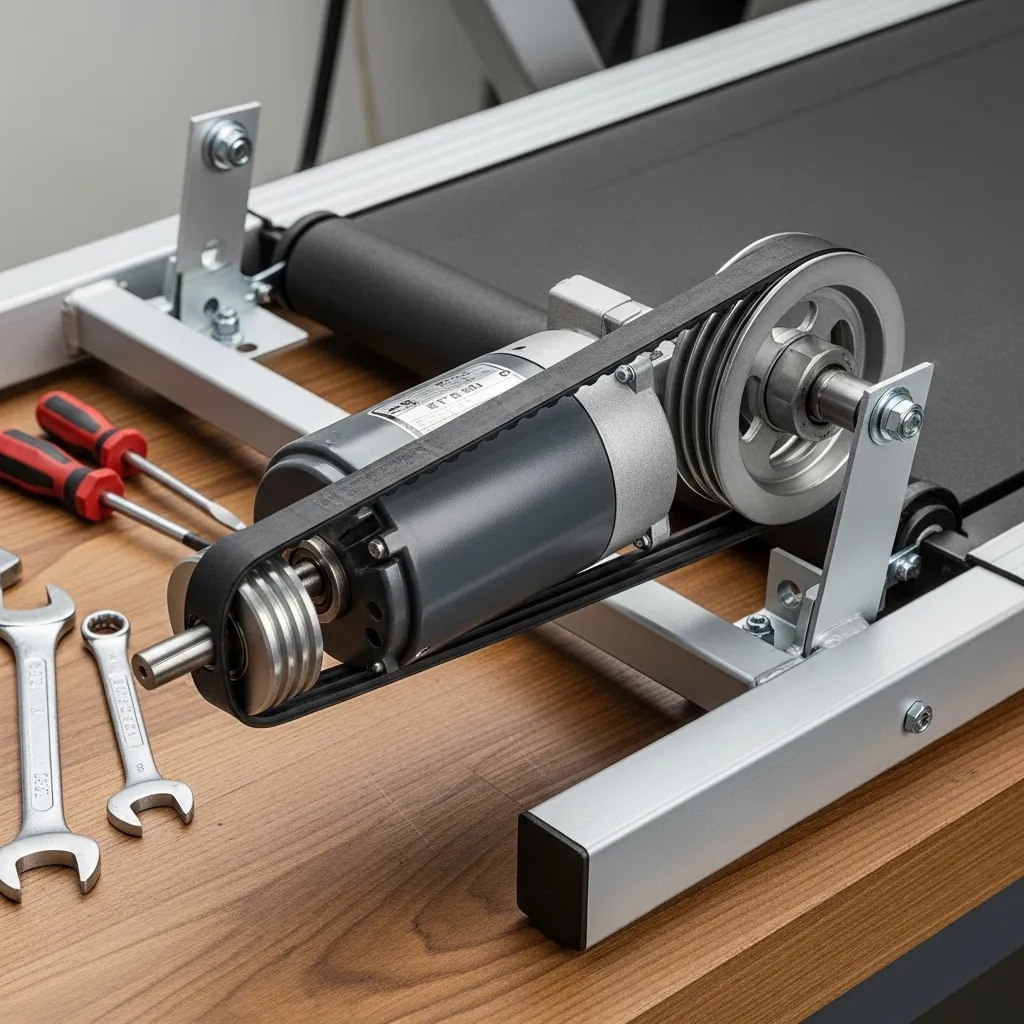
The motor is the heart of the treadmill. Mount it securely to the underside of the frame, near the front roller. You’ll connect it to the front roller (the drive roller) using a v-belt or a direct coupling, depending on your motor type.
This setup turns the roller, which then pulls the rubber belt around the deck. Choosing a variable-speed motor is crucial. You need very slow speeds for introduction and rehab, and faster trots for fitter dogs. Always follow the motor’s wiring diagram carefully.
Double-check all mounts and connections. A vibrating motor is a noisy, inefficient one. Secure everything tightly for a smooth, quiet operation.
Idea 5: Add the Essential Safety Features
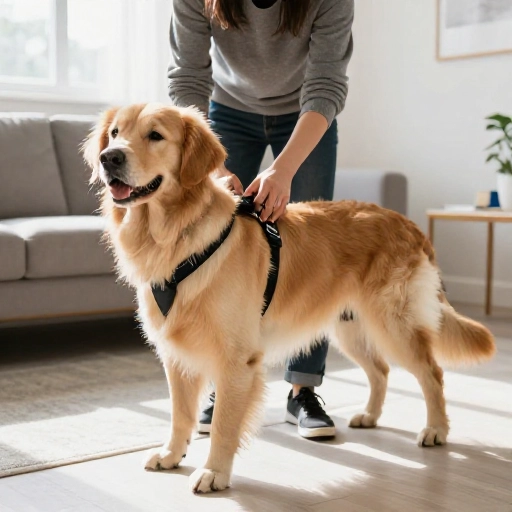
This step is non-negotiable. Your dog’s safety is the #1 priority. The first must-have is a safety key or clip that attaches to your dog’s harness. If they stray or stop, it pulls the key and cuts power immediately.
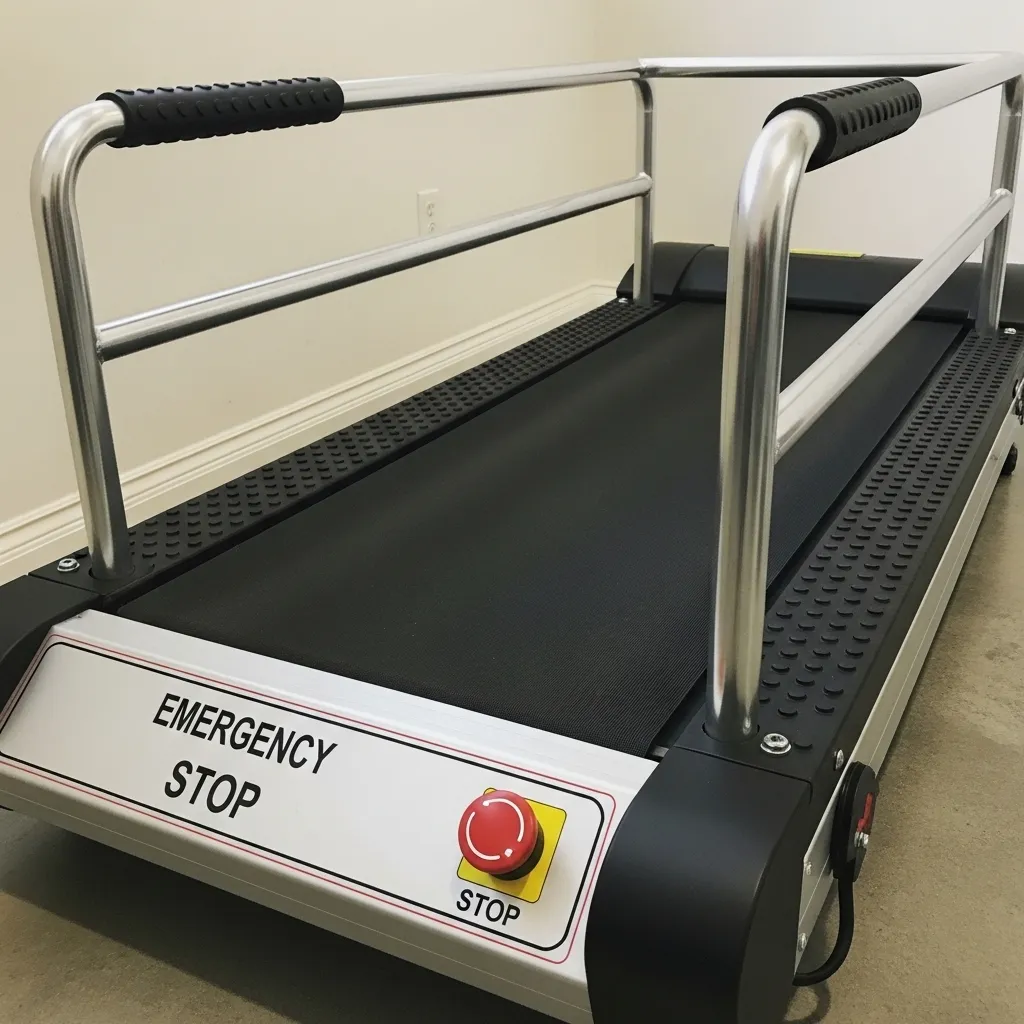
Install prominent, easy-to-reach emergency stop buttons on both sides of the treadmill. Also, build side rails or panels to prevent your dog from stepping off the side accidentally. I used clear acrylic so my dog wouldn’t feel boxed in.
These features aren’t just extras; they build your confidence as an owner, which your dog will sense, making the whole experience positive.
Idea 6: Wire the Control Panel Simply
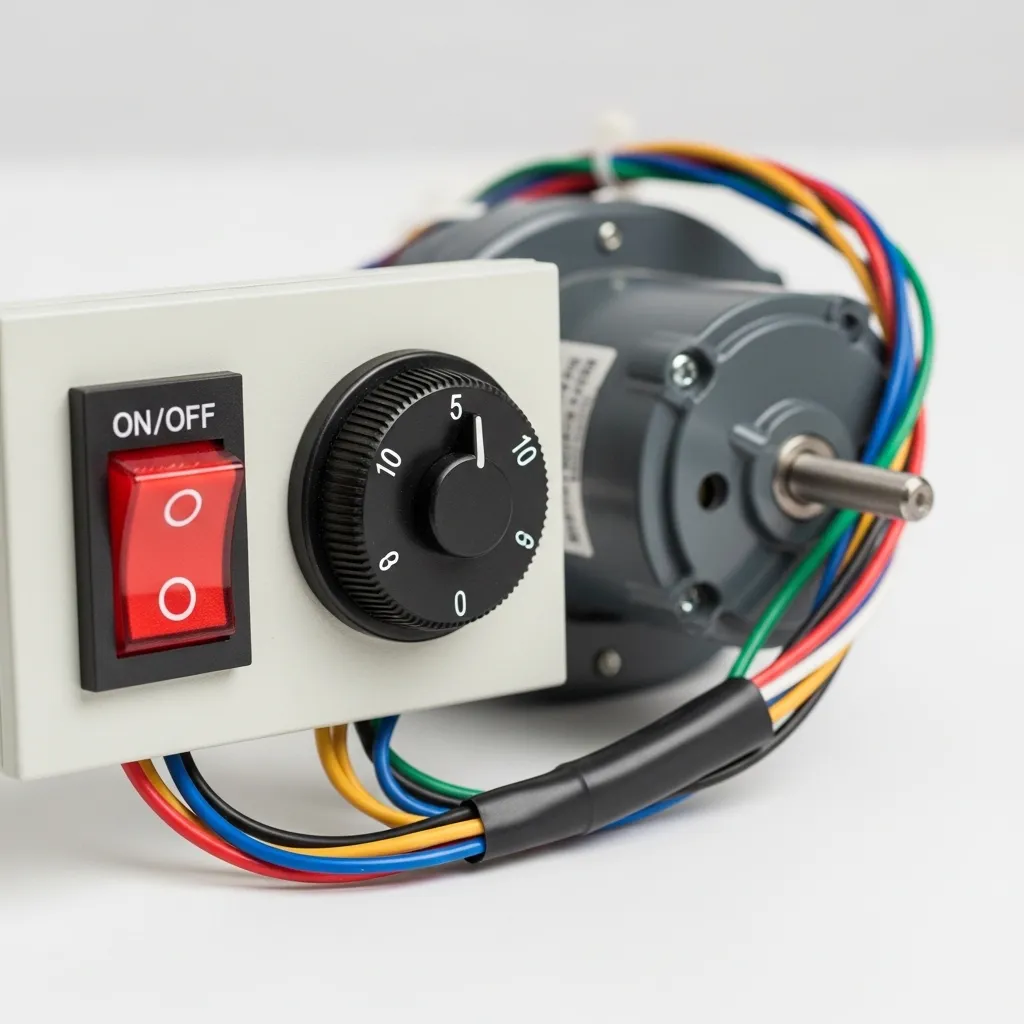
You don’t need a spaceship dashboard. A simple, user-friendly control panel is best. Mount a plastic electrical box on the front upright. Inside, place your variable speed controller (a simple dial is perfect), the main power switch, and the emergency stop circuit.
Run all wiring neatly through conduit or along the frame, securing it away from paws and moving parts. Label your switches clearly. The goal is to have total, intuitive control right at your fingertips during every session.
Take your time with the wiring. If you’re unsure, ask a knowledgeable friend for help. Safe, correct wiring is the foundation of a reliable machine.
Idea 7: Test the Mechanics Without Your Dog
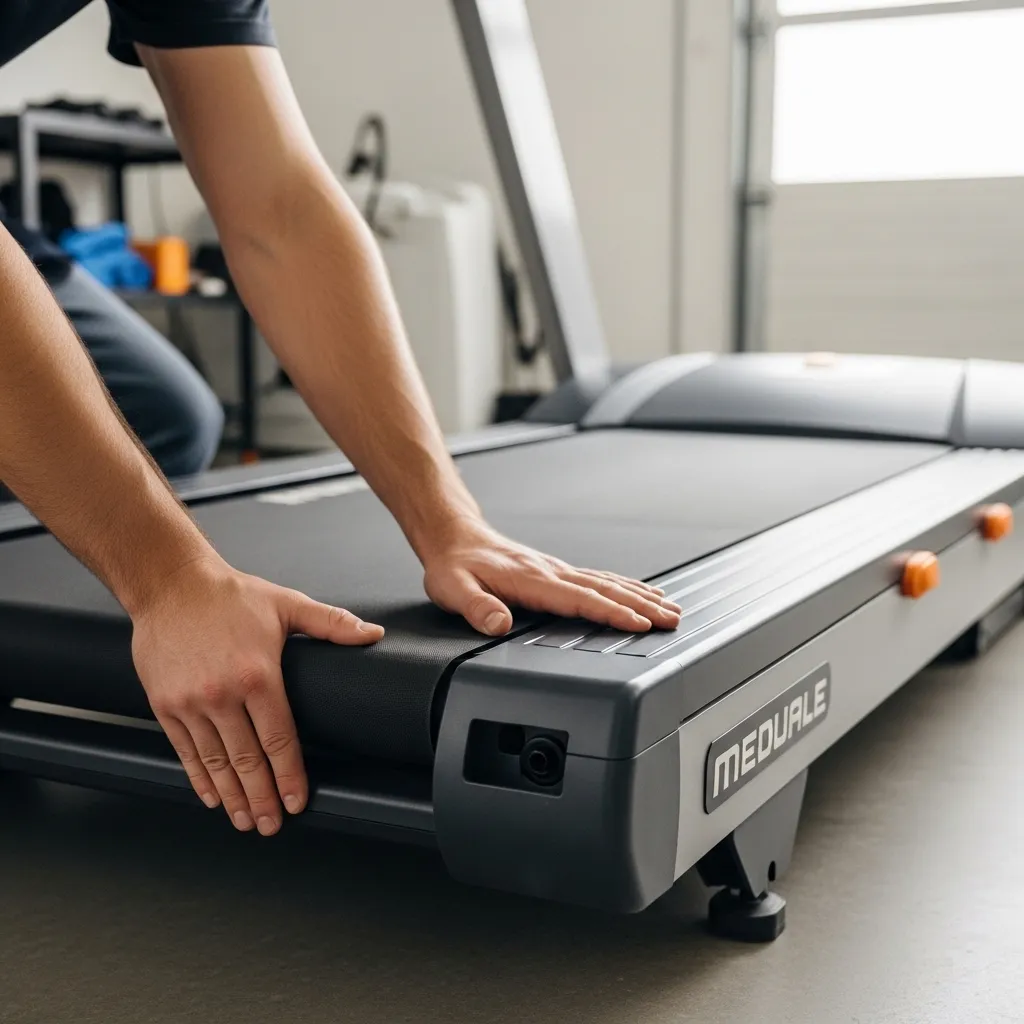
Before you even think of introducing your pup, test everything thoroughly. Turn it on at the slowest speed and watch the belt. Does it track evenly, or does it drift to one side? You can adjust the roller alignment if needed.
Listen for unusual noises—grinding, squeaking, or knocking. These often point to a loose part or needed lubrication. Run it through all speed settings to ensure smooth transitions.
Place a heavy weight (like a sack of dog food) on the belt to simulate load. Does the motor strain? Does the frame wobble? This is your chance to fix any issues in a zero-risk environment.
Idea 8: Introduce Your Dog with Patience & Treats
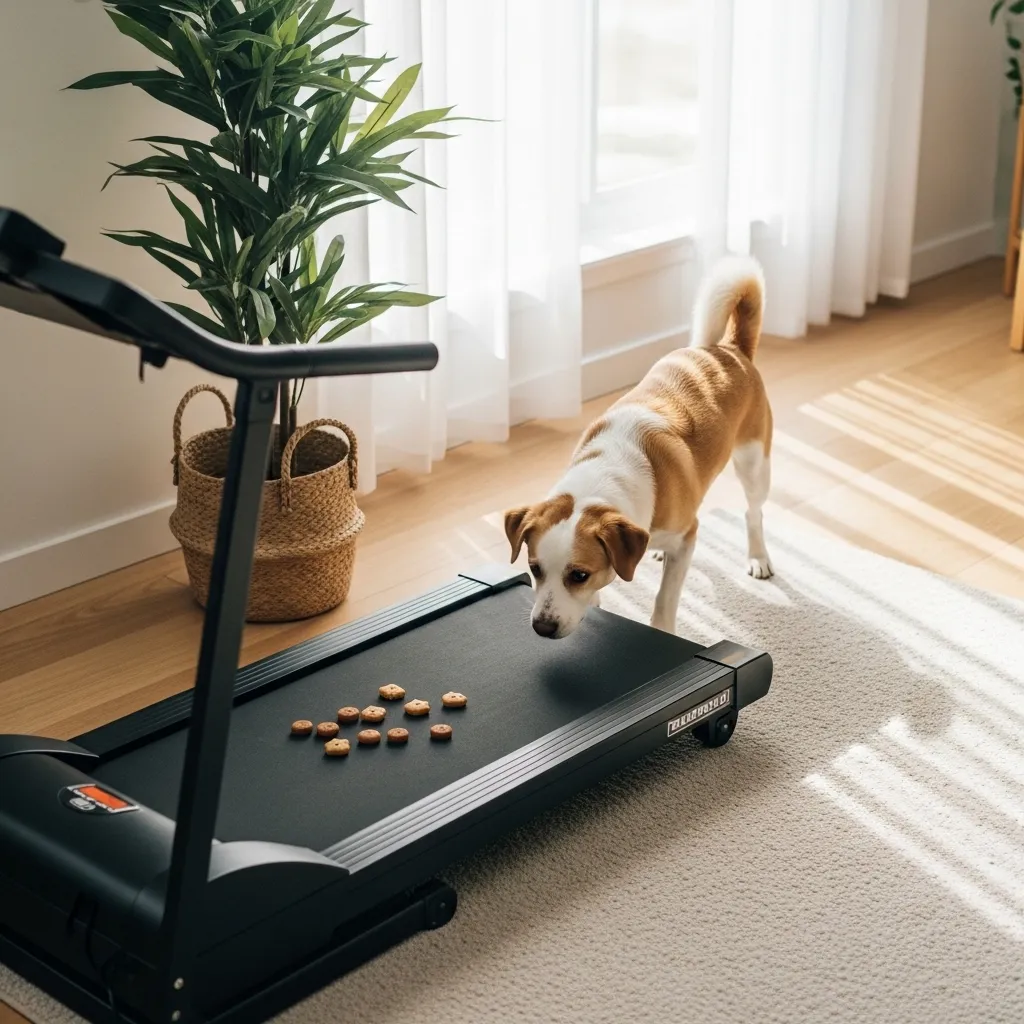
The first session is all about positive association. Keep the power OFF. Let your dog sniff and explore the strange new object. Lure them onto the stationary belt with their favorite treats and praise them lavishly.
After a few days of this, turn it on at the absolute slowest crawl. Lure them on with treats while they stand still, letting them feel the movement under their paws. Keep initial sessions to just 2-3 minutes. The goal is curiosity, not exercise.
Never force them. If they seem nervous, go back a step. This patience pays off with a dog who sees the treadmill as a fun, rewarding place to be.
Idea 9: Create a Positive Routine & Monitor
Consistency is your friend. Once your dog is comfortable walking, establish a short, daily routine. Always start and end with the belt at its slowest speed. I keep a jar of training treats right next to the controls.
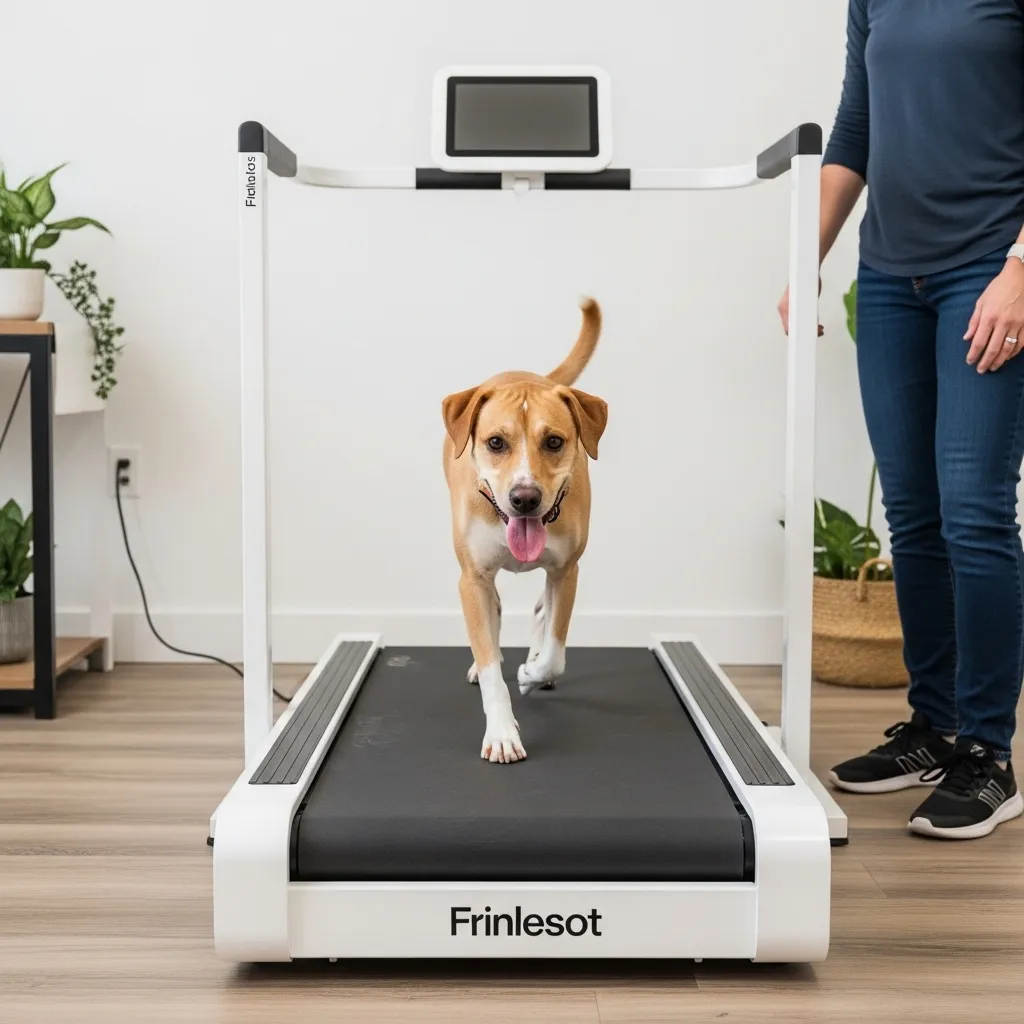
Always stay with your dog during their workout. Watch their body language. Are they panting happily, or are they stressed? Are they maintaining a natural gait? Keep sessions short (5-15 minutes is plenty for most dogs) and always end on a high note with praise.
This is your bonding time, too. Talk to them, encourage them, and make it a shared activity they look forward to.
Idea 10: Maintenance for Long-Term Safety
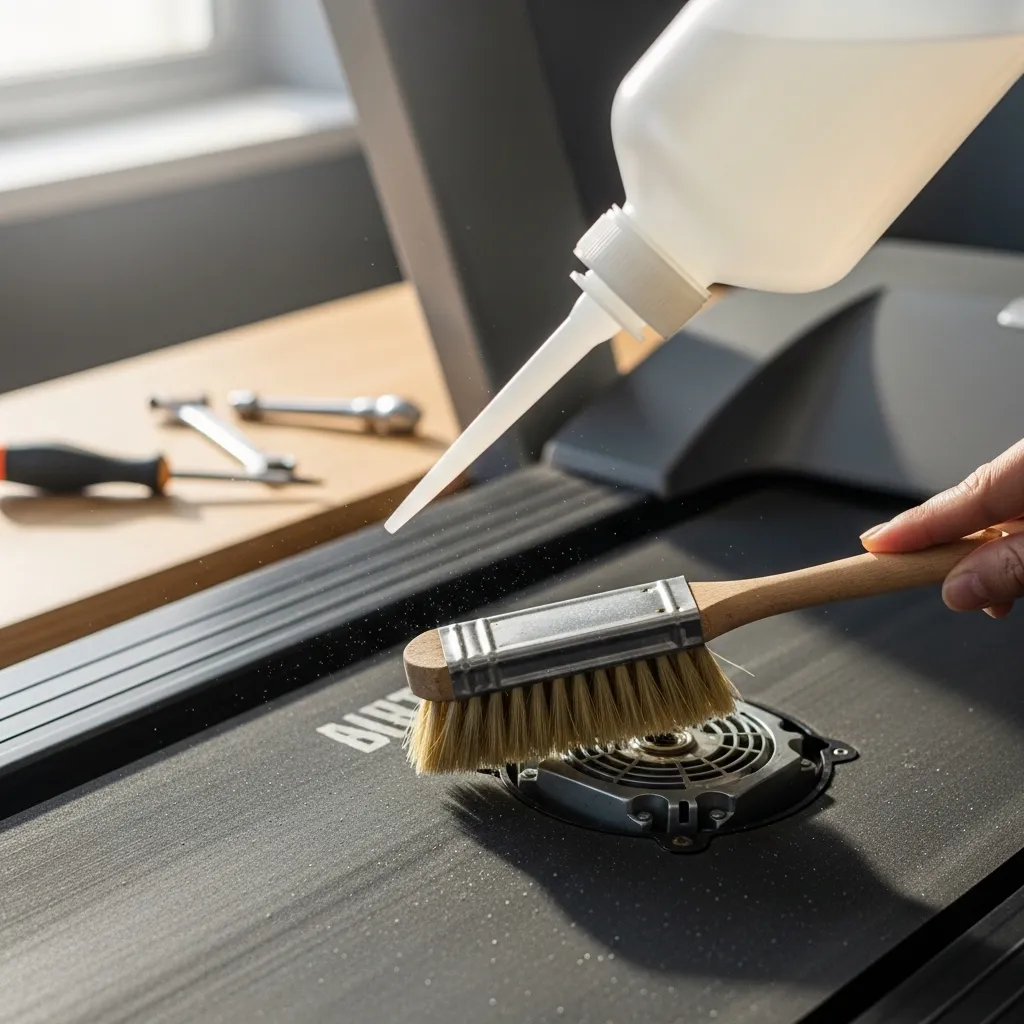
A little upkeep keeps your DIY treadmill running safely for years. After each use, wipe down the belt to remove dirt and hair. Every month, check and tighten any bolts or screws that may have vibrated loose.
Lubricate the roller bearings as recommended by the manufacturer. Inspect the belt for wear and tear, especially the traction surface. Check all electrical connections periodically for signs of heat or damage.
Think of it like maintaining your car. Regular, simple checks ensure every future run is as safe as the first one. It protects your investment and, most importantly, your pet.
Conclusion: Enjoy the Journey & the Results
Building this treadmill was one of the most satisfying projects I’ve done for my dog. Seeing him trot happily, getting his exercise regardless of a blizzard or a late work night, is priceless. It strengthened our bond and gave me peace of mind about his health.
You’re not just building a piece of equipment; you’re creating a tool for wellness, discipline, and joy. Start slow, celebrate each step, and soon you’ll have a fantastic, custom-made solution that keeps your best friend fit and happy for years to come. Happy building!
DIY Dog Treadmill FAQ
Q: Is a DIY treadmill safe for my dog?
A: Yes, when built and used correctly. The safety features—like the emergency stop key, side rails, and your constant supervision—are what make it safe. Never leave your dog unattended on it.
Q: How much does it cost to build one?
A> It varies, but a basic, sturdy model typically costs between $200-$500 for materials, much less than a commercial pet treadmill. Sourcing parts wisely can save you more.
Q: What size motor do I need?
A> It depends on your dog’s weight. For most medium to large dogs (up to 80 lbs), a ¾ to 1 HP variable-speed motor is sufficient. For smaller dogs, you can use a less powerful one.
Q: How do I teach my scared dog to use it?
A> Go back to basics. Power off. Use incredibly high-value treats (like chicken or cheese) to create positive associations. Progress in tiny, incremental steps over days or weeks. Patience is everything.
Q: Can I use it for a dog recovering from injury?
A> Absolutely, but only under direct guidance from your veterinarian or canine physiotherapist. They can advise on correct speed, duration, and incline for safe, therapeutic rehabilitation.