Easy Dog Treats You Can Bake at Home (Your Pup Will Love!)
I love spoiling my dog, but store-bought treats can be full of mystery ingredients and get expensive. That’s why I started baking my own. It’s easier than you think, and seeing their tail wag for something you made is the best feeling.
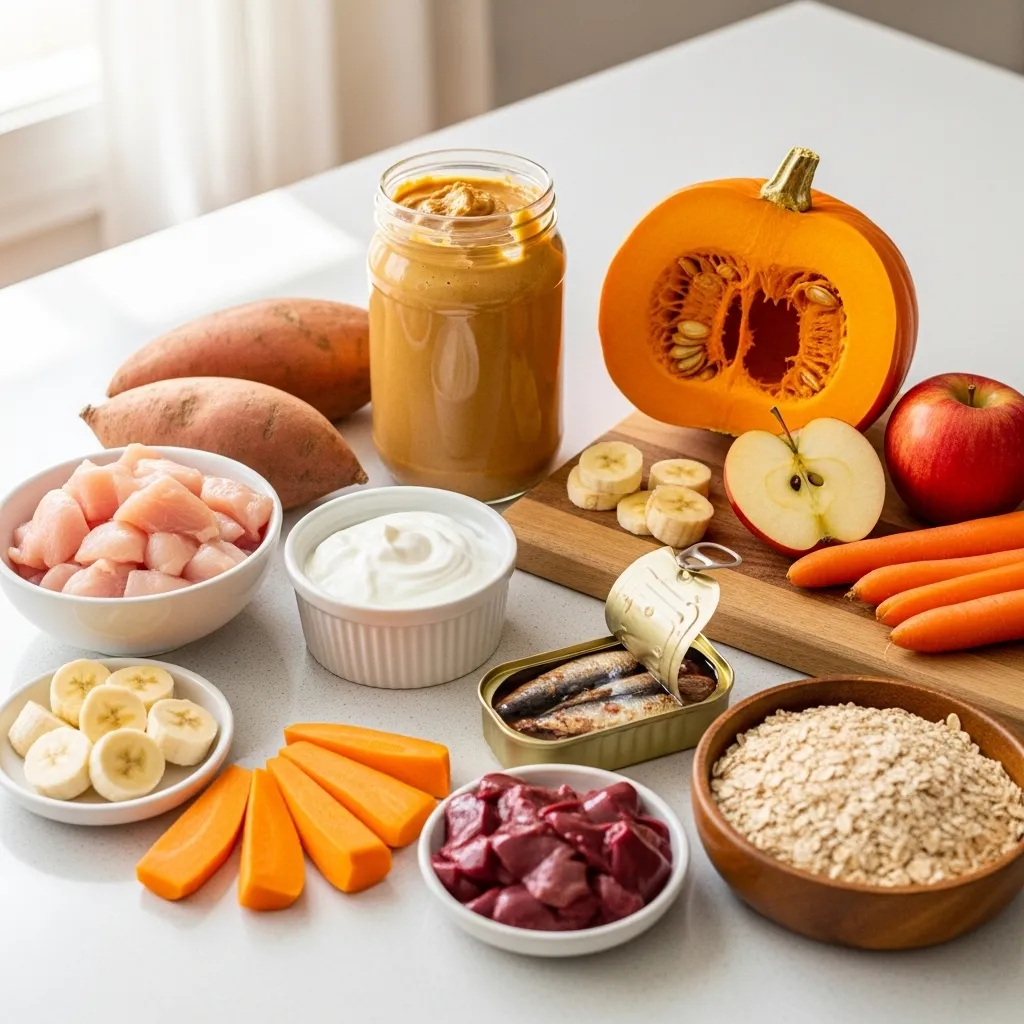
Baking at home lets you control exactly what goes into your best friend’s snacks. You can use simple, wholesome ingredients you probably already have in your pantry. Plus, it’s a fun little project that makes your house smell amazing!
Ready to get started? Here are my favorite easy recipes and ideas. Remember, every dog is different, so always check with your vet about ingredients, especially for pups with allergies.
1. The Classic Peanut Butter Biscuit
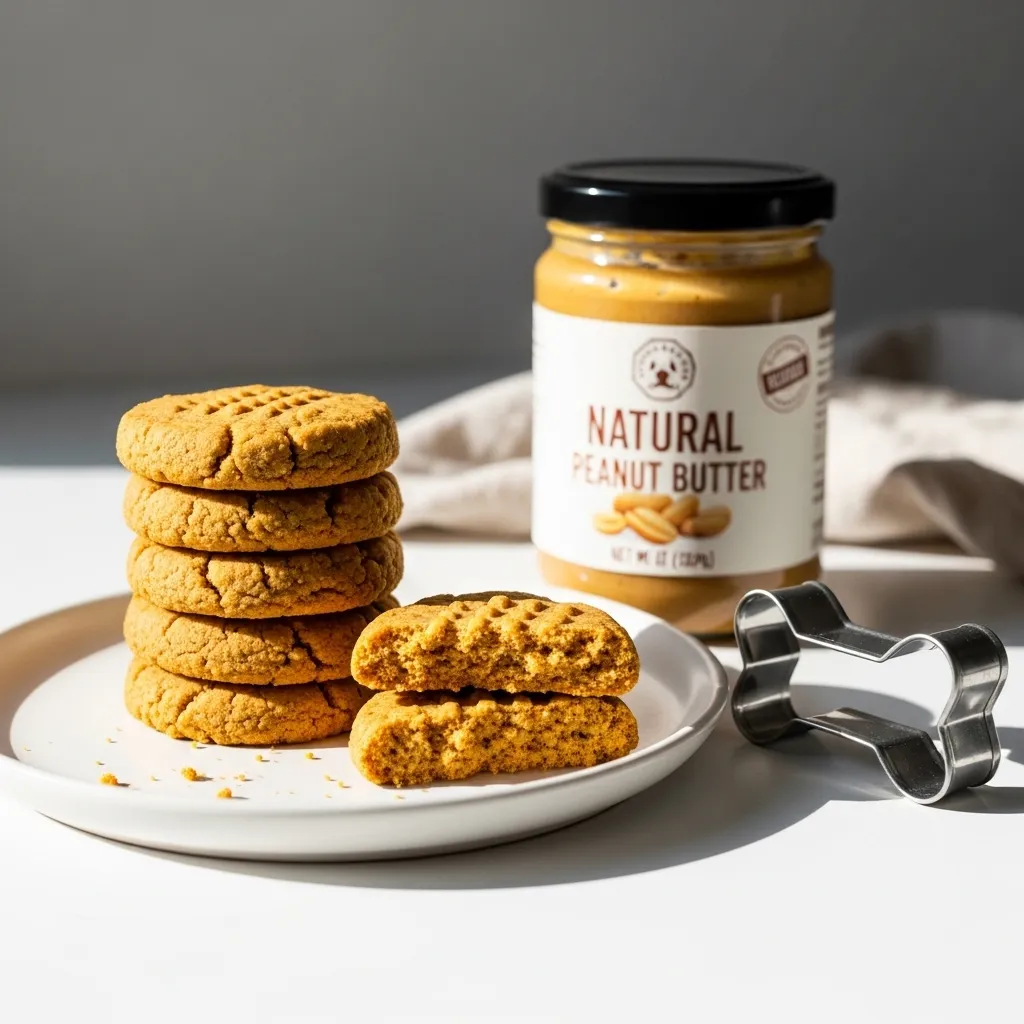
You can’t go wrong with this crowd-pleaser. It’s the perfect first recipe to try because it’s so simple and dogs go crazy for it. I use natural, unsweetened peanut butter (always check that it doesn’t contain xylitol, which is toxic to dogs).
My basic mix is just whole wheat flour, an egg, and a big spoonful of that peanut butter. Mix it into a dough, roll it out, and cut into fun shapes with cookie cutters. Bake until they’re golden and crispy. They keep for weeks in an airtight container!
2. Sweet Potato Chews (Only 1 Ingredient!)
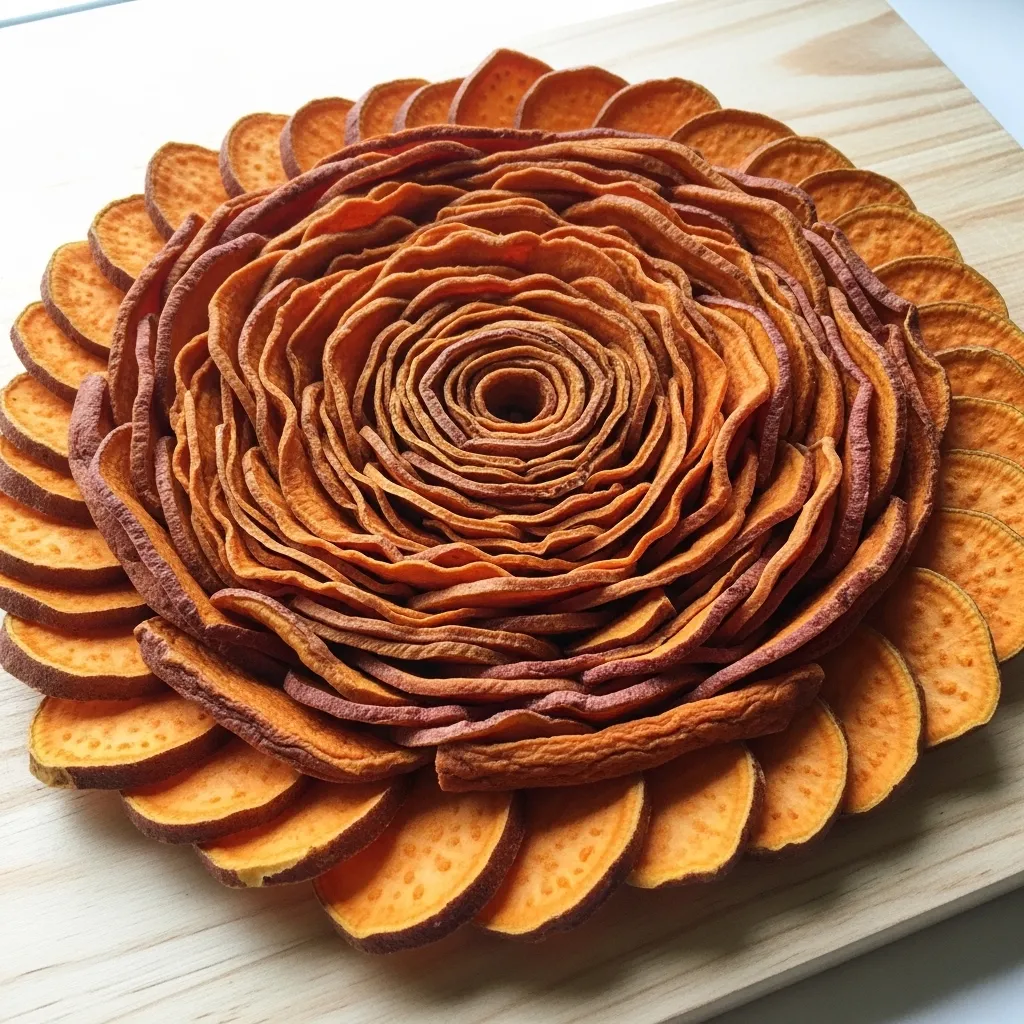
For a chewy, nutritious treat, this is my go-to. It literally requires just one thing: a sweet potato. They’re packed with fiber and vitamins, and most dogs find them irresistible.
Simply slice a washed sweet potato into long, thin strips (no need to peel). Lay them on a baking sheet and bake at a low temperature for a few hours until they are dried out and chewy. It’s like making healthy, homemade jerky for your pup.
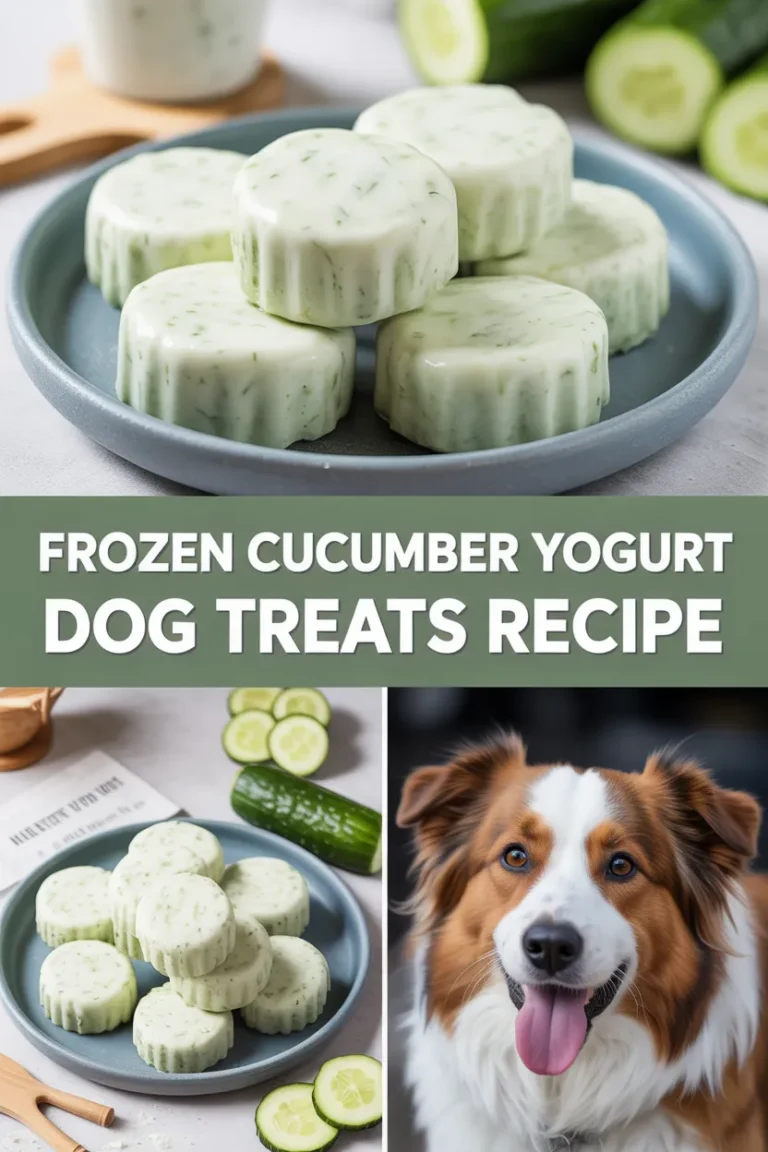
3. Frozen Yogurt & Berry Bites
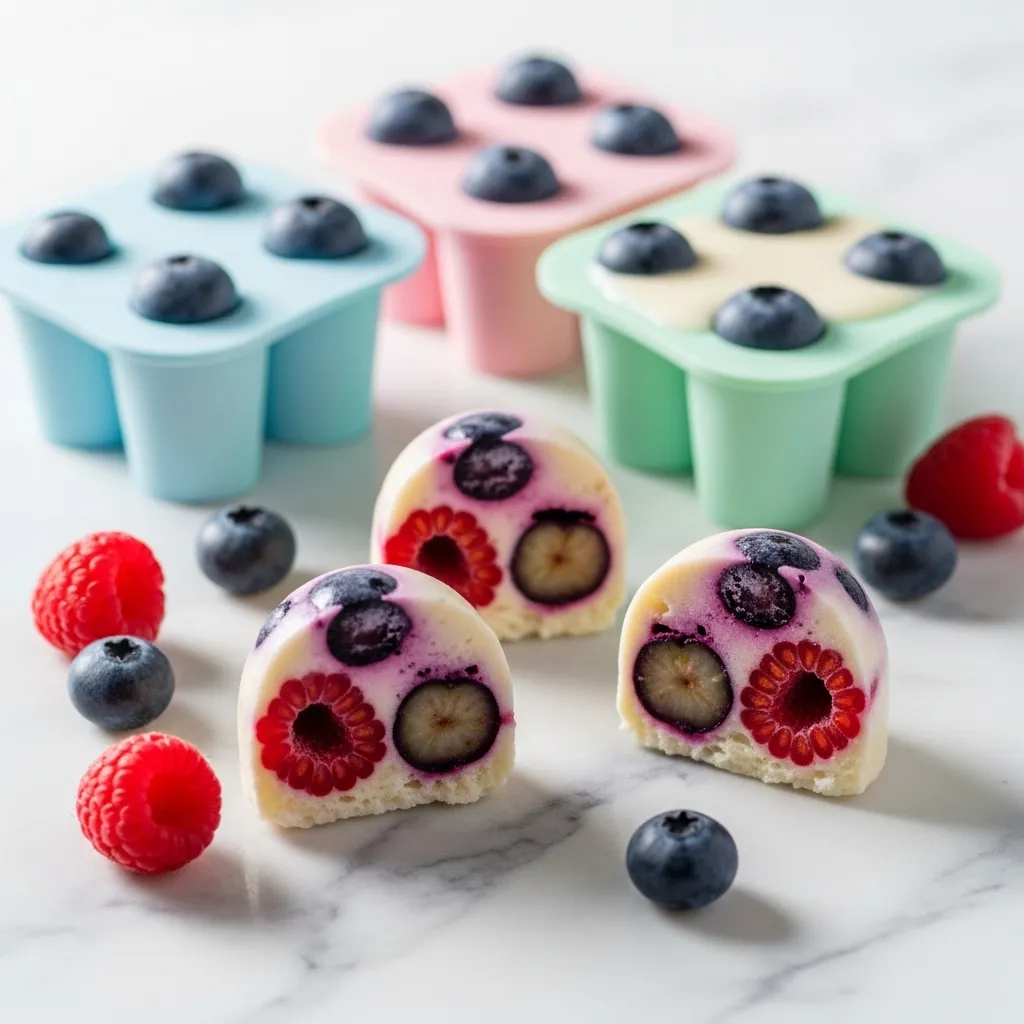
These are perfect for a hot day or for soothing a teething puppy. I use plain, unsweetened yogurt (Greek yogurt works great) and mash in some dog-safe berries like blueberries or strawberries.
You can get creative with molds! I pour the mixture into an ice cube tray, a silicone mold, or even just drop little blobs onto a parchment-lined tray. Freeze until solid. It’s a refreshing and probiotic-rich snack.
4. Simple Chicken & Oatmeal Cookies
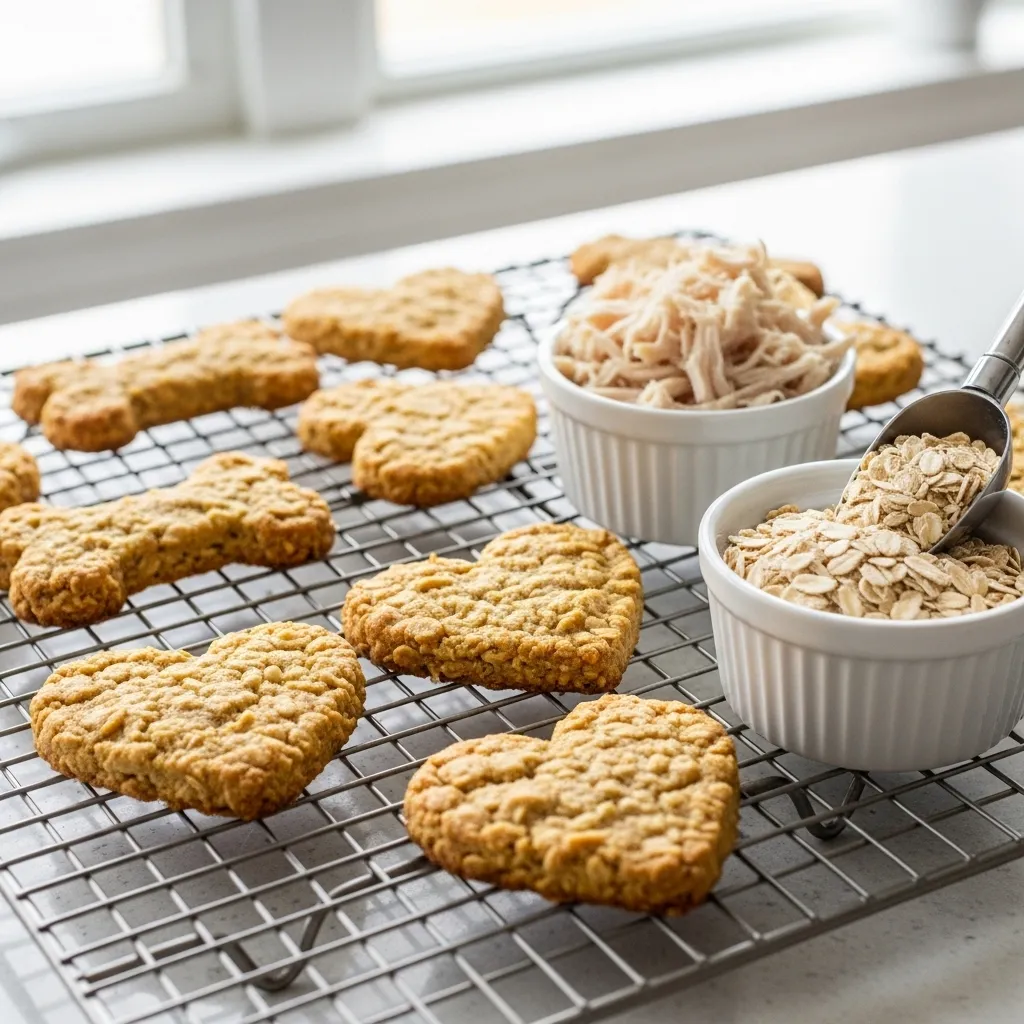
If your dog has a sensitive stomach, this gentle recipe is a winner. Oatmeal is easy to digest, and the shredded chicken adds a protein boost and amazing flavor.
I blend cooked, unseasoned chicken with rolled oats and a bit of low-sodium chicken broth to form a dough. Drop small spoonfuls onto a baking sheet and bake. These are softer treats that are great for senior dogs.
5. Pumpkin Spice (No Spice!) Dog Muffins
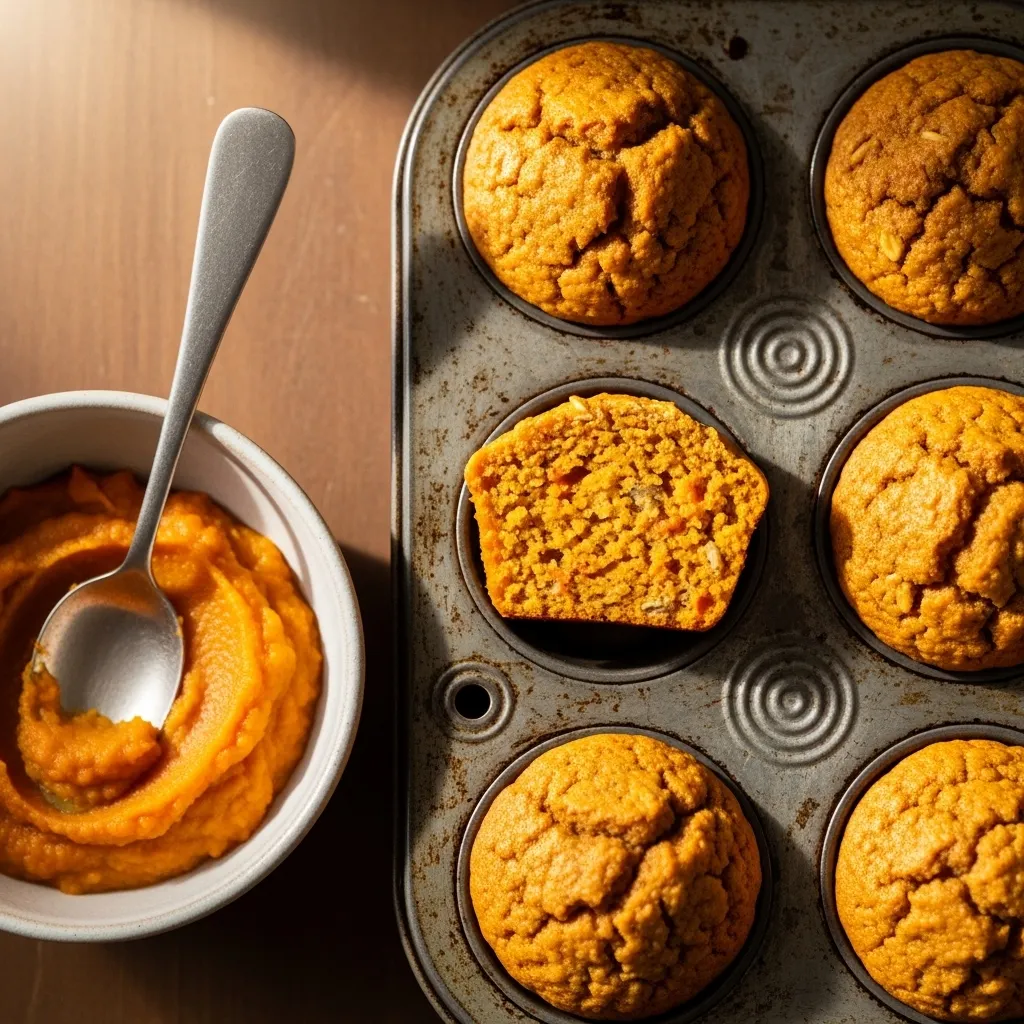
Pure pumpkin puree (not pie filling) is a superstar ingredient. It’s great for digestion. I mix it with eggs and oat flour to create a simple muffin batter that’s moist and delicious.
Pour the batter into a greased mini-muffin tin and bake. I love making a batch of these and storing them in the freezer, pulling out one at a time for a special reward.
6. Apple Cinnamon “Donut” Holes
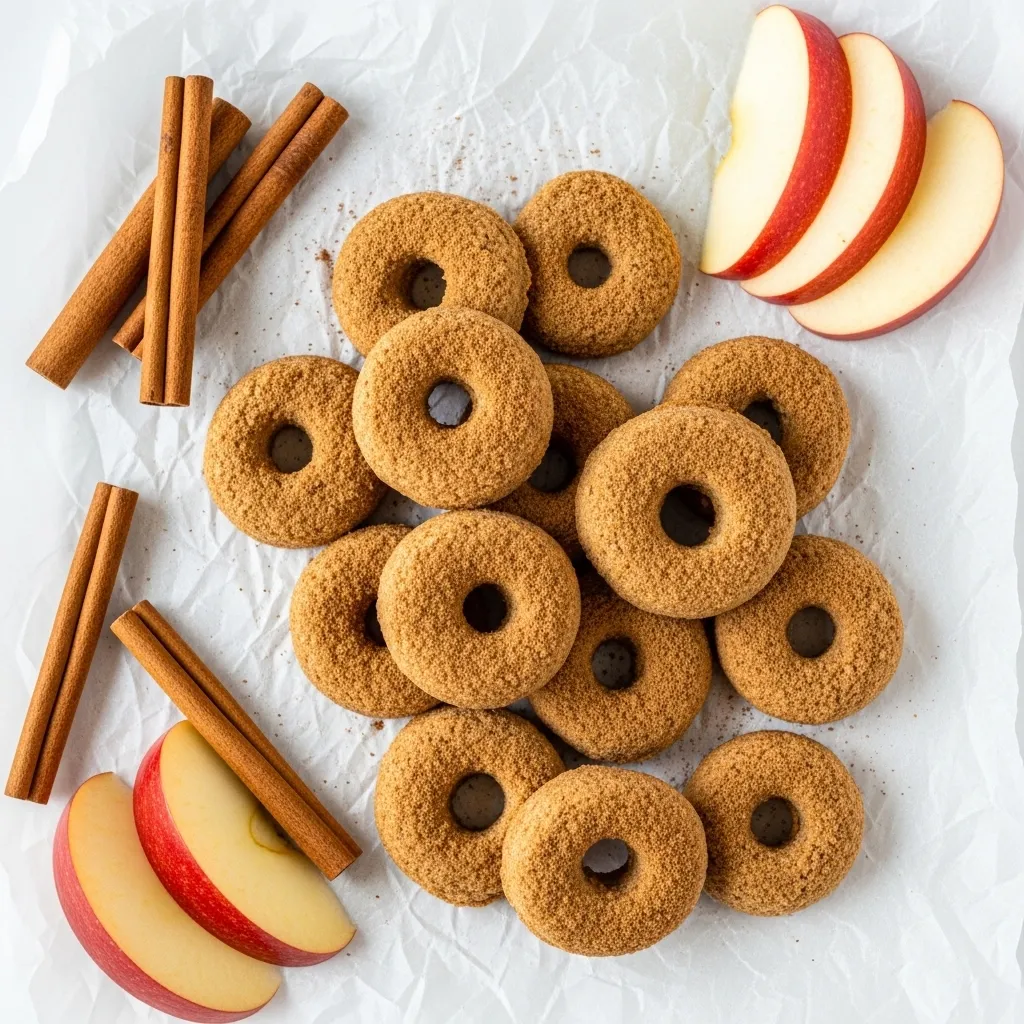
Apples are a great source of vitamins, and dogs love the slight sweetness. I grate an apple (remove the core and seeds) and mix it with flour, an egg, and just a tiny pinch of cinnamon for aroma.
Roll the dough into little balls and bake. They puff up into perfect, bite-sized “donut” holes. The smell of apples and cinnamon while they bake is absolutely heavenly.
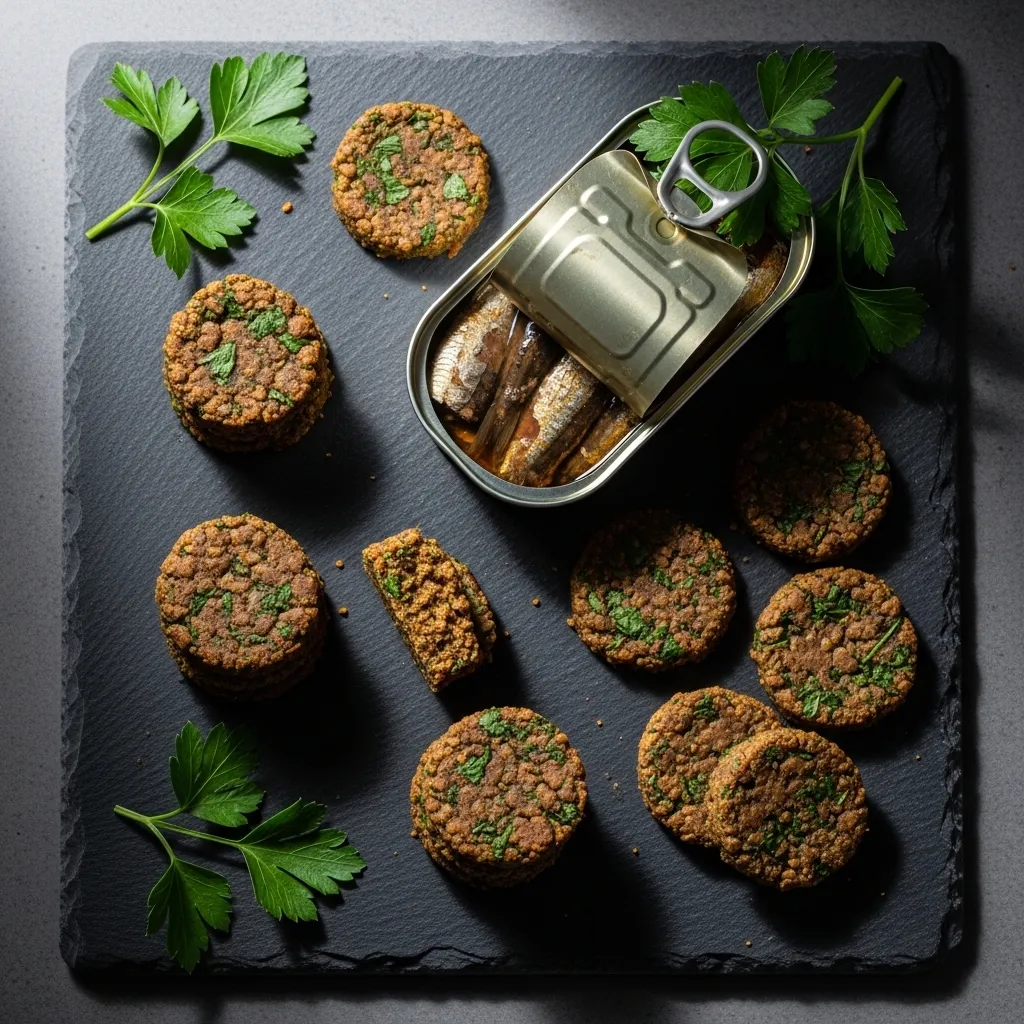
7. Sardine & Parsley Breath Busters
This one sounds surprising, but fish like sardines are loaded with omega-3s for a shiny coat. Parsley can help freshen breath! I mash a can of sardines in water (no salt added) with some chopped fresh parsley and whole wheat flour.
The dough is a bit sticky, but it bakes into crunchy, fish-flavored treats that are incredibly healthy. Just be prepared for some serious doggy devotion after these.
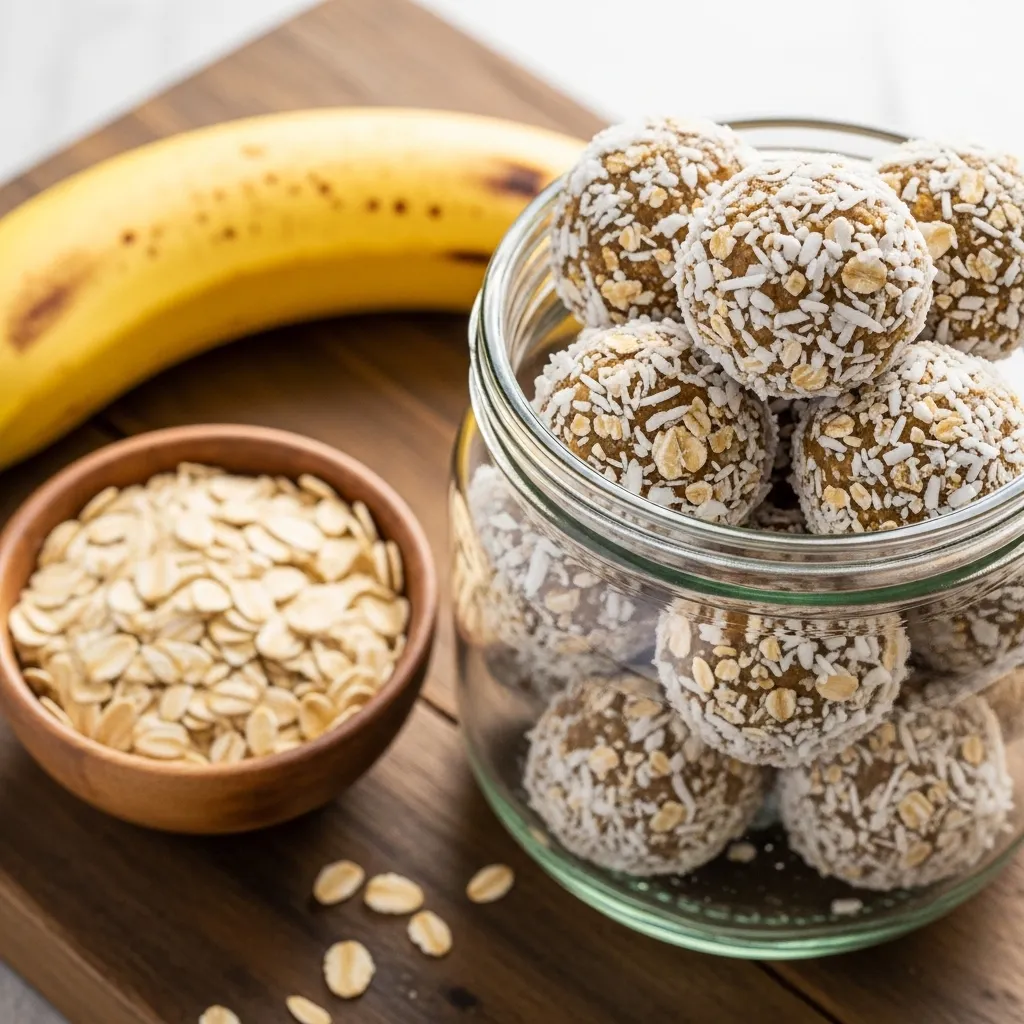
8. Banana & Oat No-Bake Balls
For days when you don’t want to turn on the oven, these are perfect. Mash a ripe banana with rolled oats and a scoop of peanut butter until it forms a sticky mixture.
Roll into small balls and pop them in the fridge to set. They’re soft, chewy, and ready in minutes. I keep them in the fridge for up to a week.
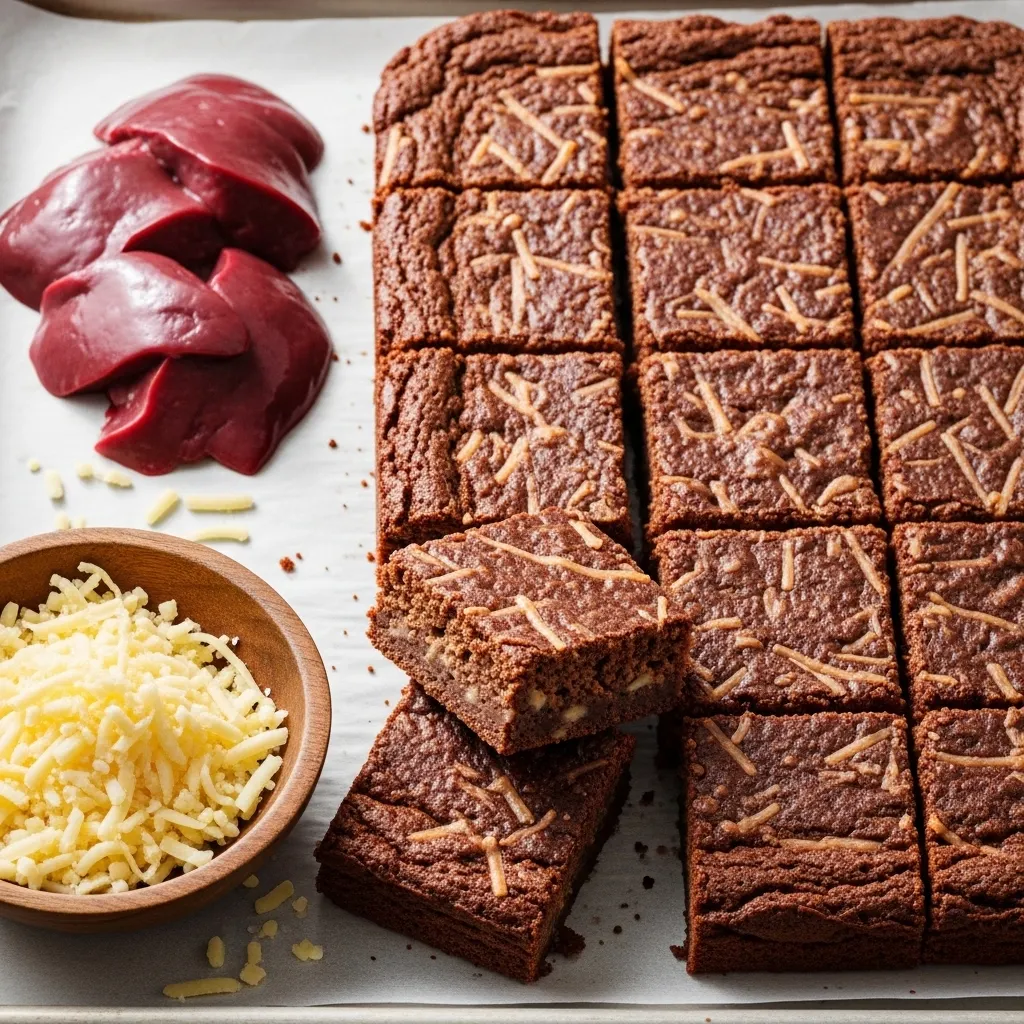
9. Cheesy Liver Brownies (The Ultimate High-Value Treat)
For training or an extra-special reward, these are irresistible. I puree cooked liver (chicken or beef) with grated cheddar cheese, an egg, and a bit of flour.
Spread the mixture in a small pan and bake until firm. Cut into tiny squares. The smell is strong, but the effectiveness for recall training is unmatched!
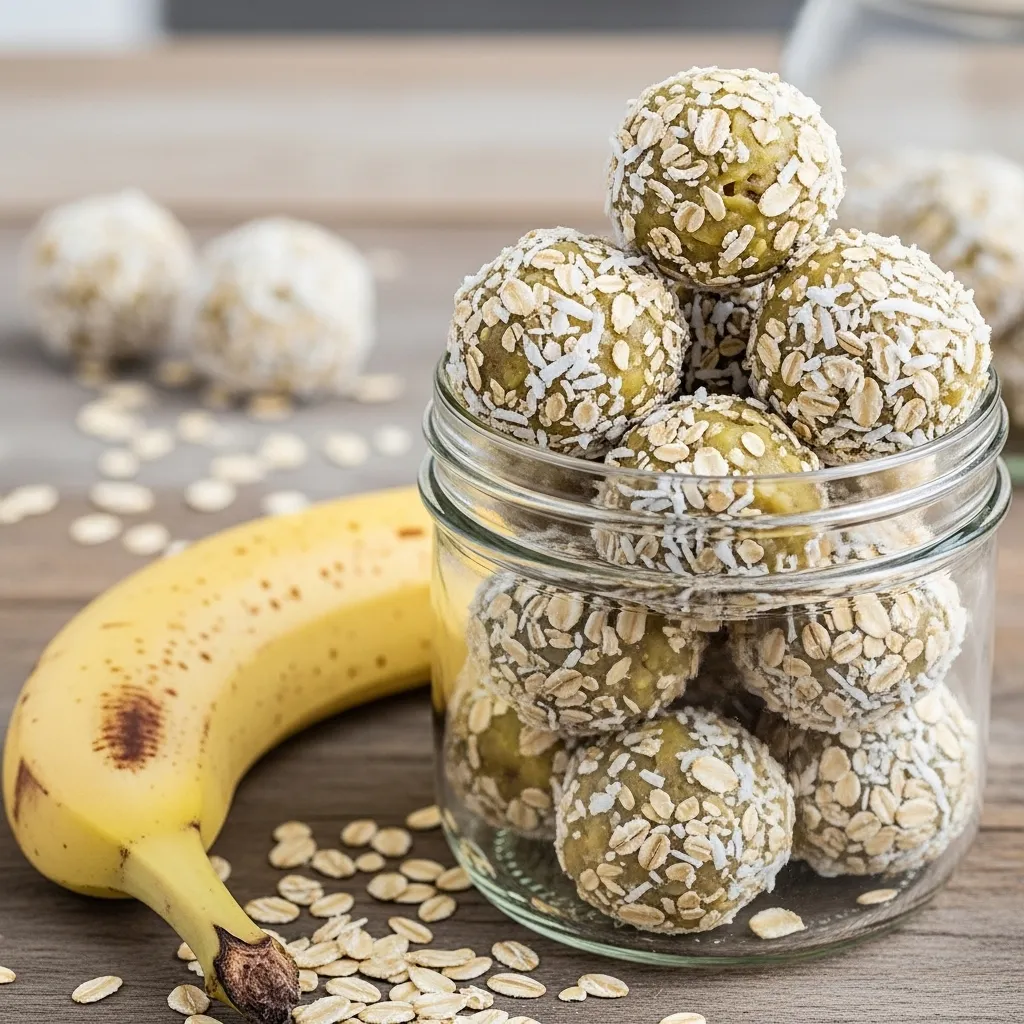
10. Carrot & Apple Pup-sicles
Another fantastic frozen treat. I blend shredded carrot and apple with low-sodium chicken or bone broth, then pour the mixture into molds.
Insert a dog-safe chew stick or a piece of carrot as a “handle” before freezing. It provides mental stimulation and a long-lasting, hydrating snack on a warm afternoon.
Happy Baking for Your Happy Pup!
Baking for your dog is such a rewarding way to show them love. Start with simple recipes, have fun with shapes and flavors your dog prefers, and always prioritize safe ingredients. Watching your furry friend enjoy your homemade creations is the sweetest reward of all. Share your baking adventures and tag your photos with #HomemadeDogTreats!
FAQs About Baking Dog Treats
Q: What ingredients should I always avoid?
A: Never use xylitol (an artificial sweetener), chocolate, grapes/raisins, onions, garlic, or macadamia nuts. They are toxic to dogs.
Q: How long do homemade dog treats last?
A: Baked, dry biscuits can last 2-3 weeks in an airtight container. Treats with meat, cheese, or that are moist should be refrigerated and used within a week, or frozen for longer storage.
Q: Can I use regular flour?
A: Yes, all-purpose flour is fine. Many recipes also work well with whole wheat, oat, or coconut flour for extra fiber.
Q: My dough is too sticky/crumbly. What do I do?
A: Dog treat dough should be like a stiff playdough. If it’s sticky, add a little more flour. If it’s crumbly, add water or a touch more wet ingredient (like pumpkin or peanut butter) one teaspoon at a time.
Q: How do I know when the treats are done baking?
A: They should be firm to the touch and lightly browned on the bottom. Let them cool completely on the baking sheet; they will continue to harden as they cool.