10 Dog Grooming Styles You Can Totally Pull Off At Home (With Step-by-Step Tips!)
Let’s be real—professional groomers are amazing, but the salon bill can add up fast. Plus, some pups get seriously stressed by the car ride and the waiting cage. That’s why learning a few DIY grooming tricks is a total game-changer. It saves you money, builds trust with your dog, and honestly, it’s kind of fun once you get the hang of it.
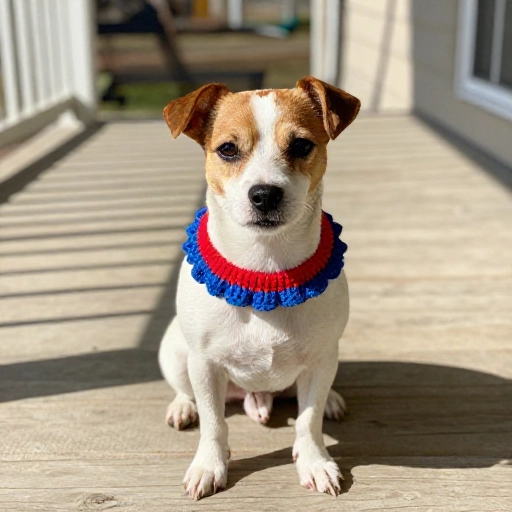
I remember the first time I tried to trim my scruffy terrier’s beard. Let’s just say it looked… interesting for a week. But after some practice (and a few treats), I figured out the simple patterns that make a dog look professionally groomed without the fancy equipment. Whether your pup has a fluffy coat, a sleek coat, or a wiry one, these ten styles are beginner-friendly and totally doable in your bathroom or backyard.
1. The Classic Round Head (For Fluffy Breeds)
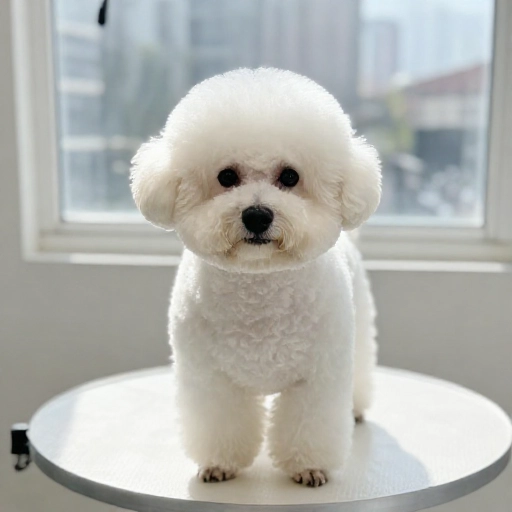
This is the go-to look for Poodles, Doodles, and Bichons. It’s that cute, cloud-like pom-pom on top of their head. The secret isn’t perfection—it’s blending. You want to avoid the dreaded “bobblehead” look where the head is a perfect ball but the neck is shaved.
Start with your dog’s head completely dry and brushed out. Use curved shears to scissor around the eyes first, then work your way outward. Keep the scissors pointing away from the skin and make tiny, snip-snip motions. Imagine you are sculpting a sphere around their head, leaving the hair longer at the top and blending down to the ears.
Pro tip: Use a comb to lift the hair up. If the hair falls back down past the brow bone, trim it. If it stays up, leave it. This gives you a natural, rounded shape without looking too severe.
2. The Teddy Bear Cut (For Soft-Coated Dogs)
Everyone loves the teddy bear face—it’s basically a round face with slightly longer hair on the muzzle and cheeks. It makes your dog look like a permanent puppy. This style works wonders on Shih Tzus, Lhasa Apsos, and Cockapoos.
The trick is to leave the hair on the cheeks longer than the hair on the top of the head. Use a snap-on comb attachment on your clippers (like a #2 or #3) for the body, but switch to scissors for the face. This contrast is what creates that plush, stuffed-animal illusion.
Don’t forget the whiskers! While you can trim them, leaving them a bit longer actually emphasizes the roundness. Just make sure to trim the hair between the eyes so they can see clearly.
3. The Short Summer Trim (For Active Dogs)
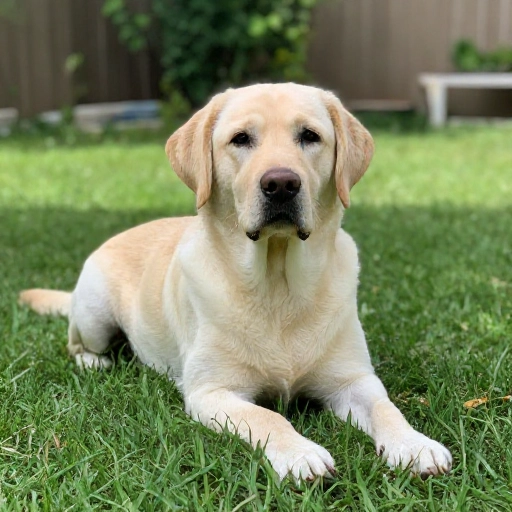
When the temperature spikes, a full coat can feel like wearing a winter jacket in July. The “Summer Trim” isn’t a shave down; it’s a neat, even clip that keeps them cool while protecting their skin from the sun. It’s perfect for Golden Retrievers, Labs, and Huskies (yes, Huskies too!).
Use a #4 or #5 blade attachment to go *with* the direction of the hair growth. This leaves about a quarter-inch of hair, which is enough to prevent sunburn but short enough to keep them breezy. Never use a #10 blade on a double-coated dog—that’s too close and can ruin their coat regrowth.
Pay special attention to the belly and the armpits, where the hair is thinner. Use a gentle touch there. And always, always check the blade temperature—if it gets hot, it will burn their skin.
4. The Poodle Puff (Feet and Ankles)
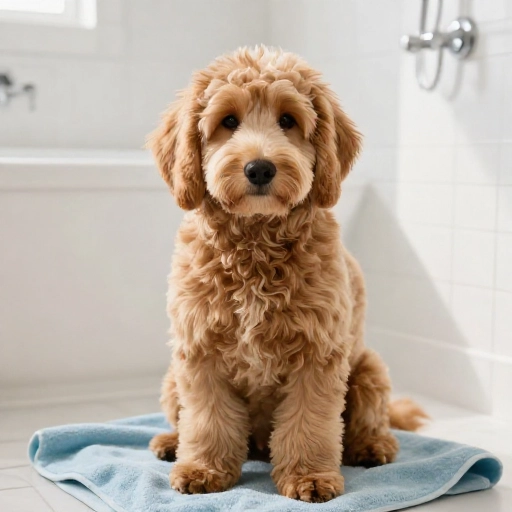
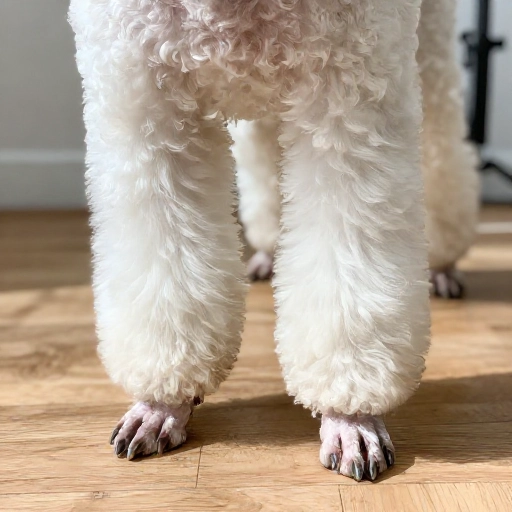
If you have a Poodle or a Doodle, you know their feet get super hairy and pick up every piece of dirt outside. The “Poodle Puff” is a practical, cute style where the feet are shaved clean, but a little puff of hair is left at the ankles. It looks like they’re wearing little boots!
First, spread the toes apart and use small clippers to shave the hair from the bottom of the paw and between the toes. Go slow—the skin here is delicate. Then, use a straight comb to pull the hair up on the ankle, and trim it straight across to create a neat “cuff.”
Make sure the paw pads are completely clean. This not only looks cute but prevents mats from forming between the toes, which can be painful and trap bacteria.
5. The Terrier Trim (Wiry Coats)
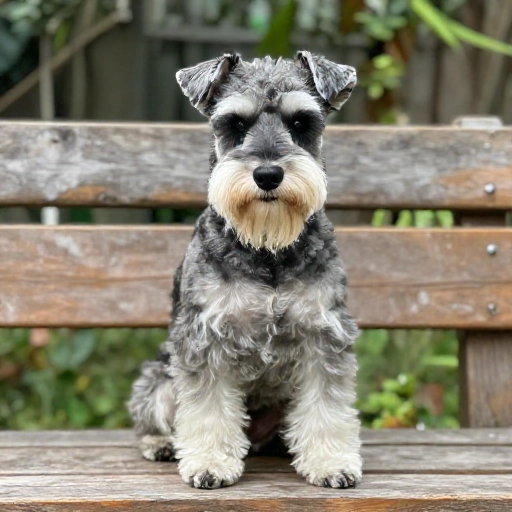
Terriers like Schnauzers and Scotties have harsh, wiry coats that don’t shed like normal fur. The classic terrier look involves a clean back and legs with a longer, harsh beard and eyebrows. You don’t need to hand-strip (that’s a lot of work) to get this look at home.
Use a clipper with a #7 or #5 blade on the back and sides, going against the grain for a tight finish. Leave the legs and the face for scissor work. For the beard, let it grow long and just shape the bottom with straight shears.
The eyebrows are key. Let them grow long, then trim them in a V-shape pointing down towards the nose. This gives them that alert, “grumpy but adorable” terrier expression.
6. The Lion Cut (For Cats—and Some Small Dogs)
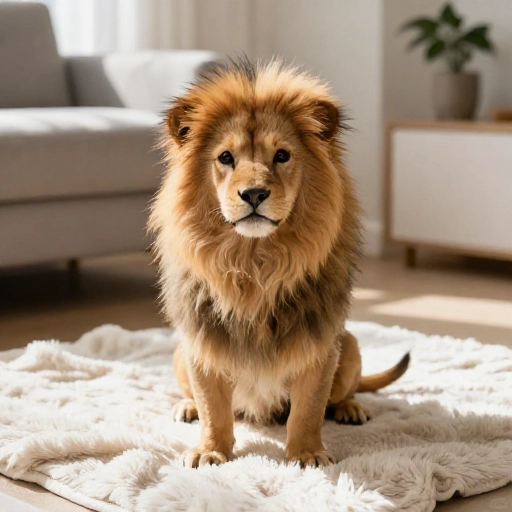
Okay, this one is technically for cats, but it looks amazing on small, fine-coated dogs like Maltese or Yorkies. It’s a bold look where the back half of the body is shaved short, and the front half (head, chest, and front legs) is left fluffy. It’s dramatic and very practical.
Start by brushing out the entire coat. Then, using a #7 blade, start at the ribcage and shave backwards towards the tail. Leave the hair on the chest and the front legs intact. The transition line should be a smooth curve, not a straight line.
Don’t forget to leave the tail puff! A little fluffy tip on the tail completes the “lion” illusion. This style is a lifesaver for dogs that get terrible matting on their hindquarters.
7. The Clean Face (For Flat-Faced Breeds)
For Pugs, Frenchies, and Boston Terriers, grooming is less about style and more about hygiene. The “Clean Face” focuses on the wrinkles and the muzzle area. This isn’t about cutting hair; it’s about keeping those deep folds clean and dry to prevent skin infections.
Use a damp, soft cloth to gently wipe between the wrinkles, then dry them thoroughly with a cotton pad. For the hair on the muzzle, keep it very short with a #10 blade (carefully) or just trim the long stragglers with blunt scissors.
Always trim the hair inside the ears that might poke out. This helps air circulate and keeps the ears cleaner. This style is more about maintenance than aesthetics, but a clean face is always a handsome face.

8. The Sporty Tidy-Up (For Short-Haired Dogs)
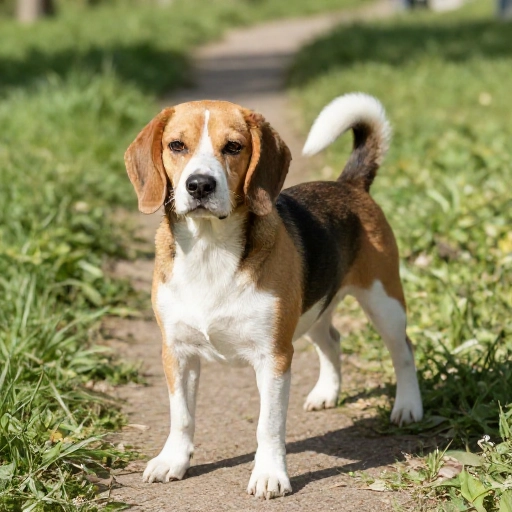
If you have a Lab, Beagle, or Dalmatian, you might think they don’t need grooming. Wrong! They shed a ton, and a little “sporty tidy-up” makes a huge difference. This style is all about reducing shedding and keeping them sleek.
Use a rubber curry brush or a grooming mitt to loosen the dead hair in a circular motion. Then, use a shedding blade (like a Furminator) to pull out the undercoat. Go with the grain, and don’t press too hard—you don’t want to scratch the skin.
To finish, use a slicker brush to smooth out the topcoat and give them a shiny, athletic look. Focus on the rear haunches and the neck, where the shedding is heaviest. This won’t cut the hair, but it will make their short coat look polished.
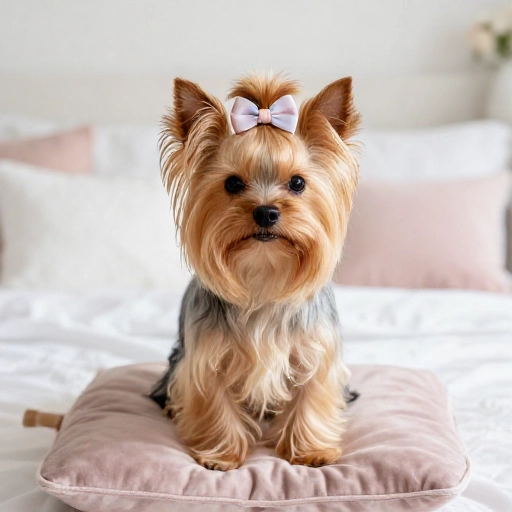
9. The Top Knot (For Long-Haired Toy Breeds)
This is the classic “ponytail” look for Yorkies, Maltese, and Shih Tzus. It keeps the hair out of their eyes and looks super cute. It’s the easiest “style” on this list because it requires zero cutting!
Take the hair on the top of the head and gather it at the crown of the skull, just behind the ears. Comb it up and forward to make sure it’s smooth. Secure it with a small, soft elastic band (the ones made for human baby hair are perfect).
You can leave the tail of hair loose, or you can fold it over to make a little loop. If you fold it, make a second wrap with the elastic to create a neat “sprout.” This is a great style for keeping them clean during meal times.
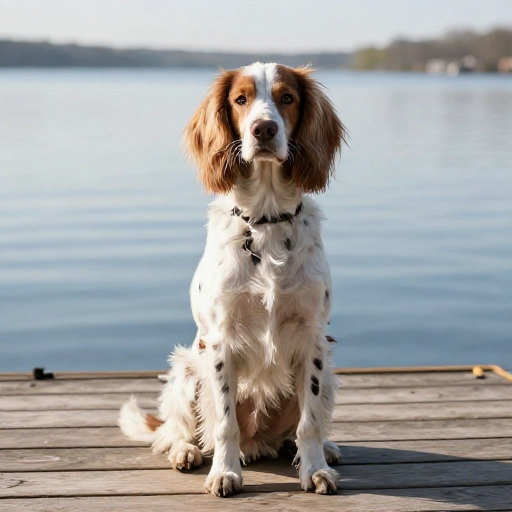
10. The Feather Trim (For Spaniels and Setters)
Spaniels and Setters have beautiful, wispy feathering on their ears, chest, and legs. The goal here isn’t to remove the feathers—it’s to shape them so they don’t drag on the ground and pick up burrs. This is a very forgiving style that looks natural and effortless.
Brush out all the feathers to remove tangles. Then, pick up the feathering on the chest and trim the bottom edge in a slight U-shape. Do the same for the feathers on the back of the legs, trimming them to just above the paw.
For the ears, lay them flat and trim the edges with straight shears to remove any split ends. The goal is a soft, rounded edge. This keeps them looking wild but tidy, and it makes mud removal so much easier after a walk.
Final Thoughts: Patience is Your Best Tool
Grooming at home is a learning curve, and that’s okay. Your dog won’t be mad if the trim isn’t perfect—they’ll just be happy to have your attention and a few extra treats. Remember to keep your sessions short and positive. If you feel frustrated, stop and take a break. It’s better to have a slightly uneven cut than a dog who hates the clippers.
Start with one style from this list and practice it. Once you master it, move on to the next. Before you know it, you’ll be saving a ton of cash and bonding with your pup in a whole new way. Happy grooming!
FAQ: Your DIY Grooming Questions, Answered
Q: How often should I groom my dog at home?
A: It depends on the breed. For high-maintenance coats like Doodles, you need to brush daily and do a full clip every 4–6 weeks. For short-haired dogs, a quick once-a-week brushing is plenty. The key is consistency—never let mats form.
Q: What tools do I absolutely need to start?
A: You need four essentials: a slicker brush, a metal comb, a good pair of curved shears, and a reliable clipper with a few different blade attachments. You can get a decent starter kit for less than the cost of one salon visit.
Q: My dog hates the clippers. What should I do?
A: Don’t give up! Introduce the clippers slowly. Turn them on while giving treats. Touch the back of the clippers to their back without turning it on. Then, do one quick pass and give a jackpot treat. Keep sessions super short and always end on a positive note.
Q: Is it safe to shave my double-coated dog in the summer?
A: This is a big debate. Shaving double-coated dogs (like Huskies or German Shepherds) can actually damage their coat and expose them to sunburn. Instead of shaving, focus on brushing out the undercoat. If you must cut, use a long attachment like a #4, but never a #10.
Q: How do I handle mats and tangles?
A: Never try to brush out a mat with a slicker brush—it hurts. Use a de-matting rake or a pair of scissors with a comb underneath the mat to protect the skin. If the mat is too close to the skin, just carefully clip it out with a #10 blade. Prevention is key, so brush daily!