10 Dog Nose Painting Secrets That Will Make Your Pup a Masterpiece
Okay, let’s be real—there is nothing cuter on Pinterest than a perfectly painted dog nose. Whether it’s a tiny floral masterpiece or a galaxy swirl, that little wet button nose is the ultimate canvas. But if you’ve ever tried it, you know it’s not as easy as it looks.
I’ve been there. The smudges, the wiggles, the paint that just won’t stick. After lots of trial and error (and a very patient golden retriever), I’ve figured out the tricks that actually work. These are the secrets I wish I knew on day one—simple, practical, and totally dog-friendly.
1. The Prep Work Is Everything
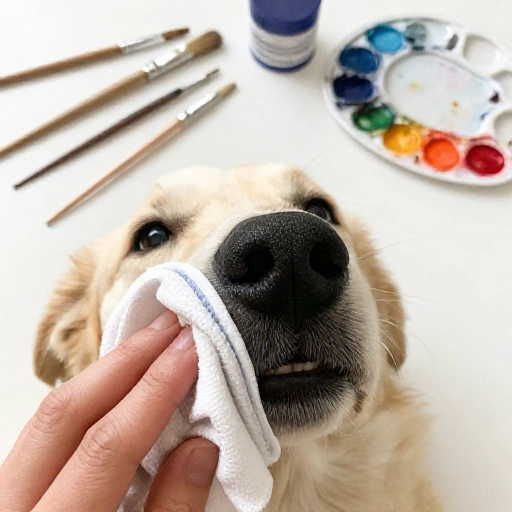
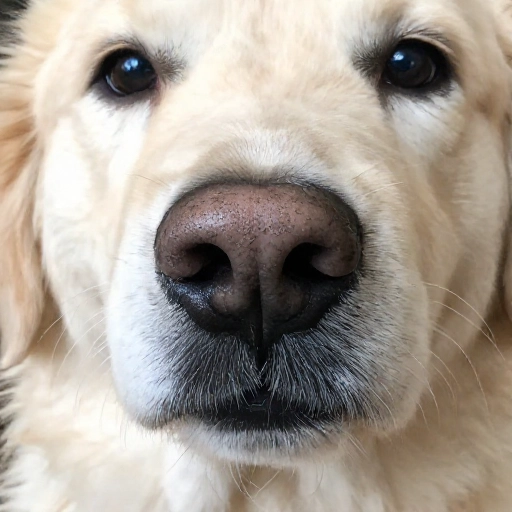
You can’t rush a good nose painting. Before you even open a paint bottle, make sure your pup’s nose is clean and dry. Any leftover boogers, dirt, or natural oils will make the paint slide right off.
Use a soft, damp cloth to gently wipe the nose. Then pat it completely dry with a towel. Wait a few minutes to let the nose breathe. A dry canvas is a happy canvas.
- Use plain water, no soap or wipes with fragrance.
- Check for any cracks or dry patches—skip painting if the nose is chapped.
- Let your dog sniff around for a minute so the nose settles back to its natural state.
2. Choose the Right Paint (This Is Non-Negotiable)
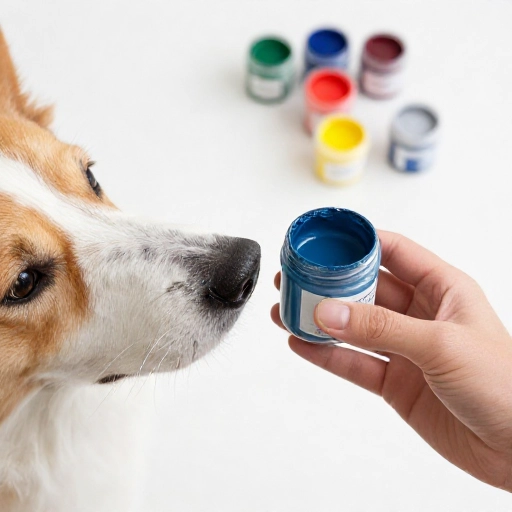
I cannot stress this enough—you need pet-safe, non-toxic paint. Human craft paint is a big no-no. Look for paints specifically labeled as safe for animals, usually made from vegetable dyes or food-grade ingredients.
These paints are thicker and creamier, which means they stay where you put them. They also wash off easily with just water and a little patience. Trust me, your dog’s safety comes first, always.
Test the paint on a small spot on your dog’s paw first to make sure there’s no reaction.
3. Warm Up the Paint Before You Start
Cold paint from the fridge or a cool room is stiff and hard to work with. It also feels weird on your dog’s nose, making them want to rub it off immediately.
Here’s my trick—squeeze a small amount onto a plate and let it sit for a few minutes. Or, hold the bottle in your hands for a minute to warm it up. Warm paint glides on so much smoother and feels less shocking to your pup.
You’ll notice a huge difference in how cooperative your dog is.
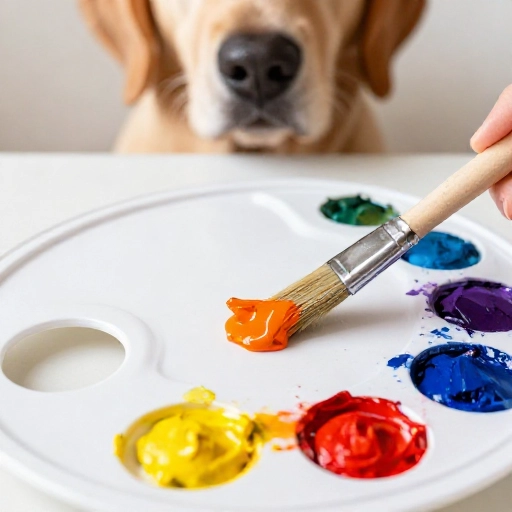
4. Use a Sponge, Not Just a Brush
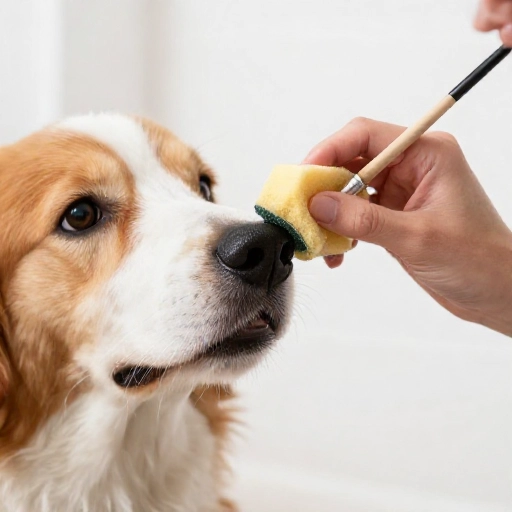
Brushes are great for details, but for the base coat, a small makeup sponge is your best friend. It dabs the color on gently without dragging or pulling at the nose skin.
Dabbing feels more like a massage to your dog, and it creates an even layer without streaks. Once you have a solid base, switch to a fine brush for the details.
Keep a few sponges on hand—they’re cheap and you can toss them after each session.
5. Work in Thin Layers, Not One Thick Coat
This is the mistake I made for so long. I thought a thick blob of paint would cover everything faster. Nope. It just makes a gooey mess that smears the second your dog breathes.
Instead, apply a super thin layer, let it dry for a minute, then add another. Two or three thin layers give you a solid, clean color that actually stays put. It’s a little more time-consuming, but the result is worth it.
Plus, thin layers dry faster, which means less time your dog has to sit still.
6. Have a Helper (Or a Treat Dispenser)
Let’s be honest—most dogs won’t sit perfectly still for a nose painting session. That’s where a second pair of hands comes in. One person holds the dog gently, the other paints.
If you’re flying solo, get creative. A lick mat smeared with peanut butter on the floor works wonders. Your dog will be so busy licking, they’ll barely notice the brush on their nose.
Keep treats close by and reward every tiny bit of cooperation. Positive vibes only!
7. Paint the Nose at the Right Angle
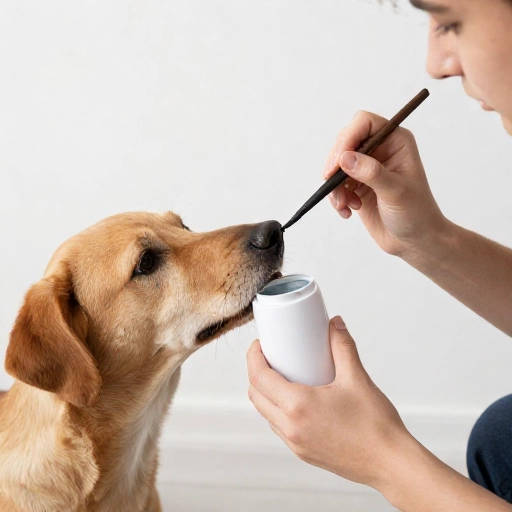
If you’re painting from the side, you’ll get a weird perspective and miss the full shape of the nose. The best angle is from above, looking down at your dog’s face.
Have your dog sit or lie down, and position yourself so you’re looking straight down at their nose. This way, you can see the whole canvas and make sure your design is centered.
If your dog is tall, try having them sit on a table or counter (with supervision, of course) so you don’t have to bend over awkwardly.
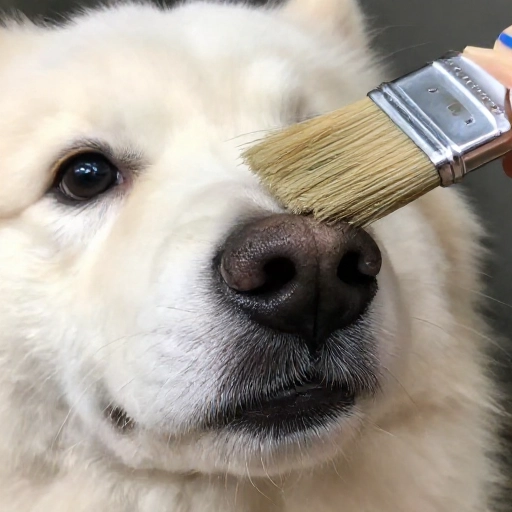
8. Keep the Paint Off the Fur (Mostly)
It’s inevitable—some paint will get on the fur around the nose. But you can minimize the mess with a little trick. Apply a thin layer of coconut oil around the nose first.
The paint will stick to the oil instead of the fur, making cleanup way easier. Just wipe the excess off with a dry cloth when you’re done.
This also protects the sensitive skin around the nose from any irritation.
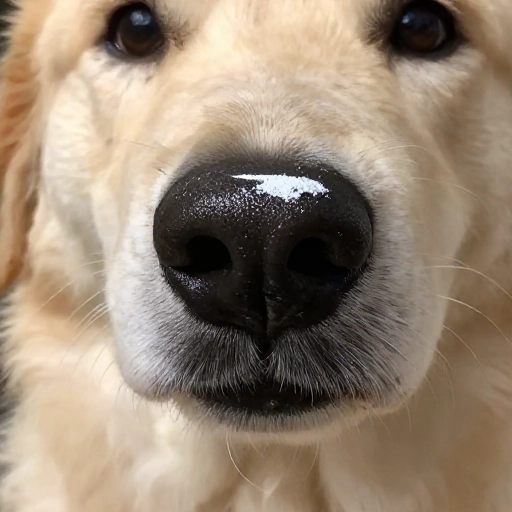
9. Dry Time Is the Hardest Part
You’re done painting, but the job isn’t finished yet. The paint needs a few minutes to dry completely, and this is when most dogs want to rub their nose on everything.
Keep your dog distracted during this time. Hold their head gently, talk to them, or give them a treat. If they’re a wiggler, take a photo right after painting, then let them rub it off—it’s not worth the stress.
Remember, the photo is the real goal anyway!
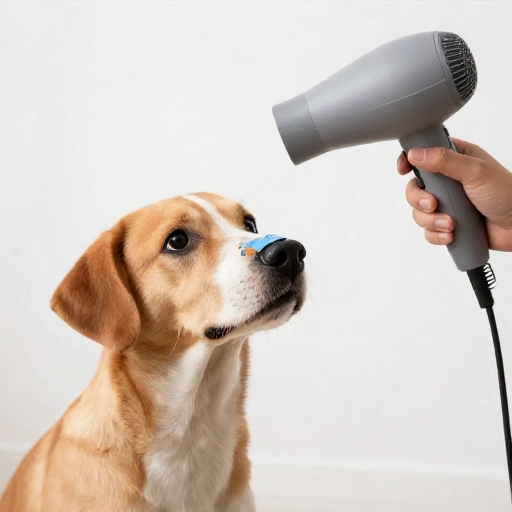
10. Capture the Shot Fast and Have Fun
The window for a good photo is tiny. Set up your phone or camera before you even start painting. Have the lighting ready, the background clean, and the angle tested.
As soon as the paint is dry, snap away. Take more photos than you think you need—burst mode is your friend. One of them will be perfect.
And don’t forget to laugh. The paint will smudge, your dog will sneeze, and it might all go sideways. That’s part of the fun!
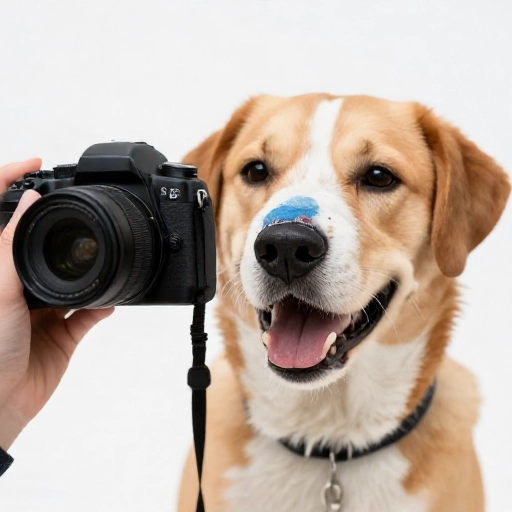
Wrapping It Up
Dog nose painting is one of those adorable things that looks effortless but takes a little know-how. With the right prep, the right tools, and a whole lot of patience, you’ll get that perfect shot that makes everyone on Pinterest stop and smile.
Just remember—it’s all about having fun with your pup. If the paint gets smudged or your dog decides they’re done, that’s okay. The memories (and the outtakes) are just as precious.
Now go grab your paints and get creative!
Frequently Asked Questions
Is dog nose painting safe for my pet?
Yes, as long as you use non-toxic, pet-safe paints specifically made for animals. Always avoid craft or acrylic paints. And never leave paint on for more than a few minutes.
How do I wash off the paint?
Simply use a warm, damp cloth and gently wipe the nose. If the paint is stubborn, add a tiny bit of gentle pet shampoo to the cloth. Never scrub hard.
Can I use food coloring instead?
Food coloring is a common alternative, but it can stain the nose. Pet-safe paints are formulated to come off easily, so they’re usually the better choice.
What if my dog hates the sensation?
Take it slow. Start with just a dab on the nose and reward them with treats. If they’re really uncomfortable, skip it—not every dog will enjoy this activity.
How long does the paint stay on?
It should only stay on for a few minutes—just long enough for a photo session. After that, wipe it off to keep your dog comfortable and safe.