DIY Cat Paw Balm: Easy, Safe & Budget-Friendly
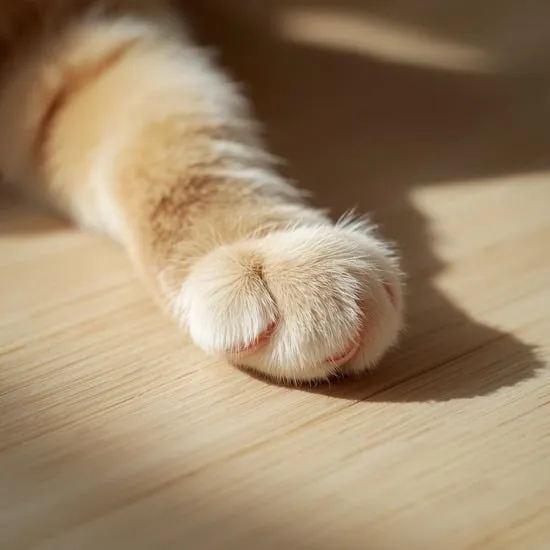
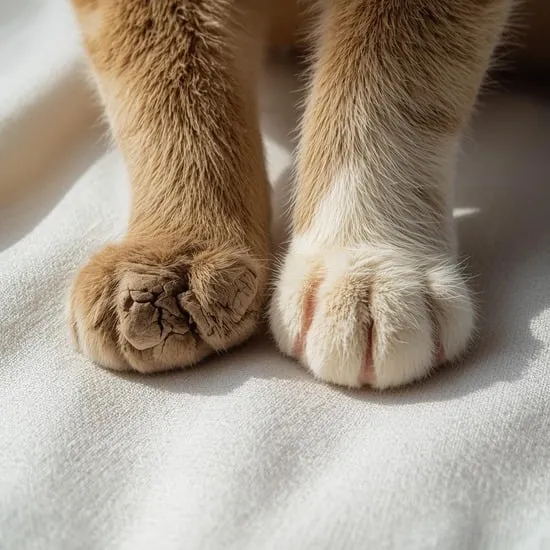
As a cat parent, I’ve always been a little obsessed with my kitty’s paws. They’re those adorable little beans that carry them everywhere, but they can get dry, cracked, or rough, especially in winter or summer. I wanted a natural way to help, but commercial products were expensive and full of ingredients I couldn’t pronounce.
That’s when I discovered how simple it is to make your own cat paw balm at home. It’s a fun, quick project that puts you in control of every single ingredient. You can ensure it’s completely safe, non-toxic, and tailored for your feline friend. Best of all, it costs just pennies per batch!
This balm is perfect for moisturizing dry pads, creating a protective barrier against hot pavement or salty sidewalks, and giving you a moment of gentle bonding with your cat. Let’s make something purr-fect together.
Why Your Cat’s Paws Need Care
Think about it—your cat walks on their paws all day. Those paw pads are tough, but they’re not indestructible. Just like our hands, they can become dry and cracked from environmental factors. Indoor heat in winter and hot outdoor surfaces in summer are common culprits.
Regular, gentle care can prevent discomfort. A good balm acts like a moisturizing glove, helping to maintain the pad’s natural flexibility and resilience. It’s a small act of care that makes a big difference in their comfort.
Gathering Your Safe, Simple Ingredients
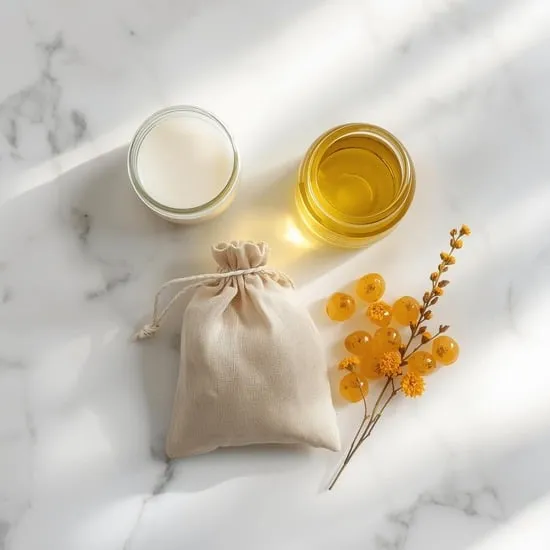
The magic of this recipe is in its simplicity. You only need a few, cat-safe ingredients that are easy to find. The rule is: if it’s not safe for them to lick a little bit, it doesn’t go in the balm.
- Organic Coconut Oil: The star of the show. It’s naturally moisturizing, anti-fungal, and safe for cats in small amounts.
- Food-Grade Shea Butter: This is a wonderful skin soother and healer that adds a rich, protective layer.
- Beeswax Pellets: This gives the balm its solid, spreadable texture and forms a protective barrier on the paw.
- Vitamin E Oil (optional): A great natural preservative that also promotes skin healing.
Essential Equipment You Already Own
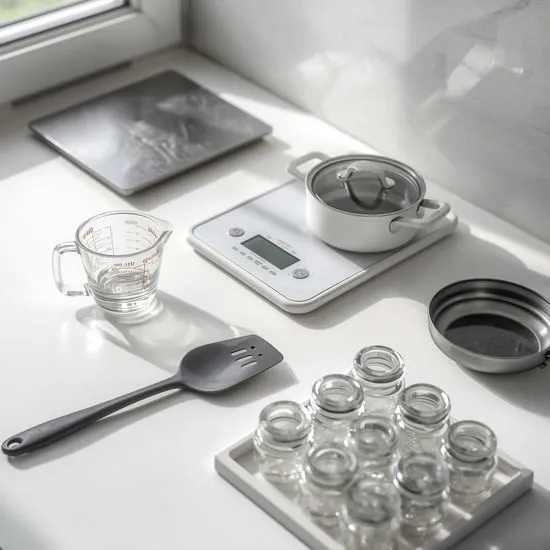
No fancy tools needed! You likely have everything in your kitchen right now. This keeps the project truly budget-friendly and accessible for anyone.
- A small glass jar or tin for the finished balm.
- A heat-safe glass measuring cup or a small mason jar.
- A small saucepan for creating a double boiler.
- A spoon or small whisk for stirring.
That’s really it! The process is as simple as melting and pouring.
Step-by-Step: How to Make the Balm
Ready? Let’s create! This takes less than 15 minutes of active time.
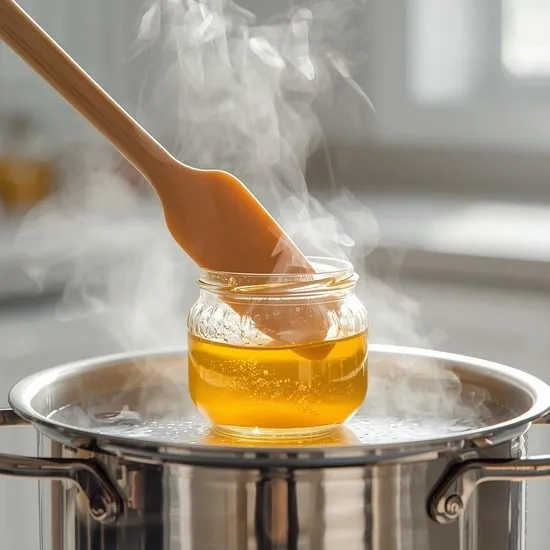
- Create a double boiler by placing an inch of water in your saucepan and setting your glass jar or measuring cup inside. Heat on low.
- Add equal parts coconut oil, shea butter, and beeswax to the jar. A great starting ratio is one tablespoon of each.
- Stir gently as everything melts together into a clear liquid. Once fully melted, remove it from the heat.
- Stir in a few drops of Vitamin E oil if using. Then, carefully pour the liquid into your clean container.
- Let it sit undisturbed until it cools and solidifies completely. That’s it!
How to Apply the Balm to Your Cat
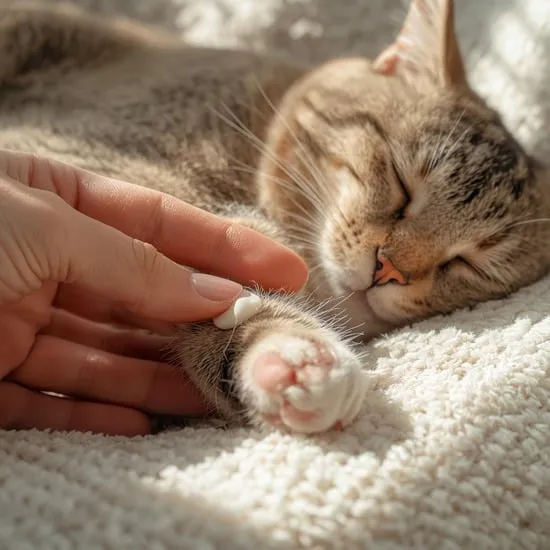
Introducing your cat to paw balm should be a calm, positive experience. Start by letting them sniff the tin. Then, take a tiny dab on your finger.
Gently hold their paw and massage a small amount into one pad. Praise them and offer a treat immediately. You might only do one paw per session at first. The goal is trust, not a perfect application.
Most cats tolerate it well once they associate it with treats and gentle touch. I find doing this when my cat is sleepy and relaxed works best.
Storage & Shelf Life Tips
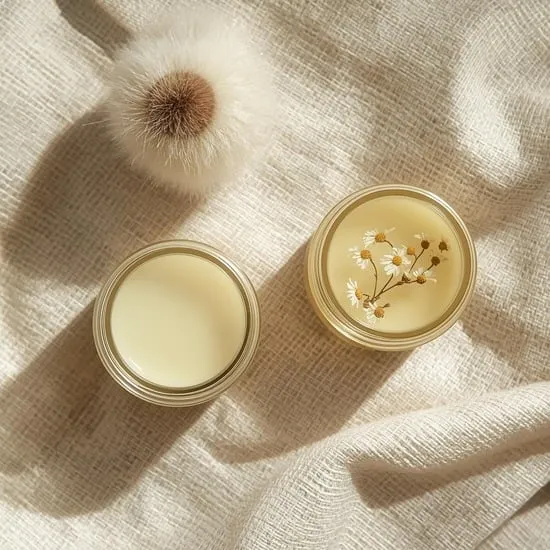
Your homemade balm doesn’t contain synthetic preservatives, so proper storage is key. Keep it in a cool, dark place like a kitchen cupboard or medicine cabinet.
Avoid leaving it in direct sunlight or a very warm room, as this can cause it to melt and separate. A small batch like this, stored properly, should last for several months. You’ll know it’s gone off if the smell changes.
[[IMG:IMG:IMG07]]
Customizing Your Balm Safely
Want to make it extra special? You can customize it, but you must be extremely cautious. Never use essential oils, as many are toxic to cats.
The only safe addition I recommend is a tiny pinch of dried, organic catnip powder stirred in after melting. It can make the balm more interesting to your cat! Always stick to the base recipe for safety.
When to Use the Paw Balm
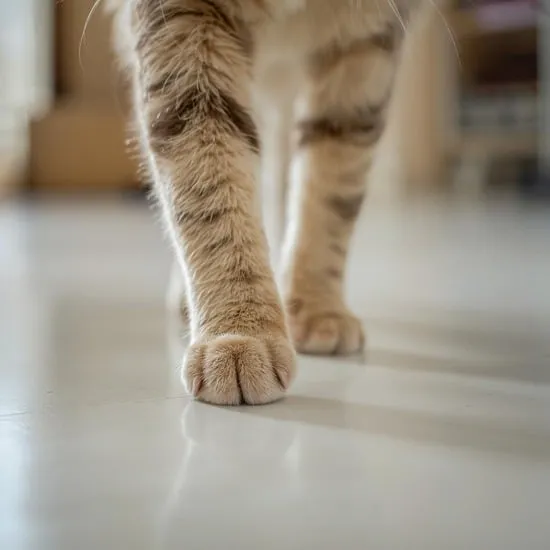
I use this balm as a preventative measure and a treatment. Apply a thin layer before going outside in extreme weather, or after coming inside if their paws seem dry.
It’s also wonderful as part of a weekly grooming routine. A quick paw massage with the balm helps you check for any cuts, thorns, or issues you might otherwise miss.
What to Avoid in DIY Cat Products
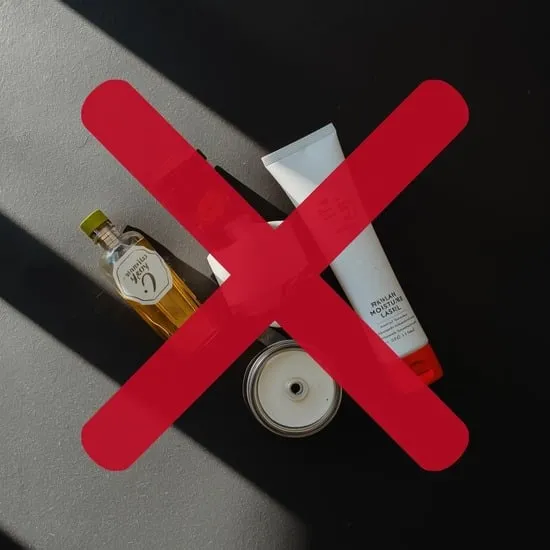
Safety first, always. When making anything for your cat, avoid these common but dangerous ingredients:
- Essential Oils: Especially tea tree, peppermint, citrus, and eucalyptus. They can be lethal.
- Petroleum Jelly: It’s not digestible and can cause stomach upset if licked.
- Artificial Fragrances or Colors: Unnecessary and potentially irritating.
When in doubt, simpler is always better.
Conclusion: Happy Paws, Happy Cat
Making this DIY cat paw balm has become one of my favorite little rituals. It’s incredibly satisfying to care for my cat with something I made myself from wholesome ingredients. It’s effective, safe, and so affordable.
Seeing my cat’s paws stay soft and healthy is the best reward. I encourage you to try it—it’s a small act of love that your feline friend will appreciate with every comfortable step they take.
DIY Cat Paw Balm FAQ
Q: Is it safe if my cat licks the balm?
A: Yes! The ingredients are all cat-safe in the small amounts used. They will likely lick some off, which is why we use only edible, non-toxic components like coconut oil.
Q: How often should I apply it?
A> For maintenance, once or twice a week is plenty. For dry or cracked pads, you can apply a thin layer once daily until they improve.
Q: Can I use this on dogs?
A> Absolutely! This balm is perfectly safe for dog paws too. It’s a great all-purpose pet paw protector.
Q: My balm is very hard/very soft. What went wrong?
A> Consistency depends on the beeswax. For a softer balm, use less beeswax next time. For a firmer balm, add a bit more. You can gently re-melt and adjust your batch.
Q: Where can I find the ingredients?
A> All ingredients are easily found in health food stores, online, or in the natural foods section of many grocery stores. Look for organic, food-grade quality when possible.