10 Easy Steps to Groom Your Dog at Home Like a Pro (Save Money & Bond!)
Let’s be real – taking your dog to the groomer can get expensive, and sometimes it’s just a hassle to fit into your schedule. I used to dread the monthly appointment, but then I decided to take matters into my own hands. It turns out, with the right tools and a little patience, you can absolutely achieve a professional-looking groom right in your own backyard (or bathroom!).
Grooming at home isn’t just about looking cute; it’s a vital part of your dog’s health. It helps you spot lumps, bumps, and skin issues early on. Plus, it’s an amazing bonding experience that builds trust between you and your furry best friend. Trust me, once you get the hang of these steps, you’ll wonder why you ever paid for it in the first place!
Ready to become your dog’s favorite stylist? Grab your treats, put on some calming music, and let’s dive into my top 10 simple steps for a successful at-home dog grooming session.
1. Gather Your Pro-Grooming Toolkit
Before you even think about touching your dog’s fur, you need to have your supplies ready. There’s nothing worse than having a wiggly dog on your lap while you’re fumbling for a comb. A little prep goes a long way in making the whole experience smooth for both of you.
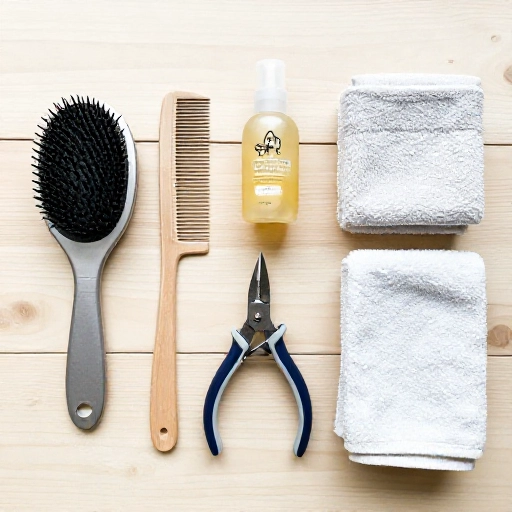
You don’t need fancy equipment, but you do need the *right* equipment. Invest in a good slicker brush, a metal comb, dog-specific nail clippers (or a grinder), and a gentle dog shampoo. Also, grab a few old towels and a non-slip mat for the tub – this keeps your pup feeling secure.
Make sure everything is within arm’s reach. I like to lay out all my tools on the counter next to me. It makes me feel like a professional, and it keeps my dog calm because I’m not moving around a lot. A calm owner equals a calm dog!
Don’t forget the treats! Have a bowl of their favorite tiny bites ready to reward good behavior. This positive reinforcement is the secret to making grooming a happy time, not a battle.
2. Brush Before the Bath (Always!)
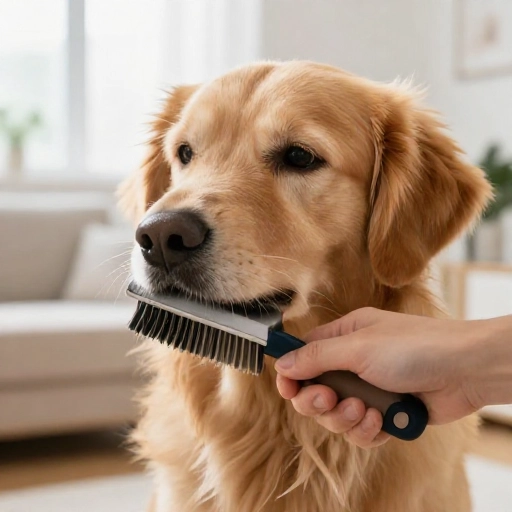
This is the golden rule of dog grooming. Brushing a wet dog is a nightmare – wet fur tangles and mats even worse than dry fur. I learned this the hard way with my golden retriever! Always give your pup a thorough brush-out before they hit the water.
Start by brushing their entire body to remove loose fur and dirt. This not only cuts down on bath time but also prevents those painful mats from forming. Mats can pull on the skin and cause irritation, so getting them out before they get wet is essential.
If you find a mat that’s too tight to brush out, don’t pull on it! You’ll hurt your dog. Instead, try to gently work it apart with your fingers or use a dematting tool. If it’s really stubborn, it’s best to carefully cut it out with safety scissors – but be super careful not to nick the skin.
Pay special attention to areas that mat easily: behind the ears, under the armpits, and around the collar area. A little extra time here saves a lot of pain later.
3. Get Those Nails Done First
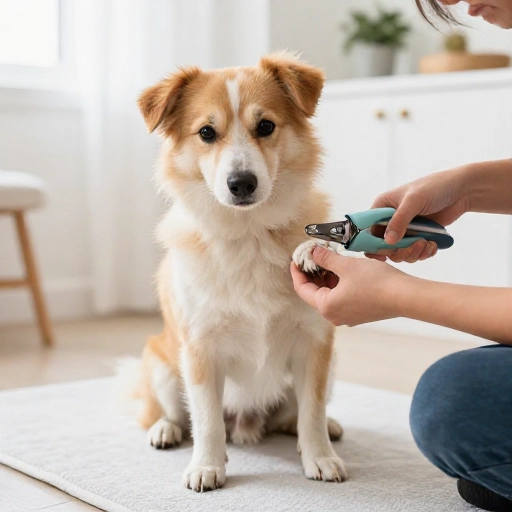
Honestly, this is the step most dogs (and owners!) dread. But if you make it a regular part of the routine, it gets easier. I like to do nails before the bath because it contains the mess – nail clippings are easier to sweep up off a dry floor than a wet one.
Start by getting your dog comfortable with you touching their paws. Press on each toe to extend the nail. If your dog is nervous, do one paw a day if you need to. Slow and steady wins the race here. The goal is a positive experience, not a rushed one.
If your dog has clear or light-colored nails, you’ll see the pink “quick” inside. You want to cut just below that. If you hit the quick, it will bleed and hurt. For dark nails, cut tiny slivers at a time until you see a dark dot in the center of the nail – that means you’re close to the quick.
Keep a styptic powder or cornstarch on hand just in case. It stops bleeding quickly and saves the day. A nail grinder is also a fantastic tool that many dogs prefer over clippers – it’s less pressure and easier to control.
4. The Pre-Bath Ear Check
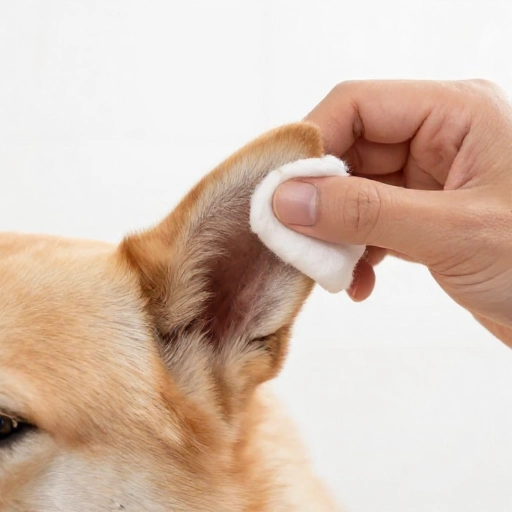
While we’re on the topic of “before the bath,” let’s talk about ears! A dog’s ears are sensitive and can easily trap moisture, leading to infections. Checking them before the bath helps you know what you’re dealing with, and it’s easier to see any redness or dirt when they’re dry.
Look inside your dog’s ears. They should be a healthy pink color without any strong odor, redness, or excessive wax. If you notice anything unusual, like a yeasty smell or lots of dark debris, it might be a sign of an infection. In that case, skip the bath and give your vet a call.
If they look clean, you can gently wipe the outer ear flap with a cotton ball dampened with a vet-approved ear cleaner. Never, ever stick a cotton swab down into the ear canal! You can push debris deeper and damage their eardrum. Keep it to the outer areas only.
This quick check is a simple habit that can prevent big problems down the road. Healthy ears are happy ears, and it makes bath time much more enjoyable for everyone.
5. The Perfect, Calm Bath
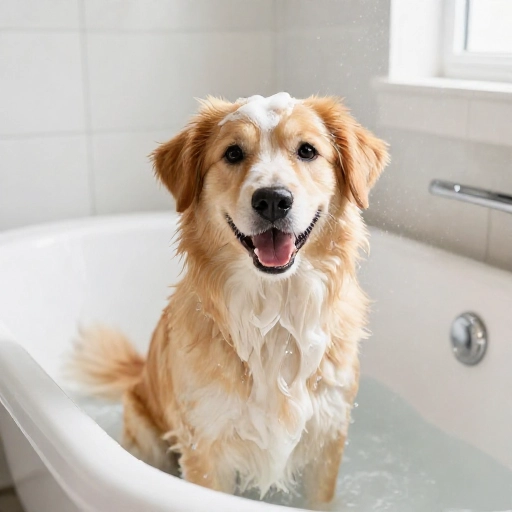
Now for the main event! Use lukewarm water – not too hot, not too cold. I always test the water on my own wrist first. Place a non-slip mat in the tub so your dog feels secure and doesn’t slip around. A fearful dog makes a messy bath.
Wet your dog thoroughly from the neck down. Avoid getting water in their eyes and ears. You can place a cotton ball in their ears to keep water out – just remember to remove it afterward! Talk to them in a soothing voice the entire time.
Dilute your dog shampoo in a cup with water before applying. This helps it lather more easily and distribute evenly through the coat. Massage the shampoo into their fur like you’re giving them a spa treatment. Work from the back of the neck down to the tail, and finish with their legs and belly.
Rinse, rinse, and rinse again! Leaving shampoo residue can cause itchy, flaky skin. I like to run my fingers through the fur as I rinse to make sure every last bit of soap is gone. The water should run clear when you’re done.
6. Squeegee, Don’t Rub!
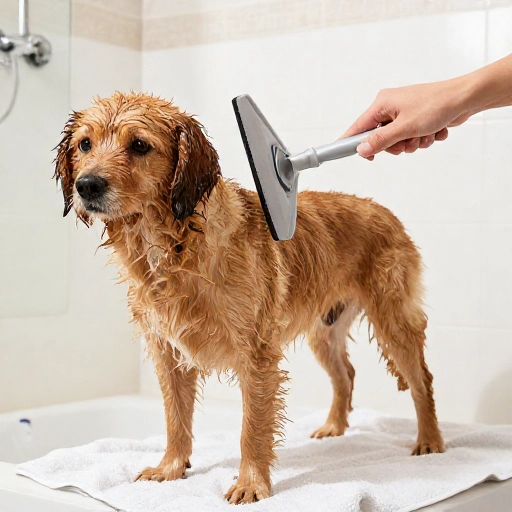
When your dog gets out of the tub, they’re going to want to shake. Let them! That’s their natural way of getting rid of excess water. Then, wrap them in a big, absorbent towel.
Here’s the key: don’t rub their fur vigorously with the towel. This can cause tangles and matting, especially on long-haired breeds. Instead, gently squeeze and press the towel against their coat to absorb the water. Think of it like blotting a spill rather than scrubbing a stain.
If you have a thick-coated dog, you might need two or three towels. Get them as dry as possible before you even think about reaching for the blow dryer. The less water left in the coat, the faster the drying process will be.
This is also a great time to give them a little praise and a treat. They survived the bath, and they’re being a champ through the drying process!
7. Master the Blow Dry
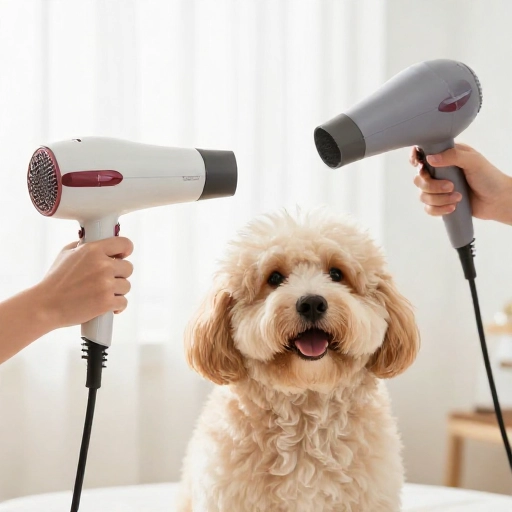
This can be the scariest part for some dogs. The noise and the feeling of air can be intimidating. If your dog is scared of the dryer, I recommend using a low-heat, low-speed setting. Start by pointing it away from them so they can get used to the sound first.
Never use a human hair dryer on high heat – you can easily burn their sensitive skin. Use a dog-specific dryer or a human dryer on the cool or lowest warm setting. Keep the dryer moving constantly so you don’t concentrate heat on one spot.
As you dry, use a slicker brush to gently lift and separate the fur. This helps the air reach the skin and prevents matting as the hair dries. Work in sections, starting from the back and moving forward. It’s like giving them a professional blowout!
For dogs with curly or double coats, drying is essential to prevent moisture from getting trapped next to the skin, which can lead to hot spots. Make sure they are completely dry, especially their paw pads and the base of their tail.
8. The Final Brush-Out and De-Mat
Now that your dog is clean and dry, it’s time for the finishing brush! This is when you get them looking truly polished. Brushing a clean, dry coat is a joy – it’s smooth, and you can really see the results of your hard work.
Use your slicker brush to go over their entire body again, working in the direction of hair growth. Follow up with a metal comb to catch any tiny tangles you missed. This two-step process is the secret to a professional-looking finish.
If you find any small mats that formed during drying, this is the time to carefully work them out. Use a dematting tool or your fingers to gently break them apart. Remember, patience is key. Never yank or pull on a mat as it can hurt your dog and make them resent grooming.
Finish by checking their paw pads. Trim any excess hair that grows between the toes with blunt-tipped scissors. This helps prevent dirt and debris from getting trapped and gives their feet a neat, tidy look.
9. Freshen Up the Face
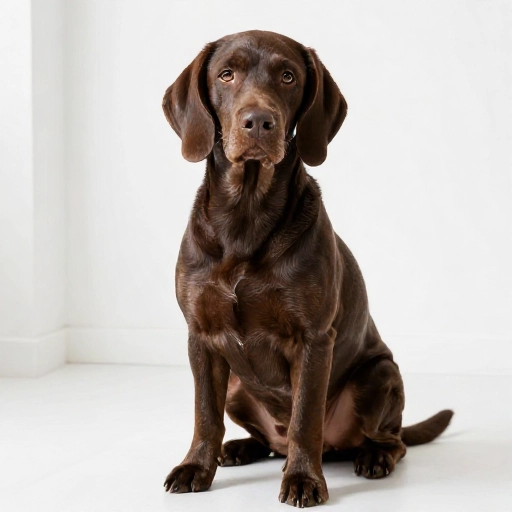
We’re almost done! The face is the finishing touch that really makes your dog look groomed, not just clean. This area is sensitive, so it’s best to use specialized tools and a very gentle touch.
Use grooming scissors with rounded tips to carefully trim any long hair around their eyes that might be obstructing their vision. Never point the scissors toward their eyes. Hold the hair between your fingers and snip just the tips. It’s safer and more precise.
For dogs with beards or longer muzzle hair, keep it clean and dry. You can comb it out and trim any straggly ends. A clean face not only looks better but is also more hygienic, especially after they eat.
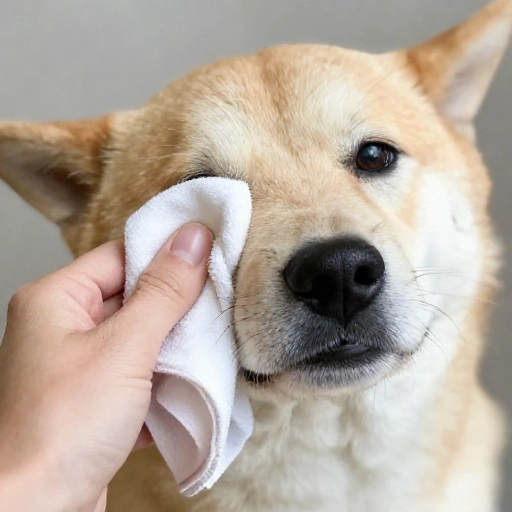
Don’t forget to check their wrinkles, if they have them! For breeds like pugs or bulldogs, wipe gently inside the folds with a damp cloth to remove dirt and moisture. Keeping these areas dry prevents skin infections and bad odors.
10. Treat, Praise, and Celebrate!
You did it! Your dog is clean, brushed, and looking absolutely fabulous. This last step is just as important as all the others. It’s time for a major celebration.
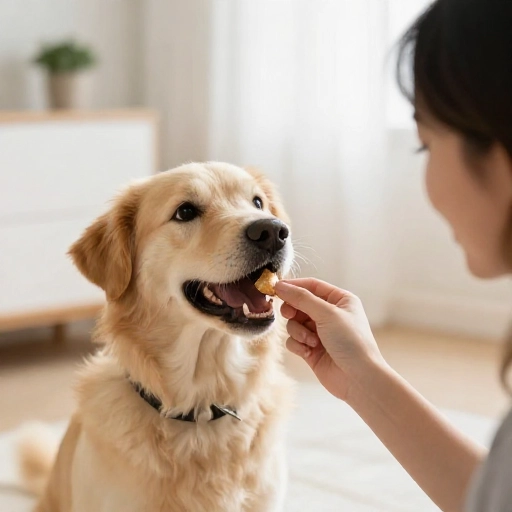
Give your dog a high-value treat and lots of verbal praise. Use a happy, excited tone of voice. Let them know they were a superstar. This positive reinforcement is what will make the next grooming session even easier.
Let them run around and air-dry any leftover dampness. They’re probably feeling pretty proud of themselves too! This is a great time for a post-grooming play session or a nice, long walk to show off their shiny coat.
Remember, practice makes perfect. The more you do this, the easier it will get for both of you. You’ll learn your dog’s quirks, and they’ll learn to trust you. You’re not just a pet owner, you’re their personal grooming pro!
Conclusion
Grooming your dog at home is one of the most rewarding things you can do for both of you. It saves money, strengthens your bond, and keeps your furry friend healthy and happy. It might seem overwhelming at first, but by following these simple steps, you’ll become a pro in no time.
Don’t be afraid to take it slow and make it a positive experience. Your dog can sense your energy, so stay calm and patient. Every small step is a win, and soon you’ll have a routine that works perfectly for you and your pup.
So go ahead, grab those brushes and give it a shot. You’ve got this! Your dog will thank you for it with lots of wagging tails and sloppy kisses.
Frequently Asked Questions
Q1: How often should I groom my dog at home?
A: It depends on your dog’s breed and coat type. As a general rule, a full grooming session (bath and brush) every 4-6 weeks is great. However, you should brush your dog 2-3 times a week to prevent mats and keep their coat healthy.
Q2: What if my dog is scared of the blow dryer?
A: Take it slow! Start by introducing the dryer while it’s off, then turn it on at the lowest setting and point it away from them. Reward them with treats for staying calm. You can also try a drying towel instead, but make sure they are completely dry to avoid skin issues.
Q3: Can I use human shampoo on my dog?
A: No, you should never use human shampoo on your dog. Our skin has a different pH level than theirs, so human shampoo can dry out their skin and cause irritation. Always use a dog-specific shampoo that is gentle and formulated for their needs.
Q4: My dog’s nails are black. How do I avoid cutting the quick?
A: Good question! For dark nails, cut very tiny slivers off the tip. After each cut, look at the fresh edge. When you start to see a small, dark circle in the center of the nail, that means you’re getting close to the quick. Stop there to be safe.
Q5: What should I do if I accidentally cut the quick?
A: Don’t panic! It happens to the best of us. Apply a small amount of styptic powder or cornstarch to the nail tip and apply gentle pressure with a cotton ball for a minute or two. This will stop the bleeding quickly. Give your dog a treat and end the session on a positive note.