10 Handmade Pet Harness Tutorial Tips for a Perfect DIY Fit (Dog & Cat Approved!)
I used to think sewing a pet harness was a project for expert crafters only. Then my rescue beagle, Pickles, slipped out of yet another store-bought harness on a walk. That was my breaking point. I grabbed my sewing machine, watched a few tutorials, and jumped in. The first attempt was lumpy and crooked, but it held. The second one actually looked cute. Now I make harnesses for friends’ pets too.
If you’re hunting for handmade pet harness tutorial tips that actually work, you’re in the right place. I’ve learned through plenty of trial, error, and unraveled seams. These ten tips will save you time, fabric, and frustration. Whether you’re sewing for a tiny kitten or a strong-chested bulldog, you can create something safe and stylish.
Grab your measuring tape and your favorite fabric. Let’s walk through the tips I wish I’d known before I made that first wobbly harness.
1. Measure Twice, Sew Once: Getting Accurate Pet Measurements
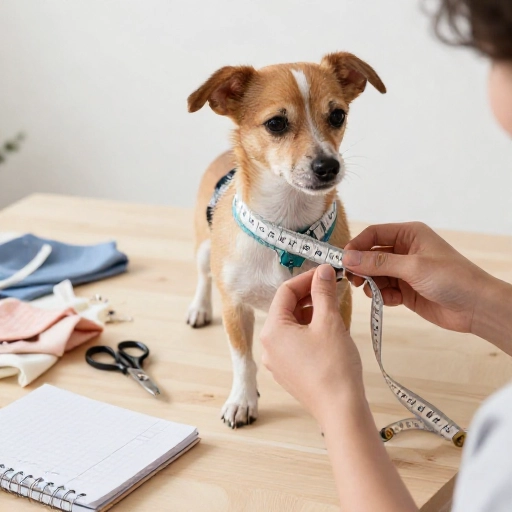
I can’t stress this enough. A harness that’s too loose is a escape risk, and one that’s too tight rubs fur and skin. Before you cut any fabric, take three key measurements while your pet is standing still. Treats help here.
- Neck circumference: measure around the base of the neck, where a collar would sit.
- Chest girth: measure around the widest part of the ribcage, just behind the front legs.
- Back length: measure from the base of the neck to the base of the tail for vest-style harnesses.
Write those numbers down and add a little wiggle room—usually one to two inches for comfort. If your pet is between sizes, size up. You can always adjust a strap tighter, but you can’t magically add fabric. I keep a small notebook with Pickles’ measurements so I don’t have to re-measure every single time.
2. Choose the Right Fabric for Comfort and Durability
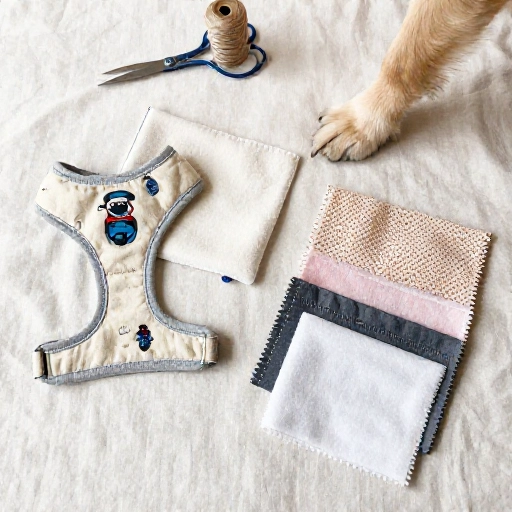
The fabric you pick makes or breaks your harness. You want something sturdy enough to hold up to pulling, but soft enough that it doesn’t chafe. My go-to combo is a durable outer layer and a soft inner lining.
Here’s what I’ve used and loved:
- Canvas or denim: tough and structured, great for medium to large dogs.
- Fleece or flannel: perfect as a lining for sensitive skin.
- Nylon webbing: strong and lightweight, but can be scratchy alone.
- Cotton quilting fabric: cute prints, but double it up for strength.
Avoid anything too stretchy. A harness that stretches out of shape won’t stay secure. I pre-wash and dry all my fabric first so it doesn’t shrink after the harness is sewn. That little step has saved me from many sad, shrunken projects.
3. Pick Hardware That Can Handle Real Tugging
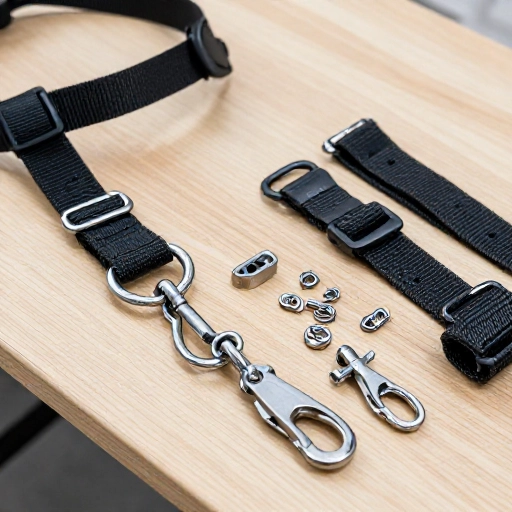
Your sewing can be flawless, but cheap plastic buckles will snap when your dog lunges after a squirrel. I learned that lesson on a rainy Tuesday. Now I only use metal or heavy-duty acetal hardware.
Look for D-rings and slide adjusters rated for at least 100 pounds of pull, even for small pets. A sudden yank can generate way more force than you’d expect. For cats, lighter hardware is fine, but still choose smooth edges so nothing catches on fur.
Test every buckle and ring before you sew it in. Open and close it a dozen times. If it feels sticky or flimsy, return it. Trust me, you don’t want to find out it’s weak when your pet is halfway down the block.
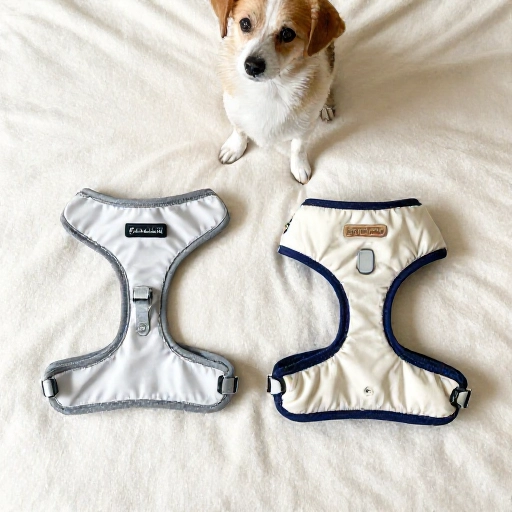
4. Decide Between H-Style and Vest-Style Harnesses
There are two main shapes you’ll see in handmade pet harness tutorials: the H-style and the vest-style. Each has its own personality, and neither is “better” for every pet.
H-style harnesses have two loops connected by a strap along the back. They’re great for dogs who overheat easily because they leave the chest open. Vest-style harnesses wrap around the chest and belly more fully. They offer more support and are harder for a determined escape artist to wiggle out of.
Pickles wears an H-style for summer hikes and a vest-style for chilly morning walks. If you’re sewing for a cat, the H-style often feels less restrictive. For a deep-chested dog, a vest-style with a front leash attachment can help reduce pulling. Think about your pet’s body and behavior before you cut your pattern.
5. Add Adjustable Straps for a Custom Fit
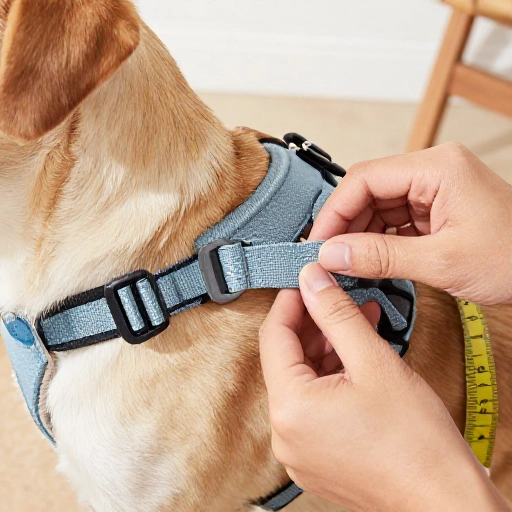
Even with perfect measurements, pets change shape. They gain winter fluff, lose a little weight, or just have a weirdly shaped ribcage. Adjustable straps make your handmade harness forgiving and long-lasting.
I add slide adjusters to at least two points: the neck and the chest. That way I can loosen or tighten the harness without picking out stitches. Use nylon webbing for the adjustable parts, even if the rest of your harness is fabric. Webbing slides through buckles smoothly and doesn’t fray easily.
Leave about three extra inches of webbing beyond each adjuster. That gives you room to let it out later. I also sew a small loop of elastic near the end of the strap to keep the excess webbing from flapping around. It’s a tiny detail that makes the harness look professionally made.
6. Reinforce Stress Points with Box-X Stitching
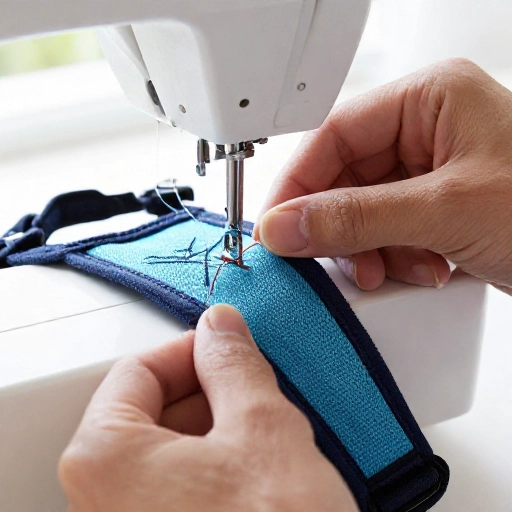
If you only remember one sewing technique from this list, make it the box-X stitch. It’s a rectangle with an X inside, and it’s the gold standard for securing high-stress areas like D-ring attachments and strap junctions.
Here’s how I do it: I sew a rectangle around the area where the strap meets the harness body. Then I stitch two diagonal lines from corner to corner. This spreads the force of a tug across a wider area instead of letting it rip through a single line of stitching.
Use a heavy-duty needle and polyester thread. I also go over the box-X twice with a slightly longer stitch length. It takes an extra minute, but it’s the difference between a harness that lasts for years and one that fails on the first walk. Your future self will thank you.
7. Line the Harness for Extra Softness and Support
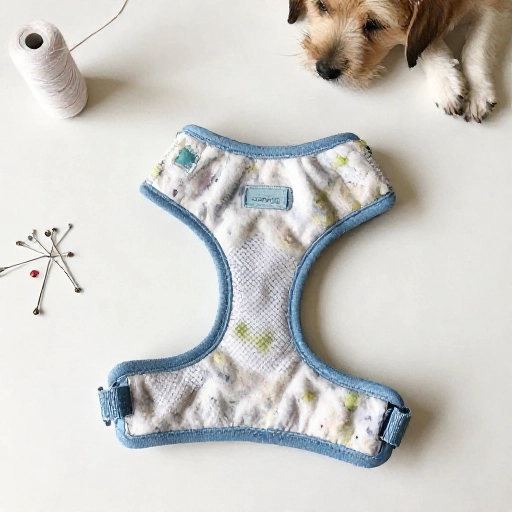
A scratchy harness is a harness your pet will try to chew off. Lining the inside with a soft fabric solves that problem and adds a bit of padding. I use fleece, jersey knit, or even an old t-shirt for this.
Cut your lining piece slightly smaller than your outer fabric so it doesn’t peek out at the seams. Sew it right sides together, leave a small opening, turn it inside out, and topstitch around the edges. That topstitching keeps the lining from bunching up inside.
For senior pets or those with sensitive skin, add a thin layer of quilt batting between the outer fabric and the lining. It cushions pressure points without making the harness bulky. Just make sure the harness still bends easily so it doesn’t rub.
8. Create a Secure Leash Attachment Point
The leash attachment is where your pet’s safety meets your sewing skills. A single flimsy D-ring sewn onto thin fabric is a disaster waiting to happen. I always reinforce this spot like it’s the most important part of the harness—because it is.
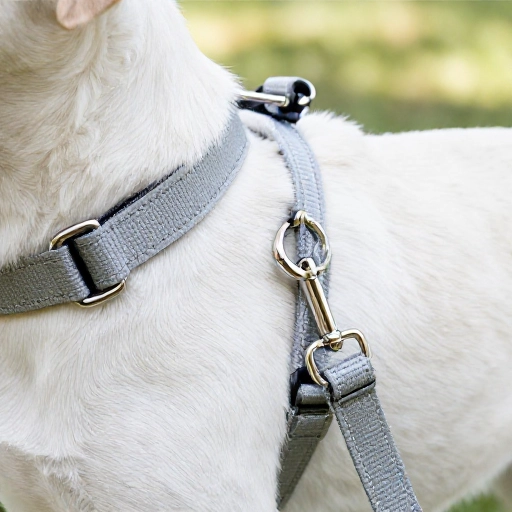
I use a welded metal D-ring and attach it to a folded piece of webbing or a double layer of canvas. Then I box-X stitch it in place. Some makers add a second D-ring on the chest for a front-clip leash, which can help with pulling. If you do that, reinforce it just as heavily.
Give the finished attachment a good hard tug before you let your pet wear it. I mean a real tug, like you’re trying to pull a suitcase off a conveyor belt. If anything shifts or stretches, unpick it and try again. Better to find the weak spot now than out on a busy street.
9. Do a Test Fit Before You Finish Sewing
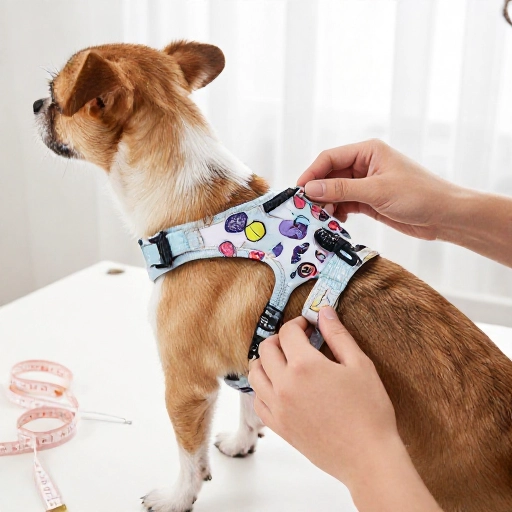
This tip has saved me from sewing a dozen harnesses that would have been too tight or too loose. Before you close up the last seam, put the harness on your pet. You can pin or baste the final opening shut temporarily.
Check for three things: you should be able to slide two fingers under every strap, the D-ring should sit centered on the back, and your pet should be able to move their front legs freely. Watch them walk, sit, and lie down. If they freeze up or try to back out of it, something’s off.
Make your adjustments now while it’s easy to unpick. Once you’ve confirmed the fit, finish the seam and trim any loose threads. A test fit takes five minutes and prevents hours of rework. It also helps your pet get used to the feel of the harness before the big reveal.
10. Personalize with Colors, Patches, and Reflective Trim
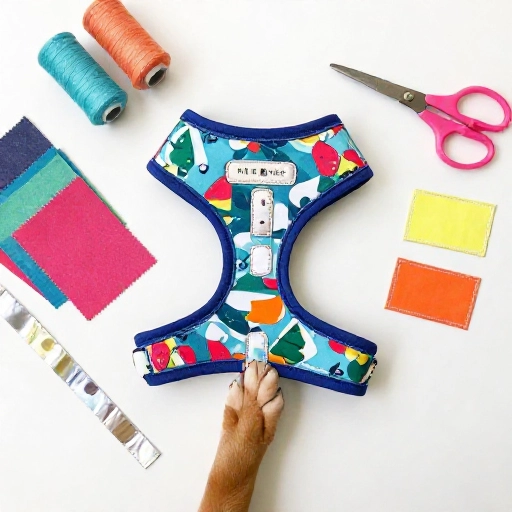
This is the fun part. Once your harness fits and functions, you get to make it yours. I love adding a pop of color with contrasting straps or a cute patch on the back. It turns a practical project into something your pet actually gets compliments on.
Reflective trim is a smart addition if you walk at dawn or dusk. Sew it along the chest strap or the back panel. You can also add a small loop for an ID tag or a tiny bell for cats. Just make sure anything you add is sewn down flat so it doesn’t catch on branches or furniture.
I keep a stash of iron-on patches, colorful webbing, and reflective ribbon. When I’m making a harness for a friend’s pet, I ask for their favorite color and a fun fact about the animal. Then I add a little detail that feels personal. That’s the magic of handmade—no two harnesses are ever the same.
Conclusion: Your DIY Harness Is Closer Than You Think
Making a pet harness by hand isn’t about being a master seamstress. It’s about paying attention to your pet’s shape, choosing materials that hold up, and reinforcing the spots that matter most. Every harness I’ve made has taught me something new, and each one gets a little better than the last.
Start with simple measurements and a basic pattern. Use the box-X stitch liberally. Test the fit before you finish. And don’t be afraid to rip out a seam and try again. Pickles is currently on his fifth handmade harness, and it’s by far the best one yet. Your pet deserves that same care and comfort.
Frequently Asked Questions
What kind of thread should I use for a pet harness?
Use a strong polyester thread, like heavy-duty upholstery thread. Cotton thread can break under stress. Polyester also resists stretching and fading, which matters for outdoor walks.
Can I make a harness without a sewing machine?
Yes, but it takes longer and requires patience. Use a heavy-duty hand needle and a backstitch or blanket stitch. For high-stress points, go over your stitches twice. Just be aware that hand-sewn harnesses may not hold up as long as machine-sewn ones.
How do I keep my pet from chewing the harness?
Make sure the fit is comfortable and the inside is soft. Chewing often means something is rubbing or pinching. Also, never leave a harness on an unsupervised pet. If they chew through it, remove it immediately and check for irritation.
What’s the best harness style for a cat?
Most cats do best with an H-style harness because it allows full shoulder movement. Look for lightweight hardware and soft webbing. Vest-style harnesses can work too, but they sometimes feel too restrictive for a cat’s flexible body.
How often should I replace a handmade harness?
Inspect it every few weeks. Check for frayed stitching, stretched webbing, or rusted hardware. Replace it immediately if any stress point looks weak. A well-made harness can last a year or more, but safety always comes first.