14 DIY Feral Cat Shelters You Can Build Today
It’s that time of year again—the wind is picking up, and the frost is creeping in. You’ve probably noticed a few neighborhood cats braving the cold, and your heart just can’t take it. I get it. I started building shelters for the strays in my backyard three years ago, and let me tell you, it changes the way you see your porch.
Before you run out and buy an expensive heated house, know this: cats are resourceful, and you probably have most of what you need in your garage right now. These DIY shelters aren’t about being fancy. They are about trapping warmth, blocking wind, and giving a nervous cat a safe place to hide. Let’s get to work.
1. The Classic Plastic Bin Shelter
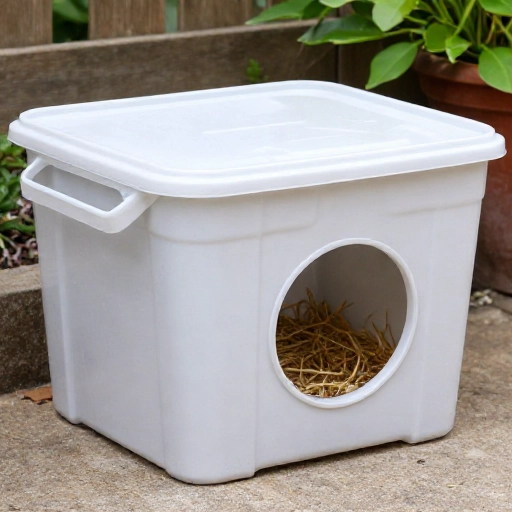
This is the gold standard for a reason. It’s cheap, waterproof, and takes about twenty minutes to assemble. Grab a large storage tote (the bigger, the better) and a smaller one that fits inside it with a couple of inches to spare on all sides.
The gap between the two bins acts like a thermos, keeping the cat’s body heat inside. Fill that gap with straw—not hay, straw—or shredded newspaper. Cut an entry hole in both bins, about six inches wide, and stuff the tunnel with straw so the wind can’t get in.
Place the lid on the top bin, and you are done. If you want to get fancy, put a brick on top so it doesn’t blow away in a storm. This shelter is invisible to predators and keeps the rain off perfectly.
- Use a utility knife to cut the hole.
- Make sure the hole is not facing the prevailing wind.
- Elevate the bin on a pallet to keep it off the frozen ground.
This is the starter shelter, the one that saves lives with zero fuss.
2. The Cooler Ice Chest Hideaway
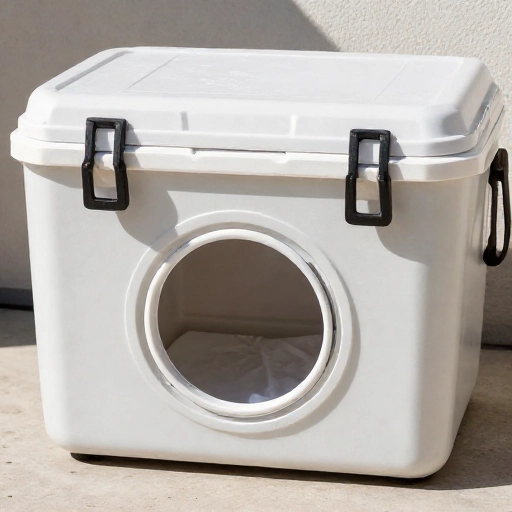
If you have an old red Igloo cooler that’s cracked or missing a handle, don’t toss it. That thick foam insulation is exactly what a feral cat needs in January. The hardest part is cutting a door into the side of the cooler, which requires a bit of elbow grease.
Use a serrated knife or a jigsaw to cut a round opening. The insulation is thick, so be patient. Once the hole is cut, line the bottom with a thick layer of straw. These coolers stay surprisingly warm because they are literally designed to keep temperature in.
I like to put a couple of bricks inside to give the cat a place to perch if the bottom gets damp. The tight seal on the lid keeps the warmth locked in, making this one of the toasty options on this list.
3. The Styrofoam Box House
You know those giant styrofoam boxes that medical supplies or fish come in? They are perfect for this. They are basically solid insulation. You can often get them for free from local restaurants or pharmacies if you ask nicely.
Cut a hole in the side of the foam box. Then, place the entire foam box inside a heavy-duty trash bag or a plastic storage bin to protect it from the elements. The foam will crumble if left exposed to the sun, so the protective layer is non-negotiable.
Fill the bottom with straw and tape up any cracks. This is a lightweight option that you can easily move around your yard to follow the sun or hide from the wind.
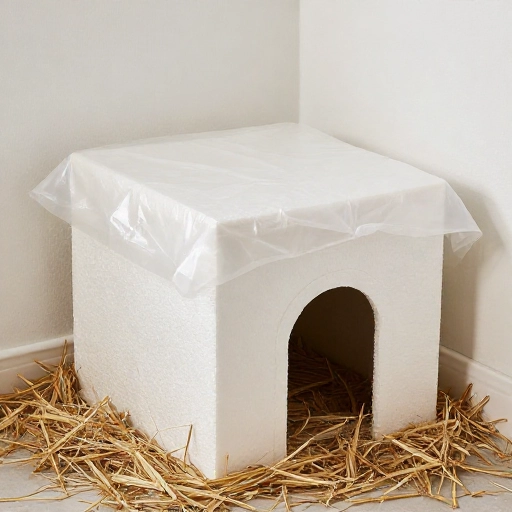
4. The Two-Tote Tunnel System
This is the luxury suite of feral cat shelters. It takes two totes and a piece of corrugated drain pipe. The idea is to give the cats a safe entry point that is separated from the sleeping area, which helps them feel more secure.
Cut a hole in the side of Tote A and Tote B. Connect them with a 4-foot piece of PVC pipe or flexible dryer vent hose. The cats enter Tote A, walk through the tunnel, and curl up in Tote B. This keeps the sleeping area extra warm because the cold air never actually enters the main chamber.
It takes a little more space, but if you have the room, this is the best design for keeping the heat in. Make sure the tunnel is big enough for a cat to turn around in, about 8 inches in diameter.
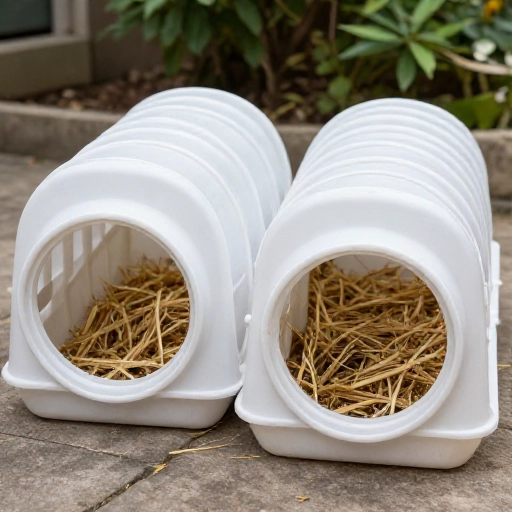
5. The Wooden Pallet Fortress
If you want something that looks a little nicer in your yard, use pallets. They are free, sturdy, and you can stack them to create a solid structure. Find a pallet that is in good shape and prop it up against a wall or fence at an angle.
This creates a natural A-frame triangle. Fill the inside of that triangle with straw and surround the sides with more pallets to block the wind. Leave one small opening for the cat to squeeze through.
This is less of a “box” and more of a “den.” Feral cats often prefer this because it feels like a natural hollow log. It’s also incredibly windproof because the wood is so thick.
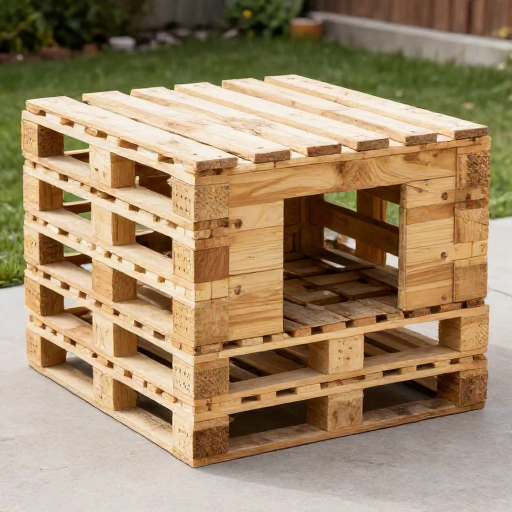
6. The Repurposed Dog House
Do you have an old dog house that is too drafty for your pup? With a few tweaks, it becomes a fantastic cat haven. The standard dog house door is way too big for a cat, letting in tons of cold air.
Nail a piece of plywood over the existing door and cut a small cat-sized hole in it. This instantly makes the interior warmer. Then, fill the floor with a thick layer of straw.
Hang a heavy rubber strip or a piece of canvas over the tiny door to act as a flap. It’s a simple fix that turns a drafty dog house into a cozy cat cabin. The elevated floor of most dog houses is a huge bonus for keeping paws dry.
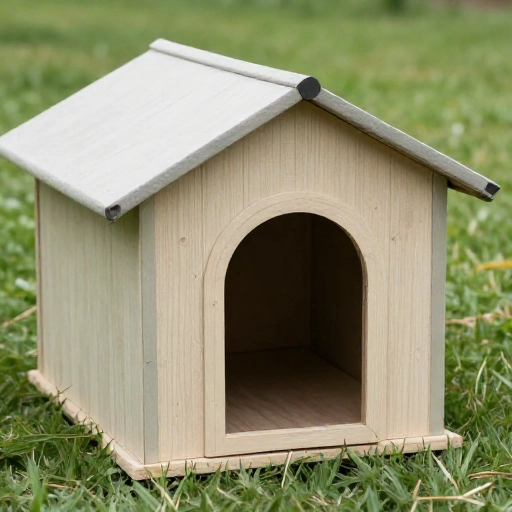
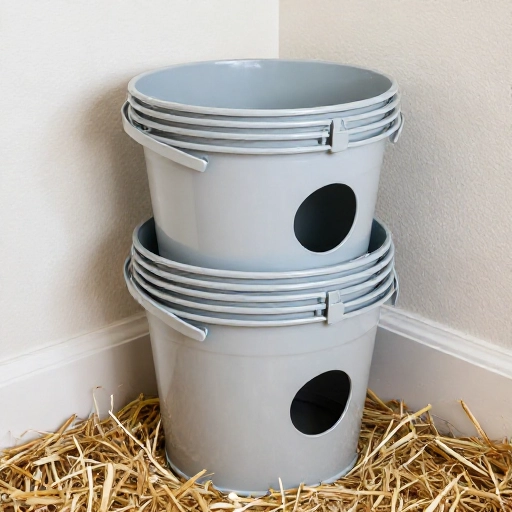
7. The Bucket Stack Cubby
This one is a bit of a hack. Take two large 5-gallon buckets and a piece of plywood. Place the buckets upside down, about two feet apart. Lay the plywood flat on top of the buckets. This creates an elevated floor.
Then, take a large plastic tote and place it upside down over the plywood. This creates a roof. The space between the floor and the roof is the shelter. It’s a bit open, so you have to wrap the sides with a tarp or a heavy blanket.
It sounds weird, but it creates an air gap that keeps the floor off the cold ground. I saw this on a rescue group’s page and it works surprisingly well in wet climates.
8. The Cardboard Box and Tarp Bundle
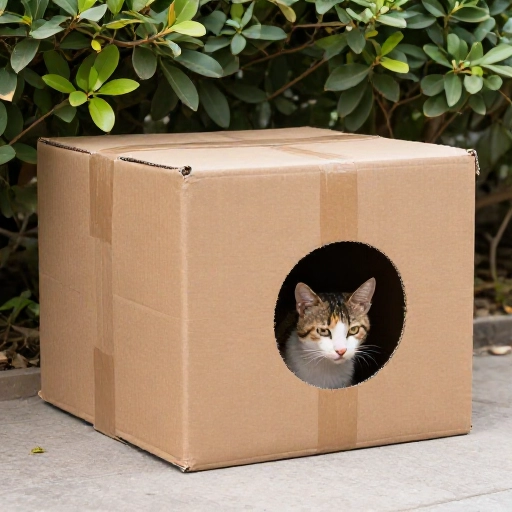
This is the emergency shelter. If a cold front is coming tonight and you have zero time, this will do. Take a sturdy cardboard box and line the inside with a mylar emergency blanket. Then, fill it with straw.
Wrap the entire box in a heavy-duty garbage bag or a blue tarp. Tape it up securely. The cardboard provides insulation, the mylar reflects body heat, and the tarp keeps everything dry.
This won’t last all winter, but it will save a cat from freezing tonight. Place it under a deck or in a shed to give it extra protection from moisture.
9. The Igloo Cooler with a Porch
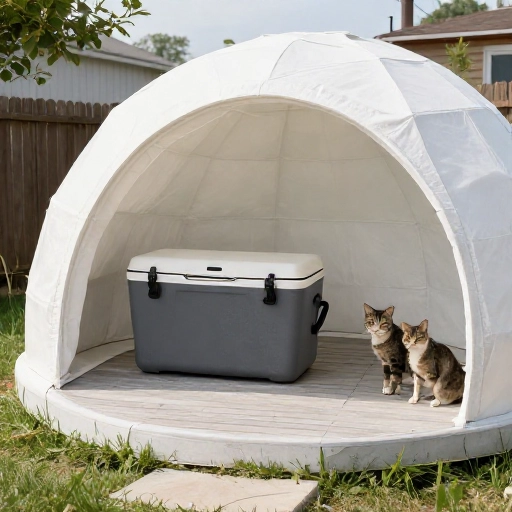
Take the cooler idea from earlier and add a “porch.” Cats like to have a place to sit outside the door where they can watch for danger. Cut a piece of plywood and place it in front of the cooler door.
Prop the plywood up so it creates a little awning over the entrance. This keeps snow and rain from blowing directly into the hole. It also gives the cat a dry place to stand while it decides if it wants to go inside.
This small addition makes a huge difference in the warmth of the interior because it creates a buffer zone.
10. The Insulated Shipping Box
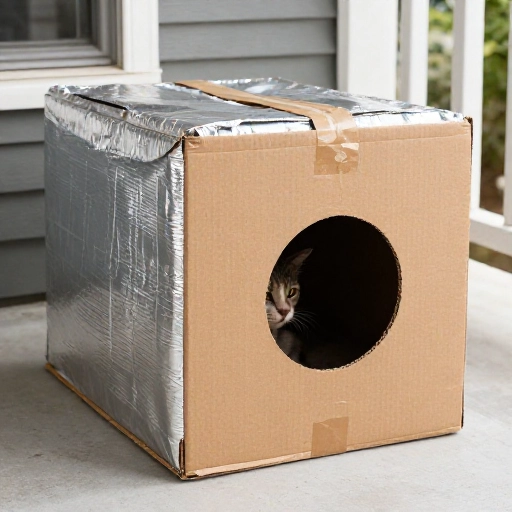
Those foil-lined shipping boxes you get from meal delivery services are fantastic. They are basically giant thermal blankets. If you have a few of these, you are in business.
Tape them together to form a box shape. Cut a small round hole in one side. Then, place this entire structure inside a larger plastic storage tote for waterproofing.
The foil lining reflects the cat’s body heat back onto them. It’s like they are sleeping in a space blanket. This is one of the lightest shelters you can make, so it’s easy to hang from a railing or tuck into a tight corner.
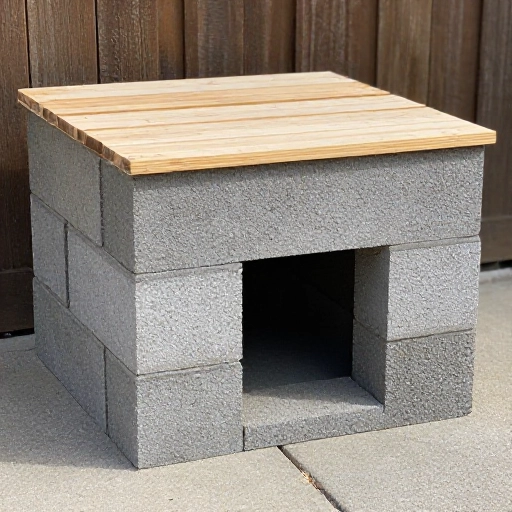
11. The Cinder Block Bunker
This is the “set it and forget it” shelter. Cinder blocks are heavy and hold heat well. Arrange them in a rectangle, leaving a gap for a door. Stack them two or three high for the walls.
Place a piece of plywood on top for the roof. Put a heavy paver stone or brick on top of the plywood to keep it secure. Fill the inside with straw.
The thermal mass of the concrete helps moderate the temperature. It won’t be piping hot, but it won’t be freezing either. This is a great option if you live in a high-wind area where plastic totes will blow away.
12. The Under-Deck Cat Den
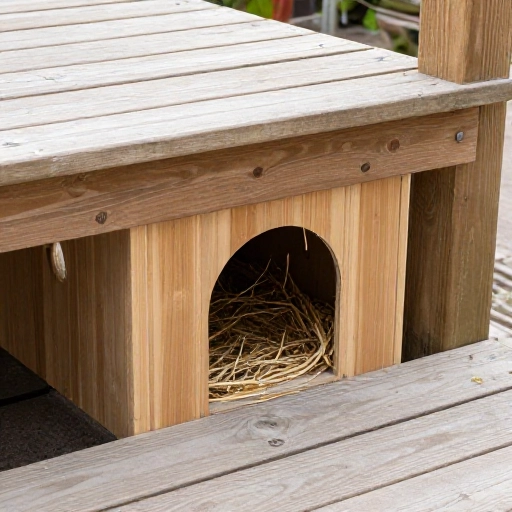
If you have a deck, you already have a shelter. You just need to enclose it. Use lattice or plywood to block off the underside of your deck, leaving a small gap in one corner.
Inside, place a couple of plastic totes filled with straw. The ground under the deck stays warmer than the open air, and the wood deck above blocks the rain and snow.
This is a low-maintenance option because it uses the existing structure of your home. The cats will find it on their own, trust me. Just make sure the opening is big enough for them but small enough to keep out larger animals.
13. The Wine Box Condo
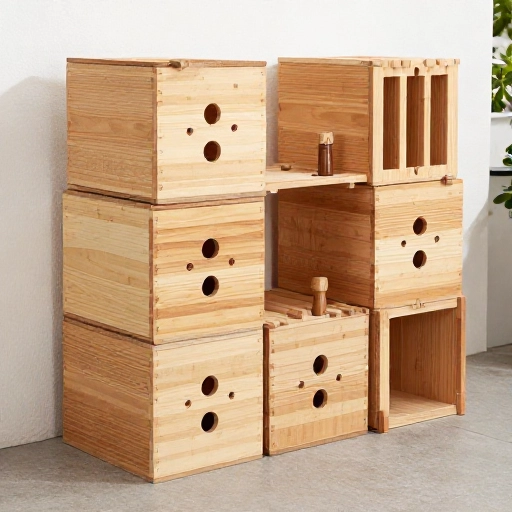
Those wooden wine boxes with the little hinged doors are adorable and perfect for a single cat. They are sturdy and already have an opening, but you need to cover it with a flap.
Because they are small, they trap body heat incredibly well. Line the inside with a piece of foam insulation or a towel, then fill it with straw.
These are great for putting under bushes or in a shed. They look a lot more natural than a plastic tote, so they are great for yards where aesthetics matter. You can often get these for free from liquor stores.
14. The Heated Bucket Room
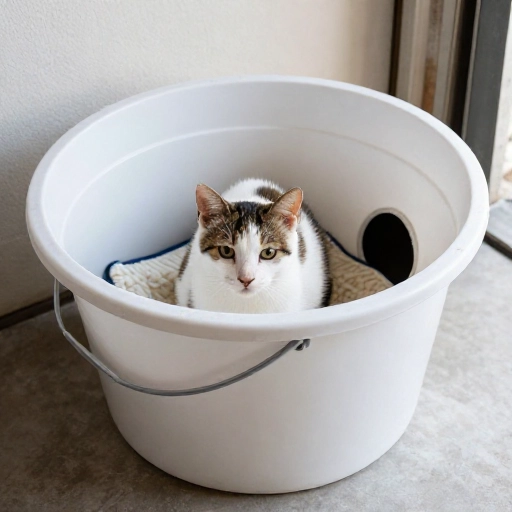
This is for the extreme cold. Take a large bucket and a smaller bucket. Place the smaller bucket upside down inside the larger bucket. This creates a “shelf.” The cat sits on top of the smaller bucket, off the floor.
Then, cut a hole in the side of the large bucket. Place a reptile heating pad (the kind made for under tanks) under the smaller bucket. This raises the temperature of the floor without the cat touching the heat source directly.
Always use a heating pad that is designed for pets and has a chew-proof cord. This is a step up from just straw and is a lifesaver for very old or sick cats during freezing nights.
A Few Final Tips for Your Shelter
Remember, it is always better to use straw instead of blankets. Blankets absorb moisture and freeze solid, which can actually kill a cat. Straw stays dry and provides a natural insulation layer that cats can burrow into.
Place your shelters in quiet areas away from foot traffic and loud noises. Elevate them off the ground if you can. Once you set it up, don’t move it—feral cats are creatures of habit and will look for it in the same spot every night.
Check the shelter weekly to make sure the straw is dry and there are no unwanted pests. If you see condensation inside, add more straw or make the hole slightly bigger for ventilation.
Frequently Asked Questions
Q: Is hay or straw better for feral cat shelters?
A: Straw, 100%. Straw is the hollow stalk of a grain plant. It repels moisture and stays fluffy. Hay is grass that is fed to animals; it absorbs moisture, molds quickly, and freezes solid. Always use straw.
Q: Should I use blankets or towels inside the shelter?
A: No. Blankets and towels soak up moisture from the cat’s fur and breath, then freeze. This makes the shelter colder and dangerous. Straw is the only safe bedding material.
Q: What size should the entry hole be?
A: About 6 to 8 inches in diameter. This is big enough for a cat to squeeze through comfortably but small enough to keep out raccoons and dogs.
Q: Where is the best place to put the shelter?
A: Near a building, fence, or bush to block the wind. Make sure the doorway faces away from the prevailing wind and rain. Elevate the shelter on a pallet or bricks to keep it off the frozen ground.
Q: Will a feral cat actually use a shelter I build?
A: It can take a few days or even weeks. They need to feel safe. Don’t force them in. Put a little bit of food or catnip near the entrance to get them interested, and be patient. Once they realize it’s a safe, warm place, they will use it.