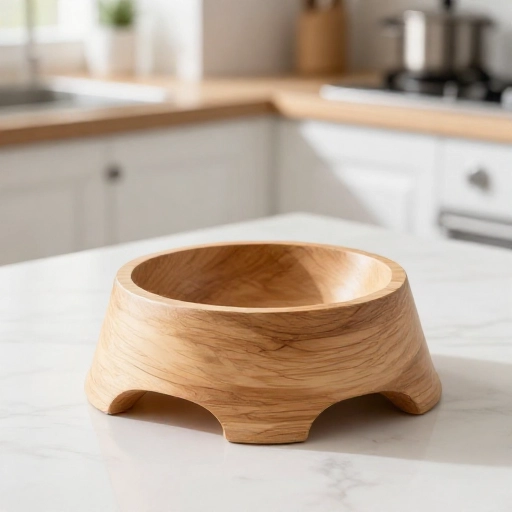
14 Indoor Cat House Plans That Save Money (and Your Furniture)
Let’s be real for a second. You love your cat more than almost anything, but you don’t love the $150 price tag on those fancy cat trees at the pet store. And you definitely don’t love the way your feline friend has claimed your favorite armchair as their personal scratching post. I get it. Building your own cat house is the perfect middle ground—it’s budget-friendly, totally customizable, and honestly, it’s a fun weekend project.
I’ve rounded up 14 of my favorite DIY indoor cat house plans that won’t break the bank. Whether you’re a seasoned woodworker or someone who’s never held a drill before, there’s something here for you. The best part? You probably already have most of these materials hiding in your garage or recycling bin. Let’s get building—your cat will thank you with endless purrs.
1. The Classic Cardboard Box Castle
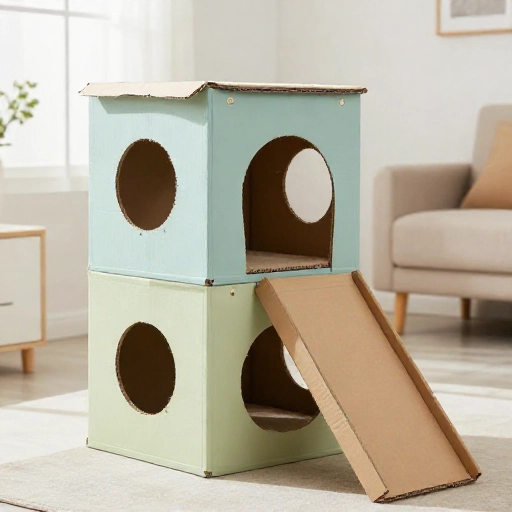
Before you throw out that Amazon delivery box, stop! Cardboard is a cat’s best friend. This is the easiest and cheapest project you’ll ever make. You just need a few boxes of different sizes, a box cutter, and some duct tape.
Cut doorways and windows into the sides, then tape the boxes together to create a multi-room mansion. You can leave some boxes open on top for easy access, or close them all for a cozy, dark hideaway. This is perfect if you want to test out a layout before committing to wood.
Pro tip: Cats love a surprise. Cut a few “peekaboo” holes near the top so they can spy on you from above. When the box gets worn out, just recycle it and build a new one. It costs literally zero dollars.
2. The Upscale Wine Box Condo
If you have a friend who loves wine (or you’re a frequent visitor to your local liquor store), start collecting those wooden wine crates. They’re sturdy, have a beautiful rustic look, and they’re usually free or under five bucks.
Stack the crates on top of each other, alternating the direction so the openings face different sides. Secure them with screws or wood glue. Inside, place a soft blanket or a plush cushion. The natural wood smell is a huge hit with cats, and the slatted sides provide great ventilation.
To make it extra fancy, you can leave the crates natural or stain them to match your living room decor. This isn’t just a cat house; it’s a piece of furniture that looks intentional and stylish.
3. The Repurposed Nightstand Hideaway
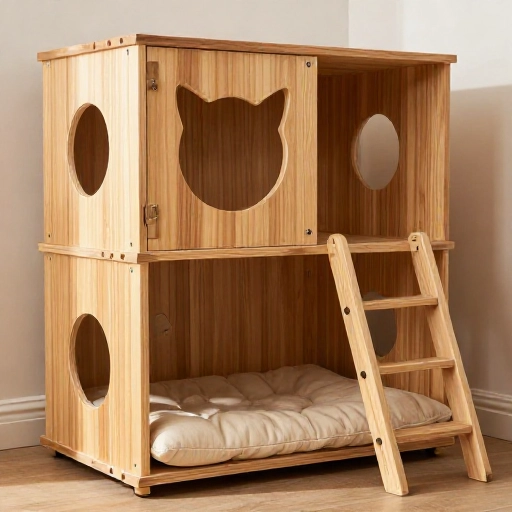
I love this one because it gives old furniture a second life. Look for a small, solid wood nightstand at a thrift store or a garage sale—usually, you can snag one for around $10. You want one with a door or drawers you can remove.
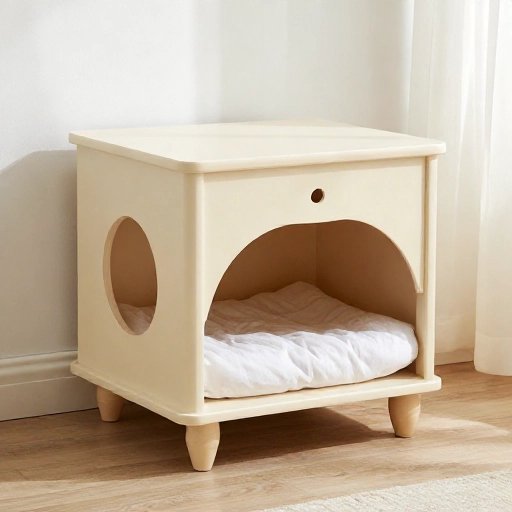
Remove the drawers and the bottom panel to create a tunnel-like space. Cut a round hole in the side of the nightstand so your cat can enter and exit without jumping over the top. Place a cozy bed inside. The top of the nightstand can still hold your books or a plant, so you don’t lose any surface space.
This is a genius way to give your cat a private sanctuary while keeping your home looking tidy. Just make sure to sand down any rough edges so your cat doesn’t snag their fur.
4. The Simple PVC Pipe Tunnel System
Does your cat love to dart through tunnels? Then this is the project for you. You’ll need some large-diameter PVC pipes (the kind used for plumbing), some connectors, and a saw. This is a bit more industrial-looking, but cats go absolutely nuts for it.
You can create a maze that runs along the floor or even builds upward. Connect the pipes with elbow joints and T-junctions. To make it cozy, line the inside with an old fleece blanket or a piece of carpet. The smooth surface is easy to clean, and the structure is very durable.
Just be careful with the sharp edges. Use sandpaper or a file to smooth out the cut ends. You can also paint the PVC to make it look cooler, but honestly, my cat doesn’t care what it looks like—she just loves chasing her toy mice through it.
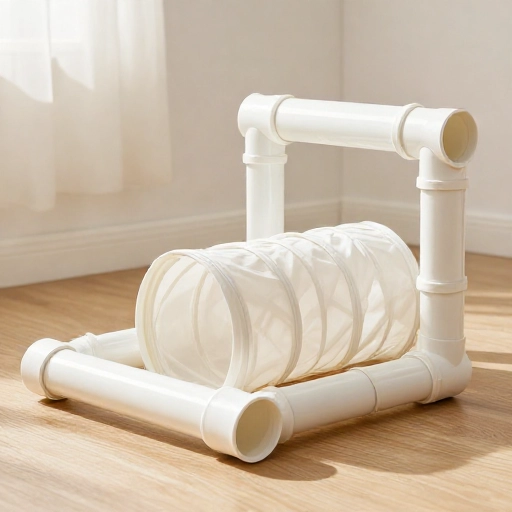
5. The Cinder Block & Wood Shelf Tower
This is the ultimate budget build for cats who love to climb. Head to your local hardware store and grab a few cinder blocks (about $2 each) and some scrap wood planks. You don’t need any screws or glue—just stack them.
Create a zig-zag pattern with the blocks and wood to form a staircase or a tower. The weight of the cinder blocks keeps it super stable, so you don’t have to worry about it toppling over. Leave some blocks with the holes facing up and fill them with a soft cushion for a nook.
The raw, industrial look is actually pretty trendy right now. If you want to soften it up, you can spray-paint the blocks or wrap the wood planks in sisal rope for a scratching surface. It’s a heavy-duty option that will last for years.
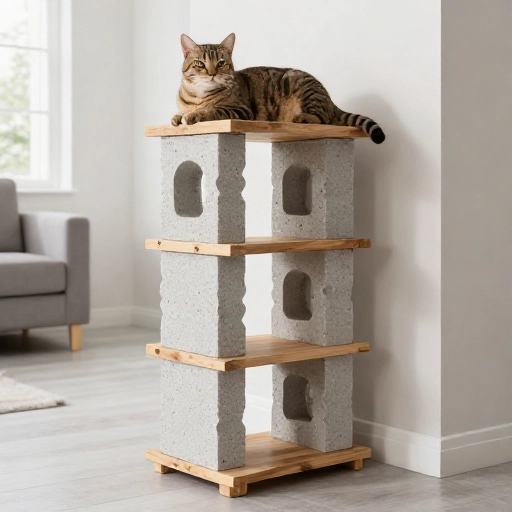
6. The Cozy Sweater-Turned-Bed
Don’t throw away that old chunky-knit sweater that’s pilled up or has a hole in the elbow. Turn it into the coziest bed your cat has ever seen. You’ll also need a large embroidery hoop or a wire frame to keep the shape.
Thread the sweater over the hoop so the sleeves hang down. Weave the sleeves together and stuff them with polyester filling to create a plush rim. The body of the sweater becomes the bottom of the bed. It’s like a hug for your cat.
This is a no-sew project if you use a strong fabric glue instead of stitching. It’s perfect for kittens or senior cats who like to feel snug. Plus, the wool keeps them warm in the winter months.
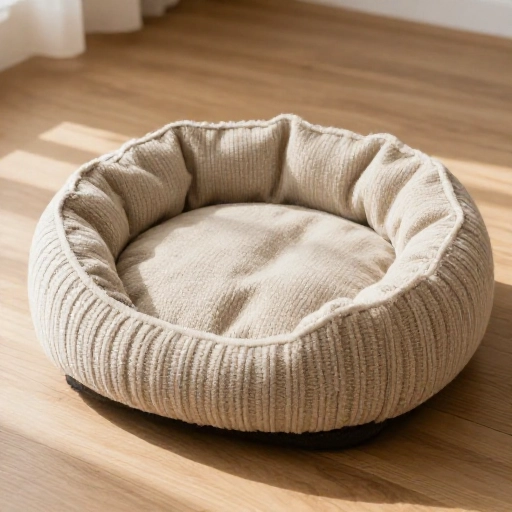
7. The Bookcase Catwalk
If you have an old, bulky bookcase that you’re about to donate, stop right there. You can turn it into a vertical playground. Remove some of the shelves to create tall spaces, and keep others to create platforms.
Cover the shelves with carpet remnants or stick-on tiles for grip. Cut holes in the shelves so your cat can jump from level to level through the inside. This creates a “catwalk” effect. You can even hang a rope or a toy from the top shelf for extra fun.
Secure the bookcase to the wall with a bracket to prevent tipping. This is a great way to utilize vertical space in a small apartment. Your cat will love having a high perch to survey their kingdom.
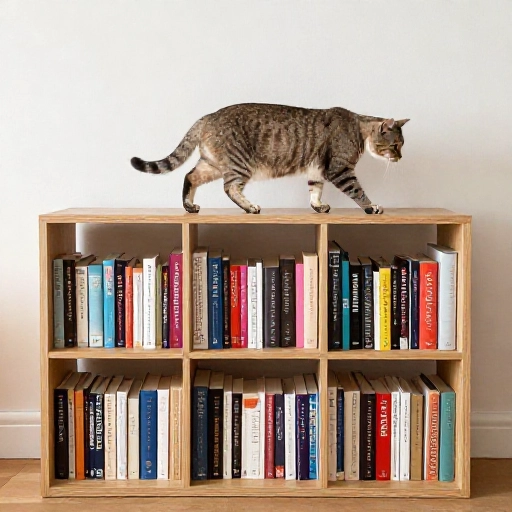
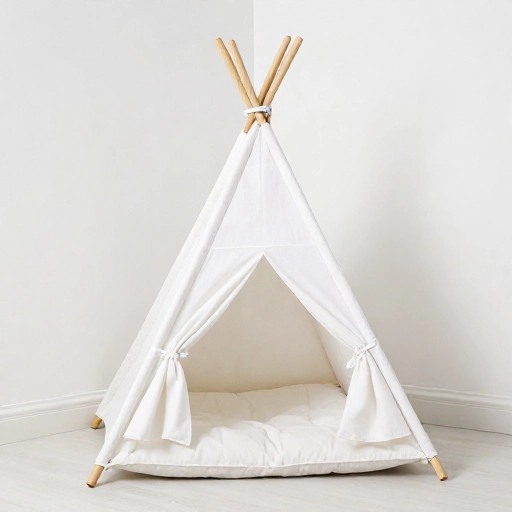
8. The Teepee Tent
This one is adorable and super simple. You need three or four long wooden dowels or sturdy branches. Tie them together at the top with a strong rope or zip ties. Spread the bottom legs out to form a teepee shape.
Drape an old sheet, a piece of fabric, or even a large scarf over the frame. Cut a flap in the front for a door. Place a soft blanket inside. This is lightweight and portable, so you can move it from room to room.
You can sew the fabric to the frame or just use clothespins to keep it in place. It looks like a cute bohemian decor piece when you’re not using it. My cat loves to hide in here when the doorbell rings.
9. The Two-Tier Stool Hideout
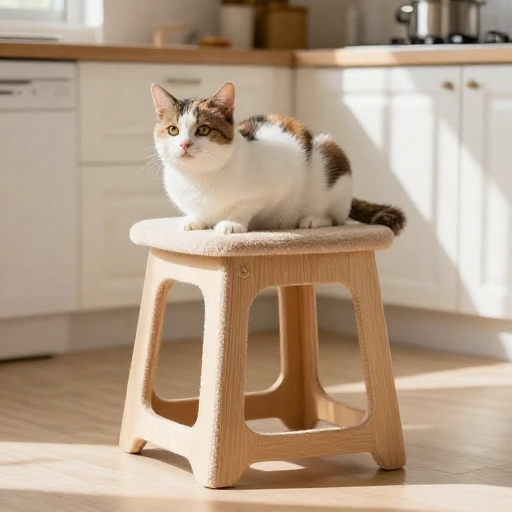
Hit up a thrift store for two small wooden stools or side tables. You want them to be relatively similar in size. You’ll also need some strong wood glue and screws. This is a quick build that takes less than an hour.
Place the stools facing each other, upside down, so the legs interlock. Secure them together. The space between the seats creates a hidden cubby. You can add a cushion or a blanket inside. Turn one of the stools right-side up on top to create a second lounging level.
This is a great way to add a “cat cave” to your living room without a lot of bulk. You can paint the wood to match your trim or leave it rustic. It’s a clever use of found furniture.
10. The Ladder Cat Perch
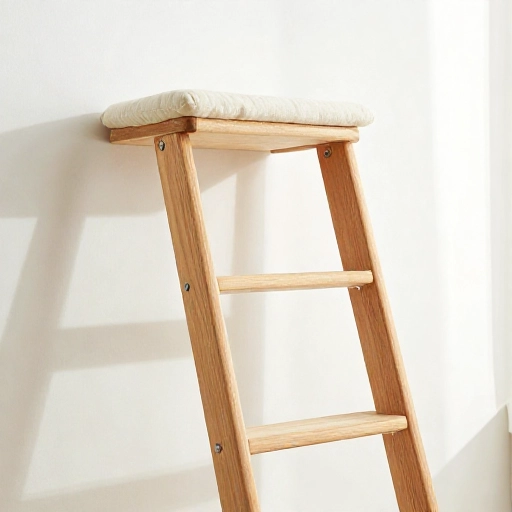
Got an old wooden ladder? Maybe from a barn or a flea market? Leaning it against the wall at a slight angle creates an instant climbing structure. The rungs are perfect for gripping, and the height is just right for jumping.
Place wooden planks across the rungs to create small platforms. Secure them with screws or zip ties. You can hang a toy from the top. This is a space-saver because it leans against the wall and takes up very little floor space.
Sand it down to prevent splinters and paint it a fun color. This is a great option for active cats who need to burn off energy. They can race up and down the ladder to their heart’s content.
11. The Blanket Fort Cloud
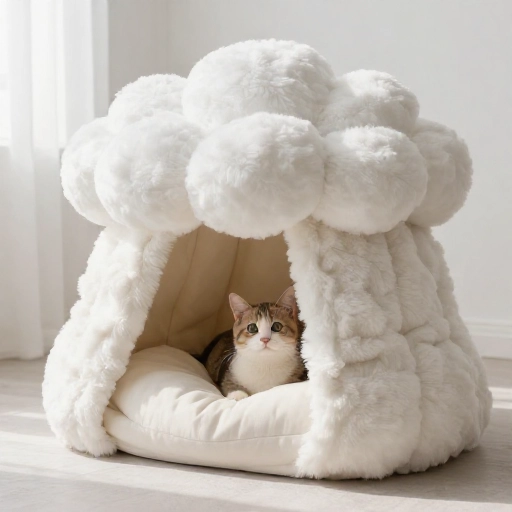
This is the easiest one on the list and requires zero tools. You just need a sturdy table or a desk and a large, soft blanket or duvet. Drape the blanket over the table so it hangs down to the floor on all sides.
Leave a little gap on one side for a doorway. You can stuff pillows and blankets underneath to make it super comfy. The weight of the blanket creates a dark, den-like atmosphere that cats absolutely adore for napping.
This is a temporary solution, but it’s great for a rainy day or if you have guests coming over and need to hide the cat’s mess quickly. It also makes a fun play fort for kids and cats to share. Just be prepared for the blanket to get covered in fur.
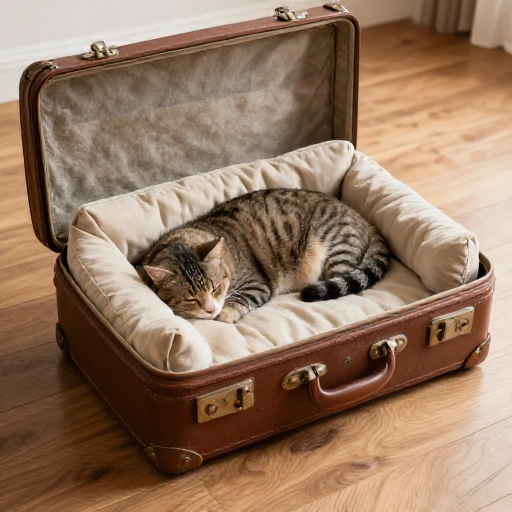
12. The Suitcase Time Capsule
There’s something so nostalgic about an old, hard-shell suitcase. If you find one at a thrift store for a few bucks, you can make a vintage-style cat bed. Open the suitcase and place a soft cushion inside.
You can leave it open flat on the floor, or you can prop the lid open with a small hinge and a chain to create a canopy effect. The interior lining is usually a cute vintage pattern, which looks great in a bohemian or retro themed room.
You can even cut a hole in the side of the suitcase so your cat can enter and close the lid for privacy. This is a unique piece that will start a conversation. It’s a fun way to upcycle something that might otherwise end up in a landfill.
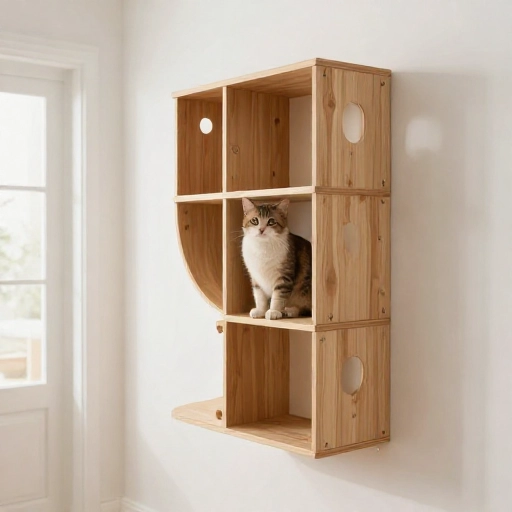
13. The Cubby Shelf Wall Mount
If you have basic shelves, you can make a wall-mounted cat highway. Purchase a few floating shelves or use scrap wood. Mount them on the wall at staggered heights—some close together for jumping, some far apart for a challenge.
Cover the shelves with carpet or a non-slip mat so your cat can land safely. You can add a small cushion on one of the top shelves to create a sunny lounging spot. This is a great way to use vertical space and keep your cat off the kitchen counters.
Make sure to use heavy-duty wall anchors to support your cat’s weight. This is a modern, clean look that doesn’t take up any floor space. It’s perfect for minimalists who want to pamper their pets without the clutter.
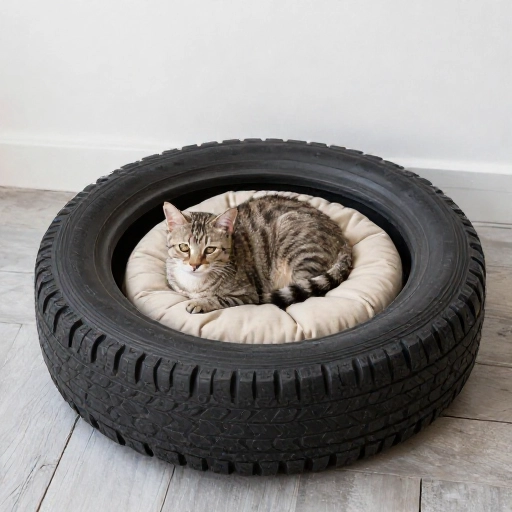
14. The Upcycled Tire Bed
Do you have an old car tire lying around? It makes a heavy, durable, and cool-looking cat bed. Wash the tire thoroughly with soap and water, and let it dry completely in the sun. Spray-paint it a fun color like teal or mustard yellow to match your decor.
Place a round cushion or a folded blanket inside the tire hole. The thick rubber sides are perfect for your cat to lean against, and they also make a great scratching surface if you wrap the outside in sisal rope.
This is a rugged, weatherproof option that could also work on a covered porch. The weight of the tire means it won’t slide around when your cat jumps in. It’s a heavy-duty bed that looks surprisingly chic.
Wrapping It Up
Building a cat house doesn’t have to be a stressful or expensive ordeal. It’s all about seeing the potential in everyday items and knowing what makes your cat tick. Whether they prefer high perches, dark caves, or cozy blankets, there’s a DIY plan here that will fit their personality and your budget.
I always find that the projects I build myself are the ones my cat loves the most. Maybe it’s because they smell like me, or maybe it’s just the joy of playing inside the box before I even finish building it. Either way, you can’t beat the satisfaction of watching your furry friend enjoy something you made with your own two hands.
Frequently Asked Questions
Q: What is the cheapest material to build a cat house?
A: Cardboard is absolutely the cheapest—it’s often free. However, if you want something more durable, look for scrap wood or repurposed furniture like nightstands and bookshelves. These are often available for very little money at thrift stores.
Q: How do I get my cat to use the new house I built?
A: Patience is key. Place a familiar blanket or a piece of your worn clothing inside to attract them with your scent. You can also sprinkle catnip inside or hide their favorite treats in there. Don’t force them in—let them explore on their own terms.
Q: Is it safe to use old furniture for cat houses?
A: Yes, but you need to inspect it first. Avoid furniture that has been treated with harsh chemicals or has peeling paint (which could be lead-based). Sand down any rough edges or splinters, and make sure there are no loose nails or staples that could hurt your cat.
Q: How high should I build the cat shelves?
A: It depends on your cat’s age and agility. Senior cats or kittens need lower steps, while young adults can handle higher jumps. A good rule of thumb is to space shelves 12-18 inches apart so they can jump up easily without straining. Always secure wall-mounted units to studs for safety.
Q: Can I use regular glue for a cardboard cat house?
A: Yes, hot glue is excellent for cardboard and dries quickly. Regular white school glue works too but takes longer to set. If you want to be extra safe (in case your cat tries to chew), use a non-toxic glue stick. Duct tape is also a great, sturdy option.