14 Simple Steps to DIY Dog Winter Boots That Actually Stay On
Winter walks with your dog can be magical, but snow, ice, and salt can really hurt those precious paws. I have been there myself—trying those fancy store-bought boots that fall off after two steps. It is frustrating, cold, and honestly, a waste of money.
That is why I started making my own dog boots at home. It is easier than you think, and you probably already have most of the materials lying around. These DIY boots are warm, snug, and best of all—they actually stay on during zoomies.
Let me walk you through every step. Grab your supplies, and let us make winter walks cozy for your furry best friend.
1. Gather Your Simple Supplies
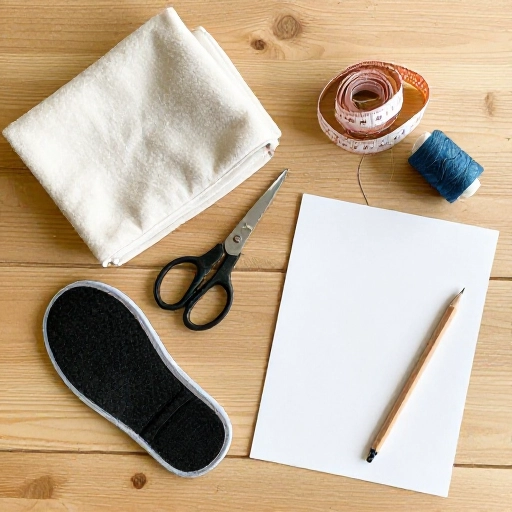
First, you need the basics. Look for an old fleece jacket, a pair of thick socks you never wear, or even a worn-out sweater. Fleece is perfect because it is warm and flexible. You will also need scissors, a needle, strong thread, and some Velcro strips. Do not forget a measuring tape—you will need it for sizing.
For the sole, I use an old yoga mat or a piece of thick felt. It gives grip and protects from sharp ice. Keep everything nearby so you can work quickly.
2. Measure Your Dog’s Paw Correctly
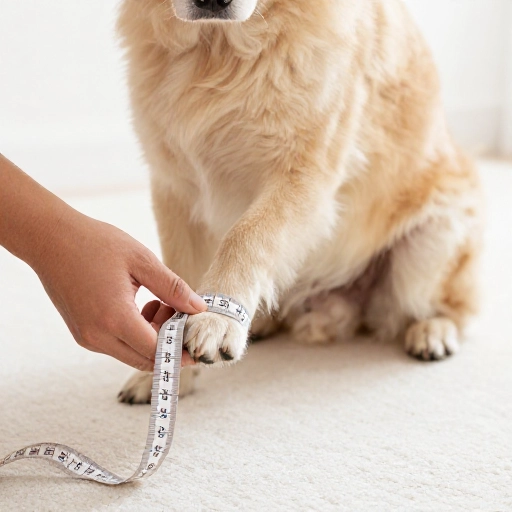
This is the most important step. Have your dog stand on a piece of paper. Mark where the paw starts and ends. Measure the width and length. Add one extra inch to each measurement for seam allowance and wiggle room.
Do this for each paw. Dogs often have slightly different sized front and back paws. Write it down so you do not forget. A snug fit means the boot will not slip off mid-walk.
3. Cut a Simple Boot Pattern from Paper
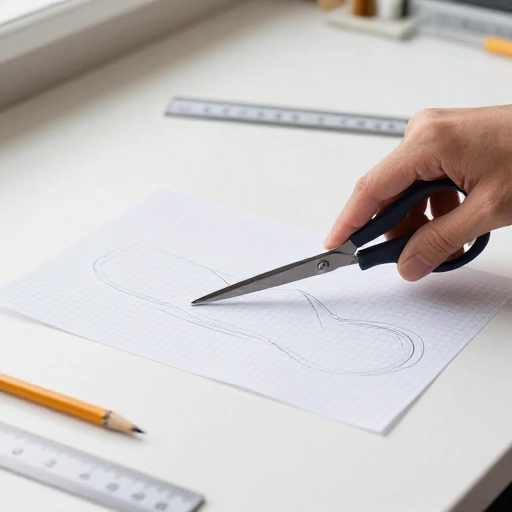
Use your measurements to draw a boot shape on paper. It should look like a rounded rectangle with a little taper at the top. The bottom is flat, and the top should be tall enough to cover the ankle.
Trace this pattern onto your fabric. Cut two pieces for each boot—one for the outer layer and one for the inner lining. If your fabric is thin, double the lining for extra warmth.
4. Choose a Non-Slip Sole Material
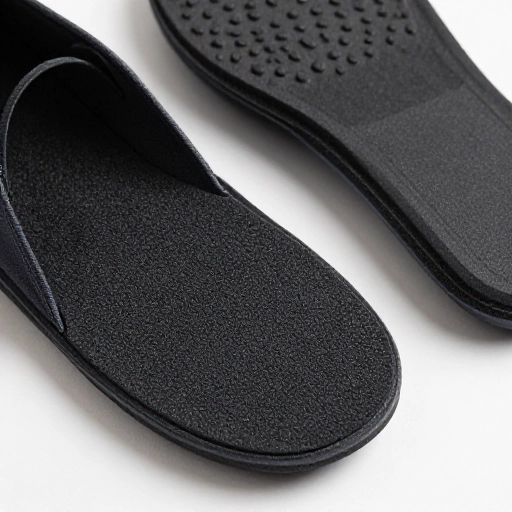
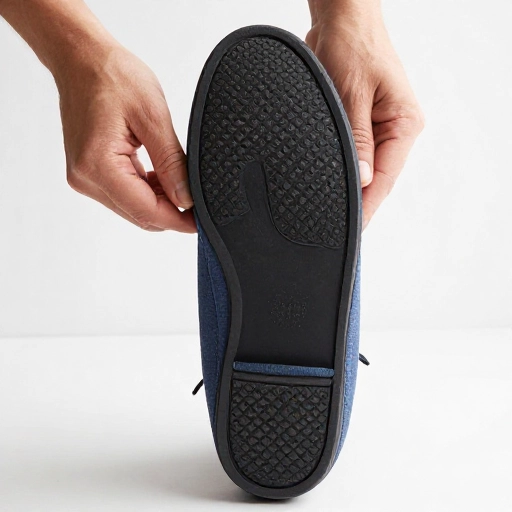
Your dog needs traction on slippery sidewalks. Cut a sole shape from your yoga mat or felt. Make it slightly smaller than the fabric boot so it fits inside neatly.
I also like to add a few dots of hot glue on the bottom. This creates tiny grip bumps. It is a game-changer for icy patches. Trust me, your dog will thank you.
5. Sew the Fabric Boot Body
Place your two fabric pieces together with the nice sides facing in. Sew along the sides and bottom, leaving the top open. Turn it right side out. This creates a soft pouch for the paw.
Do not worry if your stitches are not perfect. Hand sewing works fine. Just make sure they are strong. Double stitch the bottom because that is where the most pressure happens.
6. Insert the Sole Inside the Boot
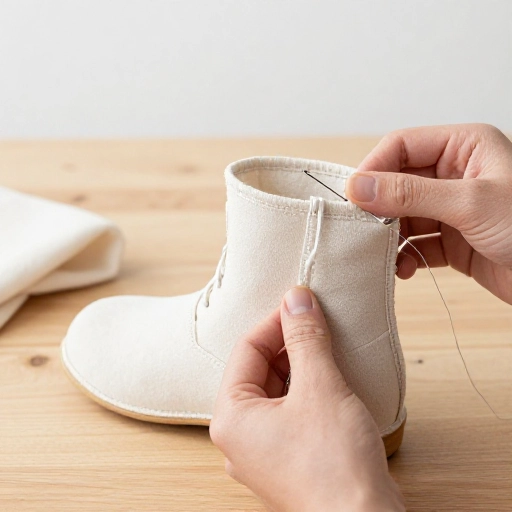
Slide your cut sole into the bottom of the fabric pouch. It should fit snugly. If it is loose, trim it a little. You want it to stay flat inside.
You can hand stitch the sole in place along the edges. This keeps it from bunching up when your dog runs. A few simple stitches around the perimeter will do the trick.
7. Add a Cozy Fleece Lining
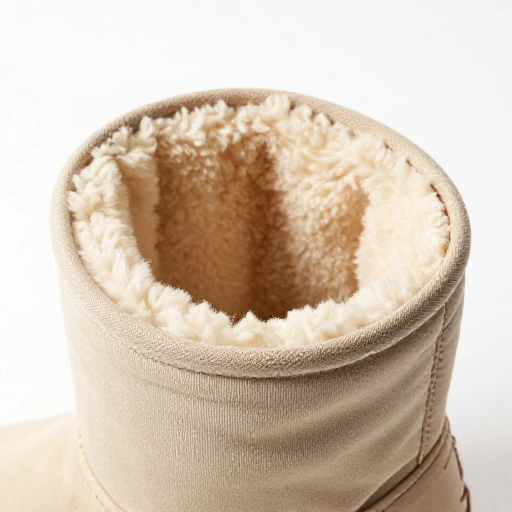
Cut a second boot shape from soft fleece. Sew it the same way as the outer boot, but leave the top open. Slide this lining inside the outer boot. The fleece will be against your dog’s paw, keeping it warm and comfortable.
Tuck the raw edges of the lining under and hand stitch them to the outer boot’s top edge. This makes a clean, soft finish that will not irritate your dog’s leg.
8. Attach Velcro Straps for a Secure Fit
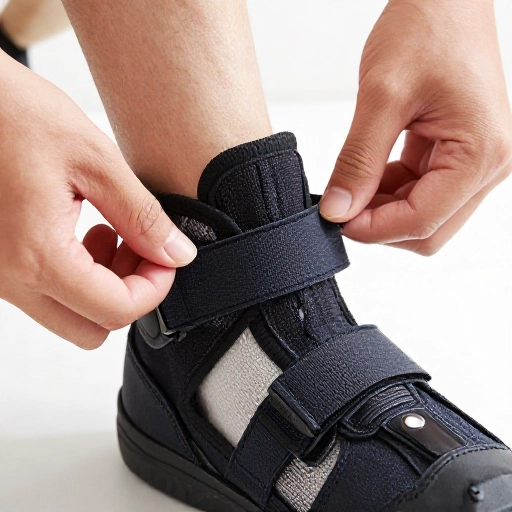
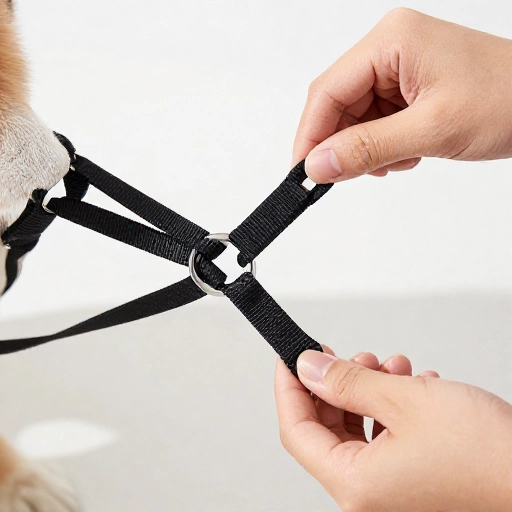
Cut two strips of Velcro for each boot. Sew one strip on the outside near the top. Sew the other strip on the inside of the opposite side. When you wrap the boot around your dog’s leg, the Velcro will hold it tight.
Position the straps so they sit above the ankle joint. This is where the boot is most likely to slip off. A snug strap here makes all the difference.
9. Test the Fit on Your Dog’s Front Paw
Slide the boot onto your dog’s front paw gently. Wrap the Velcro strap and adjust. Your dog should be able to walk without the boot sliding down. If it is too loose, add another strap or move the Velcro closer together.
Let your dog wear it for a few minutes indoors. Watch for any signs of discomfort. If they try to chew it off, the fit might be too tight. Loosen the strap slightly.
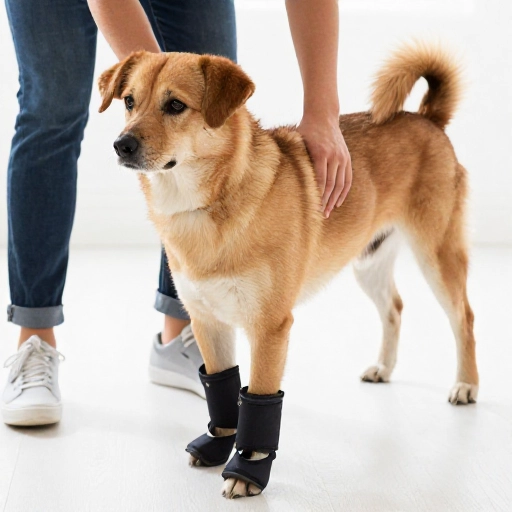
10. Make a Waterproof Outer Layer
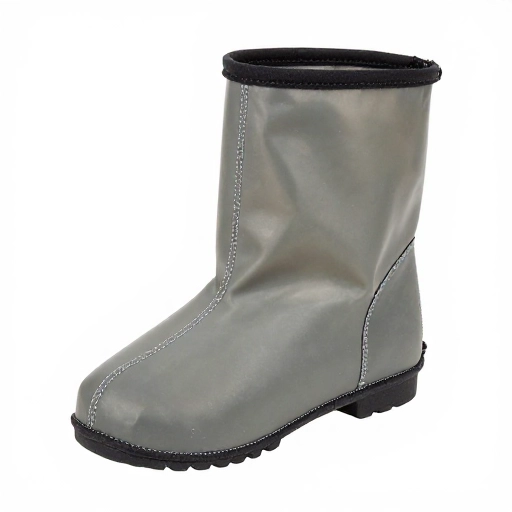
If you walk in slush or wet snow, your boots need a waterproof layer. Cut an outer shell from an old rain jacket or a plastic tablecloth. Sew it just like the fabric boot, then slide it over the fleece boot.
This layer keeps moisture out and adds durability. You can attach it with a few stitches at the top. It is easy to remove and wash separately.
11. Add a Reflective Strip for Safety
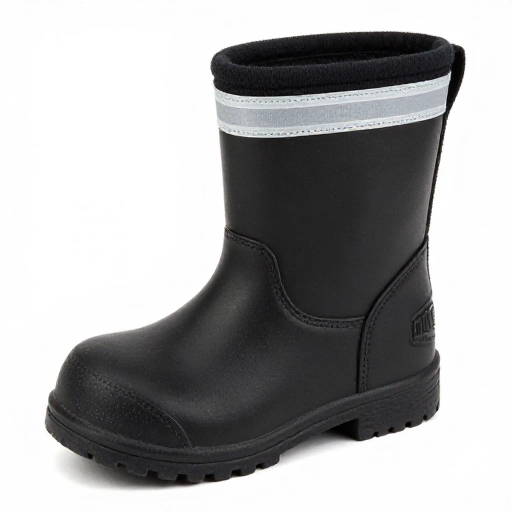
Winter days are short, and walks often happen in the dark. Sew a small reflective strip around the top of each boot. You can buy reflective ribbon at any craft store, or cut a strip from an old reflective vest.
This helps cars and other people see your dog. It also makes it easier to spot your pup if they run off into the snow. Safety is always worth the extra minute.
12. Create a Quick-Release Knot for Easy Removal
Sew a small loop of elastic at the top back of each boot. This gives you a handle to pull the boot off quickly when you get home. No more wrestling with cold, wet paws.
You can also use this loop to hang the boots to dry after a snowy walk. It is a small detail that makes your life so much easier.
13. Make a Second Pair for Backup
Once you finish the first set, make a second pair. Boots get wet and dirty fast. Having a spare set means your dog can wear dry boots on the next walk. You can rotate them while the other pair dries.
Use leftover fabric from your first project. The second pair will go much faster because you already know the steps. It is worth the extra hour.
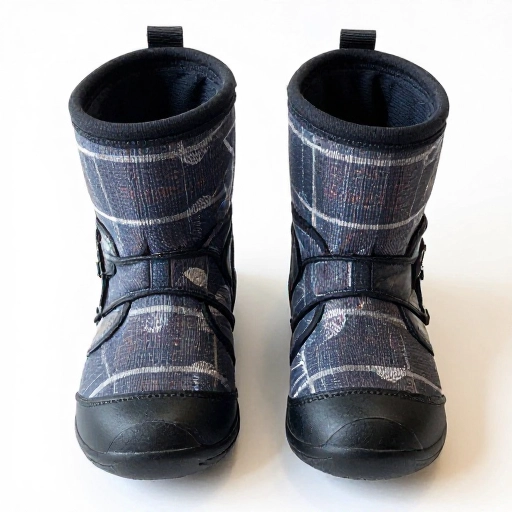
14. Do a Final Walk Test in the Snow
Take your dog outside for a short test walk. Watch how they move. If the boots stay on and your dog walks happily, you did it right. If any boot slips, adjust the Velcro or add a strap.
After the walk, check the boots for wear. Reinforce any stitches that look loose. Your dog will get used to the boots after a few walks. Soon, they will be running and playing like normal.
Conclusion
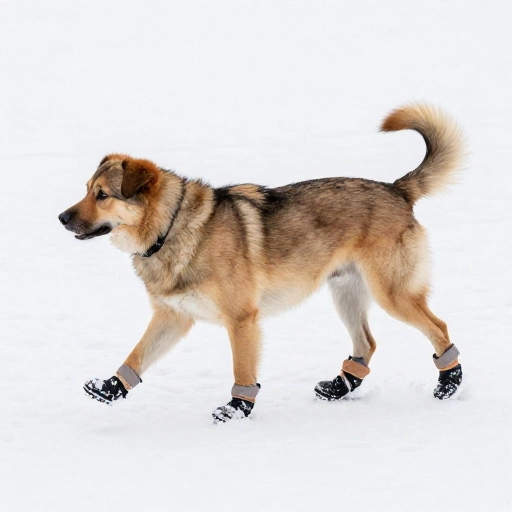
Making your own dog winter boots is not just about saving money. It is about knowing exactly what fits your dog. No more guessing sizes or dealing with boots that fall off. You get to customize the warmth, grip, and style.
I love seeing my dog trot through the snow with happy, protected paws. It gives me peace of mind on every winter walk. Plus, it is a fun little project you can do in one afternoon. So grab your supplies, and give your pup the gift of cozy feet this season.
Frequently Asked Questions
How do I keep the boots from falling off?
Make sure the Velcro strap sits above the ankle joint. The boot should be snug but not tight. Adding a second strap helps a lot for active dogs.
Can I use these boots for hiking in deep snow?
Yes, but add a taller cuff to keep snow out. You can make the boot body longer by adding a few inches to your pattern. The waterproof layer is also helpful for deep snow.
How do I clean the DIY boots?
Hand wash them in warm water with mild soap. Let them air dry completely before the next use. Do not put them in the dryer—it can shrink the fabric.
What if my dog hates wearing boots?
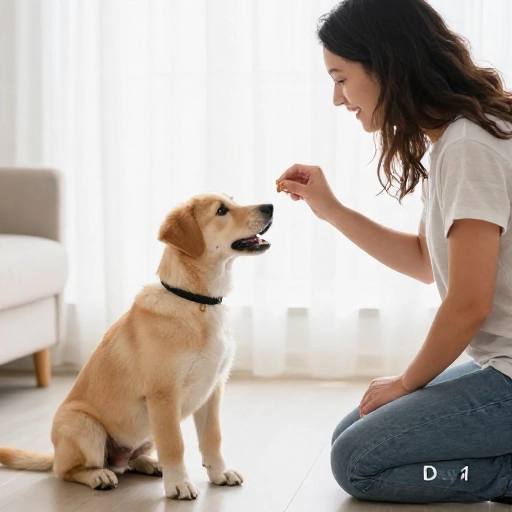
Start slowly. Let your dog wear the boots inside for a few minutes each day. Give treats and praise. Most dogs get used to them after a few short sessions.
Can I use old jeans instead of fleece?
Absolutely. Denim is durable and works great for the outer layer. Just add a soft lining inside so your dog’s paw stays comfortable. Fleece or an old t-shirt works well for the lining.