3-Ingredient Frozen Dog Treats: The Easiest DIY “Ice Cream” Your Pup Will Beg For
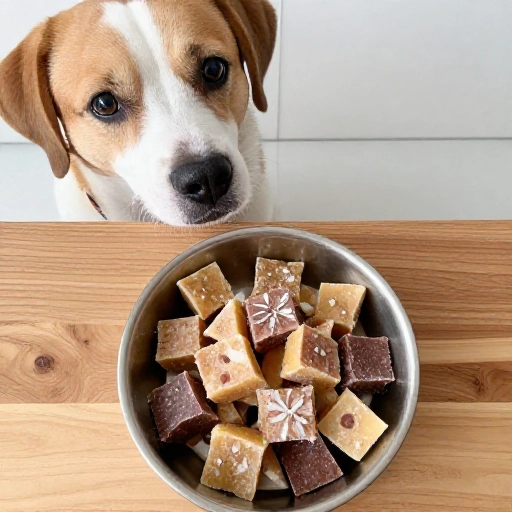
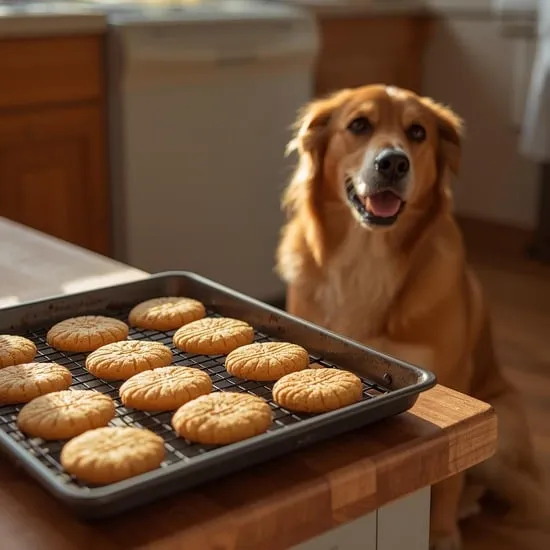
Is your dog giving you those big, sad eyes from the kitchen floor while you enjoy a scoop of ice cream? I’ve been there. That pitiful stare is hard to ignore, but regular ice cream is a no-go for our furry friends (too much sugar and dairy).
So, I started making my own frozen dog treats at home. And let me tell you—it’s almost too easy. These aren’t just “doggy ice cream” recipes; they’s creamy, cool, and made with just a handful of ingredients you probably already have. Plus, they’re perfect for hot summer days or just a fun afternoon snack. Once you see how simple these are, you’ll never buy store-bought treats again.
Let’s dive into the easiest, most dog-approved frozen treat recipes ever.
Why Make Your Own Frozen Dog Treats?
Honestly, the biggest reason is control. You know exactly what’s going into your dog’s belly. No weird preservatives, no artificial colors, no hidden xylitol (which is super dangerous for dogs). Just real, whole foods that are safe and healthy.
Another reason? Cost. A tub of doggy ice cream from the pet store can be pricey. Homemade? A few bananas, some peanut butter, and plain yogurt will set you back just a couple of dollars and make a ton of treats. Finally, it’s just plain fun. Watching your pup go crazy for something you whipped up in five minutes is a great feeling.
What You’ll Need: Simple Equipment
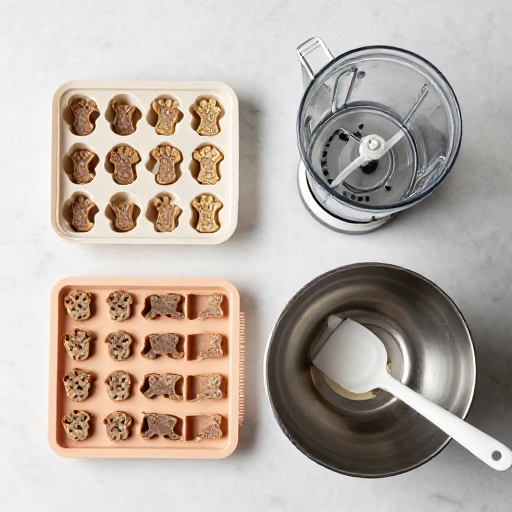
You don’t need a fancy ice cream maker for these recipes. Most of the time, a blender or food processor does all the work. Here’s the short list of what I use:
- Blender or food processor: To get that smooth, creamy texture.
- Freezer-safe container: A small loaf pan, silicone muffin tin, or even a plastic tub works great.
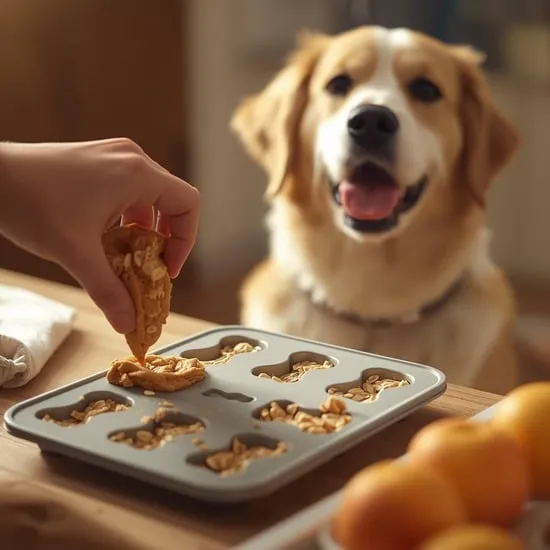
- Ice cube tray or silicone mold: For individual serving-sized treats. I love silicone because the treats pop right out.
- Popsicle molds (optional): For a fun “pupsicle” shape, but totally not necessary.
That’s it. No special gadgets required.
Ingredients: The 3 Basic Recipes
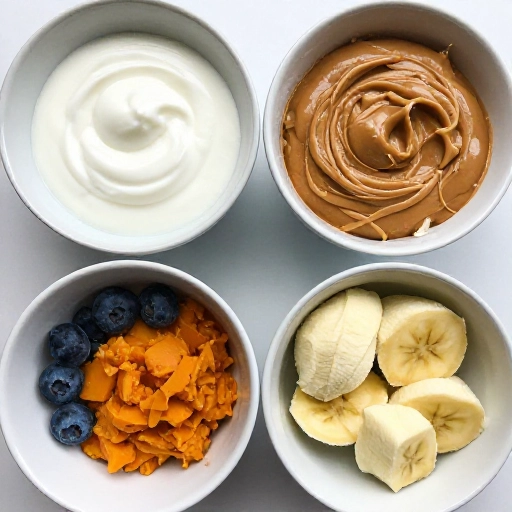
Here are the three core recipes I rotate through. They all start with a base of plain, unsweetened yogurt (Greek or regular—just make sure it has no artificial sweeteners, especially xylitol).
Recipe 1: Peanut Butter & Banana (The Classic)
- 1 ripe banana
- 1/2 cup plain yogurt
- 2 tablespoons natural peanut butter (check label: only peanuts, no sugar or xylitol)
Recipe 2: Pumpkin & Apple (Tummy-Friendly)
- 1/2 cup canned pumpkin (not pie filling!)
- 1/4 cup unsweetened applesauce
- 1/4 cup plain yogurt
Recipe 3: Blueberry & Mint (Fresh Breath)
- 1/2 cup fresh or frozen blueberries
- 2-3 fresh mint leaves (optional)
- 1/2 cup plain yogurt
How to Make Them: Step-by-Step
This is the easiest part. Seriously, it’s almost too simple.
Step 1: Throw all the ingredients for your chosen recipe into the blender. Pulse until it’s completely smooth. If it’s too thick, add a splash of water or a little more yogurt.
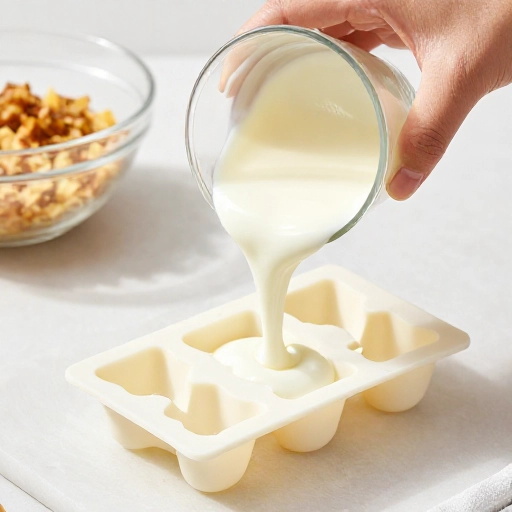
Step 2: Pour the mixture into your molds or container. If using a loaf pan, you can scoop it out later like ice cream. If using an ice cube tray, fill each compartment almost to the top.
Step 3: Pop the tray or container into the freezer. Freeze for at least 3-4 hours, or until solid. Overnight is best for a firmer texture.
Step 4: To serve, just pop a frozen treat out of the mold. If they’re stuck, run the bottom of the tray under warm water for a few seconds. That’s it. Your dog is about to become your best friend.
Tips for Perfect Frozen Treats Every Time
Here are a few things I’ve learned from my own kitchen experiments:
- Don’t skip the banana: The natural sugars in banana help the treat freeze with a softer, creamier texture instead of a rock-hard ice cube.
- Portion control: For small dogs, use mini muffin tins. For big dogs, regular ice cube trays are perfect.
- Storage: Keep them in a sealed freezer bag or container. They’ll last for about 2-3 months, but trust me, they won’t last that long.
- First time? Give a small piece: Just like with any new treat, start with a small amount to make sure your dog’s tummy handles it well.
Conclusion: Cool Treats, Happy Pup
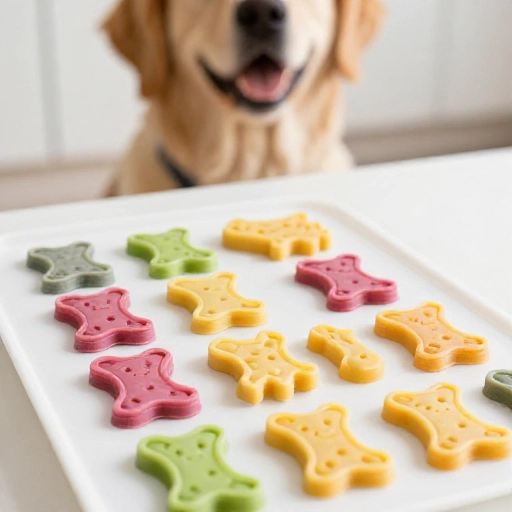
Making frozen dog treats at home is one of those small things that feels really rewarding. It takes less than ten minutes of active work, and you get to see pure, unadulterated joy from your dog. Plus, you can feel good knowing exactly what’s in that bowl. So next time the temperature rises, skip the store and whip up a batch of these. Your dog will thank you with sloppy kisses and happy tail wags.
Frequently Asked Questions
Can I use Greek yogurt?
Yes! Plain Greek yogurt is great because it’s higher in protein and lower in lactose. Just make sure it’s unsweetened and has no added flavors or artificial sweeteners.
My dog is lactose intolerant. What can I use instead of yogurt?
You can use unsweetened coconut milk (from a carton, not a can), plain goat’s milk, or even just water or unsalted bone broth as a base. The texture will be more like a frozen popsicle than ice cream, but dogs love it just as much.
How long do these treats last in the freezer?
Stored in an airtight container or freezer bag, they will stay fresh for up to three months. After that, they might start to get freezer burn, so it’s best to use them within a month or two.
Can I use a different nut butter?
Absolutely. Almond butter or cashew butter work well, but always check the label for xylitol. Never feed your dog anything with that ingredient, as it’s extremely toxic.
My treats came out rock hard. What did I do wrong?
It’s normal for them to be very firm straight out of the freezer. Let them sit on the counter for 2-3 minutes before serving. If they’re still too hard, try adding more banana or a little bit of oil (like coconut oil) to the mixture next time, which helps keep them softer.