7 DIY Dog Bunk Beds Your Pup Will Actually Use (Easy Weekend Builds)
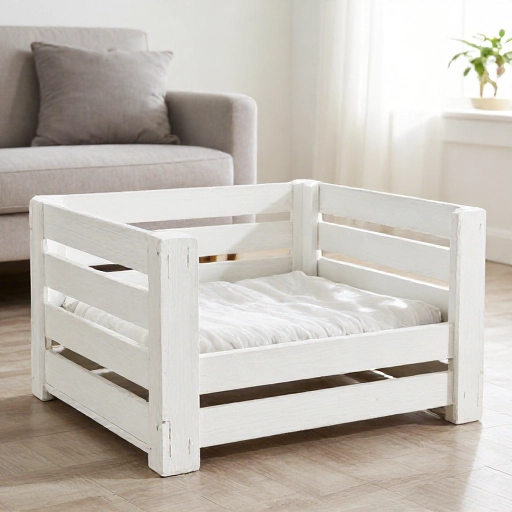
Let’s be real. My dog has claimed the couch, half my bed, and honestly, the best spot in the house. But when I saw how much he loved squeezing under the coffee table, I knew he needed his own little den. That’s when I stumbled down the rabbit hole of DIY dog bunk beds, and let me tell you—it’s a game-changer.
These aren’t just fancy crates. We’re talking about space-saving, multi-level sleep stations that give your pup a private retreat (and give you your couch back). The best part? Most of these projects are perfect for a lazy Saturday. You don’t need a woodshop or a ton of fancy tools. Just some lumber, a drill, and a vision.
Here are seven of my favorite bunk bed designs, ranging from super simple to slightly more ambitious. Pick the one that matches your skill level and your dog’s size, and let’s get building.
1. The Classic Stacked Crate Bunkie
This is the easiest win. If you have two wire crates collecting dust in the garage, this is your project. You’re basically building a sturdy frame to stack them vertically. It instantly frees up floor space and gives each dog their own cozy cave.
I built mine with 2x4s for the vertical posts and a simple plywood sheet between the crates. The key is to make sure the middle shelf is solid—you don’t want the top pup’s weight sagging onto the bottom pup’s head! Use heavy-duty zip ties or brackets to secure the crates to the frame.
This is a fantastic beginner project. It takes about two hours, and you probably already have most of the materials. Plus, the wire crates allow for airflow and make it easy to see your furry friends.
Pro tip: Add a piece of fleece to the top of the lower crate for a bit of privacy. It makes the bottom den feel extra safe and secure.
2. The Mid-Century Modern Loft
Okay, this one is for the stylish pups. Think of it as a human loft bed but scaled down. The top level is a comfy sleeping pad, and the bottom is an open “chill zone” or a spot for a second dog bed. It looks like a piece of furniture, not a dog cage.
You’ll need a sheet of 3/4-inch plywood for the platform and some wooden legs (I used 4x4s for a chunky look). The trick is to round over the edges of the plywood so it doesn’t look like a construction site. A router or just some sandpaper will do the trick.
I painted mine a soft sage green to match my living room. It’s now the first thing guests comment on. My small terrier loves being up high, while my older lab prefers the shaded spot underneath. It’s a win-win for multi-dog households.
Make sure to add a non-slip rug pad on top so your dog doesn’t slide off when they jump up.
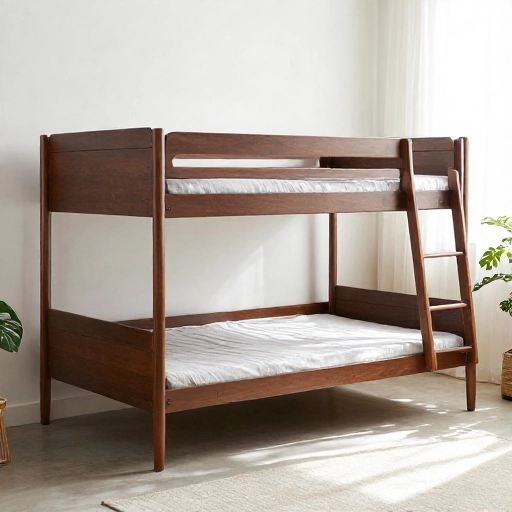
3. The Farmhouse-Style Hayloft Bed
If your aesthetic leans rustic and cozy, this one’s for you. This bunk bed uses reclaimed wood (or new wood stained to look old) and features a ladder for small dogs or just a ramp for older ones. It has that “barn door” vibe that’s so popular right now.
The structure is simple: a basic A-frame or box frame with a raised platform. The secret sauce is in the details. Use black iron pipe fittings for the railing and a chunky eye bolt for a rustic touch. You can even add a little sign with your dog’s name on the side.
I used cedar fence pickets for the base—they’re cheap and smell amazing. The top platform is just a piece of pine plywood that I sanded down super smooth. It’s sturdy enough for a 70-pound retriever.
For the ramp, just use a piece of plywood with some carpet glued on for traction. It’s safer than a ladder for older pups and puppies.
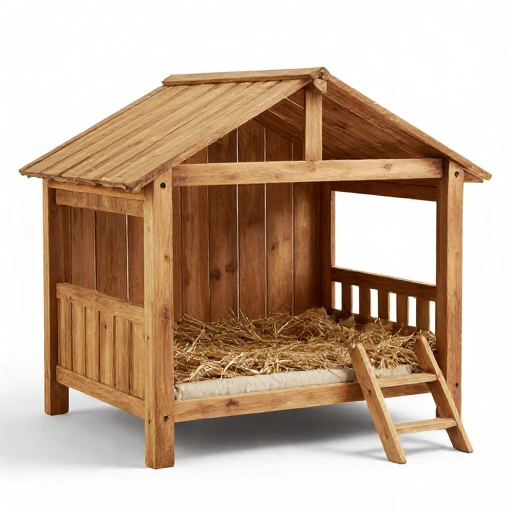
4. The Tiny House Bunk with Built-In Storage
This is the ultimate space-saver. Not only does it give your dog a bunk, but the staircase doubles as storage drawers for leashes, toys, and treats. It’s a furniture piece that does double duty.
This build is a bit more involved. You’re essentially building a small cabinet. The dog bed sits on the top level, and the steps below are hollow. I used piano hinges for the steps so they flip up to reveal the storage space inside.
It requires more precise cuts, so a circular saw or a table saw is helpful here. But don’t be intimidated! Even if your cuts aren’t perfect, you can hide them with trim. I built mine out of MDF and painted it bright white for a clean look.
The storage is a lifesaver. I keep all my dog’s grooming supplies in the bottom step and his toys in the middle one. It keeps the hallway from looking like a dog tornado hit it.
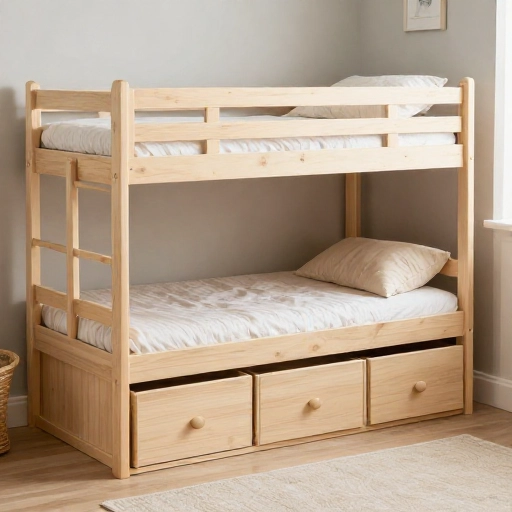
5. The Pallet Wood Paradise
Let’s talk budget. This project costs almost nothing if you can source free pallets. It has that industrial, shabby-chic look that’s perfect for a mudroom or a garage. It’s all about the raw, rugged charm.
First, you need to break down the pallets carefully. This is the tedious part—prying off the boards without splitting them. Once you have your boards, you’ll build a simple rectangular frame with a middle shelf. The gaps between the pallet slats are actually great for drainage if your dog gets wet outside.
I left mine unfinished because I like the natural wood look, but you can stain or paint them. Just make sure to sand everything down well to avoid splinters. This is a heavy, sturdy build that will last for years.
Add a couple of thick outdoor cushions and you’ve got a rustic masterpiece. It’s perfect for a dog that loves to be outside but close to the action.
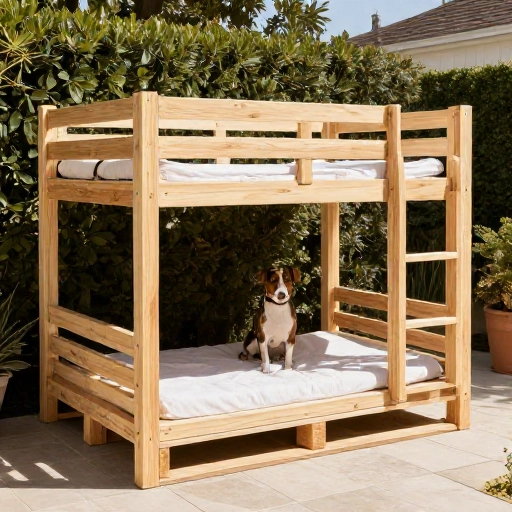
6. The Minimalist Floating Shelf Bunk
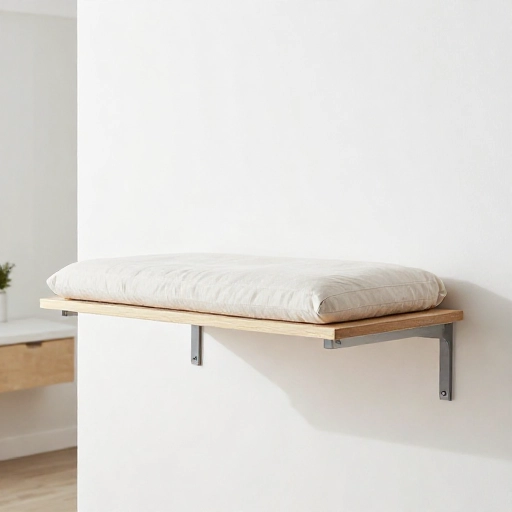
This is for the modern, clean-line lovers. It’s not a traditional bunk bed—it’s more like two floating shelves anchored to the wall. It saves even more floor space than a freestanding unit and looks incredibly sleek.
You’ll need heavy-duty brackets and thick plywood. The key here is to anchor it securely into your wall studs. You don’t want this falling down when your dog jumps up. I used a 2×4 frame hidden under the plywood to add extra strength.
This works best for smaller dogs. You can create a little “cat-like” climbing wall with small steps leading up to the higher platform. It’s a fun way to give your dog some vertical territory.
Because there are no legs, vacuuming underneath is a breeze. It’s the easiest bed to clean around, which is a huge plus in my book.
7. The Cozy Cave with Curtains
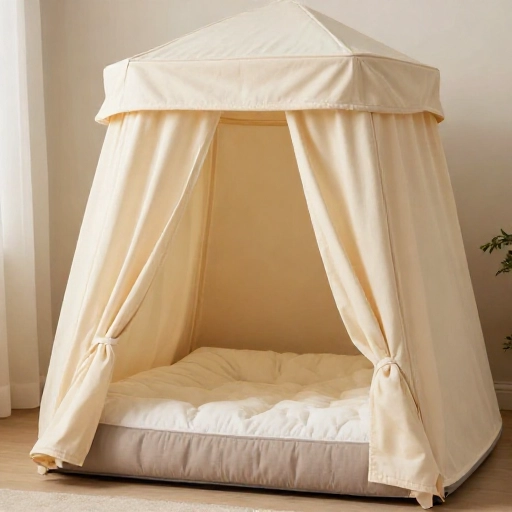
Some dogs just want to hide. This bunk bed design incorporates a privacy curtain on the bottom level, making it the ultimate safe space for anxious pups. The top level remains open for a sunbather.
Build a simple box frame with two levels. For the bottom, I attached a curtain rod (or a simple tension rod) and hung a piece of fabric. You can use a cute patterned fabric that matches your decor or a dark, denim-like material to block out light.
The top bed is perfect for the confident dog, while the bottom becomes a den. I lined the inside of the bottom with an old, soft blanket. My rescue dog immediately took to it—it’s now his “alone time” spot.
Make sure the fabric is secured well so your dog can’t pull it down. I used velcro strips to make it easy to remove for washing.
Final Thoughts on Building the Perfect Bunk
Building a dog bunk bed is one of those projects that feels super rewarding. You save money, you upcycle materials, and you create something totally custom for your furry best friend. Whether you go with the quick crate stack or the full-on tiny house, your dog is going to love having their own special spot.
Just remember to always use pet-safe paints and stains, and always reinforce your joints. A wobbly bed is a dangerous bed. Take your time, measure twice, and cut once. You’ve got this!
Frequently Asked Questions
What is the best wood to use for a dog bunk bed?
Plywood is your best friend. It’s strong, affordable, and easy to work with. For the frame, standard 2x4s are perfect. If you’re using pallets, just be careful about the type of wood and make sure it’s not treated with harmful chemicals. Always sand everything to avoid splinters.
How do I know what size bunk bed to build?
Measure your dog! Add about 4-6 inches to their length and width for the sleeping platform. The height of the top bunk should be high enough for them to sit up comfortably without hitting their head. When in doubt, go bigger.
What is the safest way to secure the top bunk?
Always use heavy-duty screws and wood glue for the joints. If it’s a freestanding unit, make sure the base is wide enough so it doesn’t tip over. If it’s a wall-mounted unit, you absolutely must screw it into the wall studs. Don’t rely on drywall anchors.
Can I use this for a puppy and an older dog?
Yes! This is a great setup for a multi-generational household. The bottom bunk is often easier for older dogs with joint issues to access, while the top bunk is great for a younger, more agile pup. Just make sure the ramp or ladder is easy for the older dog to use.
How do I clean a wooden dog bunk bed?
For daily cleaning, just vacuum it or wipe it down with a damp cloth. For deeper cleaning, use a mixture of water and white vinegar. Make sure to wash the bed covers and cushions regularly. Sealing the wood with a pet-safe polyurethane will make it much easier to wipe down.