Easy Dog Treats Without Peanut Butter: The 5-Ingredient Pumpkin Oat Recipe My Dogs Go Crazy For
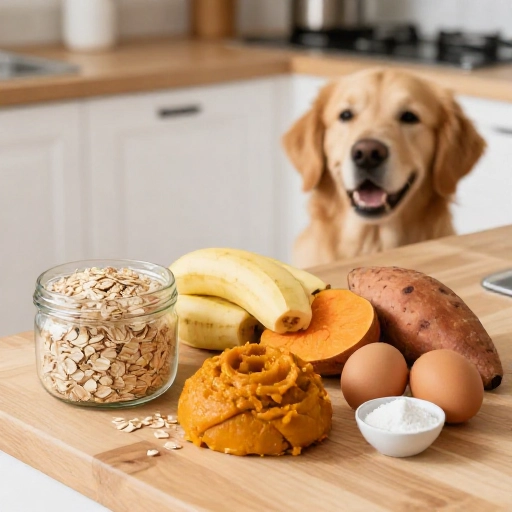
A few months back, my vet told me my rescue pup Milo was packing on a couple of extra pounds, and the peanut butter biscuits I’d been baking every weekend were a big part of the problem. I panicked for a second — half the dog treat recipes on the internet start with a giant scoop of peanut butter. But once I started experimenting, I realized peanut butter was never the magic ingredient. It was just convenient.
These pumpkin oat dog treats are soft-baked, lightly sweet from real pumpkin, and sturdy enough to survive a trip in your pocket on a walk. They use five everyday ingredients, most of which are already sitting in your pantry, and they take about ten minutes of hands-on work. No peanut butter, no xylitol worries, no mystery preservatives.
I’ve made this recipe dozens of times now — sometimes plain, sometimes with shredded carrot or a spoonful of applesauce mixed in — and every batch disappears. Let’s walk through why it works, what you need, and exactly how to bake them so your dog gets the good stuff without the guesswork.
Why Bake Peanut Butter-Free Dog Treats? (Health & Nutritional Benefits)
Peanut butter isn’t evil, but it’s a landmine for a lot of dogs. Some pups are genuinely allergic to peanuts. Others can’t handle the fat content and end up with soft stools or an upset stomach. And then there’s the scariest issue — certain “natural” peanut butters swap sugar for xylitol, an artificial sweetener that’s severely toxic to dogs even in tiny amounts. Skipping peanut butter removes all of that risk in one move.
Pumpkin is the star here instead, and it earns its spot. Plain canned pumpkin is packed with fiber, which helps firm up loose stools and settle sensitive stomachs. It also brings vitamin A, potassium, and a natural sweetness dogs love without any added sugar. Oats add slow-digesting carbs and a chewy texture that holds up to baking.
The real win is that you control everything. No salt, no preservatives, no ingredients you can’t pronounce. For dogs with allergies, sensitive tummies, or a vet-mandated diet, that kind of control is worth its weight in gold. And honestly? They just taste good. My pickiest dog, who turns her nose up at half the store-bought brands, sits by the oven the entire time these bake.
Kitchen Equipment & Tools You’ll Need
Nothing fancy required. This is a one-bowl, one-baking-sheet kind of recipe, which is exactly why it’s my go-to on a lazy Sunday afternoon.
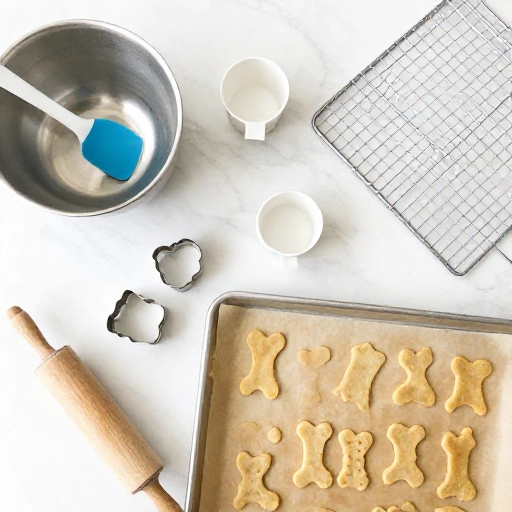
- Mixing bowl — medium size is plenty.
- Measuring cups and spoons — or a kitchen scale if you like precision.
- Fork or wooden spoon — for stirring the dough together.
- Rolling pin — optional, but it helps get an even thickness so the treats bake uniformly.
- Baking sheet — line it with parchment paper or a silicone mat for easy cleanup.
- Cookie cutters — small bone or heart shapes work great. A pizza cutter or knife works fine too if you’d rather make squares.
- Wire cooling rack — don’t skip this one; treats left on a hot sheet get soggy bottoms.
If you’re making these for a small dog, grab the tiniest cutter you own. Smaller treats bake faster and are easier to portion out without overfeeding. I keep a set of 1-inch bone cutters just for this recipe.
One tip I learned the hard way: use a light-colored baking sheet if you have one. Dark pans brown the bottoms faster, and while it’s not a safety issue, the treats can taste a little toasty. A silicone mat solves that problem entirely.
Ingredients List & Safe Substitutions
Here’s the base recipe. It makes about 30 small treats, depending on the size of your cutter.
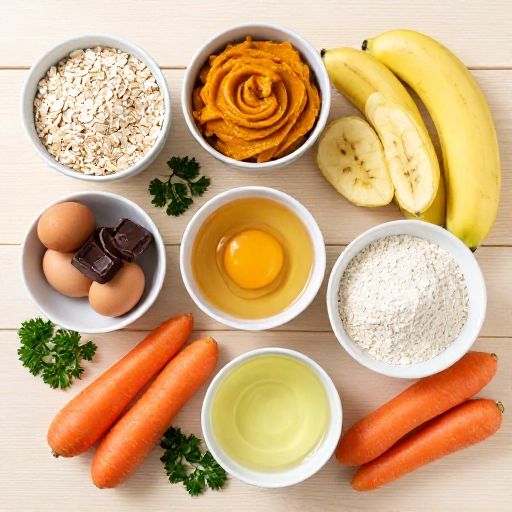
- 1 cup plain canned pumpkin puree — not pumpkin pie filling. Pie filling has sugar, spices, and sometimes xylitol.
- 2 large eggs — these bind everything together.
- 2½ cups oat flour — blend rolled oats in a food processor if you don’t have oat flour on hand. It takes about 20 seconds.
- 2 tablespoons melted coconut oil — for richness and a slightly softer crumb.
- 2 to 4 tablespoons low-sodium chicken broth or plain water — add only as needed to bring the dough together.
That’s it. Five ingredients, all dog-safe.
Safe swaps and add-ins:
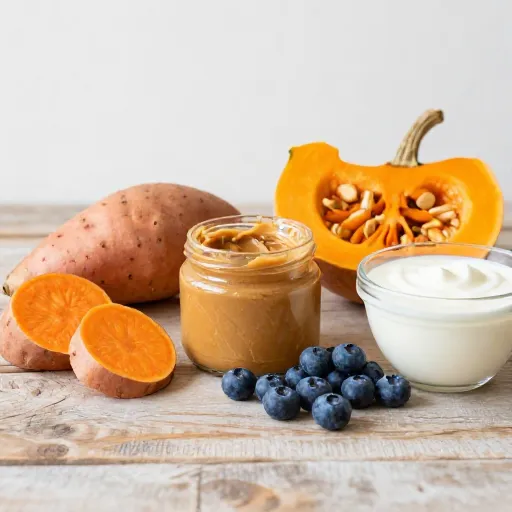
- Instead of pumpkin: mashed sweet potato, plain mashed banana, or unsweetened applesauce work beautifully. Use the same amount.
- Instead of coconut oil: olive oil or a spoonful of plain full-fat yogurt.
- Instead of chicken broth: plain water. Always check broth labels — onions and garlic are toxic to dogs and show up in a shocking number of broths.
- Fun add-ins: ¼ cup finely shredded carrot, 1 tablespoon chopped fresh parsley, or 2 tablespoons ground flaxseed.
One hard rule: never use anything containing xylitol, onion powder, garlic powder, raisins, grapes, macadamia nuts, or chocolate. If you’re unsure about an ingredient, leave it out and ask your vet.
Step-by-Step Instructions: How to Make Them
Preheat your oven to 350°F (175°C) and line a baking sheet with parchment paper. Give yourself about 15 minutes of active time.
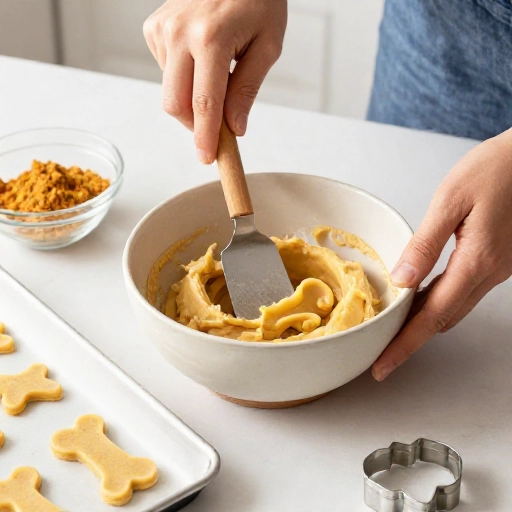
- Mix the wet ingredients. In a large bowl, whisk together the pumpkin, eggs, and melted coconut oil until smooth and glossy.
- Add the oat flour. Stir it in one cup at a time. The dough will look crumbly at first — that’s normal.
- Add liquid a little at a time. Pour in broth or water one tablespoon at a time, mixing after each, until the dough holds together when you squeeze it. Stop as soon as it does. Too much liquid makes sticky dough that’s a nightmare to roll.
- Rest the dough. Let it sit for 5 minutes so the oat flour can absorb the moisture. This makes rolling way easier.
- Roll it out. On a lightly floured surface (use extra oat flour), roll the dough to about ¼ inch thick. Thinner means crunchier treats; thicker means softer ones.
- Cut your shapes. Press your cutter down firmly and transfer the treats to the baking sheet, leaving a little space between them.
- Bake for 20 to 25 minutes. The edges should look dry and just barely golden. Flip them halfway through for even baking.
- Cool completely. Move them to a wire rack and let them cool for at least 30 minutes before your dog gets a taste. Hot treats can burn a dog’s mouth.
Want them extra crunchy? After baking, drop the oven to 200°F (95°C) and leave the treats in for another 45 to 60 minutes with the door cracked open. That’s how you get that satisfying snap. My dogs honestly don’t care either way — soft or crunchy, they’re obsessed.
Storage, Serving Size & Feeding Guidelines
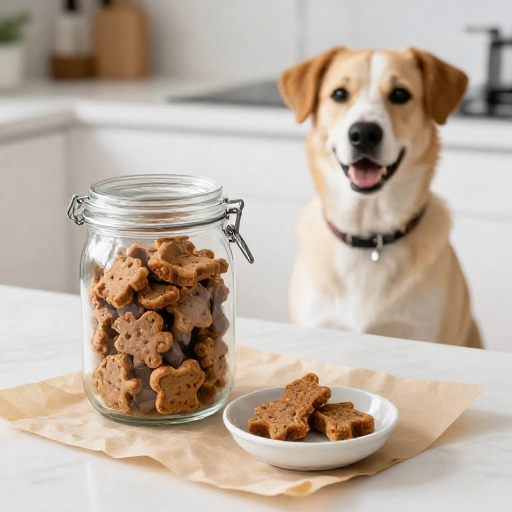
These treats have no preservatives, so storage actually matters. Let them cool completely first — sealing warm treats in a container creates condensation, and condensation means mold.
- Counter: Airtight container for up to 1 week.
- Fridge: Airtight container for up to 2 weeks. This is my default for the soft-baked version.
- Freezer: Up to 3 months in a freezer bag. Thaw at room temperature for about 20 minutes.
How much to feed: Treats should never make up more than 10% of your dog’s daily calories. As a rough guide, a small dog (under 20 lbs) gets 1 to 2 treats a day, a medium dog (20–50 lbs) gets 2 to 3, and a large dog (50+ lbs) gets 3 to 4. Break larger treats in half for tiny pups.
If your dog has diabetes, pancreatitis, kidney issues, or is on a prescription diet, check with your vet before adding any new treat to their routine. This is a treat, not a meal replacement — kibble still does the heavy lifting nutritionally.
A quick note on first-timers: introduce one treat and wait a day. If stools look normal and there’s no itching or gas, you’re good to go. Some dogs are sensitive to pumpkin in large amounts, so starting slow is always the smarter move.
Final Verdict: Are These Worth Baking?
Absolutely, and I say that as someone who has tried a lot of dog treat recipes that ended up in the trash. These are cheap, fast, and genuinely foolproof once you get the dough consistency right. The whole batch costs less than a bag of premium store-bought biscuits, and you know exactly what’s in every single one.
The best part is how flexible they are. Swap pumpkin for banana, add carrot, make them soft or crunchy — the recipe bends to whatever’s in your kitchen and whatever your dog can tolerate. If your pup has a peanut allergy or a sensitive stomach, this becomes your new default.
My advice: bake one batch this week, watch how your dog reacts, and then tweak from there. Keep the dough a little stiffer than you think it needs to be, always cool the treats fully, and store them properly. Do that, and you’ll have a house favorite on repeat for years.
Frequently Asked Questions
Can I use peanut butter substitute like almond butter instead?
You can, but be careful. Almond butter is safe for most dogs in small amounts, though it’s high in fat and can upset sensitive stomachs. Always check the label for xylitol and added salt. Honestly, this recipe doesn’t need any nut butter — the pumpkin and oats carry it fine on their own.
How long do homemade dog treats without peanut butter last?
About one week in an airtight container on the counter, two weeks in the fridge, and up to three months in the freezer. Since there are no preservatives, the fridge is your safest bet for soft-baked versions.
Is canned pumpkin safe for dogs?
Yes, plain canned pumpkin is safe and actually great for dogs. Just make sure it’s 100% pure pumpkin and not pumpkin pie filling, which contains sugar and spices. Some brands sneak in xylitol, so read that label carefully.
Can I make these treats without eggs?
Yes. Replace each egg with ¼ cup unsweetened applesauce or 1 tablespoon ground flaxseed mixed with 3 tablespoons water. The texture will be slightly denser, but dogs won’t notice a difference.
What if my dog has a wheat or grain allergy?
Oats are naturally gluten-free, but if your dog reacts to oats specifically, swap in a gluten-free flour blend or finely ground rice flour. Start with a small test batch and watch for any reaction before baking a full sheet.