How to Trim Your Cat’s Nails Without Losing a Finger

I remember the first time I tried to trim my cat’s nails. It was a battlefield. I had scratches on my arms, and my cat hid under the bed for an hour. I thought I was doing something terribly wrong.
But here’s the truth: trimming your cat’s nails doesn’t have to be a wrestling match. It just takes a little patience, the right tools, and a few sneaky tricks. Over the years, I’ve learned how to make it easier for both of us. Now my cat barely flinches when she sees the clippers.
In this guide, I’ll share exactly how I trim my cat’s nails step by step. No complicated jargon. Just real, practical advice that works.
1. Get the Right Clippers
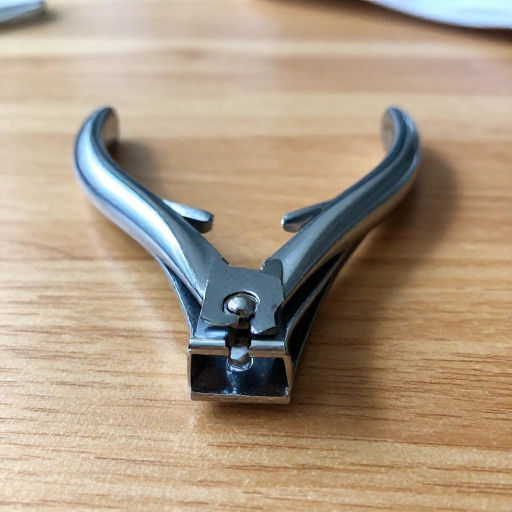
You can’t trim nails well with the wrong tool. I learned this the hard way after using human nail clippers that crushed my cat’s nail instead of cutting cleanly.
There are two main types of cat nail clippers: guillotine-style and scissors-style. I prefer the scissors-style because they feel more controlled. But try both and see what feels natural in your hand.
Make sure the blades are sharp. Dull clippers can splinter the nail and cause pain. Replace them before they get too worn.
2. Pick a Calm Moment
Timing is everything. Do not attempt nail trimming when your cat is zooming around the house or right after a loud noise scared them.
I always trim after my cat has eaten a meal. She’s sleepy and relaxed. A drowsy cat is a cooperative cat.
Choose a quiet room with no distractions. Turn off the TV. Put your phone away. The more relaxed you are, the more relaxed your cat will be.

3. Get Your Cat Comfortable With Paw Touching
If your cat hates having their paws touched, don’t just dive in with clippers. That’s a recipe for disaster.
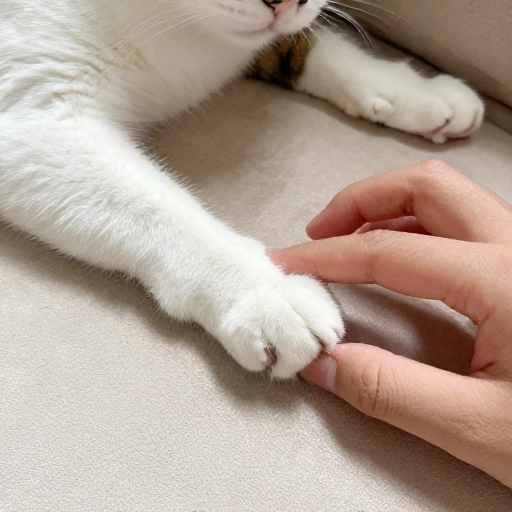
Start by gently touching one paw while you’re petting them. Give a treat. Do this for a few days until they don’t pull away.
Next, gently press on the pad to extend one nail. Reward with a treat again. This builds trust. It takes time, but it’s worth it.
4. Find the Quick
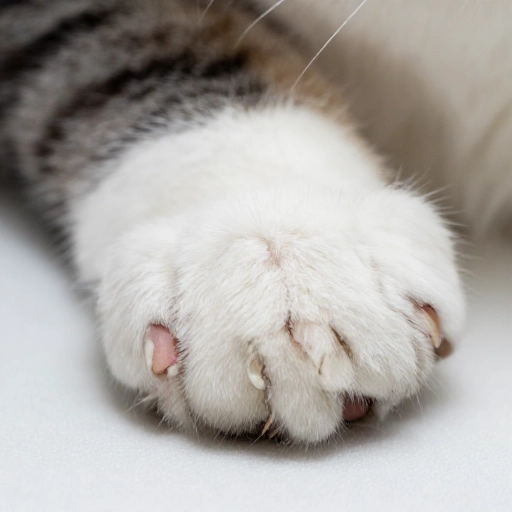
The quick is the pink part inside the nail that contains blood vessels and nerves. If you cut into it, it hurts and bleeds. I made this mistake once and felt terrible.
On white or light-colored nails, the quick is easy to see. On dark nails, it’s harder. Look for the spot where the nail starts to curve downward. That’s usually where the quick ends.
If you’re unsure, cut less. You can always trim more later. Better safe than sorry.
5. Use the Right Positioning
How you hold your cat matters. I used to try to hold her in my lap, but she would squirm away.
Now I place her on a non-slip surface like a towel on the table. I stand behind her so she feels secure. Some people wrap their cat in a towel like a burrito. That works too.
The key is to keep your cat from backing up. If they feel trapped, they’ll fight. Give them a little freedom, but stay close.

6. Start With One Paw at a Time
Don’t try to do all four paws in one sitting. That’s overwhelming for both of you.
I start with one front paw. If my cat is calm, I do the other front paw. Back paws can wait for another day.
Trim just the tips. The sharp hook at the end is what scratches you. That’s all you need to remove. One or two clips per nail is plenty.

7. Have a Treat Reward System
Positive reinforcement is your best friend. I keep a bowl of her favorite treats nearby.
After each nail, I give a small treat. This makes the experience feel like a game. She started looking forward to nail time because she knew good things were coming.
If your cat won’t eat treats during trimming, try a lickable cat tube. The taste keeps them distracted and happy.

8. Deal With the Back Nails Differently
Back nails are trickier because cats don’t like having their hind legs restrained. Plus, they grow slower, so you don’t need to trim them as often.
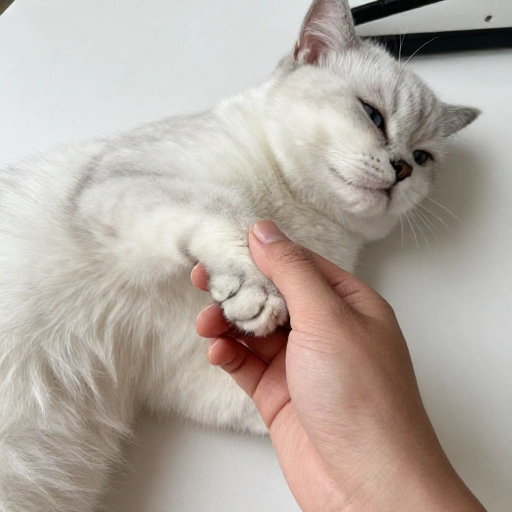
I only trim back nails when my cat is lying on her side, completely relaxed. I gently lift one back leg and extend the nail.
If she resists, I stop. No point in forcing it. I’ll try again another day when she’s in a better mood.
9. Watch for Signs of Stress
Your cat will tell you when they’ve had enough. Watch for tail flicking, ears flattening, or growling. Those are signals to stop.
I always respect those signals. If I push too hard, my cat will associate nail trimming with fear. That makes future sessions harder.
Better to do two nails today and the rest tomorrow than to ruin the whole experience.

10. Have a Bleeding Plan Ready
Even experienced cat owners cut the quick sometimes. It happens. Don’t panic.
Keep styptic powder or a styptic pencil in your nail kit. Dip the bleeding nail into the powder. It stops bleeding almost instantly.
If you don’t have styptic powder, cornstarch or flour can work in a pinch. But I highly recommend getting the real stuff. It’s cheap and gives you peace of mind.

Conclusion
Trimming your cat’s nails doesn’t have to be a stressful chore. With the right tools, a calm approach, and lots of patience, you can turn it into a bonding moment.
Start slow. Respect your cat’s limits. Reward every small success. Over time, your cat will trust you more, and you’ll both feel more confident.
Remember, you’re not just trimming nails. You’re building a relationship. And that’s worth every treat.
Frequently Asked Questions
How often should I trim my cat’s nails?
Most cats need a trim every 2 to 4 weeks. If you hear clicking on the floor, it’s time.
My cat hates being held. What should I do?
Try trimming one nail at a time during a nap. Or ask someone to gently hold your cat while you clip.
Can I use human nail clippers?
Not recommended. They can crush the nail. Use cat-specific clippers for a clean cut.
What if I accidentally cut the quick?
Apply styptic powder to stop bleeding. Give your cat a treat and stop for the day. They’ll forgive you.
Do I need to trim back nails too?
Yes, but less often. Back nails grow slower. Check them once a month and trim only if needed.