Pallet Dog House: DIY Shelter Plans That Work
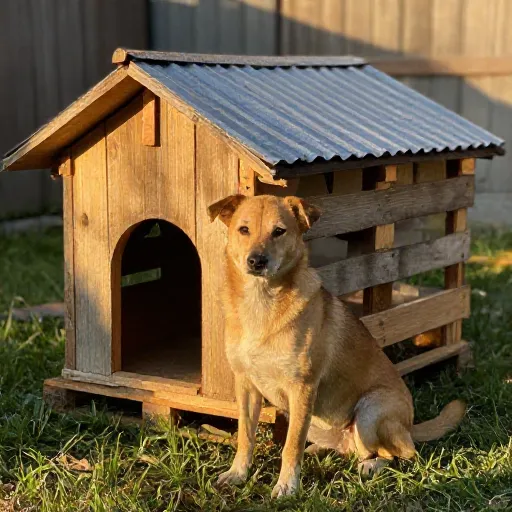
If you’re like me, you probably have a pile of wooden pallets sitting in the backyard, waiting for a second life. And if you’ve got a furry best friend who loves spending time outdoors, you’ve got the perfect project on your hands. Building a pallet dog house isn’t just about saving money—it’s about crafting something sturdy, cozy, and totally unique for your pup.
I’ve built a few of these over the years, and I’ve learned what works (and what really doesn’t). Whether you’re a complete beginner or a weekend warrior with a workshop, these DIY shelter plans are simple to follow. Grab your hammer, pull those pallets apart, and let’s make something your dog will actually love.
1. Find and Prep the Right Pallets
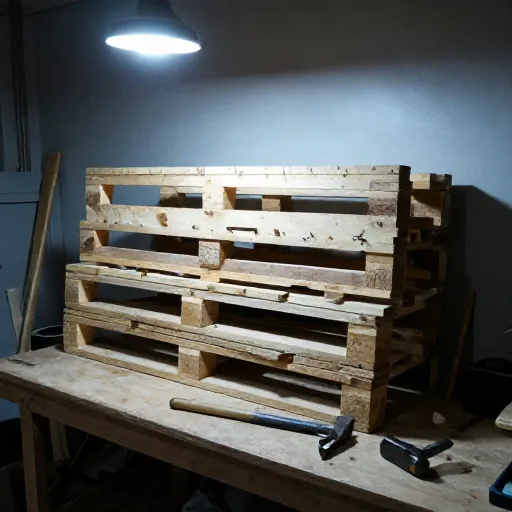
Not all pallets are created equal. You want to look for heat-treated pallets (they’ll have the “HT” stamp) rather than chemically treated ones. That “MB” stamp means methyl bromide, and you definitely don’t want that near your dog. Stick with pine or oak pallets that feel solid and don’t have too many split boards.
Before you start building, give the pallets a good once-over. Pull out any bent nails, sand down rough edges, and scrub them with soapy water. Let them dry completely in the sun. This step takes a little patience, but it makes a huge difference in how long the house will last.
- Look for the “HT” stamp
- Skip pallets with stains or strong smells
- Sand and clean before cutting
2. Measure Your Dog First
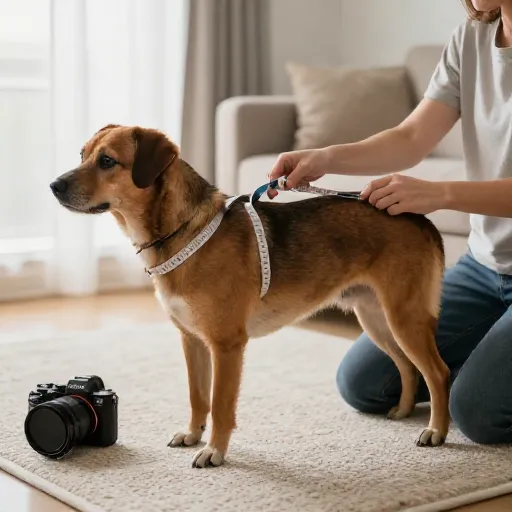
Here’s the thing—dog houses are like shoes. If they’re too big, they don’t keep warmth well. If they’re too small, your dog won’t even want to go inside. Measure your dog from nose to tail and from the floor to the top of their shoulders. Add a few inches on each side for comfort.
For most medium-sized dogs, a 3-foot by 3-foot floor plan works great. For larger breeds, bump it up to 4-foot by 4-foot. The doorway should be just wide enough for your dog to walk through comfortably, and the height should be about 75% of your dog’s shoulder height. That keeps the heat inside while still being easy to get in and out of.
3. Dismantle Pallets With a Pry Bar
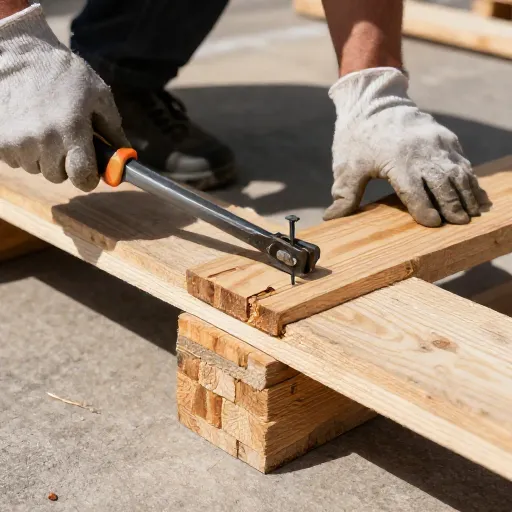
I’ll be honest, taking pallets apart is the most tedious part of this entire project. But it’s also the most satisfying. Use a sturdy pry bar and a hammer to loosen the boards. Work from one end to the other, and don’t be afraid to use a little muscle. You’ll end up with a bunch of loose boards in different lengths.
Sort the boards by size as you go. The long, solid ones are perfect for the walls. The shorter, thicker pieces work great as reinforcement corners or for the roof frame. If a board splits while you’re pulling it, don’t toss it—you can always use it as a shim or for smaller support pieces.
4. Build a Solid Base Frame
The floor of your pallet dog house needs to be off the ground. This prevents moisture from seeping up and keeps your dog dry and warm. Start by building a square frame using the thickest pallet boards you have. Reinforce the corners with small metal brackets or extra scraps.
On top of that frame, lay down the floor boards. Leave a tiny gap between each board for airflow—this helps prevent mold in humid months. Once the floor is nailed down, flip the whole thing over and attach small feet made from cut-down 4×4 posts. This simple step elevates the house and keeps the bottom dry.
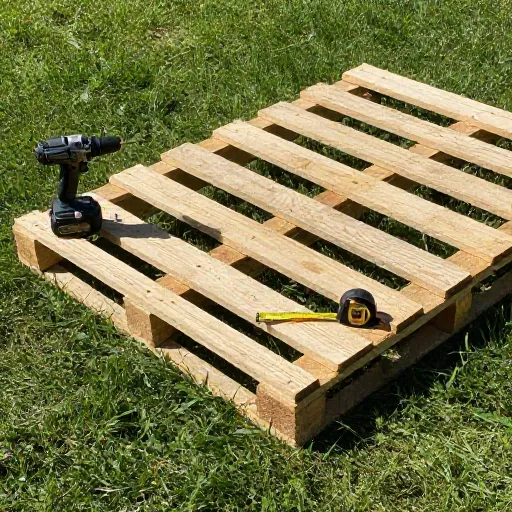
5. Frame the Walls With a Simple Box Design
This is where it all comes together. Stand up your longest boards to create the four walls. Nail them into the base frame first, then use corner posts to secure the vertical seams. You can use a saw to cut a notch for the doorway, or you can frame the door opening with two vertical boards and a header piece.
Don’t overthink the framing. You’re basically building a box with an opening. Make the front wall slightly shorter if you want a sloped roof, or keep all walls equal for a flat roof. I prefer a sloped roof because it sheds rain much better. Just remember to leave the doorway open until you’re happy with the shape.
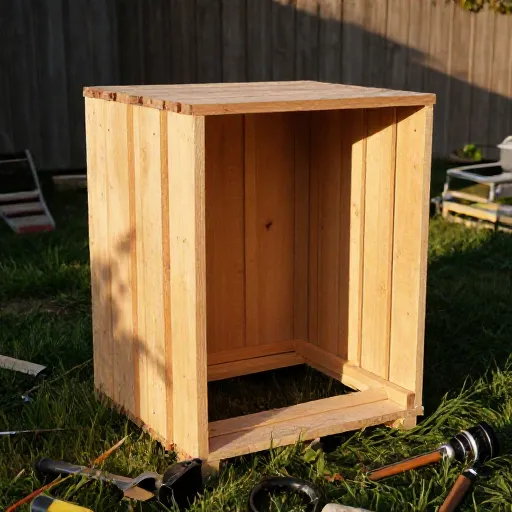
6. Add a Waterproof Roof
Your pallet roof boards are going to take a beating from the weather, so they need a little extra love. Nail the roof boards down tightly, making sure they overlap the walls slightly on all sides. This little overhang keeps rain from running down the walls and into the house.
For extra protection, attach a sheet of corrugated plastic or a piece of roll roofing on top. You can also use leftover pallet boards and coat them with a waterproof sealant. Nail everything down securely, and do a quick water test—just pour a cup of water over the roof to see if it runs off cleanly.
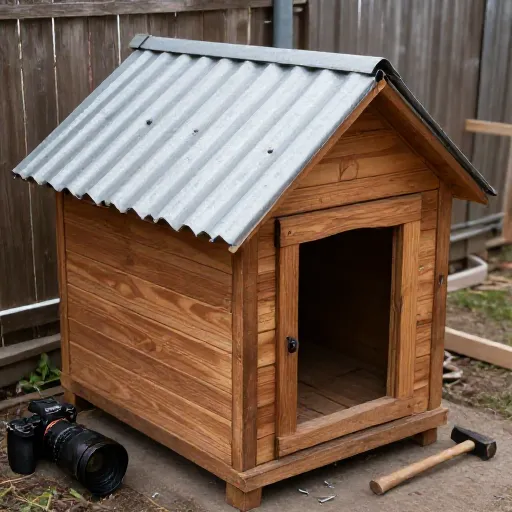
7. Insulate the Interior With Scrap Materials
Pallets are great, but they’re not exactly insulated. If you live in a place with cold winters or hot summers, you’ll want to add some insulation. You can use foam board cut to fit between the wall studs, or repurpose some old blankets and staple them to the inside walls.
Just make sure whatever you use isn’t something your dog can easily chew and swallow. Foam board covered with a thin layer of plywood is the safest option. For the floor, add a removable padded mat or a layer of cedar shavings. Your dog will appreciate the extra comfort, and you’ll feel good knowing they’re protected from the elements.
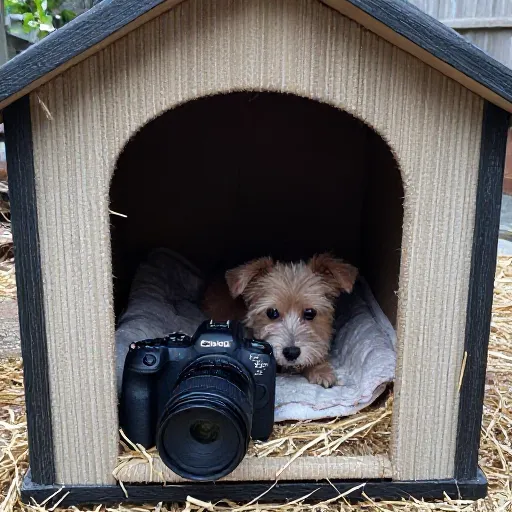
8. Create a Removable Door Flap
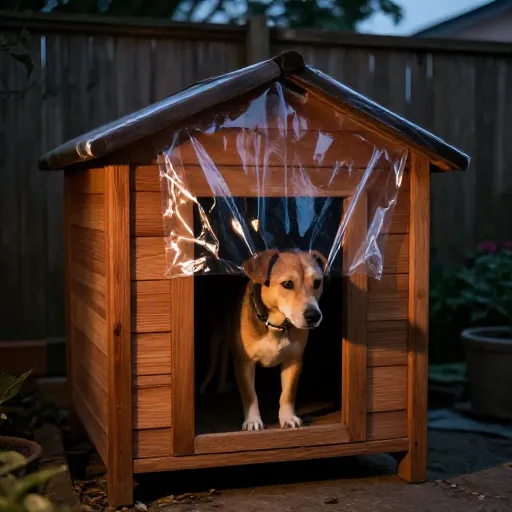
A door flap is a game-changer. It keeps wind, rain, and bugs out while still letting your dog come and go as they please. The easiest way to do this is to cut a piece of heavy vinyl or rubber sheeting that’s slightly larger than the doorway. Attach it to the top of the door frame with screws or heavy-duty staples.
Cut a small slit in the middle of the flap so your dog can push through easily. Some dogs need a little encouragement at first—try holding the flap open and tossing a treat inside. Within a day or two, your pup will be pushing through on their own. If you live in a super hot climate, you can skip the flap and just leave the doorway open.
9. Seal and Protect the Exterior
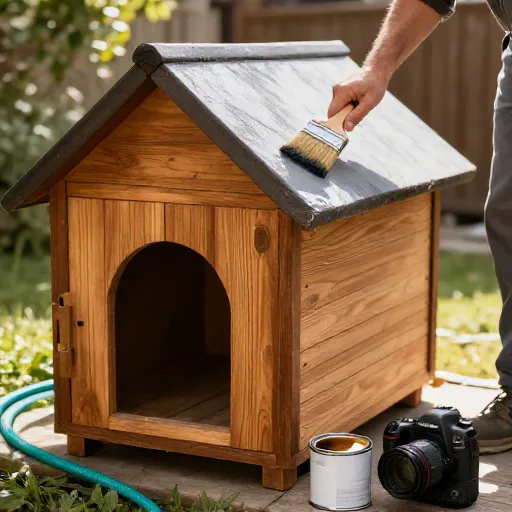
This step is non-negotiable if you want the house to last more than one season. Use a non-toxic wood sealant or outdoor paint to coat the entire exterior. Let it dry completely, then apply a second coat. Focus on the edges and seams where moisture likes to sneak in.
A light sanding before sealing helps the finish stick better. If you’re using paint, pick a light color for hot climates and a darker color for colder ones. This helps regulate the temperature inside. And remember, the sealant needs to be safe for animals—look for water-based formulas with low VOCs.
10. Decorate and Personalize It
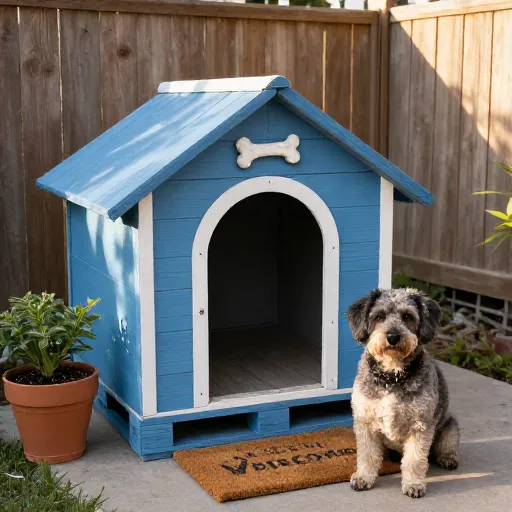
This part is pure fun. Once the house is sealed and dry, you can paint your dog’s name above the doorway, add a little porch, or even attach a matching food bowl holder to the side. I’ve seen people add fairy lights around the roofline and tiny flower boxes under the windows. It’s completely extra, but that’s what makes it special.
Just keep safety in mind—skip anything with small parts or toxic paint. A simple stencil with your dog’s name is always a classic. And don’t forget to add a cozy outdoor rug or a small mat just inside the door. Your dog will think they’ve got their own luxury cabin.
Conclusion
Building a pallet dog house is one of those projects that feels amazing when you’re done. You took something plain and functional and turned it into a safe, cozy retreat for your four-legged friend. It doesn’t need to be perfect—it just needs to be made with love.
So gather your pallets, set aside an afternoon, and enjoy the build. The tail wags you’ll get when your dog steps inside for the first time will make every nail you hammered completely worth it.
FAQ
How long does it take to build a pallet dog house?
Most people finish in a weekend. If you’ve already pulled the pallets apart, the actual building takes about 4 to 6 hours. Add a day for the sealant to dry before letting your dog inside.
Is it safe for my dog to chew on pallet wood?
Only if the pallets are heat-treated and free from chemicals. Always sand down splinters and avoid pallets with any stains or strong smells. Never use pallets that carried chemicals.
What’s the best way to waterproof a pallet dog house?
Use a non-toxic outdoor wood sealant and apply at least two coats. A sloped roof with a slight overhang also helps a lot. You can add a rubber roof mat for extra protection.
Can I build this without power tools?
Yes, but it’s harder. You’ll need a hand saw, a hammer, and a lot of patience. A drill and an electric saw make the job much faster and cleaner, but they’re not strictly necessary.
How do I clean a pallet dog house?
Sweep out the inside weekly and wash the floor with a mild pet-safe cleaner. Once a month, wipe down the walls and check for any loose nails or splinters. Replace the bedding whenever it gets damp or smelly.